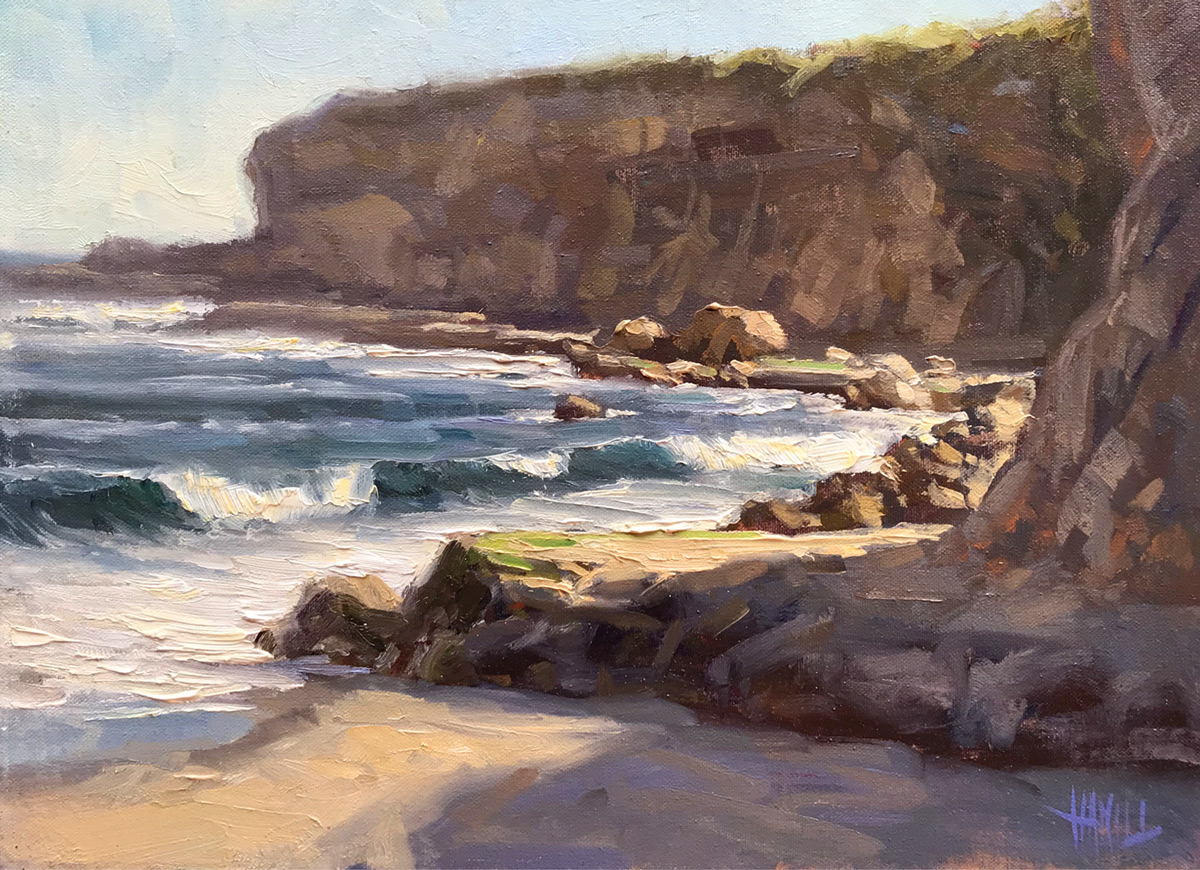
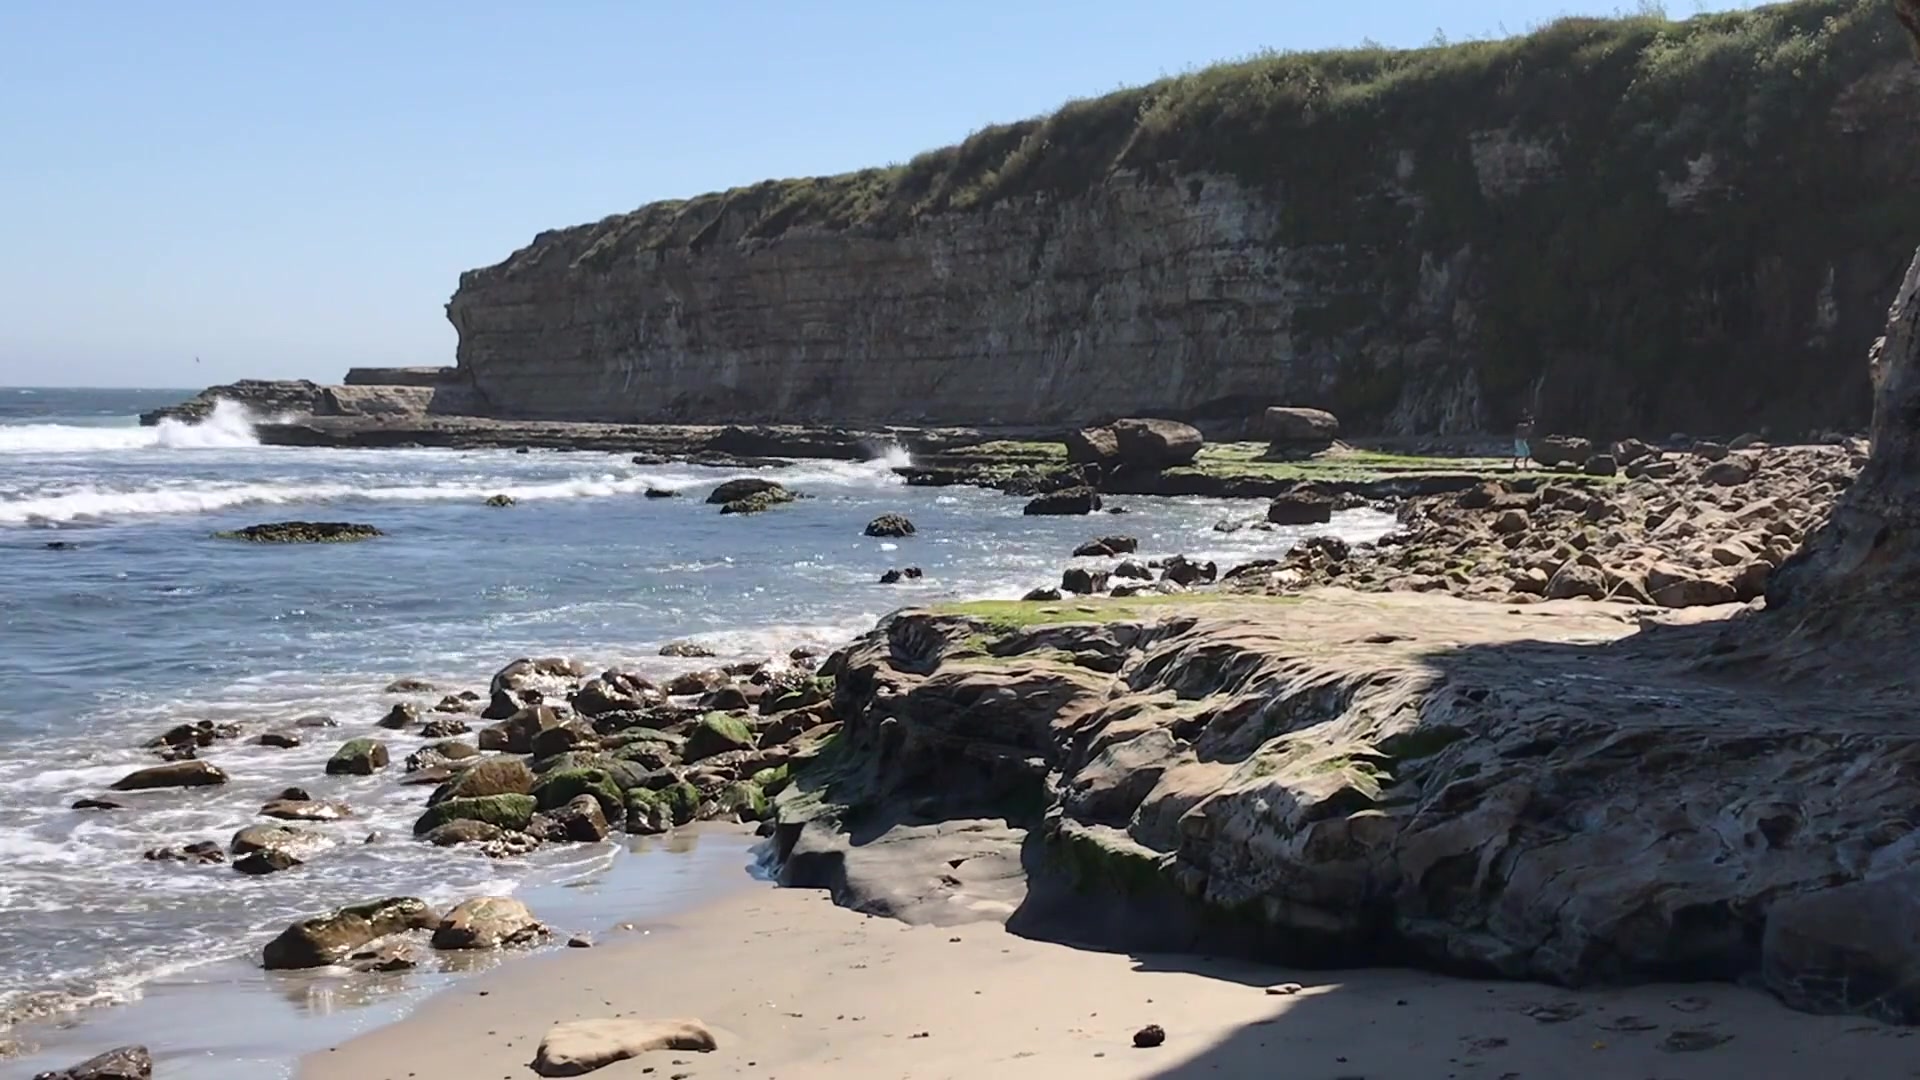
In this chapter, I invite you to join me on a journey from location to studio, capturing the essence of Four Mile Beach alongside the talented California plein air artist, Scott Hamill. As we stand on the west coast, overlooking the majestic Pacific Ocean, you'll learn to embrace a more painterly and impressionistic style. My homemade easel, with its unique design, allows for fluid, expressive brush strokes, encouraging a loose and dynamic approach to painting. We'll explore the coastal bluffs and ocean, focusing on the big dark shapes, distant headlands, and the interplay of light and shadow. Using a 12 by 16 inch canvas with a toned surface, you'll learn to sketch with a thinned-down mixture of gold ochre and cad red medium, positioning your focal point thoughtfully with the rule of thirds in mind. This scene is a rewarding subject, offering a rich tapestry of lines, shapes, and perspectives that guide the viewer's eye. By the end of this lesson, you'll have a deeper understanding of composition, brushwork, and the joy of capturing the beauty of the natural world in a loose, expressive manner.
This guide accompanies the full video lesson. The lesson includes the complete narrated video, the printable PDF chapter, and personalised critique support.
Observe the scene and identify the big dark shapes, distant headland, and cast shadows. Notice how the waves direct your eye back into the design. Consider the rocks on the back shelf as a potential focal point.
Prepare the Canvas
Use a 12 by 16 inch canvas with a toned surface to prevent the white from affecting your perception of values. This helps in seeing the light and dark shapes clearly.
Mix and Sketch
Create a thinned-down mixture of gold ochre and cad red medium, or any color of your choice, to sketch. Hold the brush at the end to maintain a loose grip and quickly sketch the shapes on the canvas.
Position the Focal Point
Ensure the focal point is not centered. Place it at one of the four intersections of the rule of thirds, such as the rocks in the background on the shelf under the big dark shape.
Create Variety and Balance
Massing in shapes, focus on a variety of lines and shapes. Avoid placing objects of the same size or shape next to each other. Ensure the foreground rock shelf doesn't end at the center of the canvas, and avoid lines going off the corners to keep the viewer's eye within the canvas.
Establish Horizon and Lead-ins
Decide on a horizon line above the distant rock shelf. Look for lead-ins like waves that zigzag into the scene, providing linear perspective.
Pro tipPlace the focal point at one of the intersections of the rule of thirds to avoid a boring composition.
Embark on your painting journey by carefully observing the scene and identifying key elements such as the big dark shapes, distant headland, and cast shadows. Begin with a loose sketch on a toned canvas, ensuring your focal point aligns with the rule of thirds for a dynamic composition. As you block in shapes, focus on variety and avoid repetitive patterns to keep the viewer's eye engaged.
Progress through your painting by applying dark tones first, gradually moving to lighter ones. Use a mix of ultramarine blue and permanent rose to establish shadow shapes, and experiment with brush grips to find your preferred style. Introduce temperature shifts by alternating between cooler and warmer tones, adding depth and interest to your work. Incorporate atmospheric perspective by cooling and lightening colors as they recede into the distance.
As you refine your painting, focus on creating form with temperature shifts and apply color thoughtfully to capture the essence of the ocean, sand, and rocks. Use varied brush strokes and pressure to add texture and interest, especially in the foreground. Soften edges to create a cohesive look and adjust colors to enhance the light effect. In the final stages, add highlights and refine details to bring your painting to life, ensuring a balanced and harmonious composition.
Points to remember
Place the focal point at one of the intersections of the rule of thirds.
Squint at the scene to better see shifts in temperature and adjust your colors accordingly.
Cool and lighten colors as they recede into the distance to create depth using atmospheric perspective.
Cover the canvas fully to make accurate value comparisons between different shapes.
Use cooler and lighter colors to suggest form in shadowed areas influenced by the sky.
Use a small hole in your finger to isolate and better understand the colors in the scene.
Wipe your brush clean after each stroke to prevent dark colors from contaminating the light areas.
Always clean your brush when touching different areas to maintain color purity and avoid muddying your work.