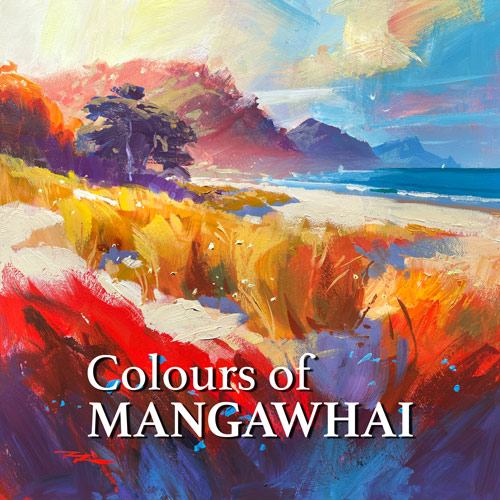
As we embark on this painting journey together, I invite you to immerse yourself in the vibrant beauty of Mangawhai Beach, captured in the glow of an early summer evening. This scene is a treasure trove of color and light, offering a rewarding challenge for any painter eager to explore expressive techniques. In this chapter, I will guide you through the process of translating this stunning vista into a passionate, vibrant artwork. We'll delve into the art of designing for a large light effect, and I'll show you how to underpaint with acrylics to boost vibrancy and how to let your brushwork express the scene's dynamic energy. You'll learn the importance of undermixing your paint on the palette to achieve rich, textured results. We'll also explore how to enhance a photograph to better serve your painting's needs. With a few trusty synthetic brushes, a palette knife, and a couple of water vessels—one for cleaning and one for fresh water—you'll be well-equipped to tackle this scene. Follow along step by step with the resource photos, or use these techniques to create something uniquely your own. Let's bring the colors of Mangawhai to life on your canvas!
This guide accompanies the full video lesson. The lesson includes the complete narrated video, the printable PDF chapter, and personalised critique support.
"Colours of Mangawhai" 14x14" Acrylic on Board by Richard Robinson
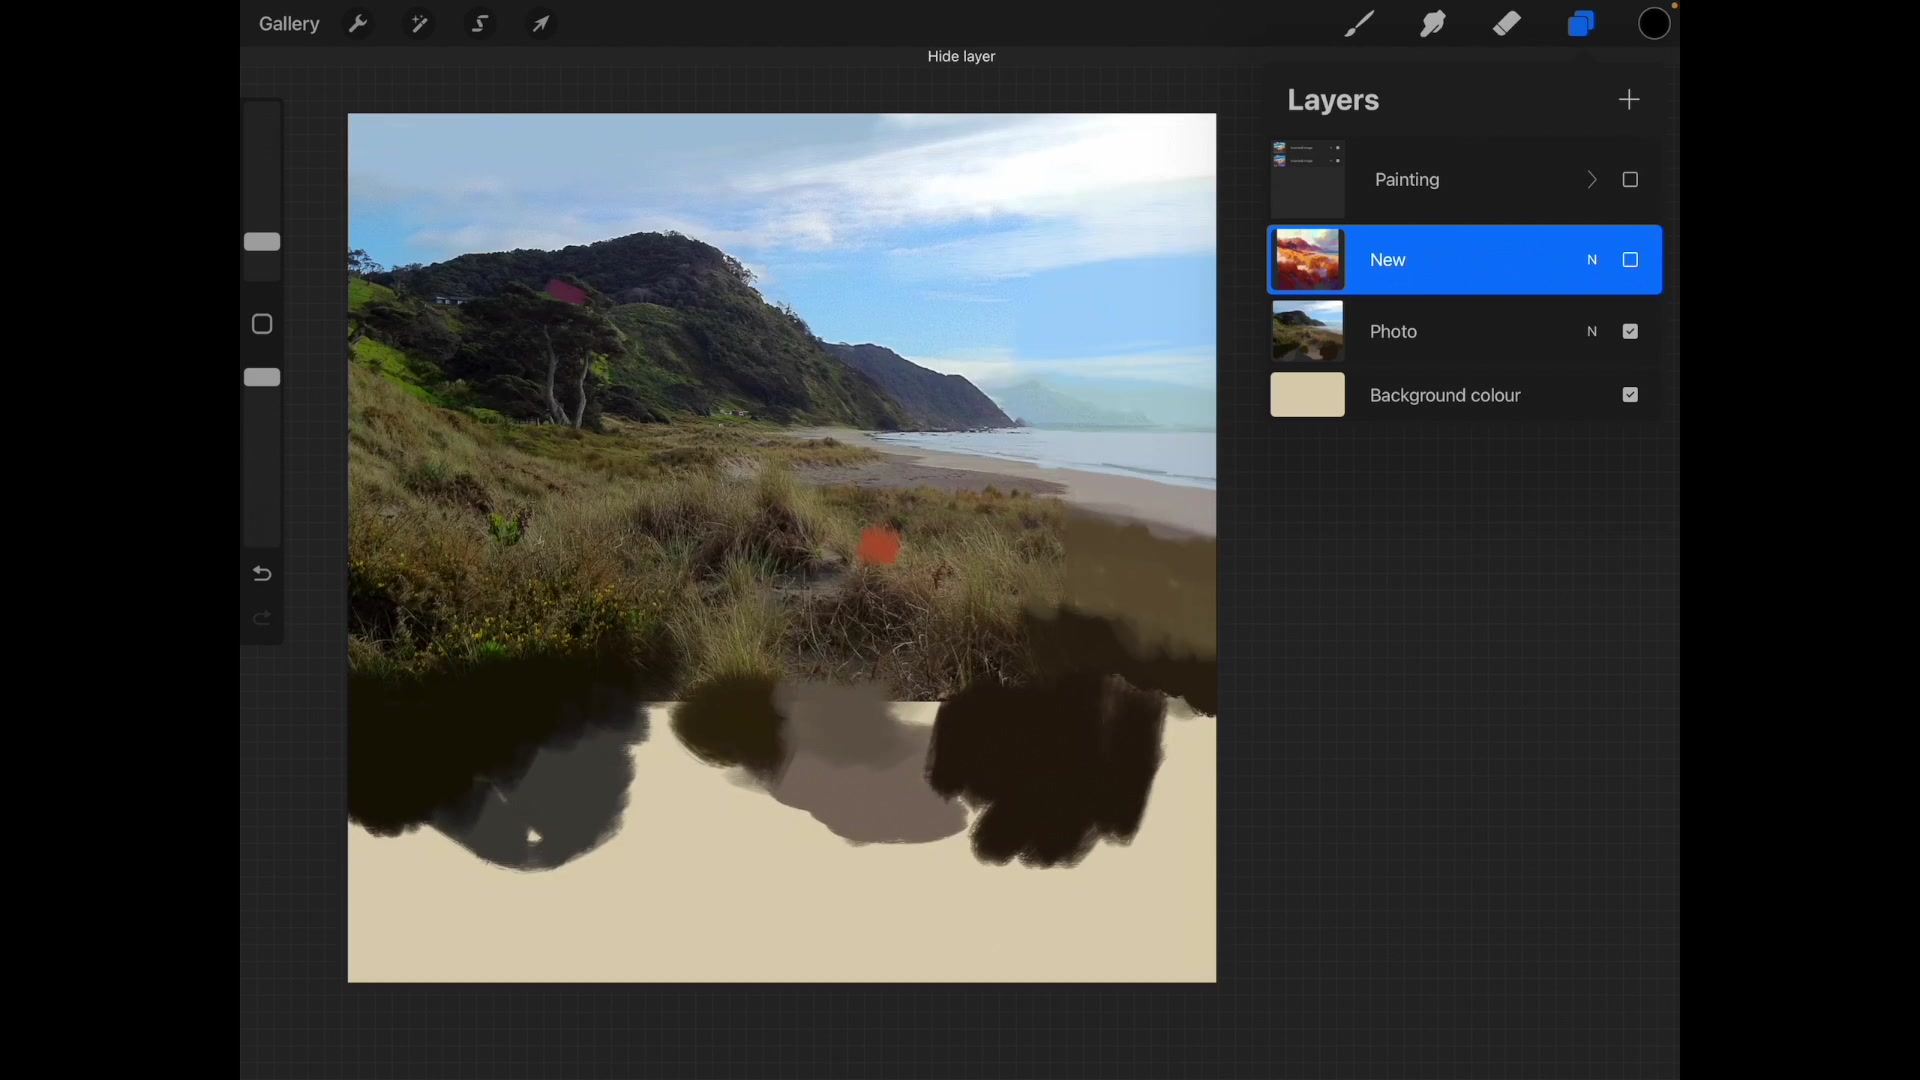
Step 1Photo Manipulation for Design
Adjust Mountain Size
Increase the size of the mountains in the distance within your digital sketch. This adjustment compensates for the distortion caused by a 35mm camera lens, which tends to shrink distant objects. Enhancing the mountain size creates a more true-to-life perspective in your artwork.
Pro tipIncrease the size of distant objects in your digital sketch to correct camera lens distortion and achieve a realistic perspective.
Embark on your painting journey by manipulating your reference photo to correct lens distortion, ensuring a realistic perspective. Begin your digital sketch with a vibrant and loose approach, focusing on capturing the big shapes and enhancing color saturation for a lively composition. Utilize digital tools to explore different styles and effects, maintaining consistency with your previous works while allowing room for creative exploration.
Transition to traditional painting by preparing your canvas with a dynamic underpainting, using bold strokes and textures to set the tone. As you paint the sky and distant hills, pay attention to color mixing and brushwork to create depth and atmosphere. Embrace the unique qualities of acrylics, adjusting your colors to account for drying shifts and using quick strokes to let background colors peek through.
In the final stages, focus on the foreground elements, adding texture and detail to the bushes, trees, and grasses. Use varied brush strokes and color variations to bring life to the scene, ensuring a seamless transition between elements like the ocean and beach. Finish with thoughtful accents and shadows, enhancing the natural look and feel of your landscape. Remember to experiment with color saturation and embrace the vibrant possibilities in your painting.
Points to remember
Increase the size of distant objects in your digital sketch to correct camera lens distortion.
Increase the saturation of your reference colors for a more vibrant digital sketch.
Experiment with different digital painting programs to find the best fit for your style.
Use a palette knife to add texture to the drying base coat.
Use quick, rough brushstrokes to let background color show through.
Adjust your color mixes for acrylics, which dry darker.
Keep your palette and painting surface moist to work effectively with acrylics.
Load your brush with more paint and avoid over-mixing for varied brush strokes.