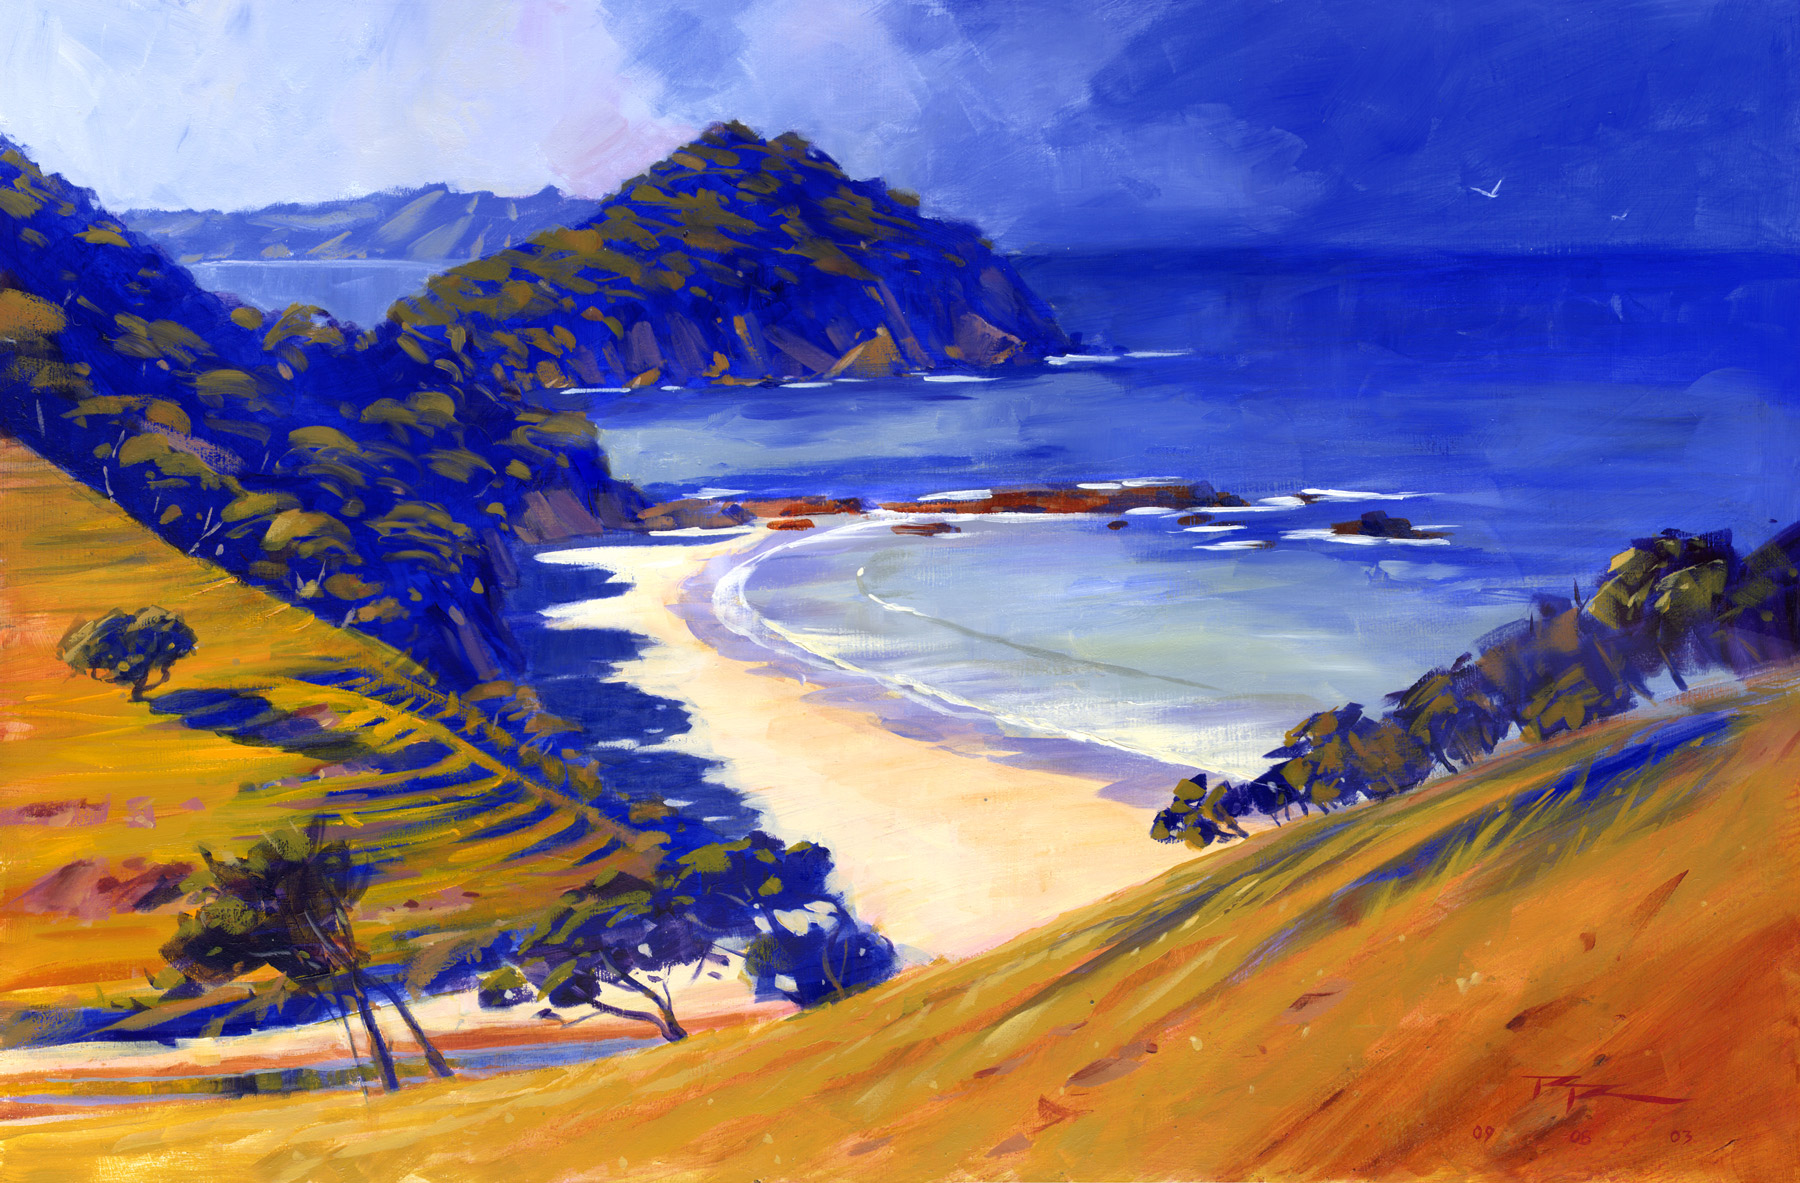
Daisy Bay holds a special place in my heart, and I'm thrilled to share its beauty with you through this painting adventure. Nestled in Tutakaka, just over the hill from Sandy Bay, this spot is steeped in personal memories, including my first surf at nearby Woolley Bay during high school. In this chapter, we'll explore the captivating scene of Daisy Bay, capturing its essence with an impressionistic approach. You'll learn how to get the drawing right and mix colors effectively, ensuring the overall color scheme is spot-on before committing to the entire painting. We'll simplify the process to prevent feeling overwhelmed, and embrace the power of big brushes to infuse your work with a looser, more dynamic feel. Adding drama with dark and light accents will elevate your painting, and I'll guide you on critiquing your own work to foster significant improvement. As the sun sets on Daisy Bay, let's embark on this creative journey together, discovering the joy and fulfillment of painting this stunning scene.
This guide accompanies the full video lesson. The lesson includes the complete narrated video, the printable PDF chapter, and personalised critique support.
“Daisy Bay†Acrylic on Board by Richard Robinson.
Step 12Final touches on water and foam
Enhance Foreground Depth
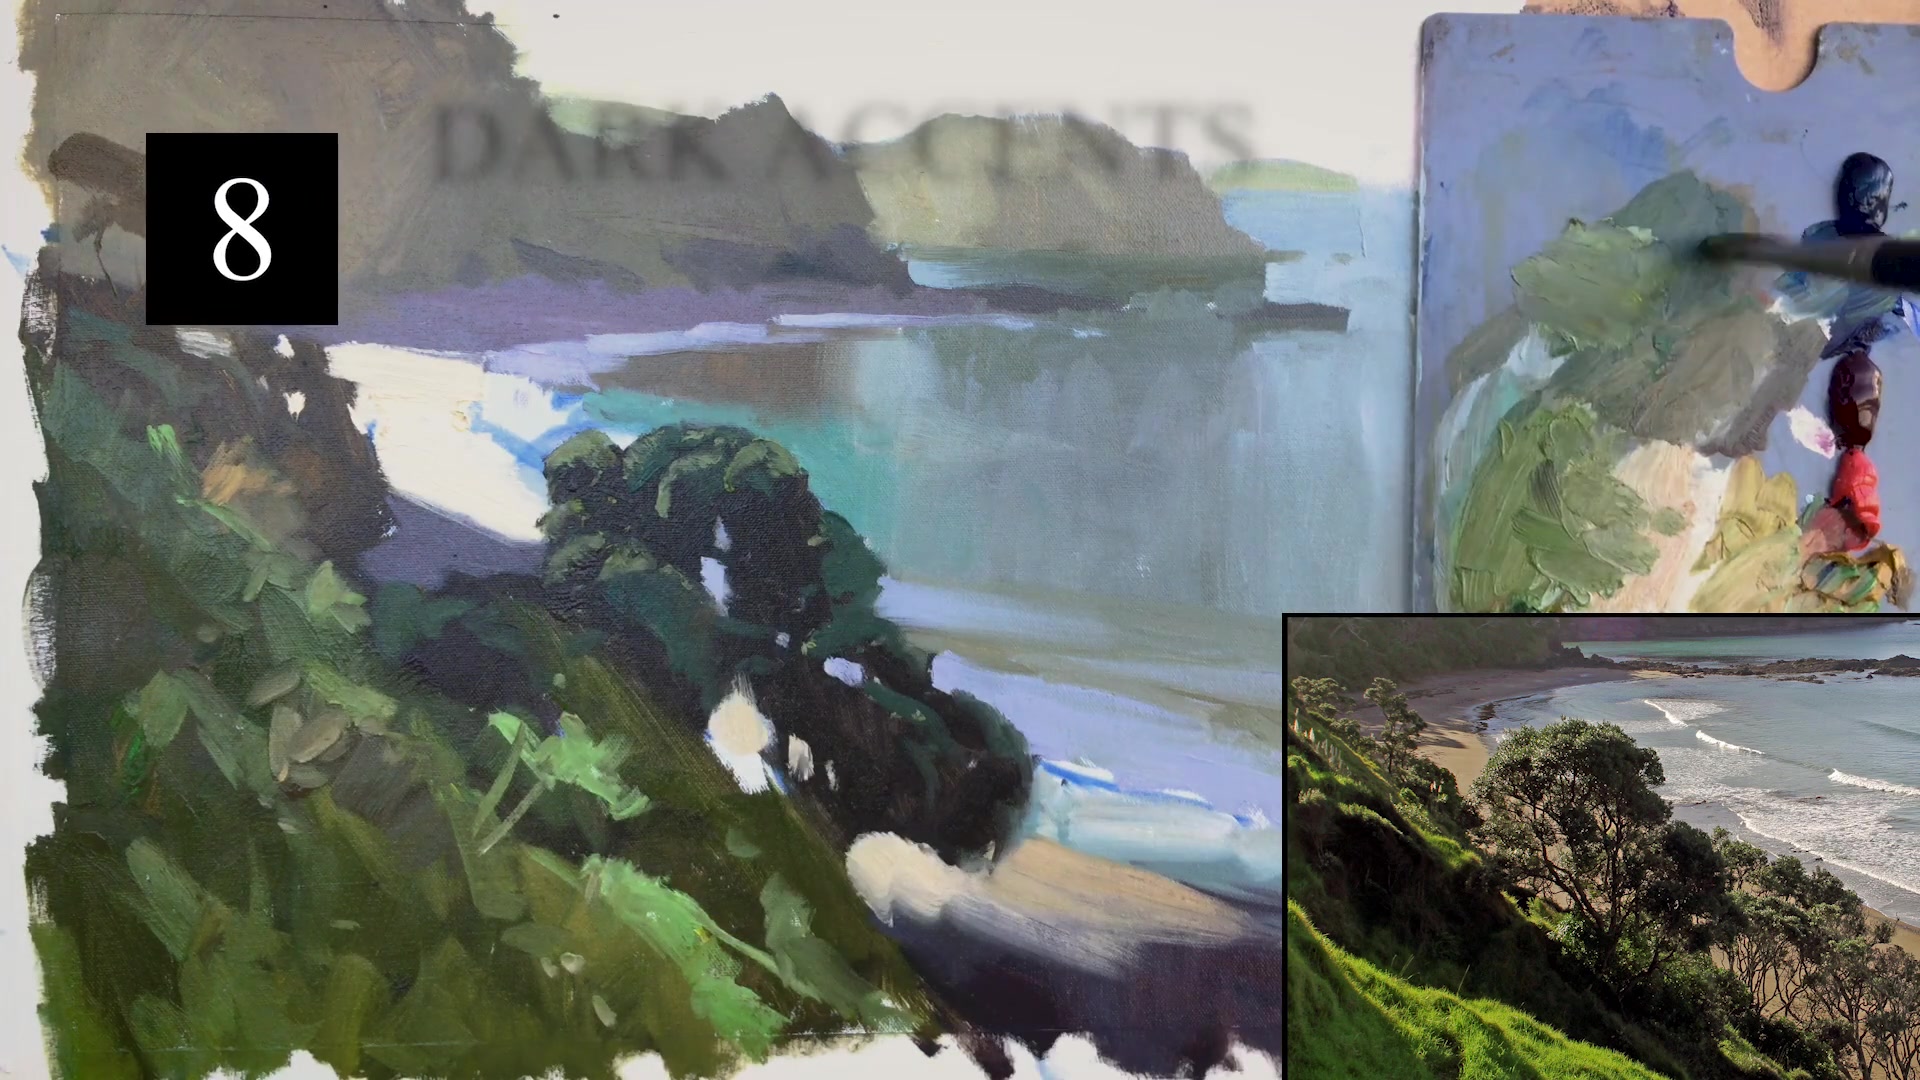
Use a dark green brush to work in the foreground area. Add more dark accents to connect the area better. These dark strokes should be calligraphic to add depth.
Add Details with Care
Use a small brush to intimate a few details, but be cautious not to drag light into dark areas. Clean the brush between strokes to maintain clarity.
Paint Tree Branches
Add light touches to some branches of the Pahutakawa trees. Ensure the holes through the trees do not form a pattern by varying their sizes and shapes.
Pro tipWhen painting holes through trees, vary their sizes and shapes to avoid creating a pattern.
Embark on your painting journey by preparing your canvas meticulously. Sand the surface lightly to improve paint adherence and secure it tightly to a board. Set up your palette with your chosen colors and mediums, ensuring you have walnut oil and Gamsol ready for smooth application and initial sketching. With your large brushes in hand, focus on the big elements of the scene, using techniques to accurately capture angles and shapes.
As you progress, block in the darks with energetic strokes, creating variation and depth by mixing colors directly on the canvas. Paint the hill and background with gestural strokes, maintaining a natural light effect with close values. Transition smoothly into painting the water, using vertical and horizontal strokes to depict reflections and the flat surface. Add foam and reflections with a dry brush for soft edges and realism.
Finish your painting by adding details and highlights, using varied brushwork to enhance realism and character. Incorporate blossoms and final touches to bring your scene to life, and don't forget to sign your work. Reflect on your painting, considering the personal meaning of your subject to ensure a heartfelt and beautiful result.
Points to remember
Lightly sand the canvas to improve paint adherence.
Use walnut oil to help your paints flow better on the canvas.
Use different brushes for dark and light colors to minimize cleaning time.
Use your brush to transfer angles from the scene to your canvas by keeping it perpendicular and rotating your body.
Mix colors slightly on the canvas to achieve interesting brushwork and suggest detail.
Keep the values close to achieve a natural light effect across the background.
Use vertical strokes to depict reflections and horizontal strokes for the flat surface of the water.
Use varied brushwork to give each clump of foliage a unique character, enhancing the tree's realism.