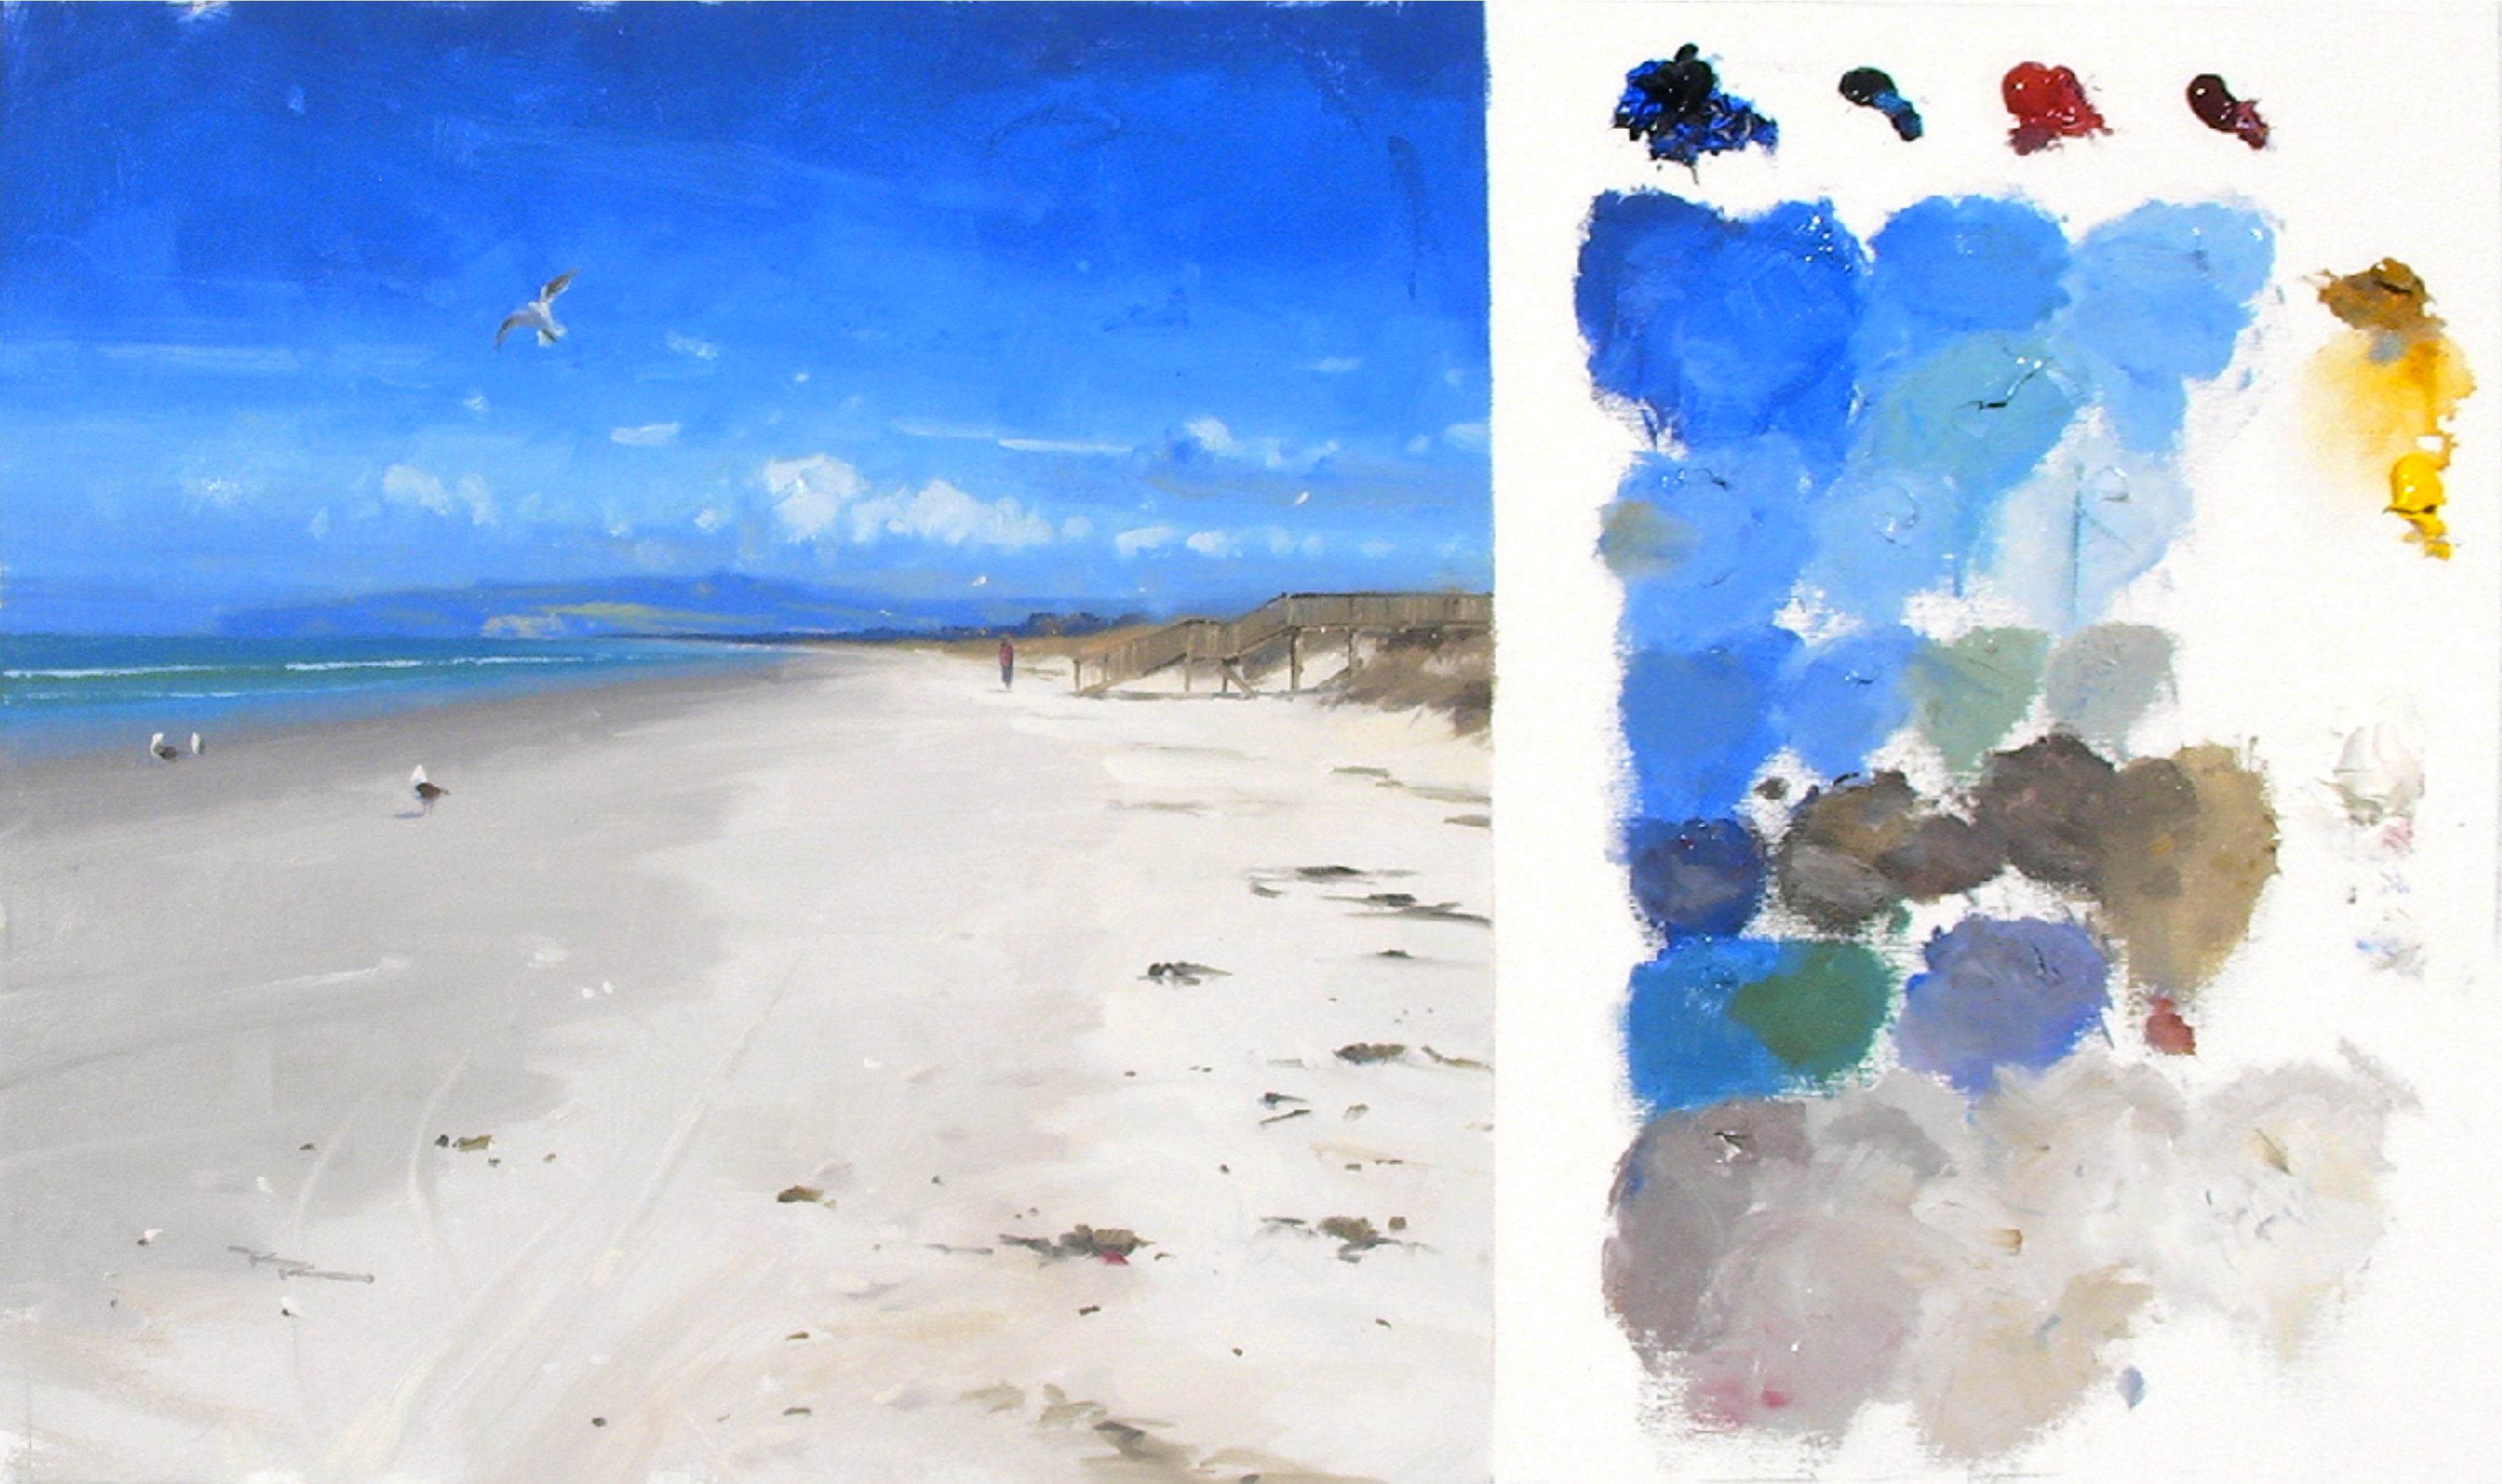
Join me as we embark on a creative journey at Ruakaka Beach, a stunning stretch of coastline in Northland, New Zealand. In this chapter, we'll explore the art of capturing the serene beauty of a simple beach scene. You'll learn how to thoughtfully compose your painting by deciding which elements to include, focusing on the vast expanse of the beach and the dynamic sky above. Using a square canvas, we'll balance these elements to create a harmonious composition. By positioning the horizon line just above halfway, we give prominence to the beach, allowing its tranquil essence to shine through. This scene offers a rewarding subject, inviting us to immerse ourselves in the soothing interplay of land, sea, and sky. Over the course of this lesson, compressed into an intense 30-minute session, you'll gain valuable insights into painting techniques that bring this coastal landscape to life. Whether you're a seasoned painter or just starting out, this chapter promises to enrich your artistic skills and deepen your appreciation for the natural world.
This guide accompanies the full video lesson. The lesson includes the complete narrated video, the printable PDF chapter, and personalised critique support.
Avoid making seaweed clumps too uniform in size and shape. If they start to look too patterned, scrape some out to maintain a natural appearance. Use varied brush strokes to create an organic look.
Add Depth to Seaweed
Lighten the color of the seaweed as it recedes down the beach. This helps create a sense of depth and distance, making the scene more realistic.
Enhance Three-Dimensionality
Apply a slightly lighter value on top of the seaweed to give it a three-dimensional effect. This adds depth and texture to the painting.
Create Texture in Sand
Include dark and light sides for tire tracks and footprints in the sand. This adds three-dimensionality and breaks up the uniformity of the sand, enhancing the overall texture.
Pro tipIf seaweed looks too patterned, scrape it off and repaint the sand to maintain a natural look.
Embark on your Ruakaka Beach painting by thoughtfully planning your composition and considering the balance between the vast beach and the expansive sky. Use a square canvas to give prominence to the beach, positioning the horizon line slightly above halfway. As you progress, employ artistic license to enhance contrast, darkening the sky to make the beach appear brighter and more inviting.
Simplify your scene by analyzing it with blurred vision, focusing on major colors, values, and shapes. This technique will help you capture the essence of the landscape without getting lost in details. Prepare your palette with a strategic mix of warm and cool primary colors, ensuring you have all the necessary hues ready before you start painting. Use a value scale to achieve accurate color values, adjusting as needed to reflect the dynamic interplay of light and shadow.
As you add layers to your painting, begin with the sky and clouds, using varied brushwork to create texture and depth. Gradually build up the landscape, from distant hills to the sparkling sea and sandy beach, ensuring each element is in harmony with the others. Pay attention to details like waves, seagulls, and seaweed, using techniques like palette knife lines and varied brush strokes to add realism and interest. Finally, add highlights and finishing touches with thick paint to capture the light, bringing your beach scene to life.
Points to remember
Position the horizon line slightly above halfway to emphasize the beach.
Darken the sky to create contrast and make the beach appear brighter.
Use blurred vision to focus on major colors, values, and shapes.
Mix all your colors before starting to paint to maintain focus and flow.
Use a value scale tool to accurately judge and adjust color values.
Start with the darkest color and adjust by adding white for correct value.
Prime your canvas with a mid-tone for accurate color perception.
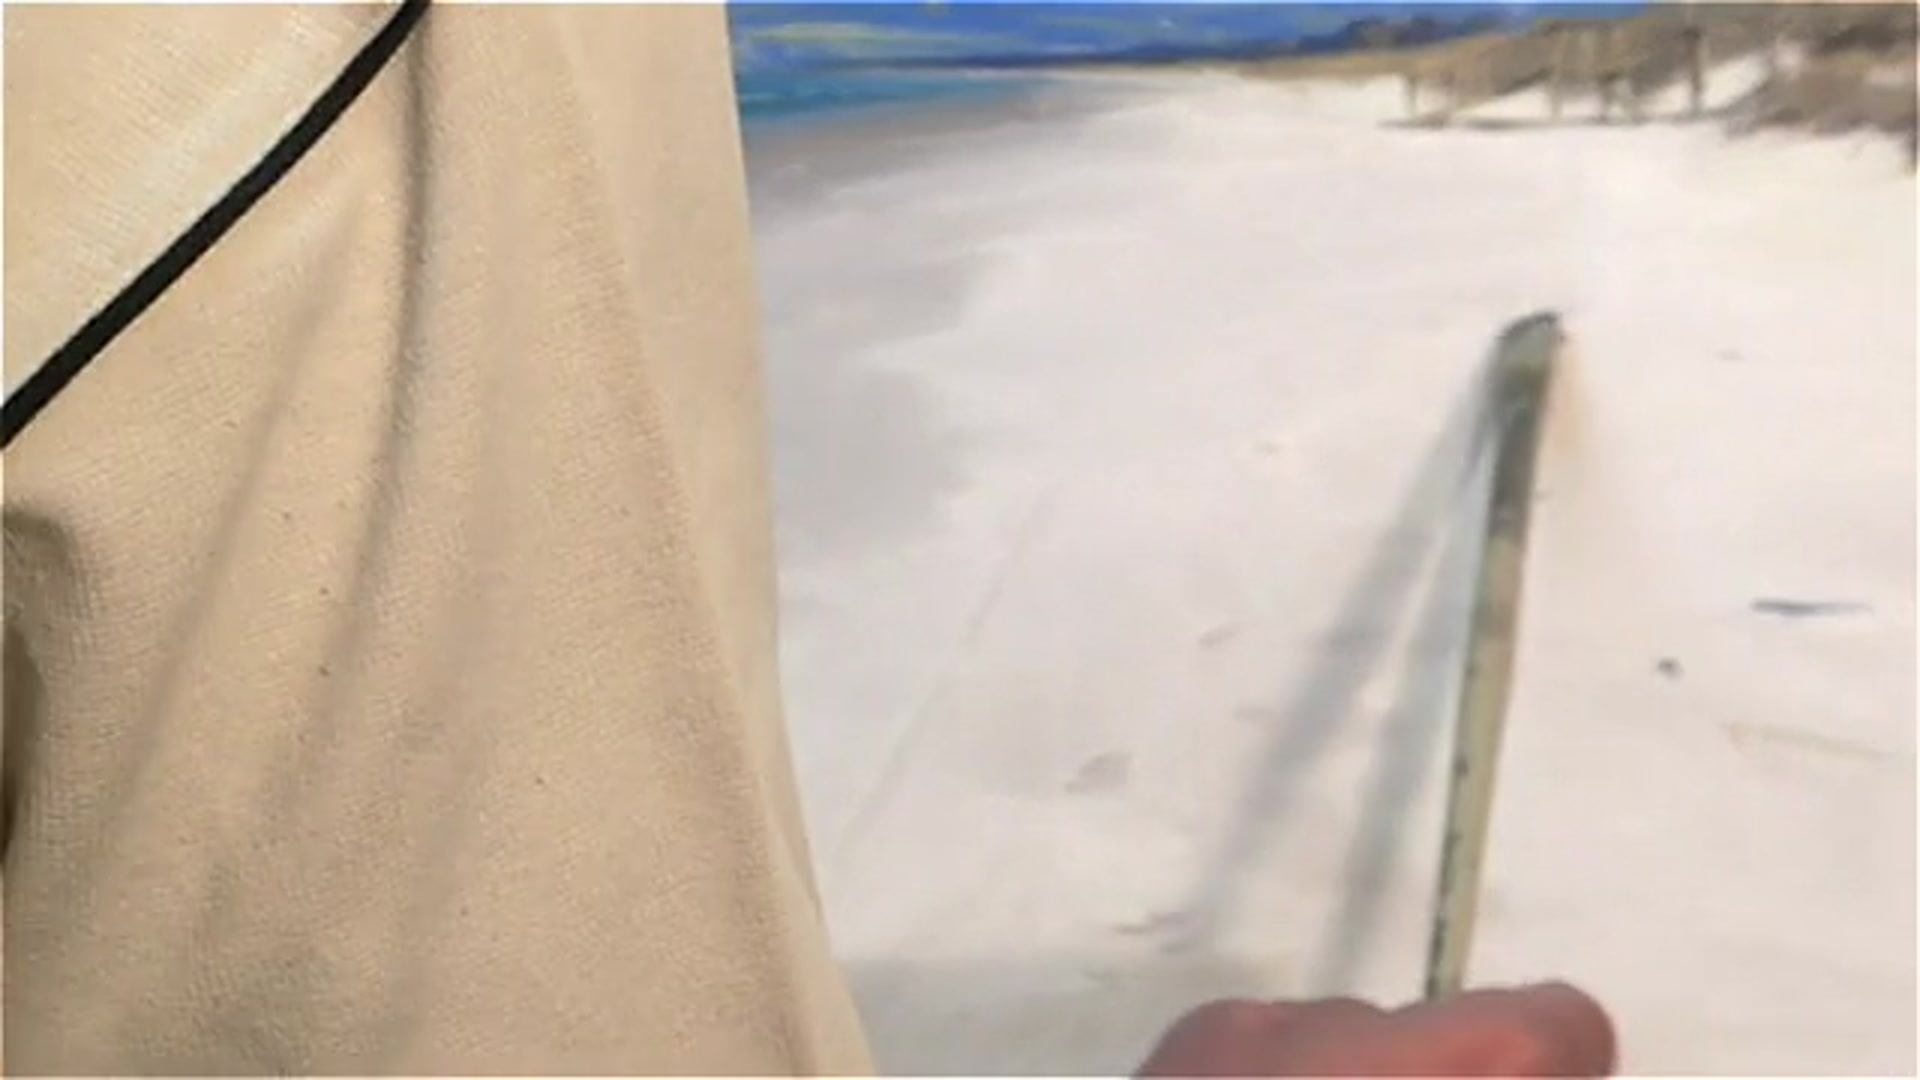
Use the edge of your palette knife for delicate details like waves and seagulls.