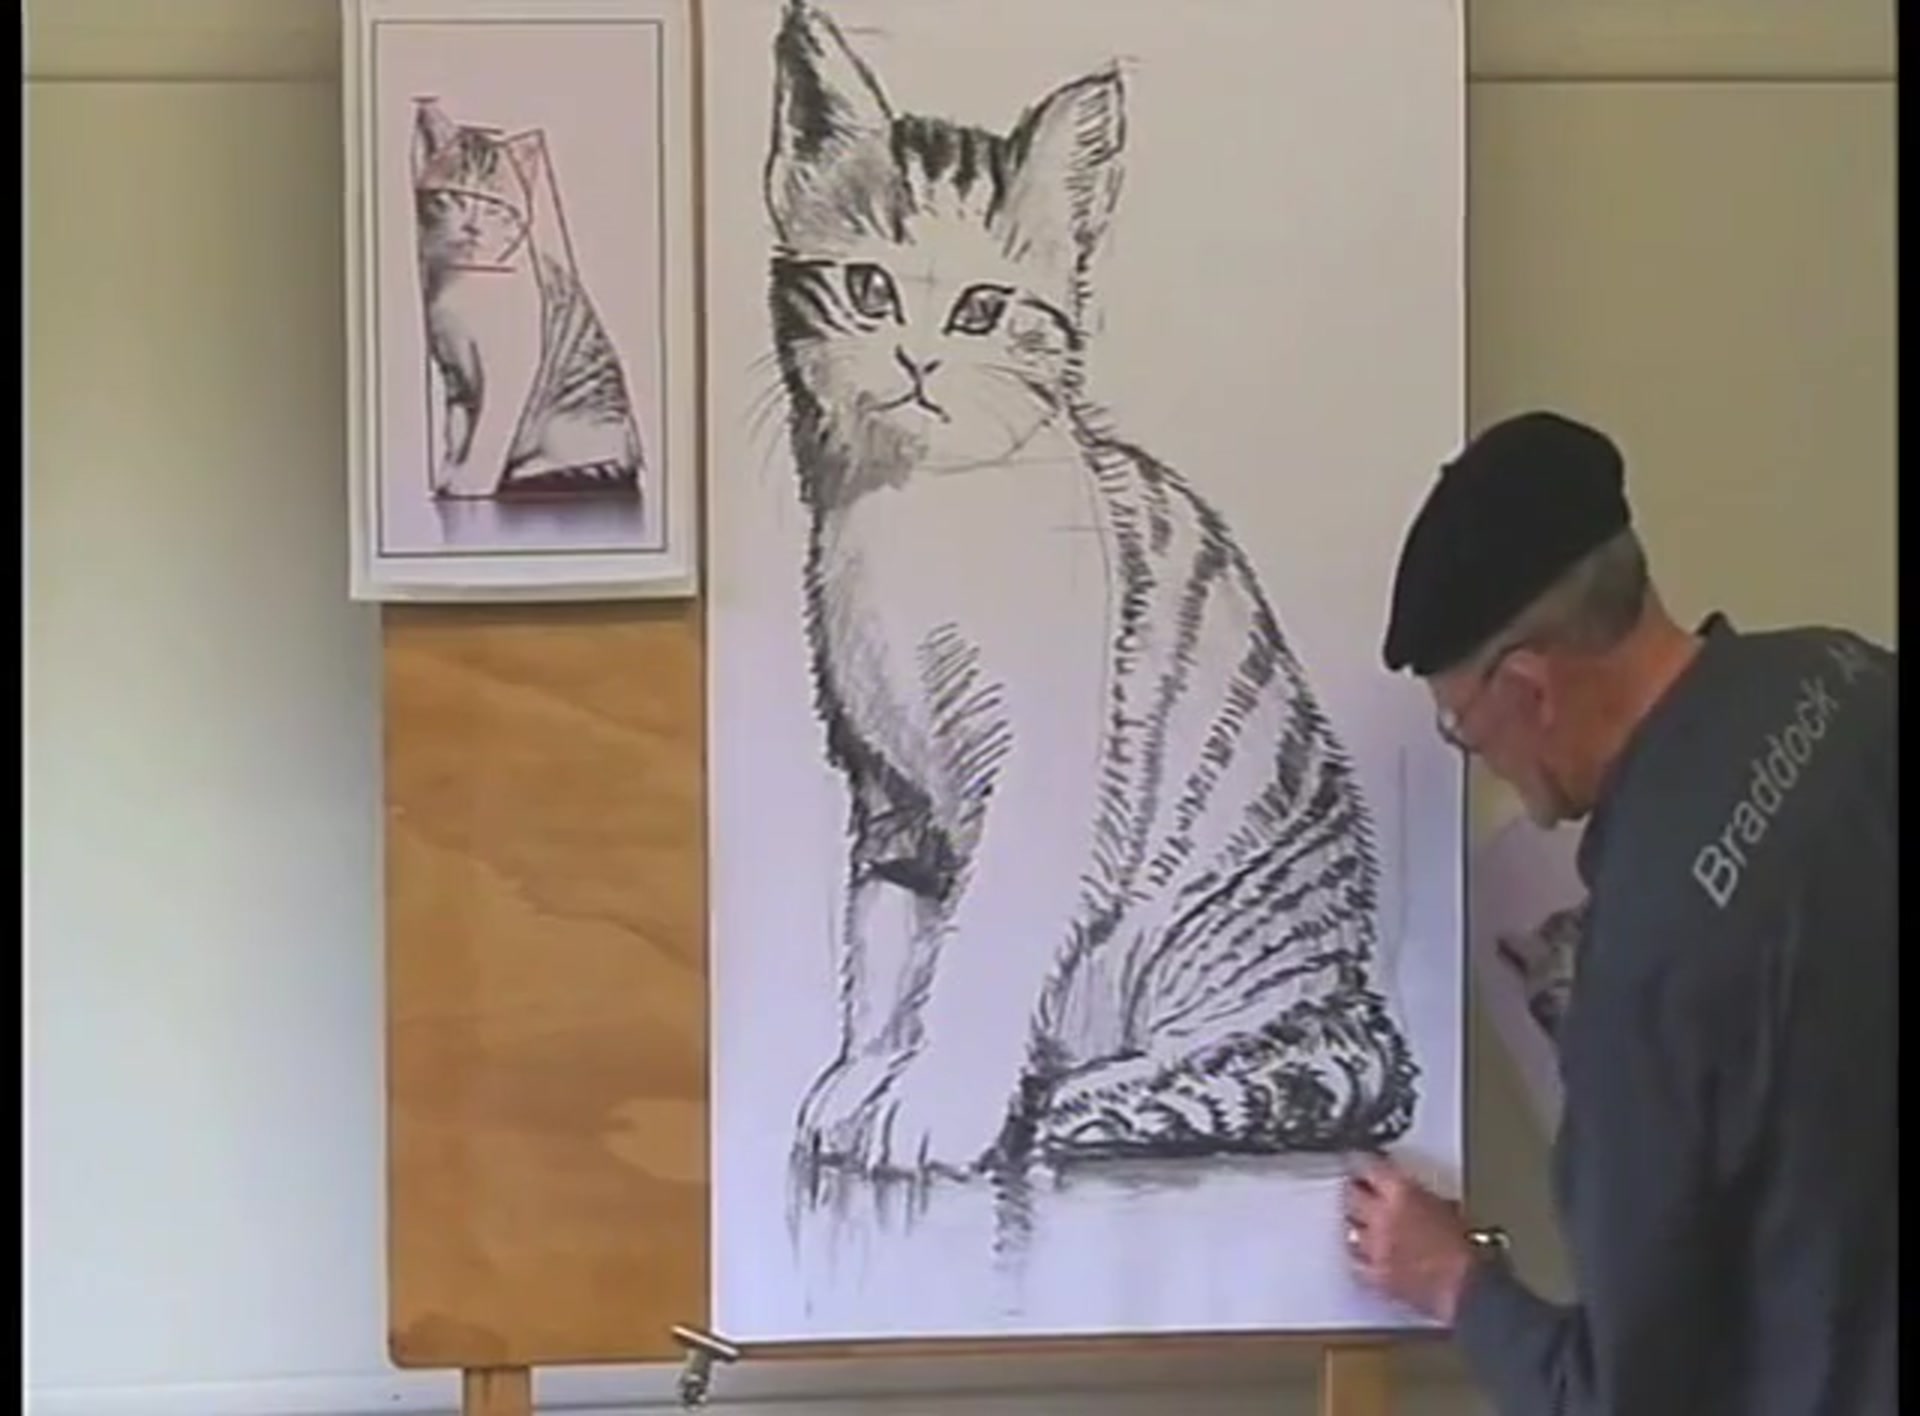
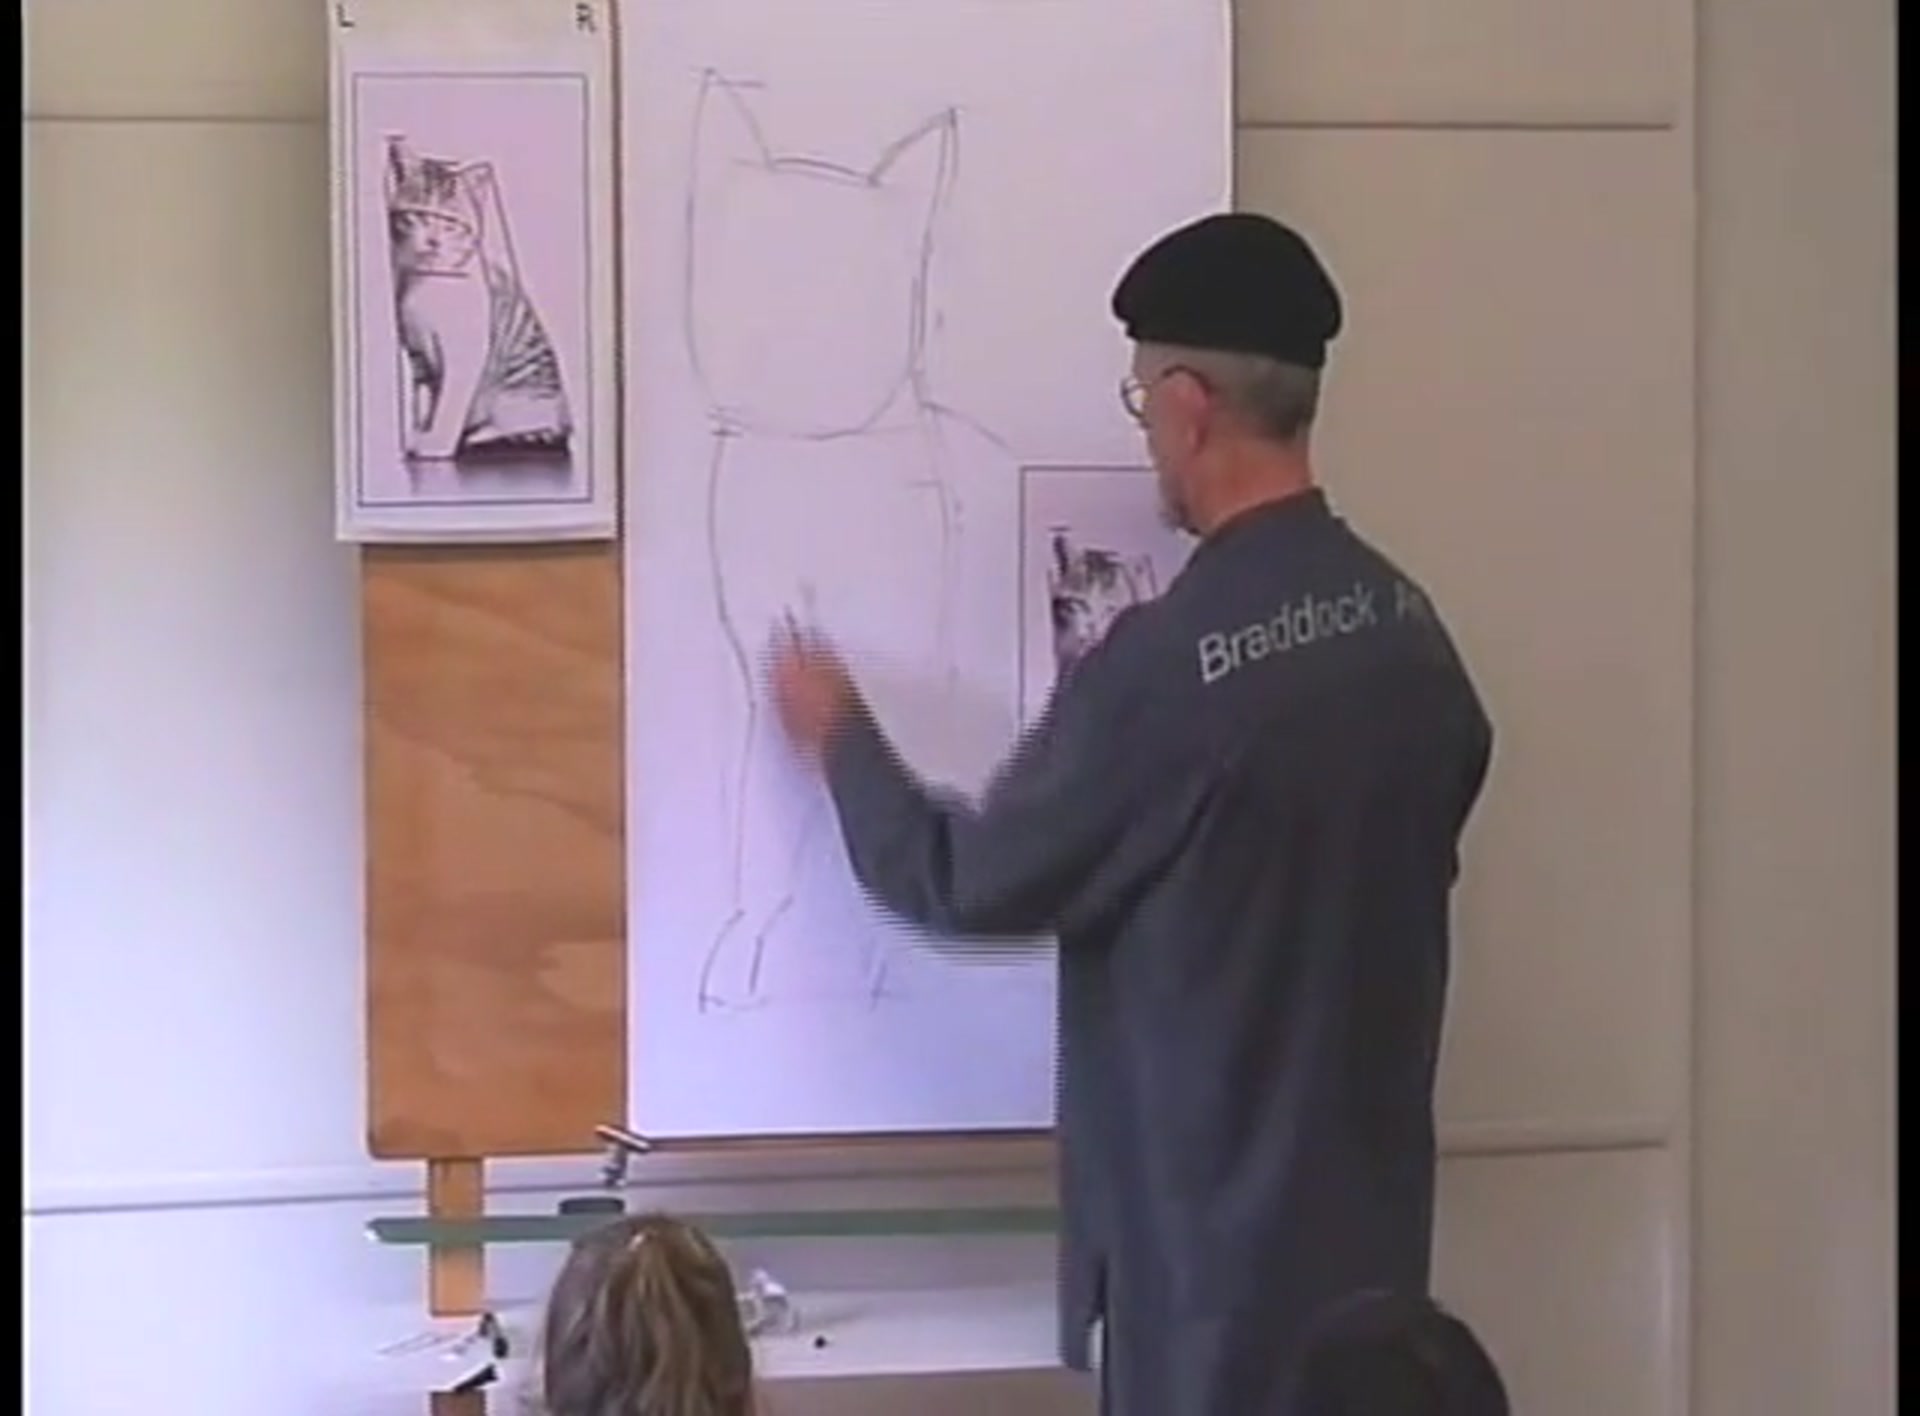
In this chapter, I invite you to explore the joy of drawing with the children in your life through a step-by-step workshop designed by the talented Graham Braddock. As we embark on this artistic journey, we'll start by drawing a small square in the middle of your page. This simple step is crucial as it helps us find the center point for our drawing. By adding a light vertical line through the middle of the square, we establish the vertical alignment, and a light horizontal line provides the horizontal guide. These lines intersect at a small mark, which becomes the center of our subject, whether it's a playful kitten or another delightful figure. This approach not only aids in positioning the subject accurately but also builds a strong foundation for the entire drawing. I believe that by mastering these fundamentals, you'll unlock a rewarding creative process that brings immense satisfaction and joy, both for you and the young artists you inspire.
This guide accompanies the full video lesson. The lesson includes the complete narrated video, the printable PDF chapter, and personalised critique support.
Draw a line just above the middle of the face to mark the top of the eyes. Add a line down through the center of the head, angling it slightly to match the tilt of the head. Keep these lines light to avoid pressing too hard.
Position the Facial Features
Draw a line across the face parallel to the ears, top of the head, and chin. This line will guide the placement of the eyes, which should be just above the middle.
Draw the Nose
Place a small line for the nose in the center between the eyes. Ensure it is not too far to either side. Add two small nostrils pointing inward towards the mouth.
Shape the Eyes
Draw the eyes more than the width of one eye apart, pointing down towards the nose. Make them quite large for an appealing look. Ensure the outside and inside slopes of the eyes match, with the top of the eye remaining flat.
Complete the Mouth
Draw a small line from the nose downwards, then sketch the mouth extending outwards on both sides. This will complete the facial features of your kitten.
Pro tipKeep your lines light and gentle to easily adjust the features as needed.
Embark on your drawing journey by setting up a structured framework on your page. Begin with a small square to find the center, and use light vertical and horizontal lines to guide your drawing's alignment. This foundational step ensures your subject, like a kitten, is positioned accurately and proportionately.
As you move forward, focus on capturing the kitten's overall body shape and proportions. Use the head height as a unit of measurement to maintain accurate proportions, and sketch the body, head, and ears with attention to their angles and shapes. Lightly draw the kitten's features, ensuring the head is circular and the ears are slightly wider than the head.
Bring your drawing to life by adding texture and details. Use small, furry lines to create the appearance of fur, and vary the pressure of your pencil to distinguish between light and dark areas. Add shadows and reflections to enhance depth and realism, and don't forget to include sparkles in the eyes for a lively touch. With these techniques, your drawing will capture the essence of the kitten in a dynamic and engaging way.
Points to remember
Use light lines to divide the page for easy adjustments.
Position elements using your fingers as a guide.
Capture the overall shape of the body to guide the drawing.
Use head height as a unit to gauge proportions.
Ensure the top of the ears follows the reference line angle.
Keep lines light for easy adjustments of features.
Press harder for darker fur areas to create shadows.
Use the side of the pencil for soft shadows and the point for details.