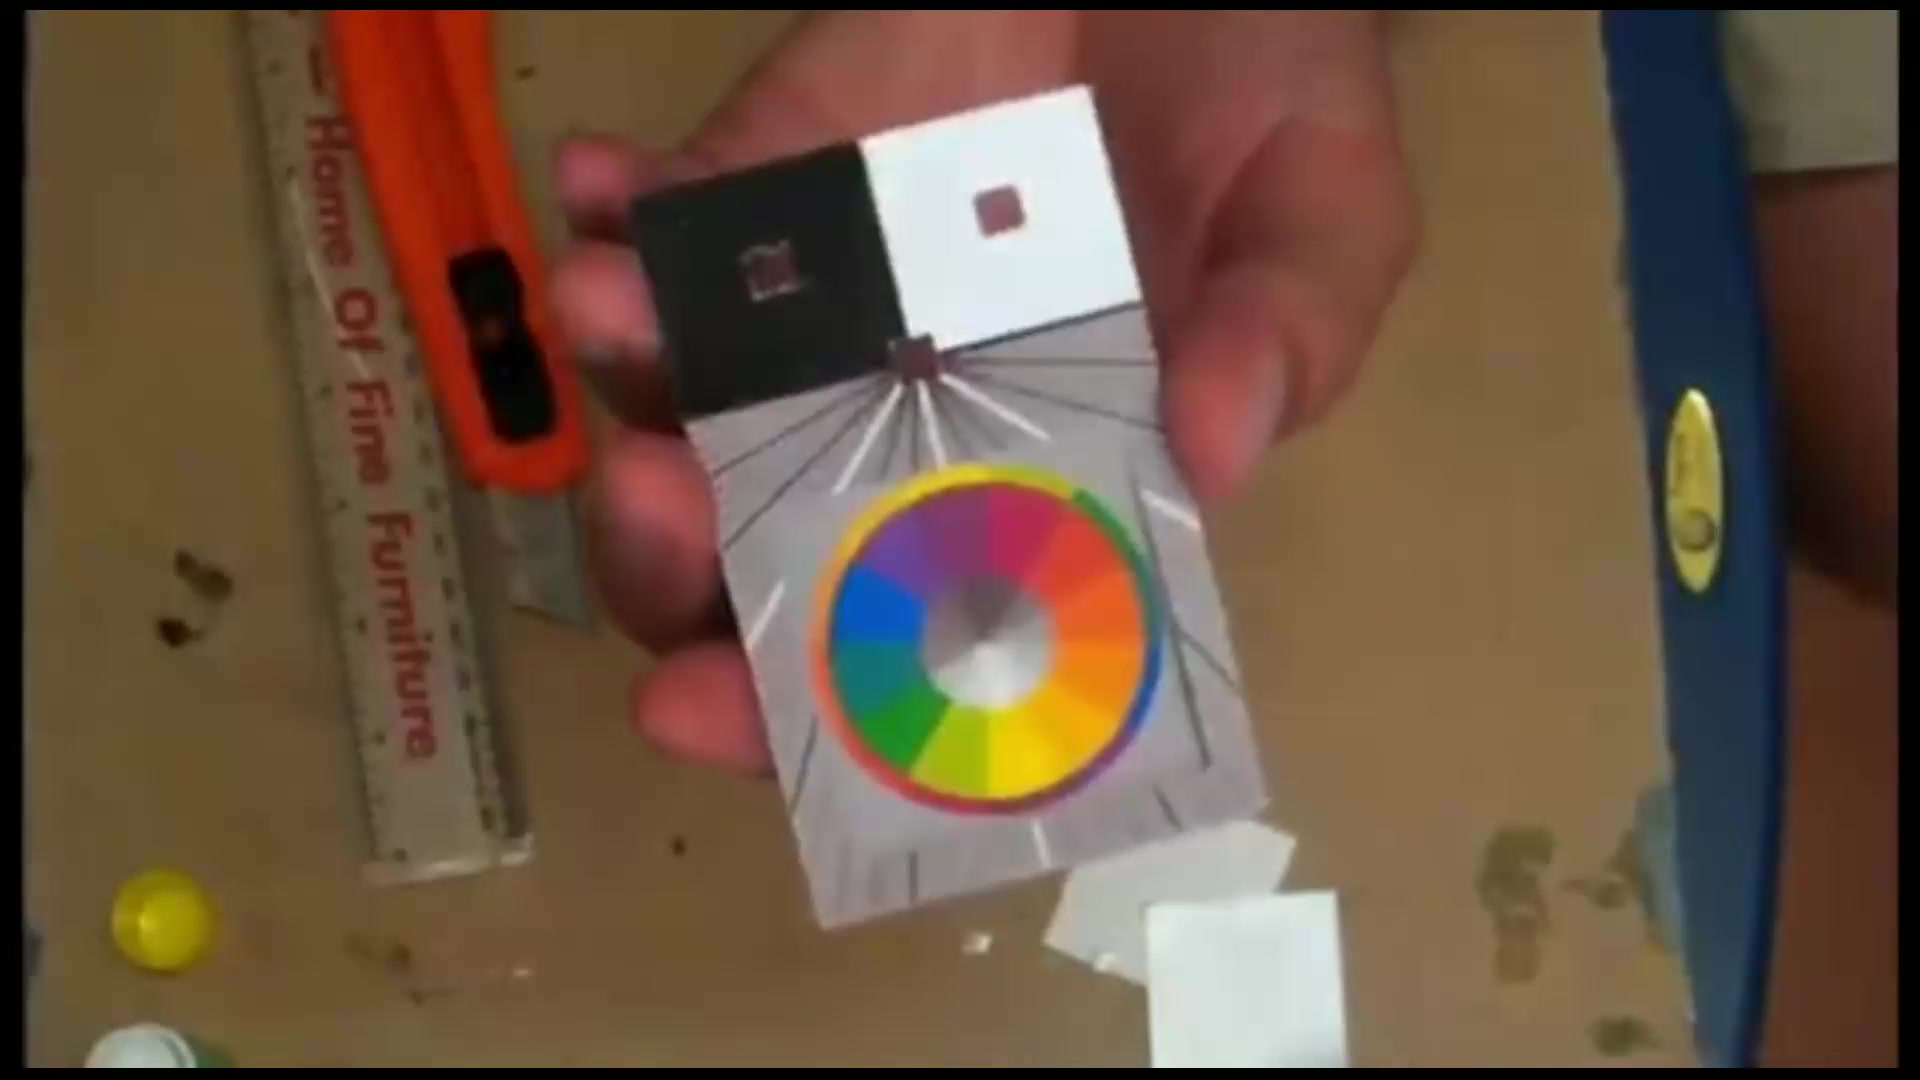
In this chapter, I introduce you to the ultimate artist tool, a compact yet powerful companion designed to elevate your painting practice. This tool combines a multitude of functions into one portable design, making it an indispensable asset for any painter. As you work through this lesson, you'll learn how to effectively use a viewfinder to discover compositions that truly capture the essence of your subject. Whether you're working in landscape or portrait mode, this tool allows for seamless adjustments, even accommodating square canvases without hassle. Keep a credit card-sized viewfinder in your wallet, and you'll be ready to practice art and create compositions wherever inspiration strikes. The built-in halfway and quarter-way lines are particularly useful for dividing your canvas, simplifying the process of transferring your drawing. By the end of this chapter, you'll see how integrating this tool into your practice can take the guesswork out of painting, helping you achieve better results with ease and precision. Let's dive into the studio and explore the endless possibilities this tool offers.
This guide accompanies the full video lesson. The lesson includes the complete narrated video, the printable PDF chapter, and personalised critique support.
"The Ultimate Painter’s Tool" by Richard Robinson.
Step 12Final Touches and Reusability
Adjust Your Grip
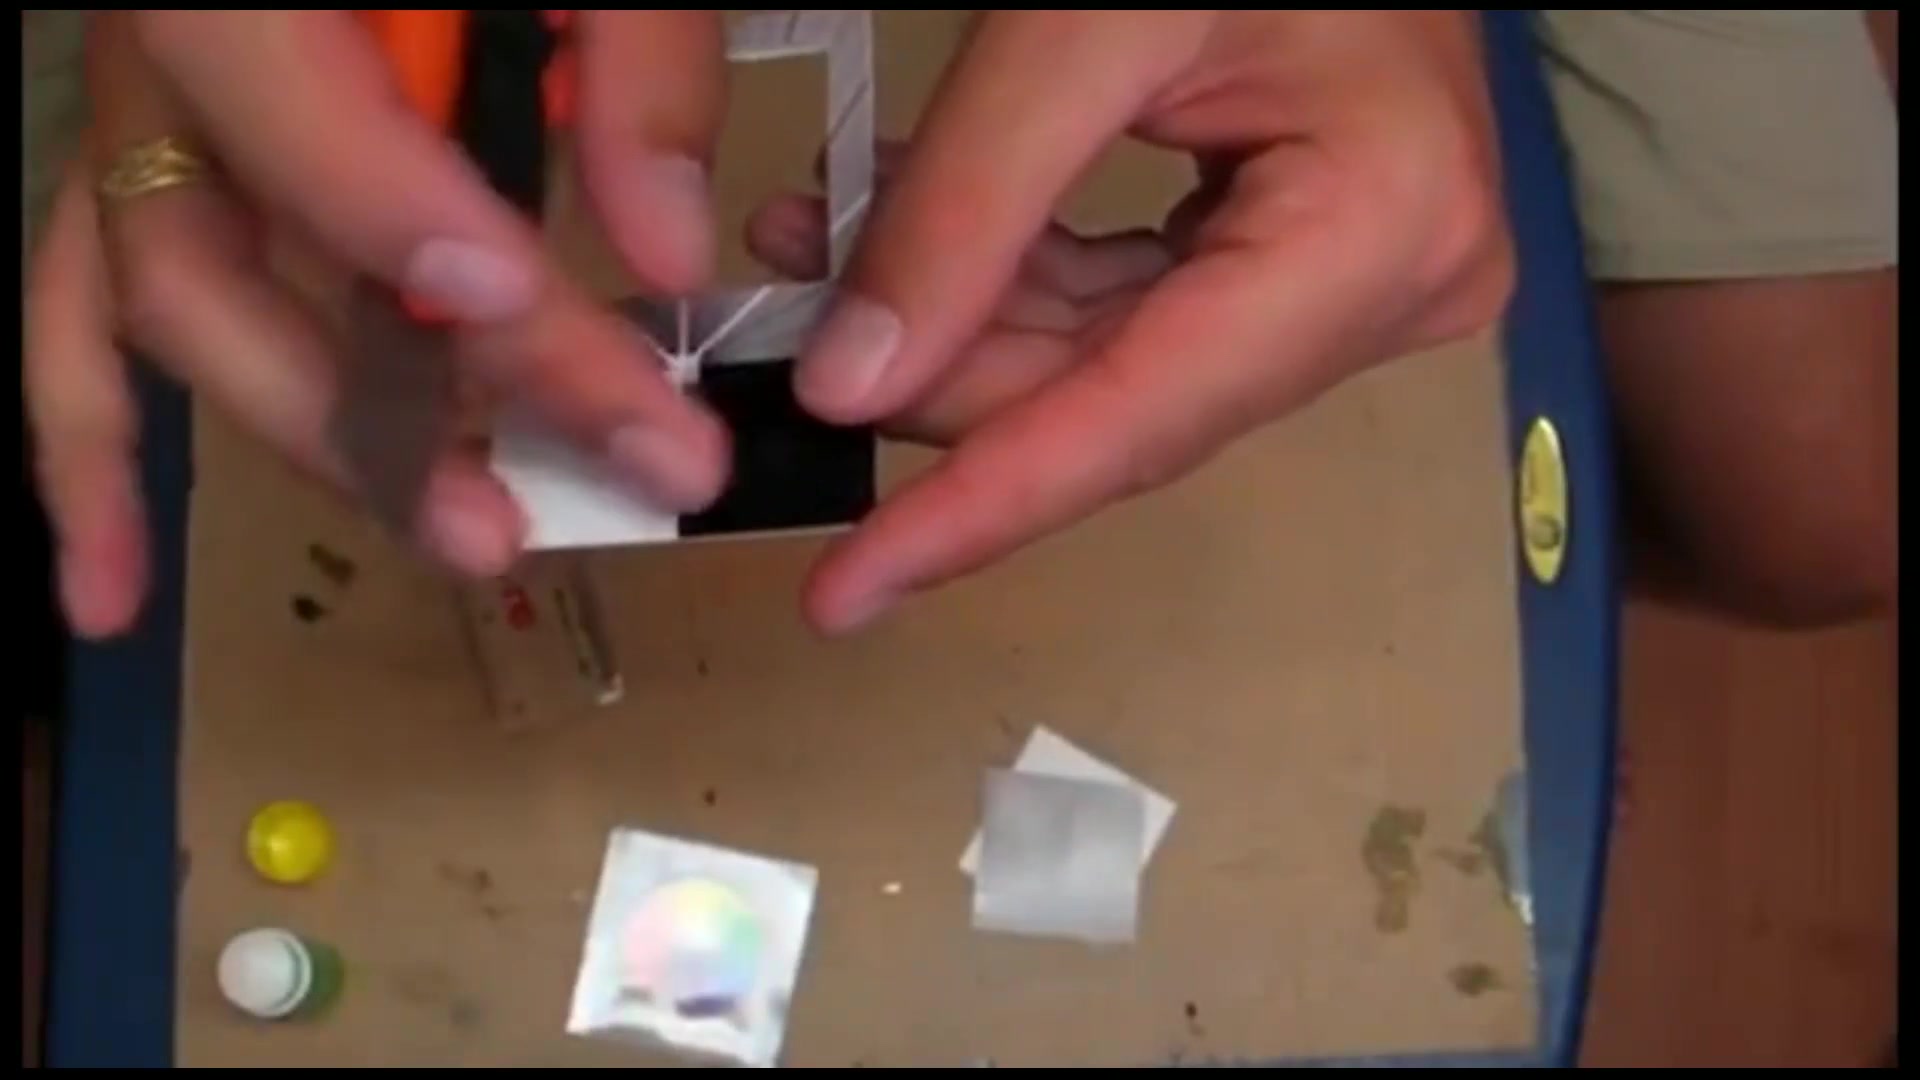
Change your grip to have more control when cutting the small squares. This adjustment will help you make precise cuts and achieve cleaner edges.
Align for Accurate Angles
Use the edge of a ruler to line up with the edge of your tool. This will help you find the correct straight angle for cutting the sides of the squares accurately.
Trim and Finish
Use a knife to fix any small areas by pushing bits into the corners. Trim the top white area if necessary to ensure a clean finish.
Reusability
If the tool wears out or becomes messy, simply print another copy from your computer file. It only takes ten minutes to recreate, ensuring you always have a fresh tool ready.
Pro tipUse the edge of a ruler to help find the correct angle for cutting straight lines.
Embark on your painting journey by mastering composition with the use of a viewfinder. This tool will help you frame your subject effectively, whether you're working with a landscape or portrait orientation. Utilize the golden ratio to enhance the aesthetic appeal of your composition, and employ precise measurements to ensure accuracy. These foundational steps will set the stage for a successful painting.
As you progress, focus on drawing and triangulation techniques to accurately position elements within your composition. Be mindful of common mistakes, such as exaggerating angles, and use tools to maintain precision. Understanding value scales and color relationships will further refine your work, allowing you to balance darks, mediums, and lights effectively.
Finally, prepare your materials and tools with care. From printing and cutting to folding and assembly, each step requires attention to detail to ensure your tools are ready for use. Remember, precision in preparation will translate to precision in your painting. With these techniques, you'll be equipped to create beautiful, balanced artwork every time.
Points to remember
Keep a credit card-sized viewfinder in your wallet to practice art anywhere.
Incorporate the golden ratio to enhance the beauty of your compositions.
Use triangulation to accurately determine the position of elements in your drawing.
Use a tool to accurately measure angles to prevent exaggeration.
Always compare values by matching darks with darks, mediums with mediums, and lights with lights.
Use 190 GSM glossy photo paper for best results, but matte paper is also an option.
Make several light cuts to prevent ripping the paper.
Lightly score the back of the paper to create a guide for a crisp fold without cutting through.