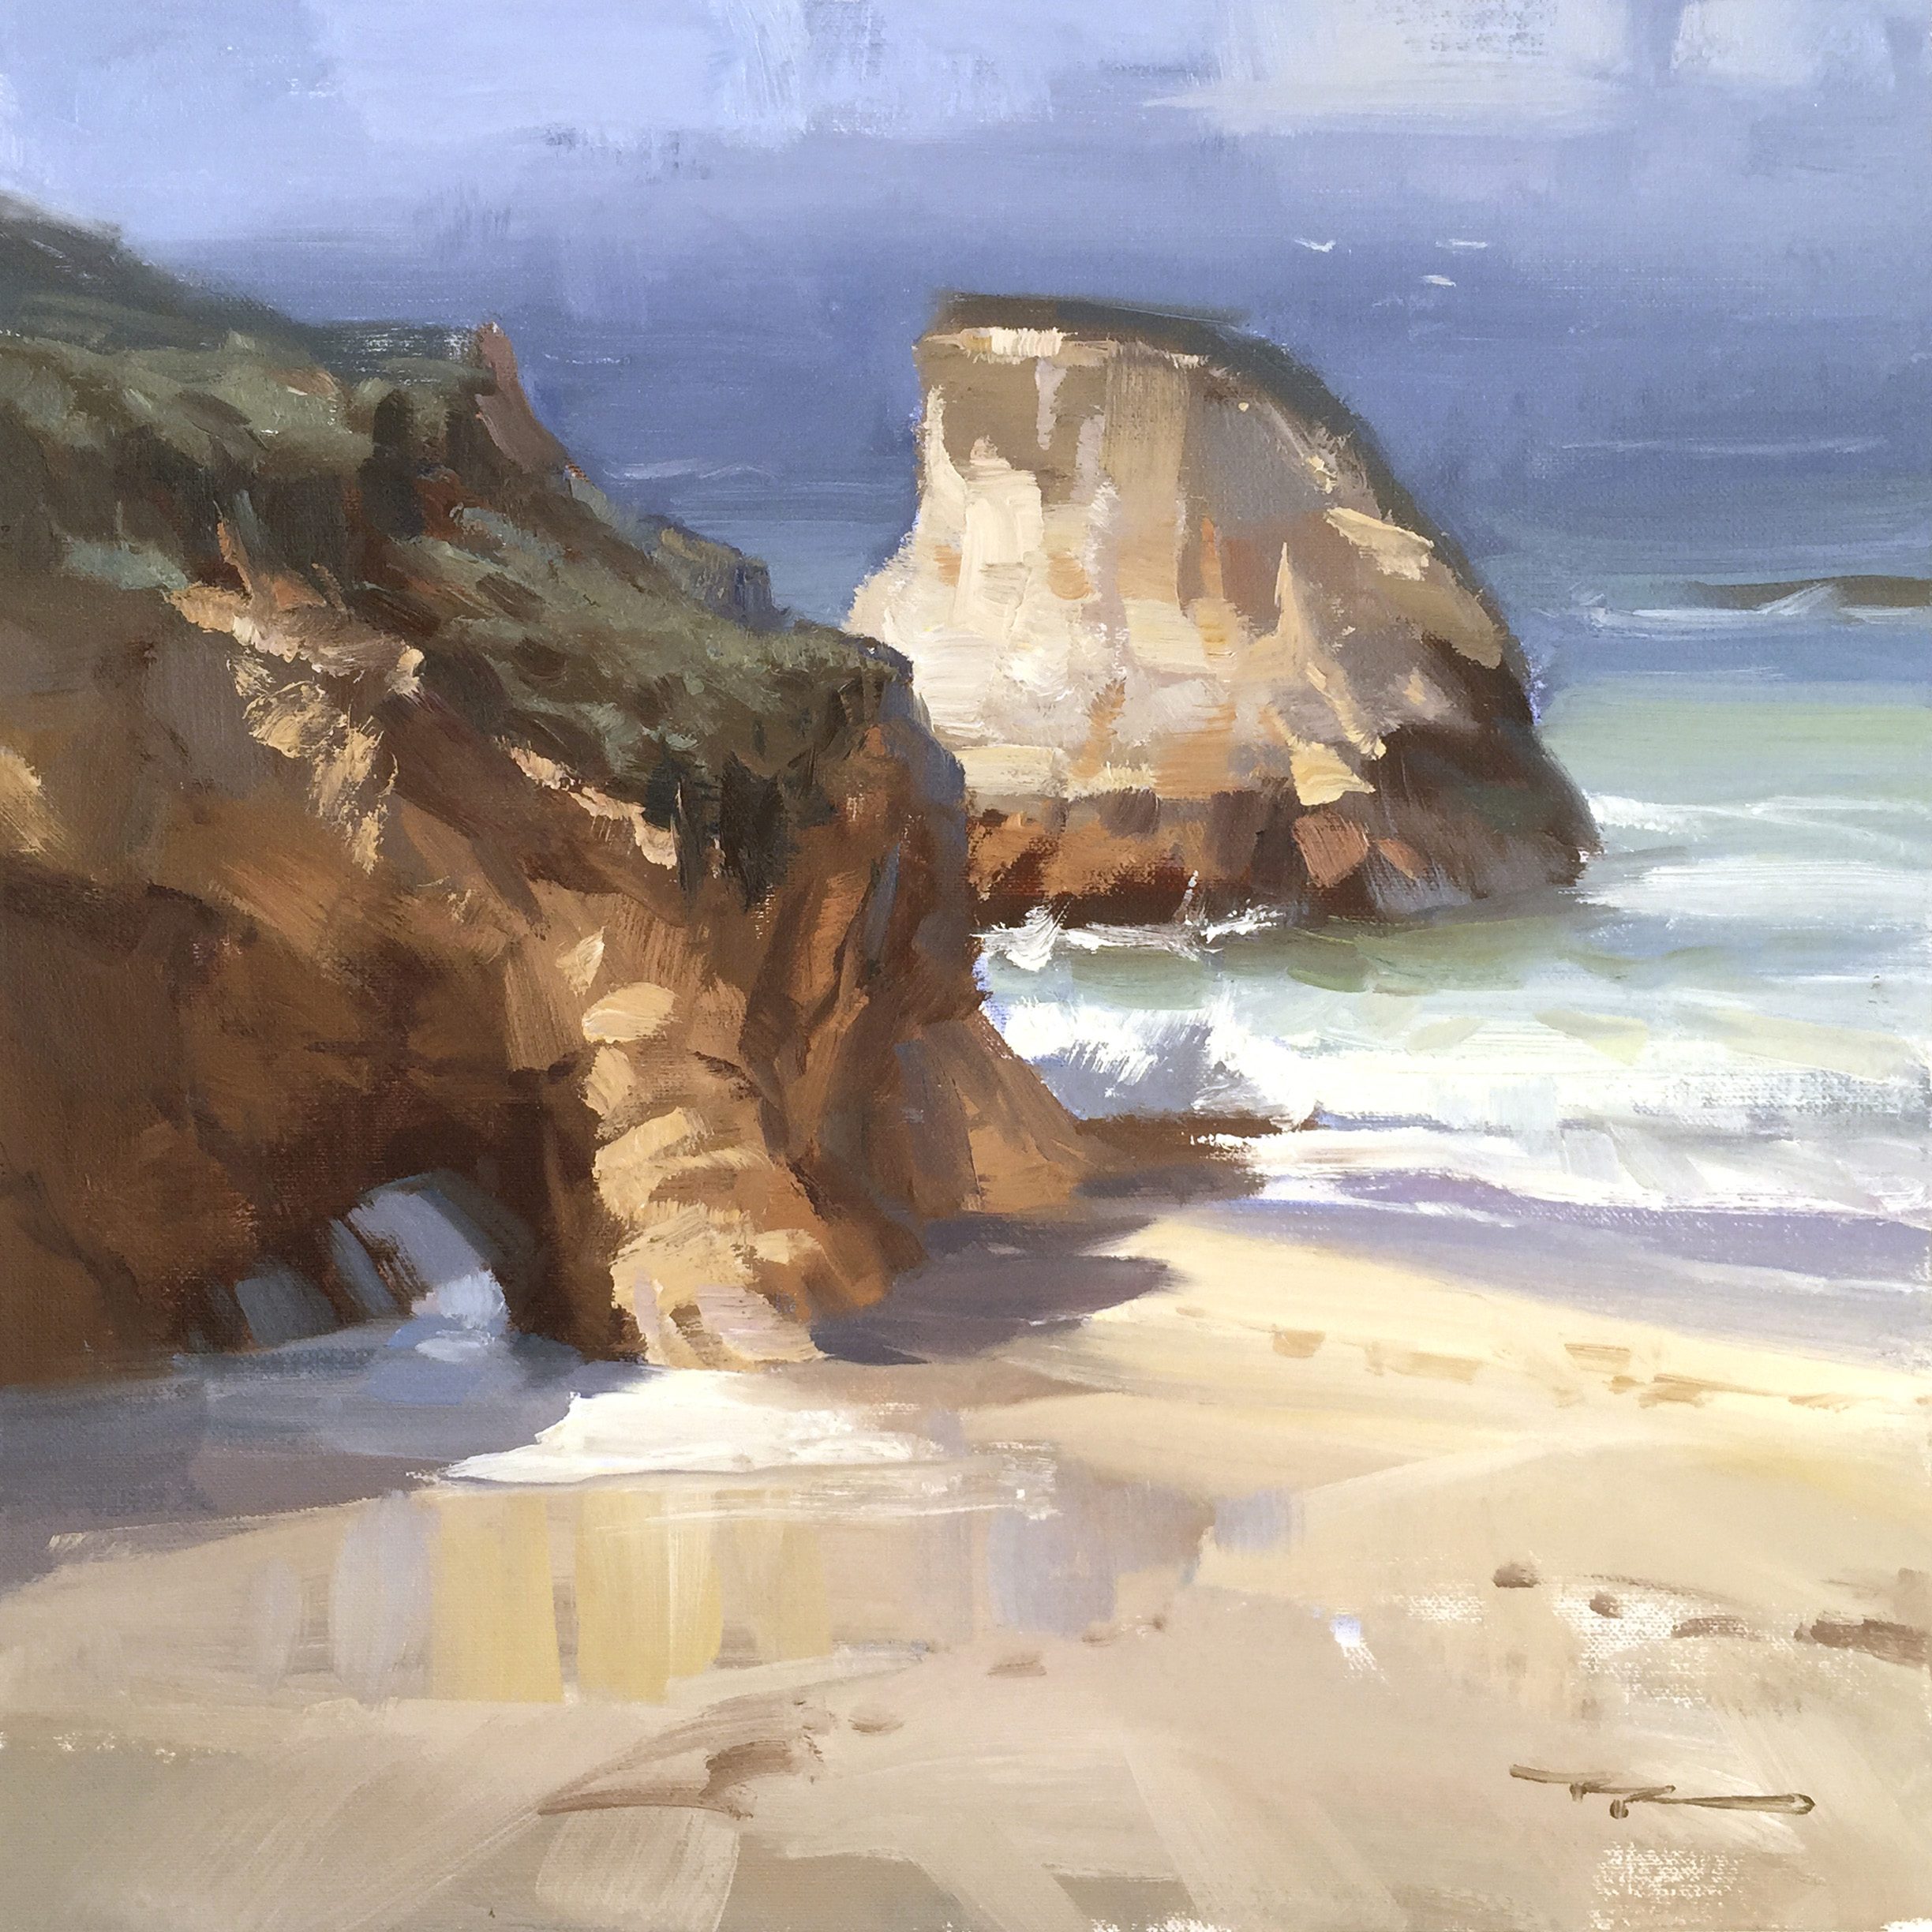
Welcome to the chapter on painting the breathtaking Shark Fin Cove, a stunning gem along the California coastline near Santa Cruz. I had the pleasure of painting there with a group of 30 enthusiastic students, alongside fellow artists John Crump and Scott Hamill. The day was perfect, and the experience was truly inspiring, which is why I'm excited to share this scene with you. In this lesson, you'll learn how to capture the grandeur of the towering cliffs and the dynamic energy of the ocean. We'll explore techniques for painting with bold, sweeping strokes, focusing on large color movements within the darks, and how to handle the expansive, blank beach without getting bogged down in unnecessary details. This scene offers a rewarding challenge that will enhance your ability to see and paint with confidence. So, let's dive in and see how we can bring this captivating coastal landscape to life on canvas.
This guide accompanies the full video lesson. The lesson includes the complete narrated video, the printable PDF chapter, and personalised critique support.
"Shark Fin Cove" 13 x 13" Oil on Canvas by Richard Robinson.
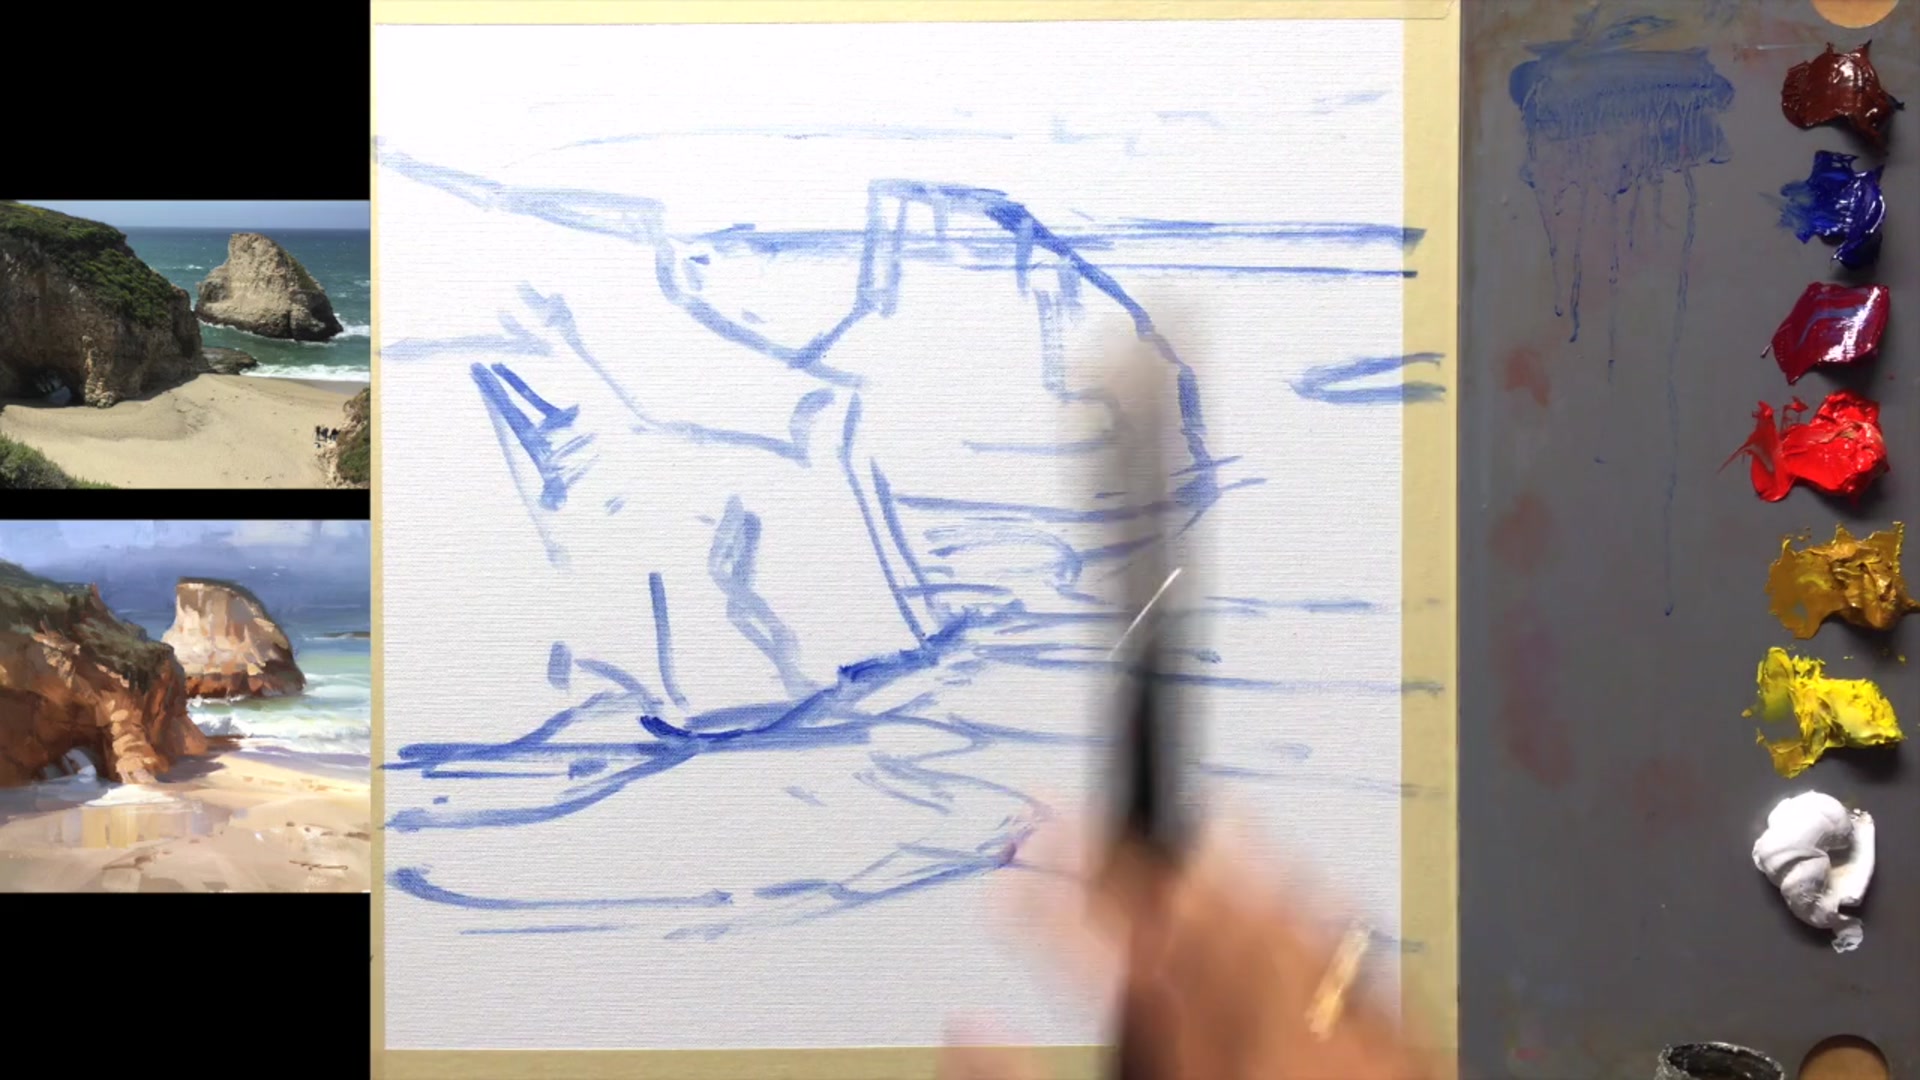
Step 3Dark to Light Technique
Begin with the Darks
Start by applying the dark colors using a thinner consistency. Use Gamsol to achieve this thinner application. This will allow the darks to sit back in the painting, creating depth.
Transition to Lights
Gradually move from dark to light colors. Apply the lighter colors with a thicker consistency. This will help the lights stand out and add dimension to the painting.
Pro tipApply dark colors thinly to create depth and allow for thicker light colors later.
Embark on your painting journey by preparing your canvas with a smooth surface, ensuring a clean slate for your creative expression. As you plan your composition, position the horizon line thoughtfully to enhance the visual clarity and interest of your scene. Begin your painting with the dark-to-light technique, laying down the darks first to establish depth and dimension, and gradually build up to the lighter tones.
As you progress, focus on capturing the dynamic interplay of light and shadow. Use warm and cool tones to create contrast and bring life to the shark fin and surrounding elements. Pay attention to the details in the shadows and foam, ensuring they add texture and movement to your painting. Incorporate greens and distant blues to suggest depth and distance, refining edges for a seamless transition.
In the final stages, enhance textures and add finishing touches to bring your painting to life. Use thick paint to create realistic textures on cliffs and subtle brushstrokes to suggest foam and ripples. Balance vibrant colors with natural tones to maintain harmony and depth. With each stroke, aim to capture the essence of Shark Fin Cove, creating a captivating and immersive scene.
Points to remember
Use a well-used 220 grit sandpaper for a smoother canvas finish.
Ensure main objects either clearly overlap or are distinctly separate from the horizon.
Apply dark colors thinly to create depth and allow for thicker light colors later.
Squint to see big color movements and maintain the integrity of shadows.
Paint the darks first to avoid muddiness when layering lighter colors.
Use a zigzag motion to blend edges and ensure a smooth, level horizon line.
Use thick paint to create texture on the cliff, enhancing its realism.
Avoid using dark accents in light areas to maintain the glowing light effect.