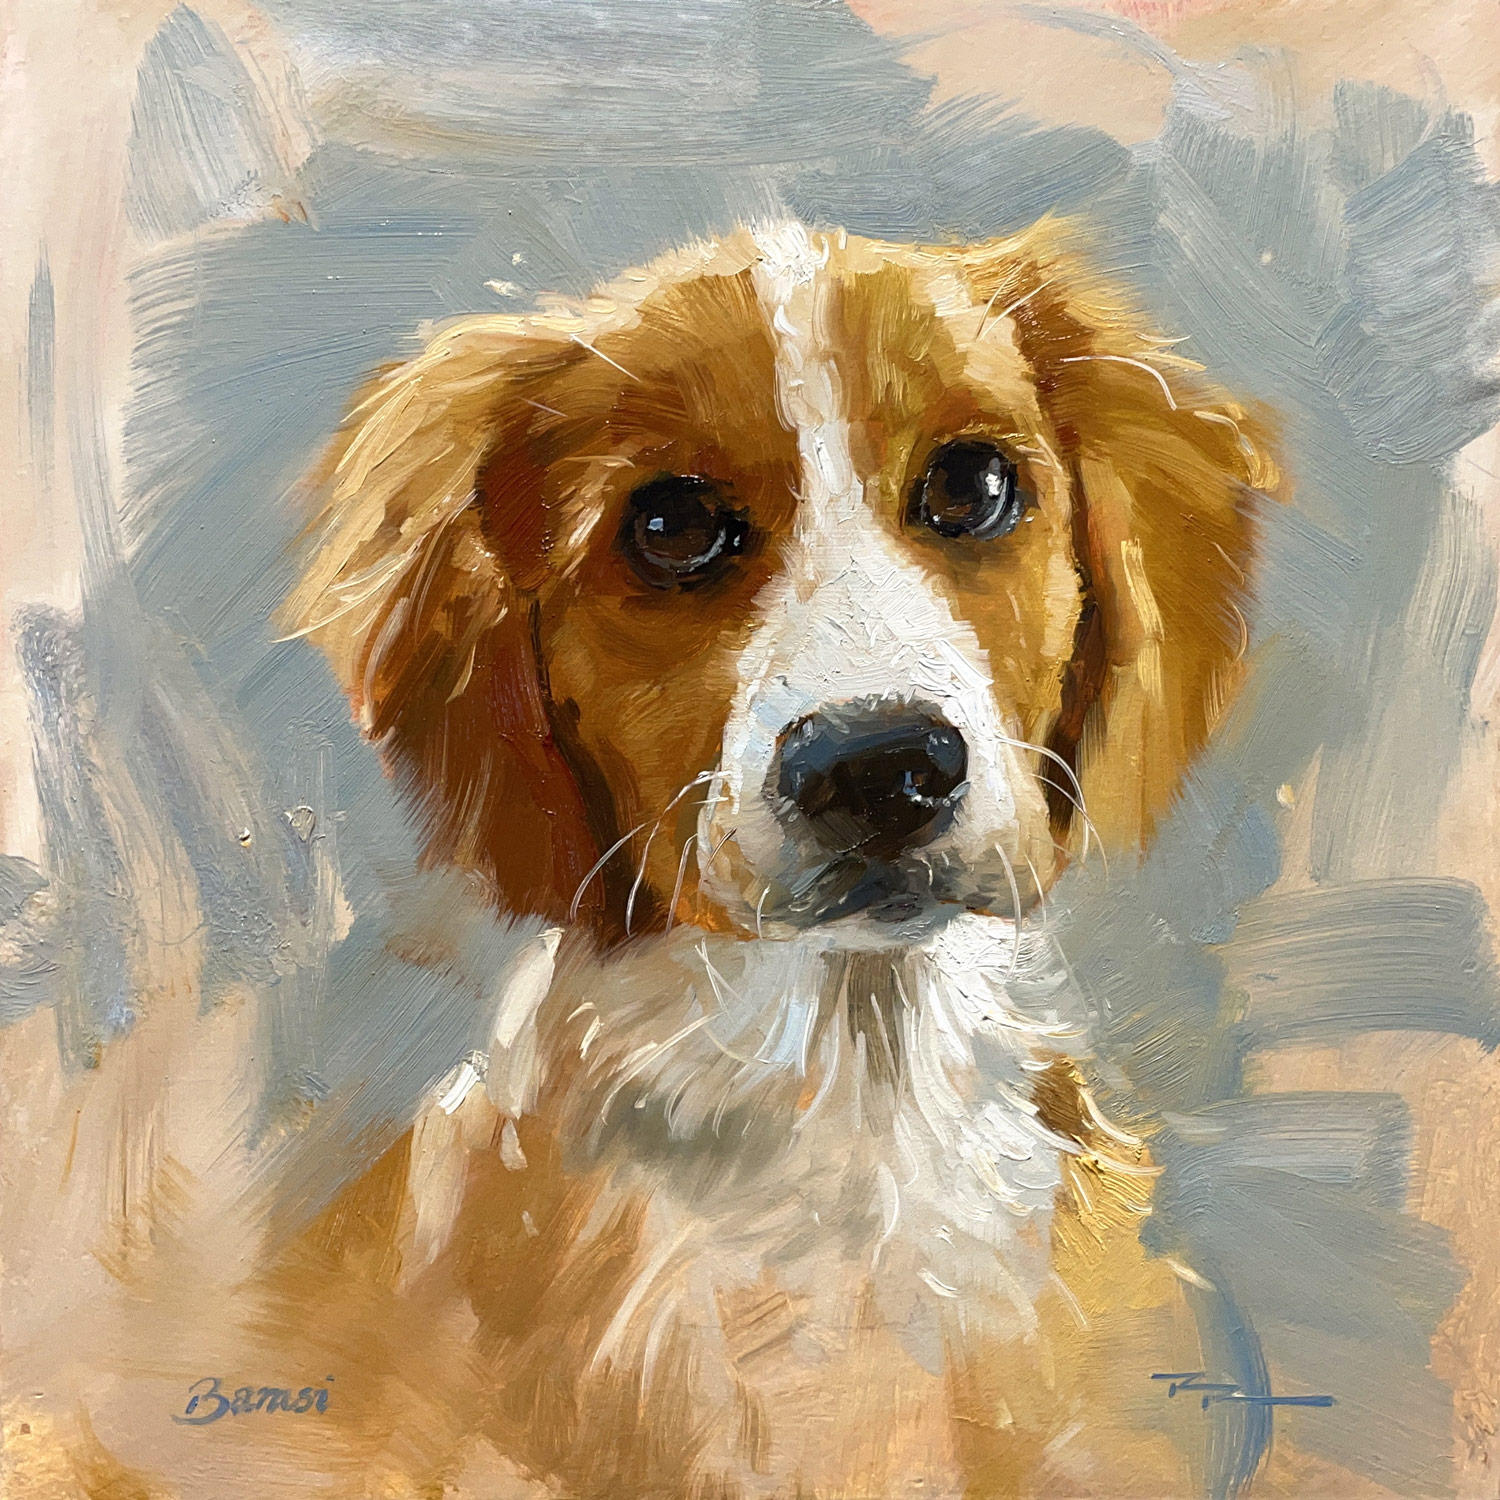
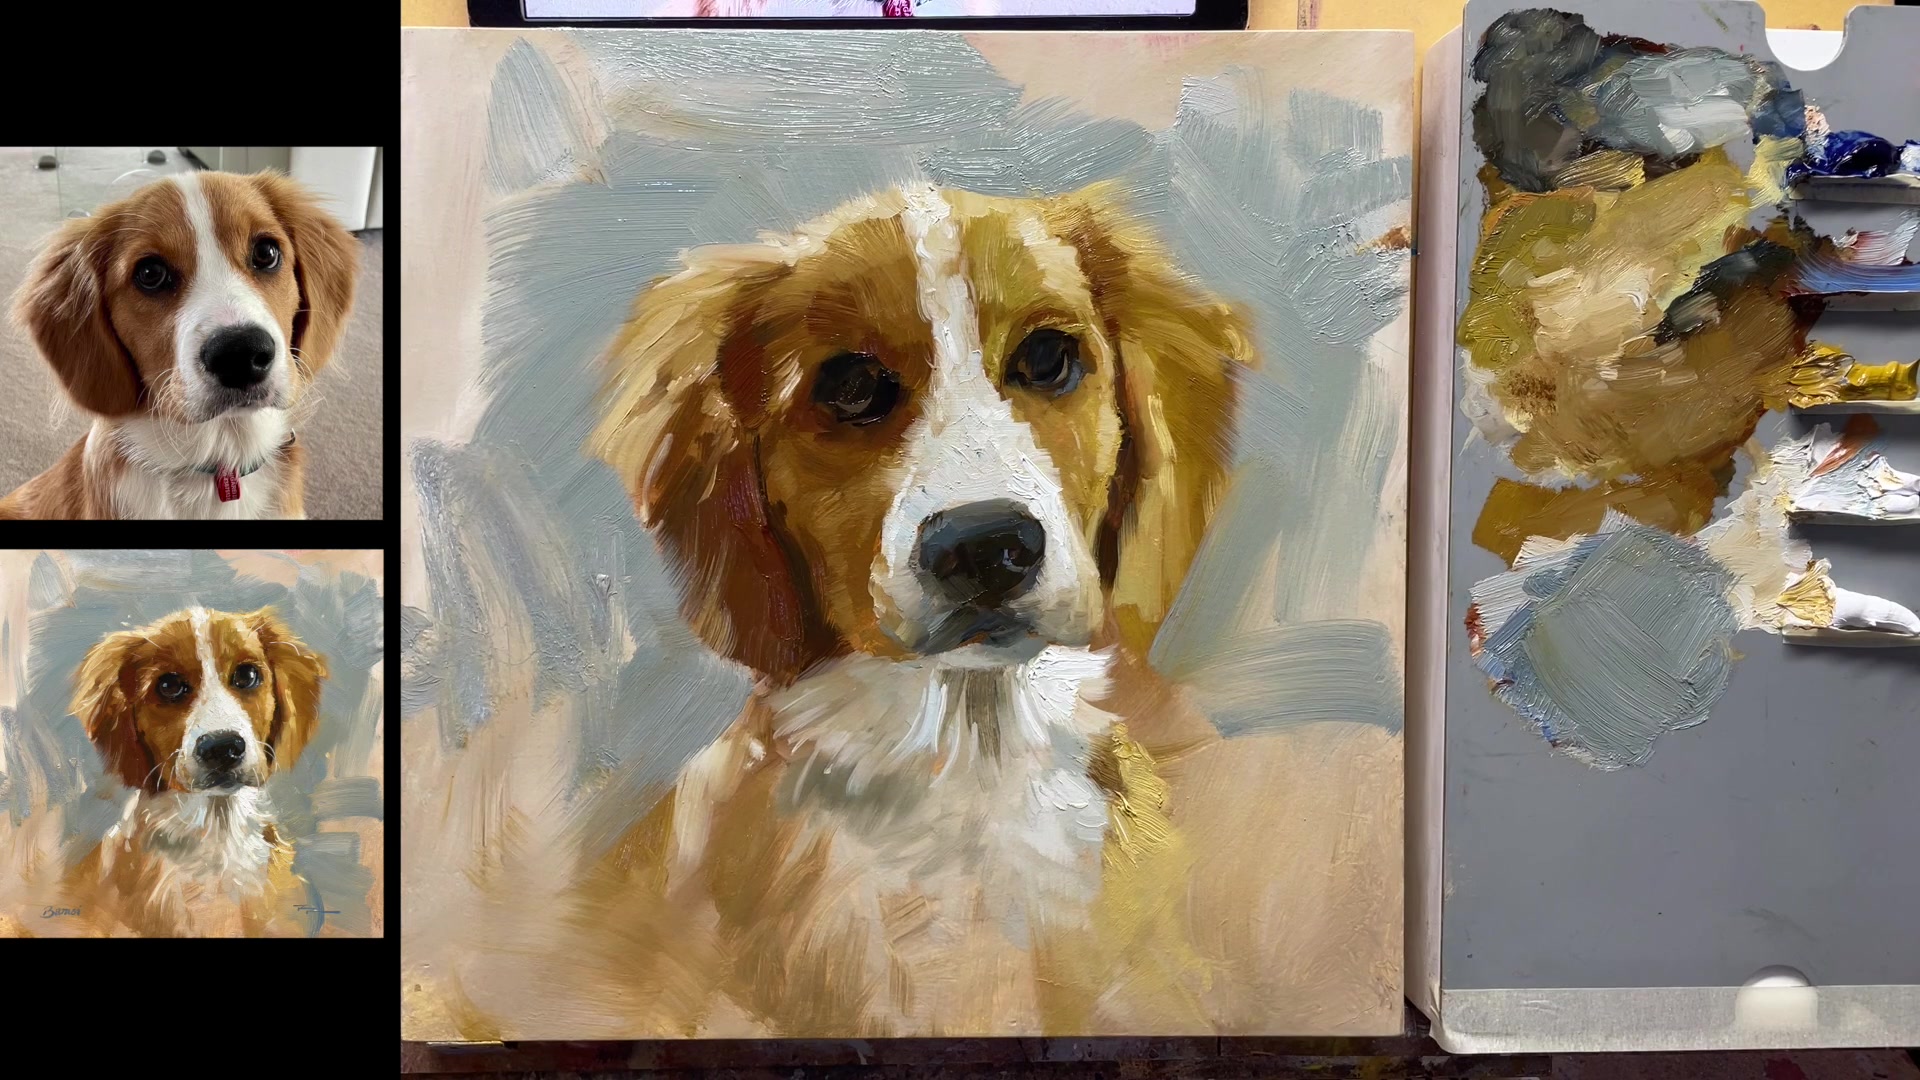
Welcome to my studio in New Zealand, where today we embark on the delightful journey of painting a dog portrait. This isn't just any dog—it's my mum's adorable puppy, Bamsey. I thought, why not create a Christmas gift for her while also sharing a video lesson with you? In this chapter, we'll explore the art of painting a dog, focusing on essential techniques that bring the portrait to life. Although I'm working with oils, feel free to use acrylics, as I'll provide tips for both mediums. We'll start by laying in an intriguing background and then dive right into painting without preliminary drawing, though I'll also introduce three other methods to perfect your drawing. A key focus will be on mastering edges—soft versus hard—and understanding their impact. We'll delve into capturing the softness of fur, the glistening eyes and nose, and the sharp details that animate the portrait, especially the eyes, which are simpler to paint than you might think. Additionally, we'll discuss the importance of varied paint textures, from smooth to impasto, and how to achieve them. This lesson, while centered on a simple dog portrait, is rich with skills that will enhance your painting repertoire. Whether you choose to paint Bamsey or your own beloved pet, I hope you find joy and learning in this creative endeavor.
This guide accompanies the full video lesson. The lesson includes the complete narrated video, the printable PDF chapter, and personalised critique support.
Ensure your brush is clean and free of any white paint to achieve real darks. Use separate brushes for lights and darks to maintain color purity.
Paint the Darks
Apply the darks with a flat technique, avoiding any impasto texture. This will help keep the dark areas smooth and consistent.
Add Highlights
Use pure white for the highlight, applying it as a small, singular point. This can be simplified if needed.
Create a Wet Look
Mix white with a little blue for a highlight that catches light, giving the eye a wet appearance. Apply this with a slightly impasto technique for effect.
Subtle Highlights
Use a slightly darker gray for the less intense highlight. This should be subtle to avoid overpowering the surrounding dark areas.
Final Touches
Add a tiny glint and a subtle strip of light to complete the shiny appearance of the puppy's eye.
Pro tipUse separate brushes for lights and darks to maintain clean, vibrant colors.
Embark on your dog portrait painting journey by preparing your canvas with a smooth gesso surface and a warm wash to ease into the creative process. Set up your palette with essential colors and organize your tools to ensure a seamless workflow. Begin by laying in the background and blocking in the dog's shape, focusing on capturing the essence of the subject with broad, expressive strokes.
As you progress, refine your drawing techniques, adjusting as needed to capture the dog's likeness. Pay attention to the edges, using them to enhance realism by contrasting hard and soft transitions. Build up the lights and shadows, observing the natural flow of the fur and the play of light across the face. Embrace a painterly approach, allowing your brushstrokes to convey energy and life.
In the final stages, focus on the details, such as the eyes and nose, to bring the portrait to life. Use texture and highlights to add depth and dimension, and carefully soften edges to maintain the charm of your brushwork. Balance the background with gestural techniques to complement the subject, ensuring the entire composition is harmonious and dynamic.
Points to remember
Apply a colored wash to reduce the intimidation of a blank canvas.
Keep two separate piles of titanium white to maintain clean highlights.
Use large, gestural strokes for an abstract foundation.
Pay close attention to edges and adjust their sharpness for realism.
Observe the fur's direction and brush accordingly.
The whites of the eyes should be darker than expected for a natural look.
Avoid painting every individual hair to maintain a soft, natural look.
Use a fan brush sparingly to soften edges without losing texture.