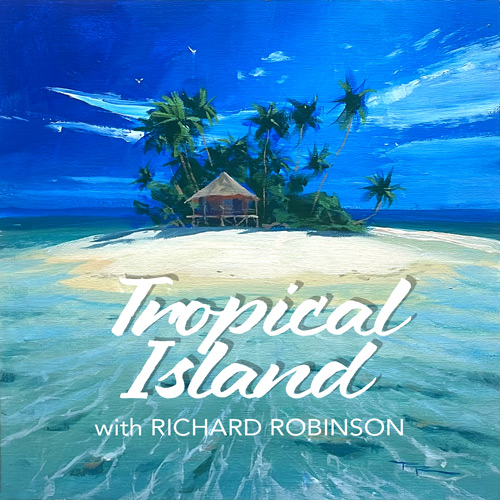
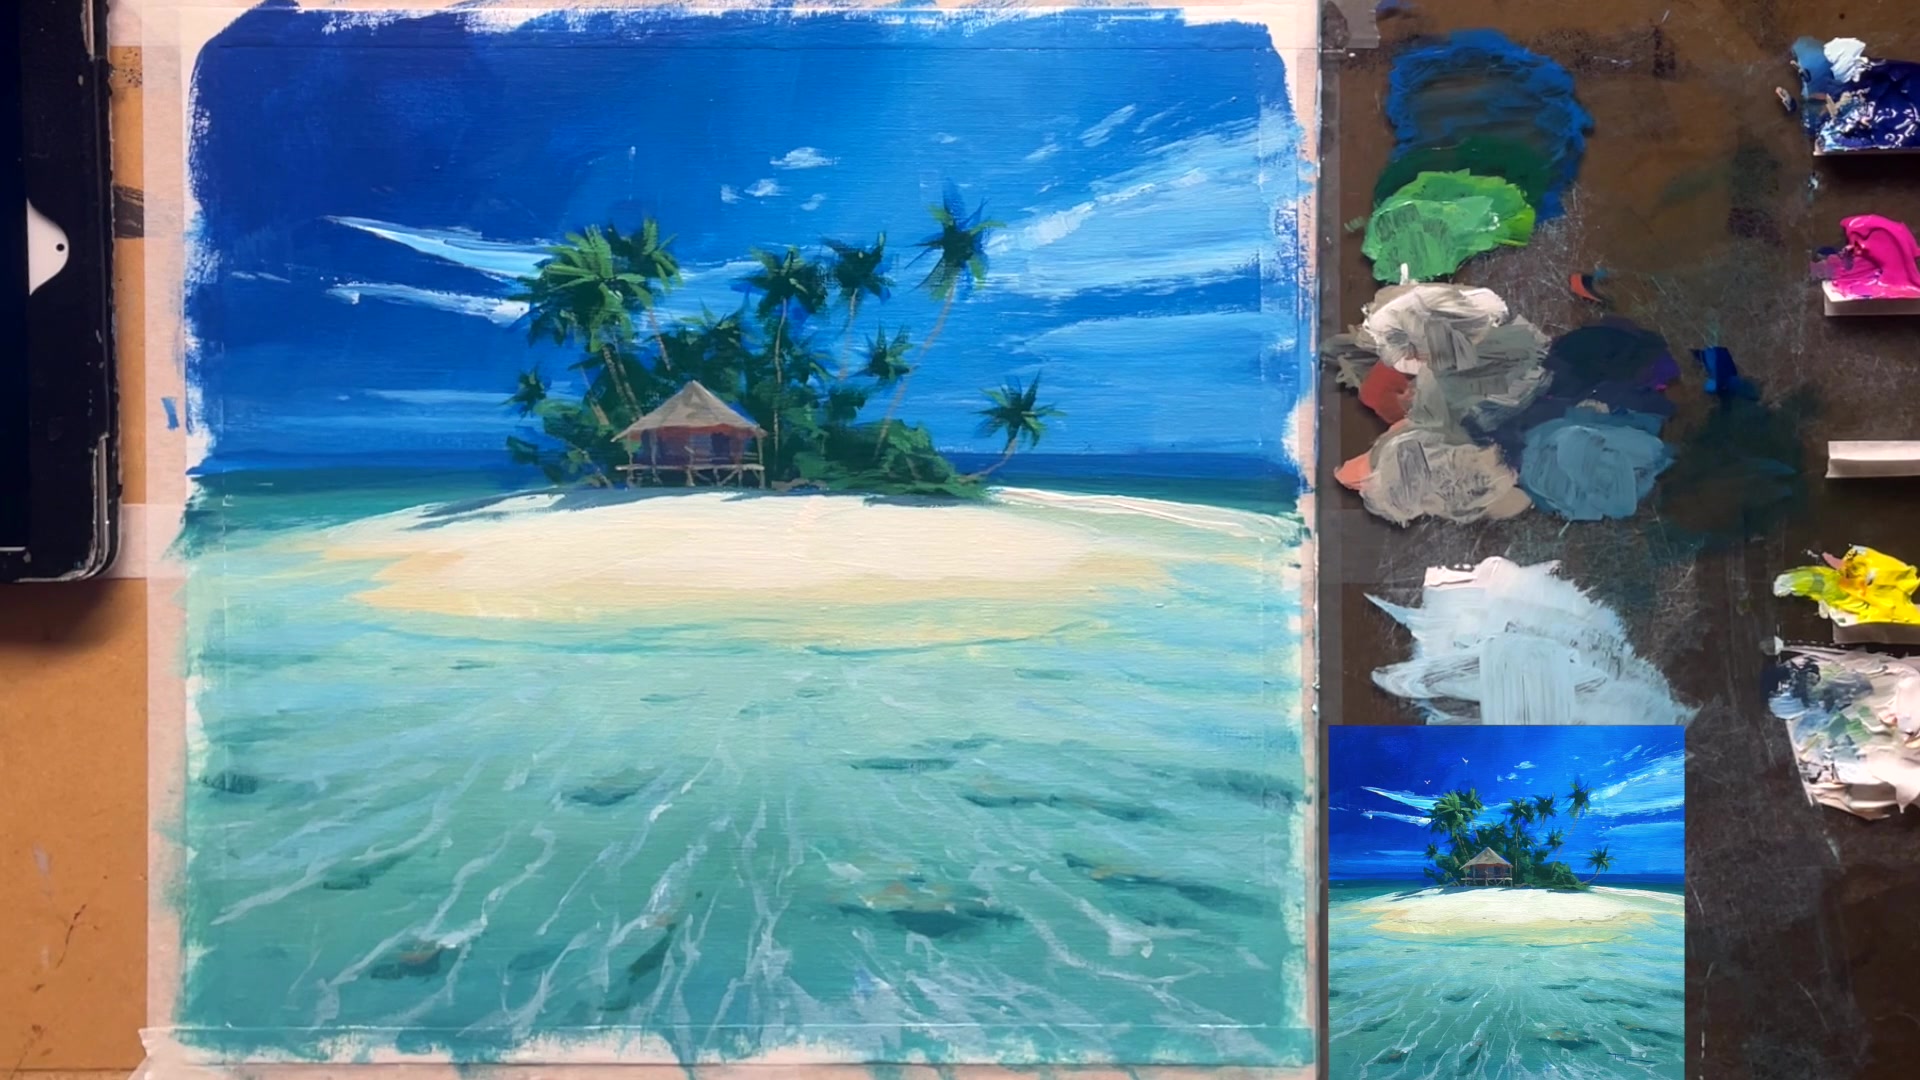
As we embark on this tropical island painting journey, we'll transform a 14-inch square linen canvas into a vibrant paradise using a palette of Phthalo blue, brilliant magenta, phthalo yellow light, and titanium white. With the help of a gloss medium varnish and a trusty bucket of water for brush cleaning, we'll dive into an easy five-step process that captures the essence of a serene island retreat. This chapter will guide you through creating a dynamic design that balances dark and light areas, ensuring a slightly lighter composition to avoid splitting the scene. We'll breathe life into the island with additional trees, giving it an aged, timeless feel, and add a charming bungalow to evoke relaxation and enjoyment. You'll learn to craft swishy clouds in just two steps and create inviting tropical waters that beckon you to dive in. The palm trees will sway with life, and I'll guide you through each step, allowing you to explore and incorporate these elements into your own work. Together, we'll keep moving forward, opening new doors, and embracing the curiosity that leads us down new artistic paths.
This guide accompanies the full video lesson. The lesson includes the complete narrated video, the printable PDF chapter, and personalised critique support.
"Club Tropicana" 14x14" Acrylic on canvas by Richard Robinson
Step 14Final touches and signing
Add Seagulls
Use a small square brush to add a couple of seagulls to your painting. Dip the brush in white paint and make simple, small marks to suggest the birds. This adds life and movement to your scene.
Optional Beach Details
Consider adding a few small shells on the beach for extra detail. Use a very light warm grey to paint them so they blend subtly into the scene without drawing too much attention.
Sign Your Painting
Sign your painting to complete it. Choose a spot that doesn't distract from the main composition, and use a color that complements the overall palette.
Pro tipUse a light warm grey for subtle details like shells to ensure they don't overpower the scene.
Embark on your tropical island painting journey by establishing a thoughtful design concept, balancing light and dark areas to create a captivating composition. Begin with the sky, using a smooth gradient of blues and magentas to set the scene. As you progress, blend soft clouds into the sky, ensuring they appear natural and dynamic.
Move on to the ocean, carefully crafting the transition from deep to shallow waters with a harmonious blend of blues and greens. As you paint the island and beach, focus on contrast to highlight the sandy shores against the darker sky. Incorporate rocks and caustic lighting effects to add depth and realism, enhancing the illusion of clear, tropical waters.
Finally, bring your island to life with palm trees, a charming hut, and subtle details like seagulls and shells. Pay attention to shadows and reflections to maintain consistency in lighting, and use fine brushwork for the finishing touches. Sign your masterpiece with pride, knowing you've captured the essence of a serene tropical paradise.
Points to remember
Create a focal point with the highest contrast and sharpest line.
Use a lot of paint with acrylics for smooth transitions.
Check your brush for clean colors to maintain hue purity.
Keep your arm stiff and rotate from the shoulder for straight lines.
Use blurred edges to suggest motion in foliage.
Position shadows to the left if the sun is slightly to the right.
Use small, thin strokes to mimic subtle reflections in water.
Sign your painting in a spot that complements the composition.