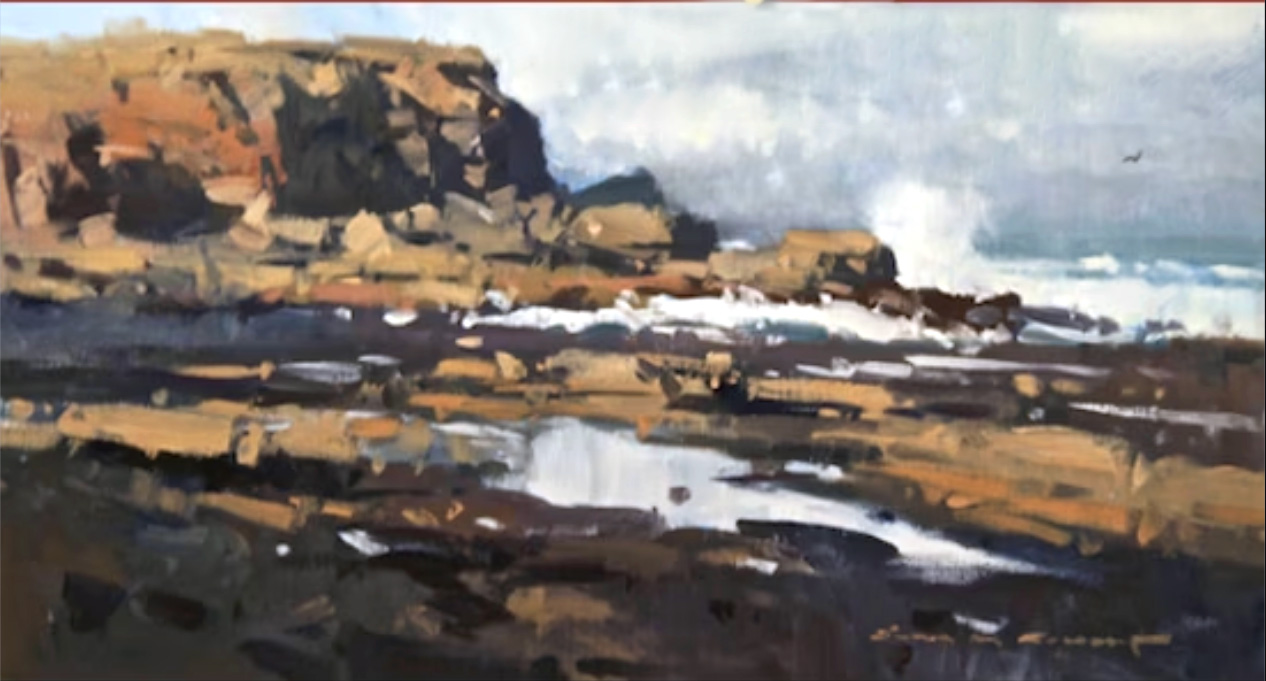
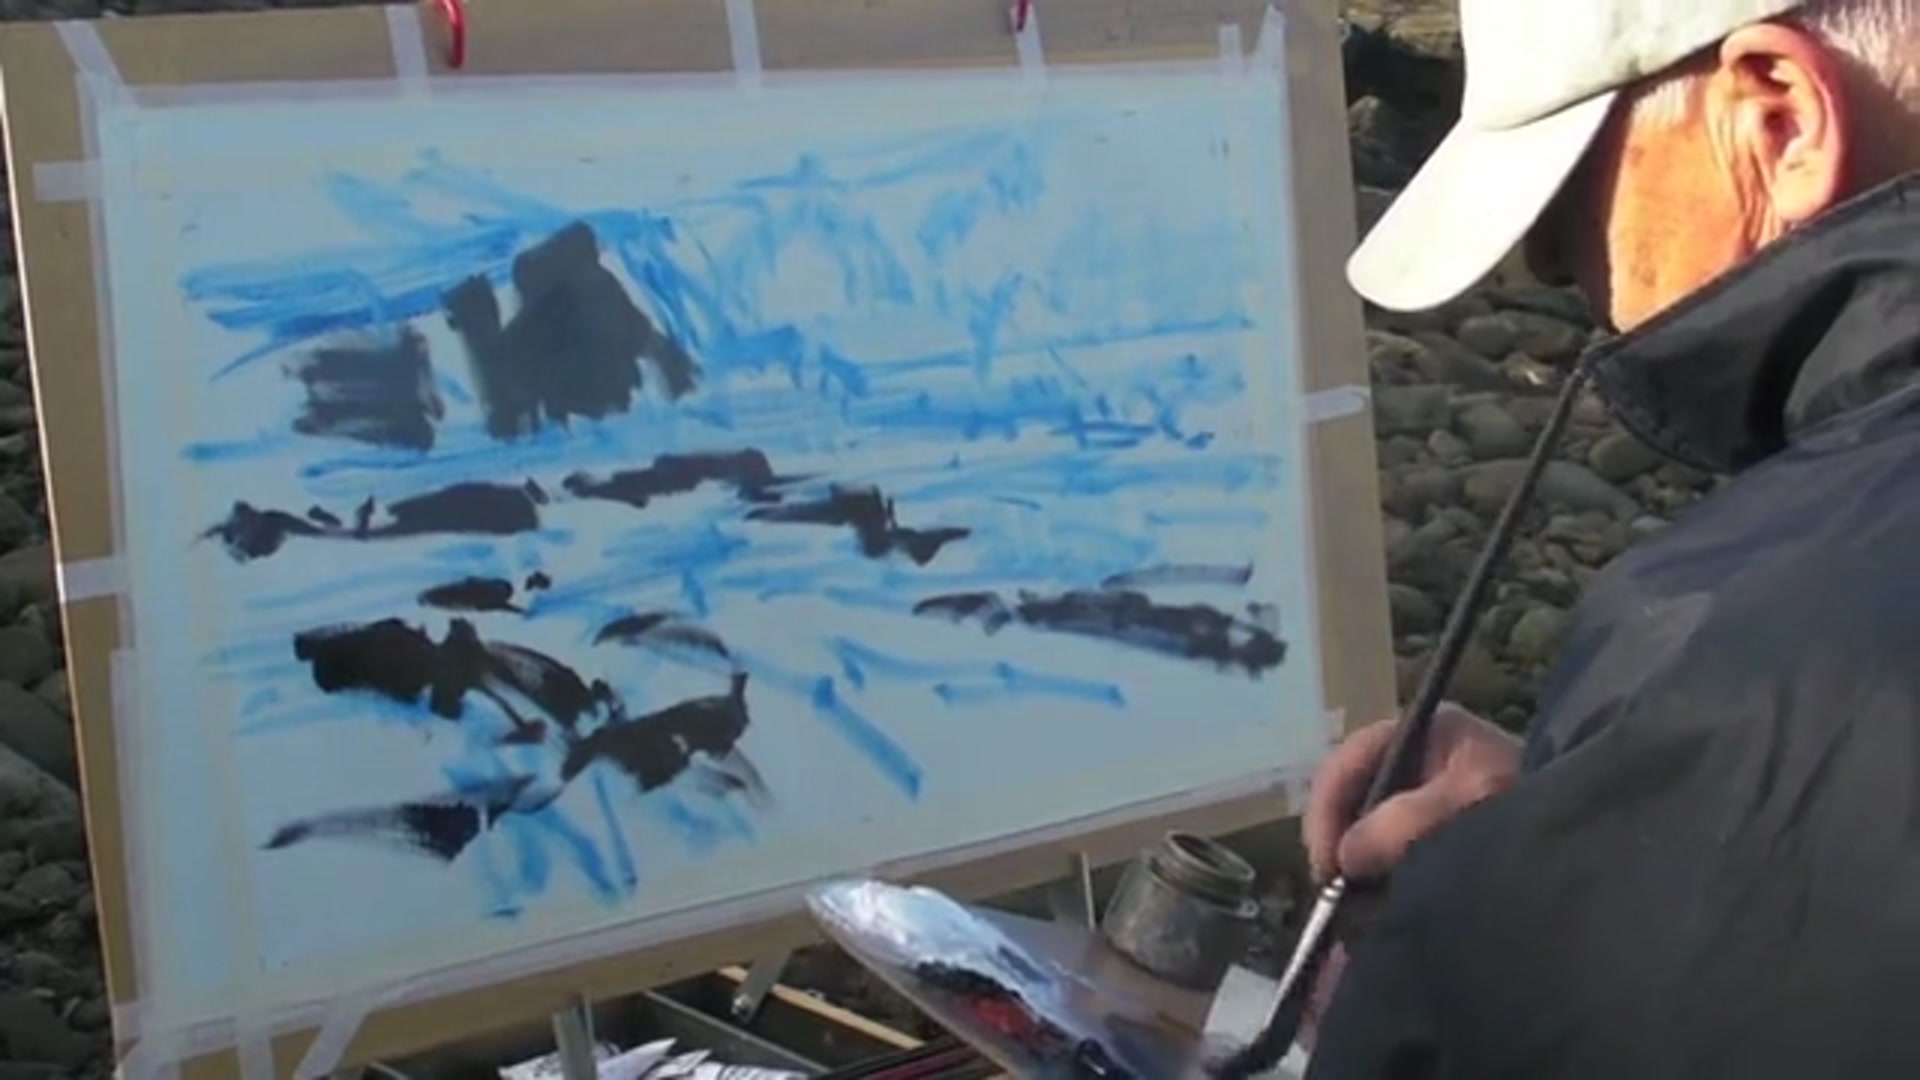
In this chapter, I invite you to join me on a journey through the breathtaking winter landscapes of New Zealand's Southern Alps and along its rugged coastline. As we explore these stunning scenes, we'll delve into the art of plein air painting, where the natural world becomes both our studio and our muse. Together, we'll tackle the challenges that every landscape painter faces, from capturing the elusive play of light to maintaining a loose, painterly style that breathes life into our work. You'll learn how to make critical decisions that can transform a good painting into a great one, and I'll share candid insights into my methods and materials. It's a rewarding subject because these landscapes offer a dynamic interplay of colors and forms, demanding our full attention and creativity. Remember to position your canvas away from direct sunlight to avoid glare and see the true colors as you paint. Let's embrace the elements and let the beauty of nature inspire our artistic journey.
This guide accompanies the full video lesson. The lesson includes the complete narrated video, the printable PDF chapter, and personalised critique support.
Use a thin layer of paint to apply the initial color to the cliffs. Avoid heavy color application at this stage to allow for adjustments later. Brush the paint out well, aiming for a consistency that is not quite a wash but still thin enough to manipulate easily.
Pro tipUse a thin layer of paint initially to allow for easier adjustments later.
Embark on your landscape painting journey by setting up your canvas in a shaded area to avoid glare and ensure true color perception. Begin by placing the horizon thoughtfully to create a dynamic composition, and establish your darkest darks as the foundation of your painting. Use thin layers of paint initially, allowing for adjustments as you capture the shadows and light patterns that define the scene.
As you progress, focus on maintaining simplicity in the foreground and enhancing the form of rocks and cliffs with careful use of light and color. Pay attention to the natural variations in color, using clean brushes to maintain vibrancy and avoid muddiness. Capture the essence of the landscape by blending strong colors and textures, and use color theory to create depth and interest.
Finally, adapt to changing weather conditions by protecting your equipment and adjusting your palette. Simplify complex areas like the sky, and persevere through challenging conditions to complete your painting. By observing the interplay of light and shadow, and adding texture and detail where needed, you can create a compelling and realistic landscape.
Points to remember
Keep your canvas shaded from direct sunlight to avoid glare.
Avoid splitting the painting into two equal halves with the horizon line.
Begin your painting by establishing the darkest darks to set the tonal foundation.
Use a thin layer of paint initially to allow for easier adjustments later.
Quickly capturing shadows helps freeze the light, allowing you to maintain the scene's design even as lighting changes.
Use lighter tones sparingly to suggest texture in shadowed areas.
Always use a clean brush when switching to a new color to maintain vibrant and clear colors.
Persist through challenging conditions to complete your painting; the effort can lead to rewarding results.