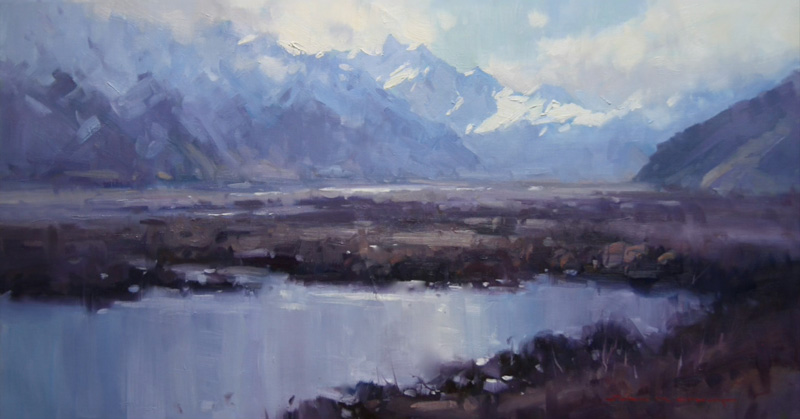
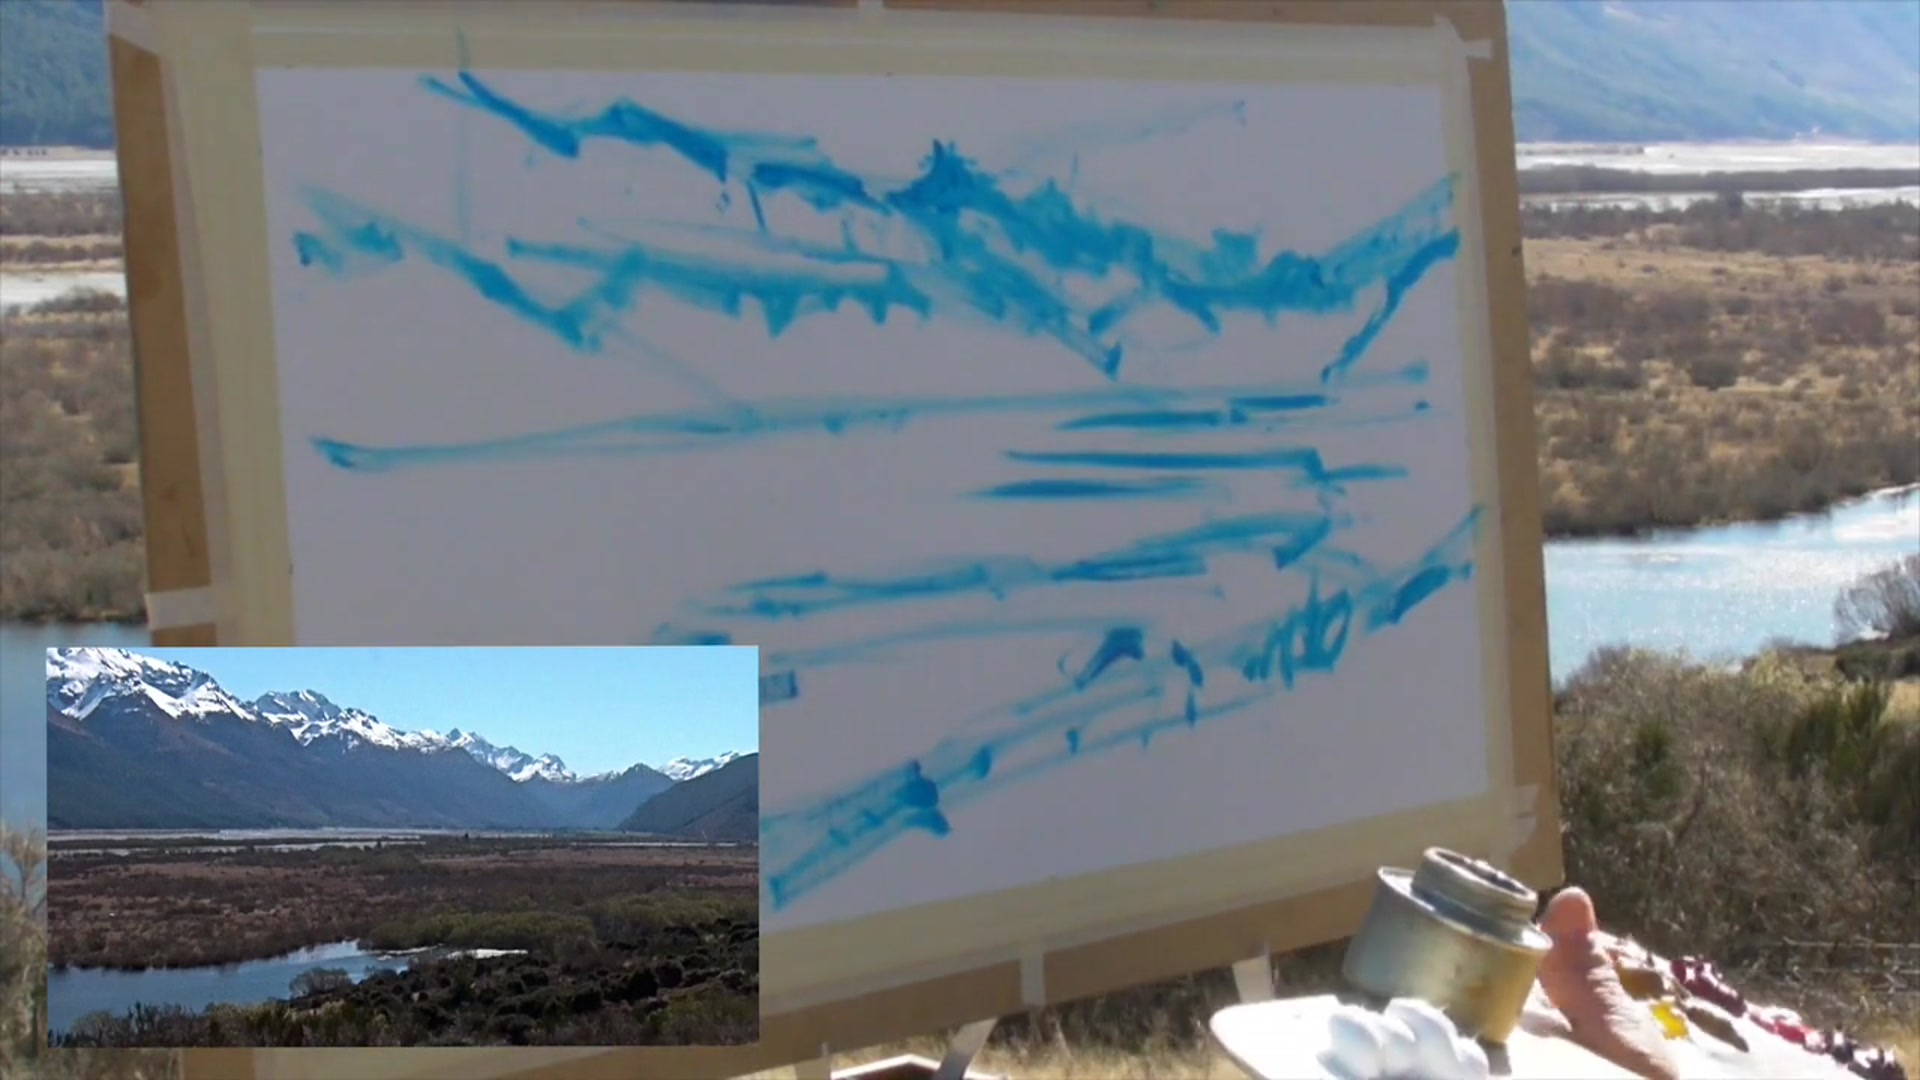
I had the pleasure of filming this lesson in a stunning location above the town of Glenorchy, where the breathtaking landscape offers a perfect canvas for artistic exploration. In this chapter, you'll learn from the talented New Zealand painter John Crump as he guides us through the essential techniques of setting out a landscape on canvas. We'll delve into the art of mixing colors and achieving that coveted 'painterly' brushwork that brings life to your paintings. To start, I recommend choosing a large canvas, like Frederick's Kent double primed pure linen, which provides ample space to capture the grandeur of the scene. With an average-sized brush and thinned down Windsor blue, we’ll broadly lay out the shapes, focusing on accuracy while enhancing elements like the lagoon for added interest. By using brush lines instead of pencil, you'll maintain a clear view of your composition from a distance and save time. This approach not only enhances your painting process but also ensures that your work remains vibrant and engaging throughout. Join me in this rewarding journey as we bring the beauty of Glenorchy to life on canvas.
This guide accompanies the full video lesson. The lesson includes the complete narrated video, the printable PDF chapter, and personalised critique support.
Use a quick-drying medium like Liquin to ensure your sketch layout dries swiftly. This will allow you to paint over it without any issues.
Identify Light Source
Indicate where the center of the light is in your composition. Remember that the sun will set behind the mountains, affecting how shadows are cast.
Start with Darkest Darks
Begin by painting your darkest darks in the foreground. This establishes a reference point for depth and strength, guiding the placement of other darks as you move into the distance.
Set Shadows
Once the darkest darks are in place, use them to set the shadows. This will help define the light in your painting, regardless of changes in the sun's position.
Fill Between Shadows
After setting the shadows, fill in the areas between them. The highlight colors and tones typically remain consistent, allowing you to focus on depth and tone.
Pro tipAlways start with the darkest darks to establish a reference point for depth and strength in your painting.
Embark on your painting journey by selecting a large canvas to give yourself the freedom to express the landscape fully. Begin with broad brush lines using thinned paint to lay out your composition, allowing for easy adjustments and a clear view from a distance. As you progress, focus on establishing a strong focal point, such as the highest mountain, and ensure it has ample clearance from the top of the canvas to avoid a cramped feeling.
As you develop your painting, start by setting the darkest darks to establish depth and strength. Use these as a reference to guide the placement of shadows and highlights, which will define the light in your composition. Emphasize tone and color over detail to create depth and lead the viewer's eye through the scene. Apply paint in thinner layers initially, then build texture with thicker paint to add life and dimension.
Maintain a dynamic composition by choosing a well-off-center focal point and complementing it with additional points of interest. Keep your brushwork confident and expressive, and embrace the freedom to convey your emotions through vibrant colors. As you refine your painting, ensure strong contrast between highlights and shadows to avoid a flat appearance. Cover the canvas quickly to establish a base, and continuously evaluate and adjust your work to capture the natural beauty of the landscape.
Points to remember
Use thinned down paint to broadly lay out your composition.
Ensure mountains have ample clearance from the top of the canvas.
Start with the darkest darks to establish depth and strength.
Use softening tones to create depth and distance.
Apply paint in thinner layers first to allow for easier adjustments.
Limit outdoor painting sessions to three hours to maintain spontaneity.
Express your emotions through confident brushwork and vibrant colors.
Let the initial paint layer tack up slightly before applying new paint.