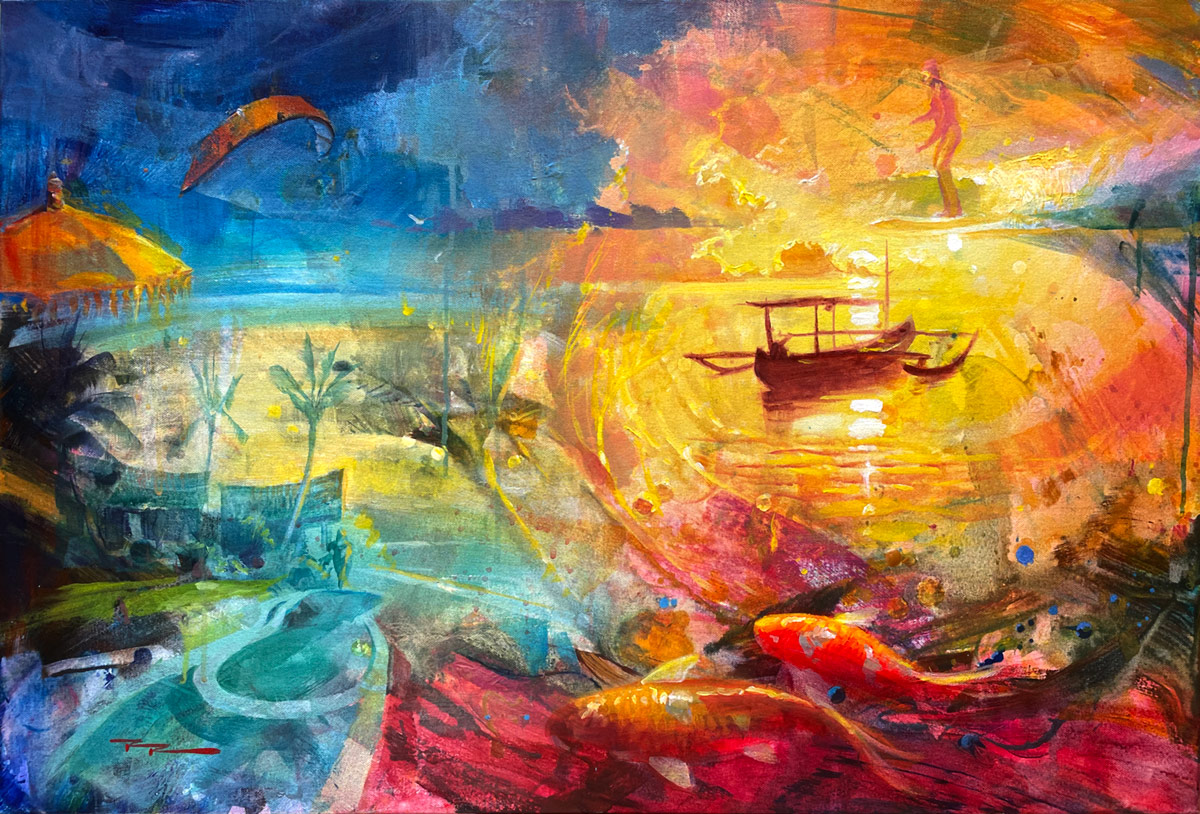
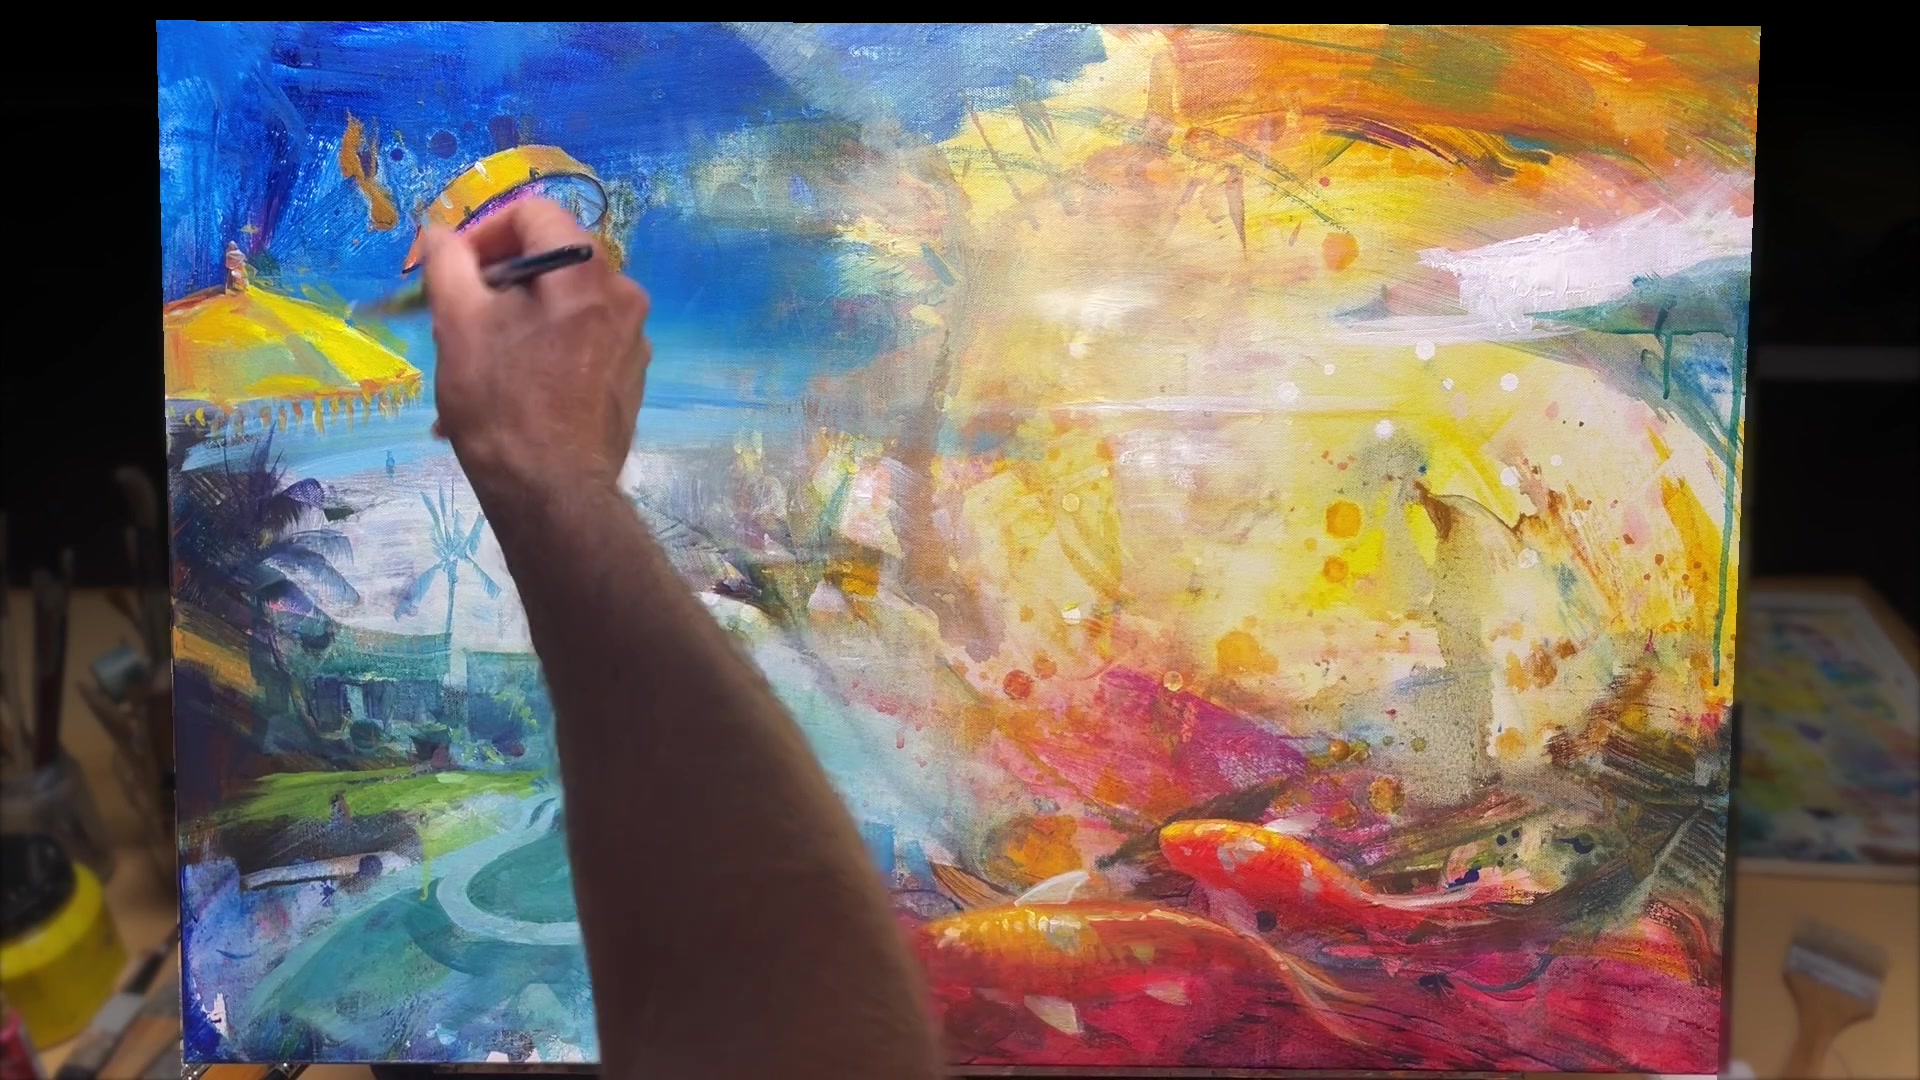
Welcome to the vibrant world of Bali, where I've been soaking up the tropical atmosphere for the past six weeks. This time has been a treasure trove of inspiration, allowing me to gather a rich tapestry of images and sensations from all around this beautiful island. Today, I'm thrilled to embark on a creative journey to weave these memories into a single painting, inspired by the stunning semi-abstract works I've admired in a local gallery here in Sanua. This chapter will guide you through the process of transforming your cherished memories into art, capturing their essence on canvas. Whether you're reminiscing about a favorite landscape or a treasured moment, I'll show you how to bring those memories to life with color, texture, and composition. We'll explore a variety of techniques, from selecting a color scheme that resonates with your memory to using innovative tools and methods to create dynamic layers. Together, let's turn your memories into a timeless masterpiece, one brushstroke at a time, and discover the joy of painting from the heart.
This guide accompanies the full video lesson. The lesson includes the complete narrated video, the printable PDF chapter, and personalised critique support.
Look for areas in your painting that need balancing. For example, if you have a red area on one side, consider adding a similar red to another area to create harmony.
Adjust Elements for Better Flow
Evaluate parts of the painting that may be too precise or complete. If an area feels static, soften it with a bit of sky color to introduce more motion and fluidity.
Pro tipUse color repetition to create balance and harmony in your composition.
Begin your painting journey by preparing your canvas, ensuring it's tight and free from dents. This sets a solid foundation for your creative exploration. Gather your materials, including a variety of brushes, acrylics, metallic paints, and alcohol inks, to create a vibrant and textured representation of your memories. Approach your painting with an open mind, focusing on capturing feelings and experiences rather than precise images.
As you progress, pay attention to your color choices, selecting hues that resonate with the memories you're depicting. Use techniques like splattering, layering, and blending to add depth and interest. Incorporate additional materials like salt and alcohol inks to create dynamic textures and highlights. Remember to keep your workspace organized and your canvas flat to control the flow of paint.
In the final stages, consider using digital tools like Photoshop or Procreate to experiment with composition and layering. This can help you refine your ideas before committing them to canvas. Once your painting is complete, apply a varnish to protect and enhance the colors. Embrace the process, allowing your painting to evolve naturally, and enjoy the journey of bringing your memories to life on canvas.
Points to remember
Spray water on the back of the canvas to tighten it.
Use large brushes for broad, abstract marks.
Lay your canvas flat to control splattering.
Keep warm and cool colors on separate palettes.
Adapt your color palette to the environment you are painting.
Wet parts of the canvas for smoother brush effects.
Rotate your painting to see it from a new perspective.
Apply varnish with a big brush to avoid air bubbles.