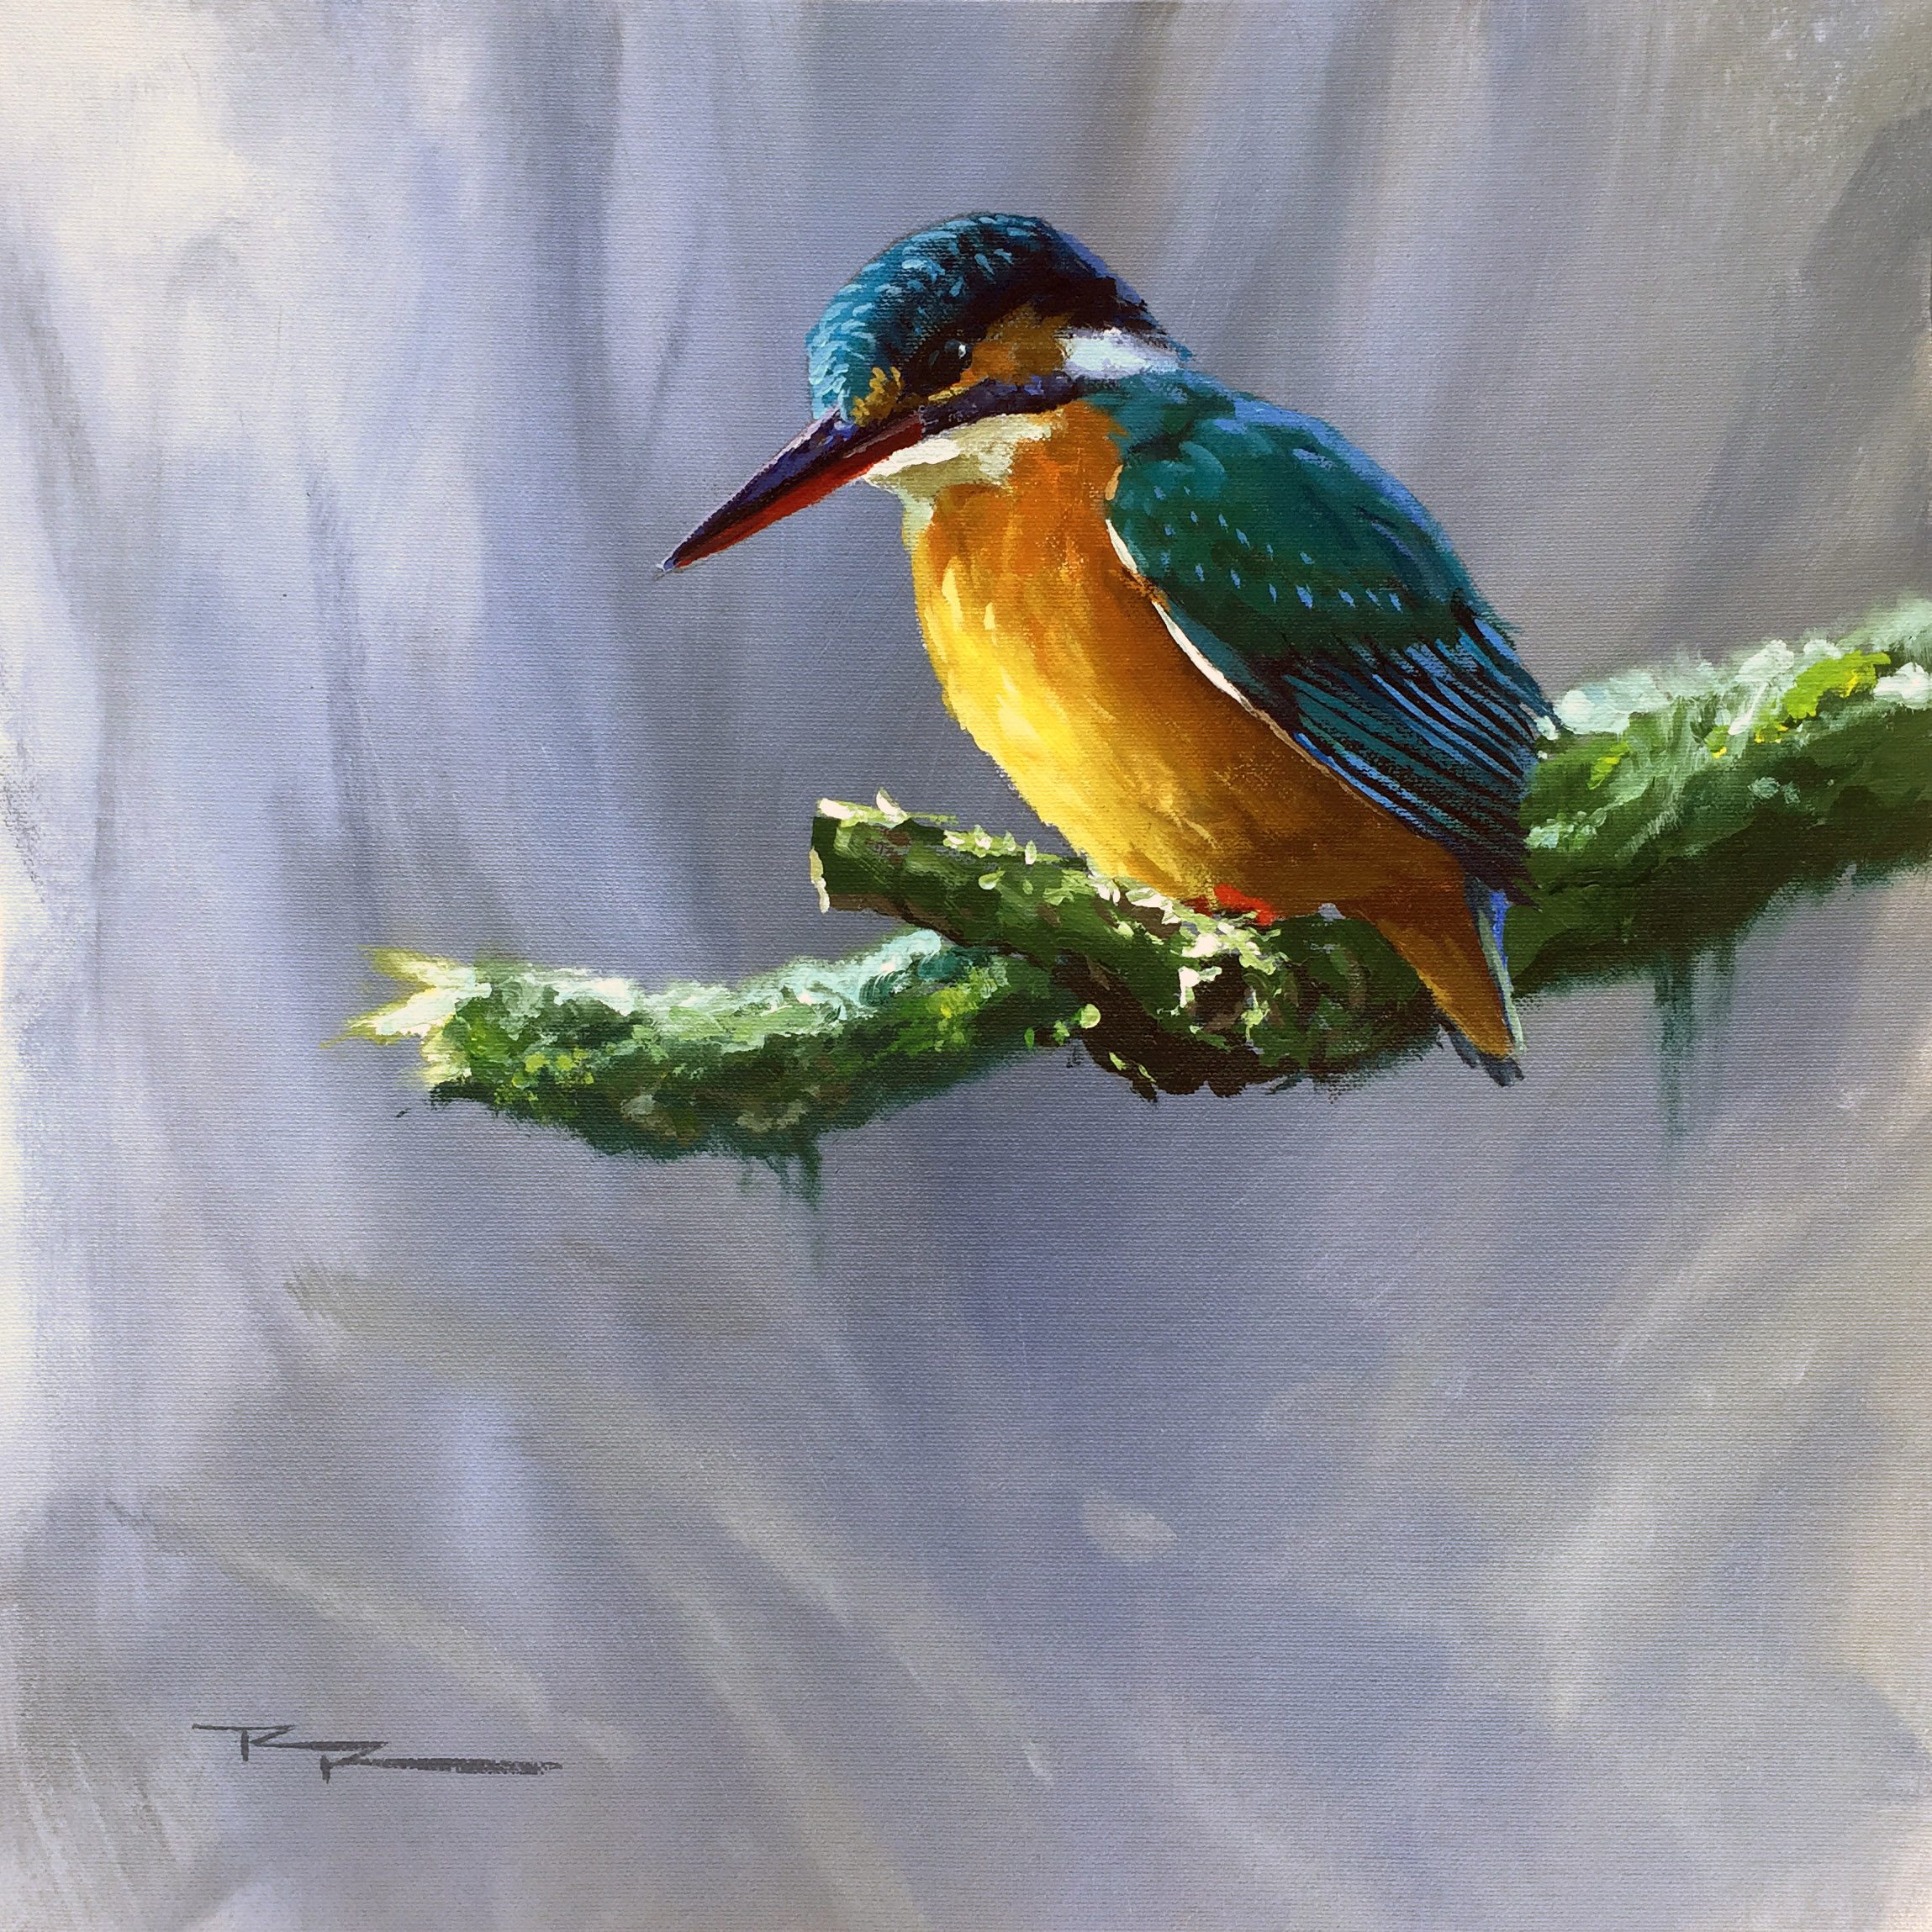
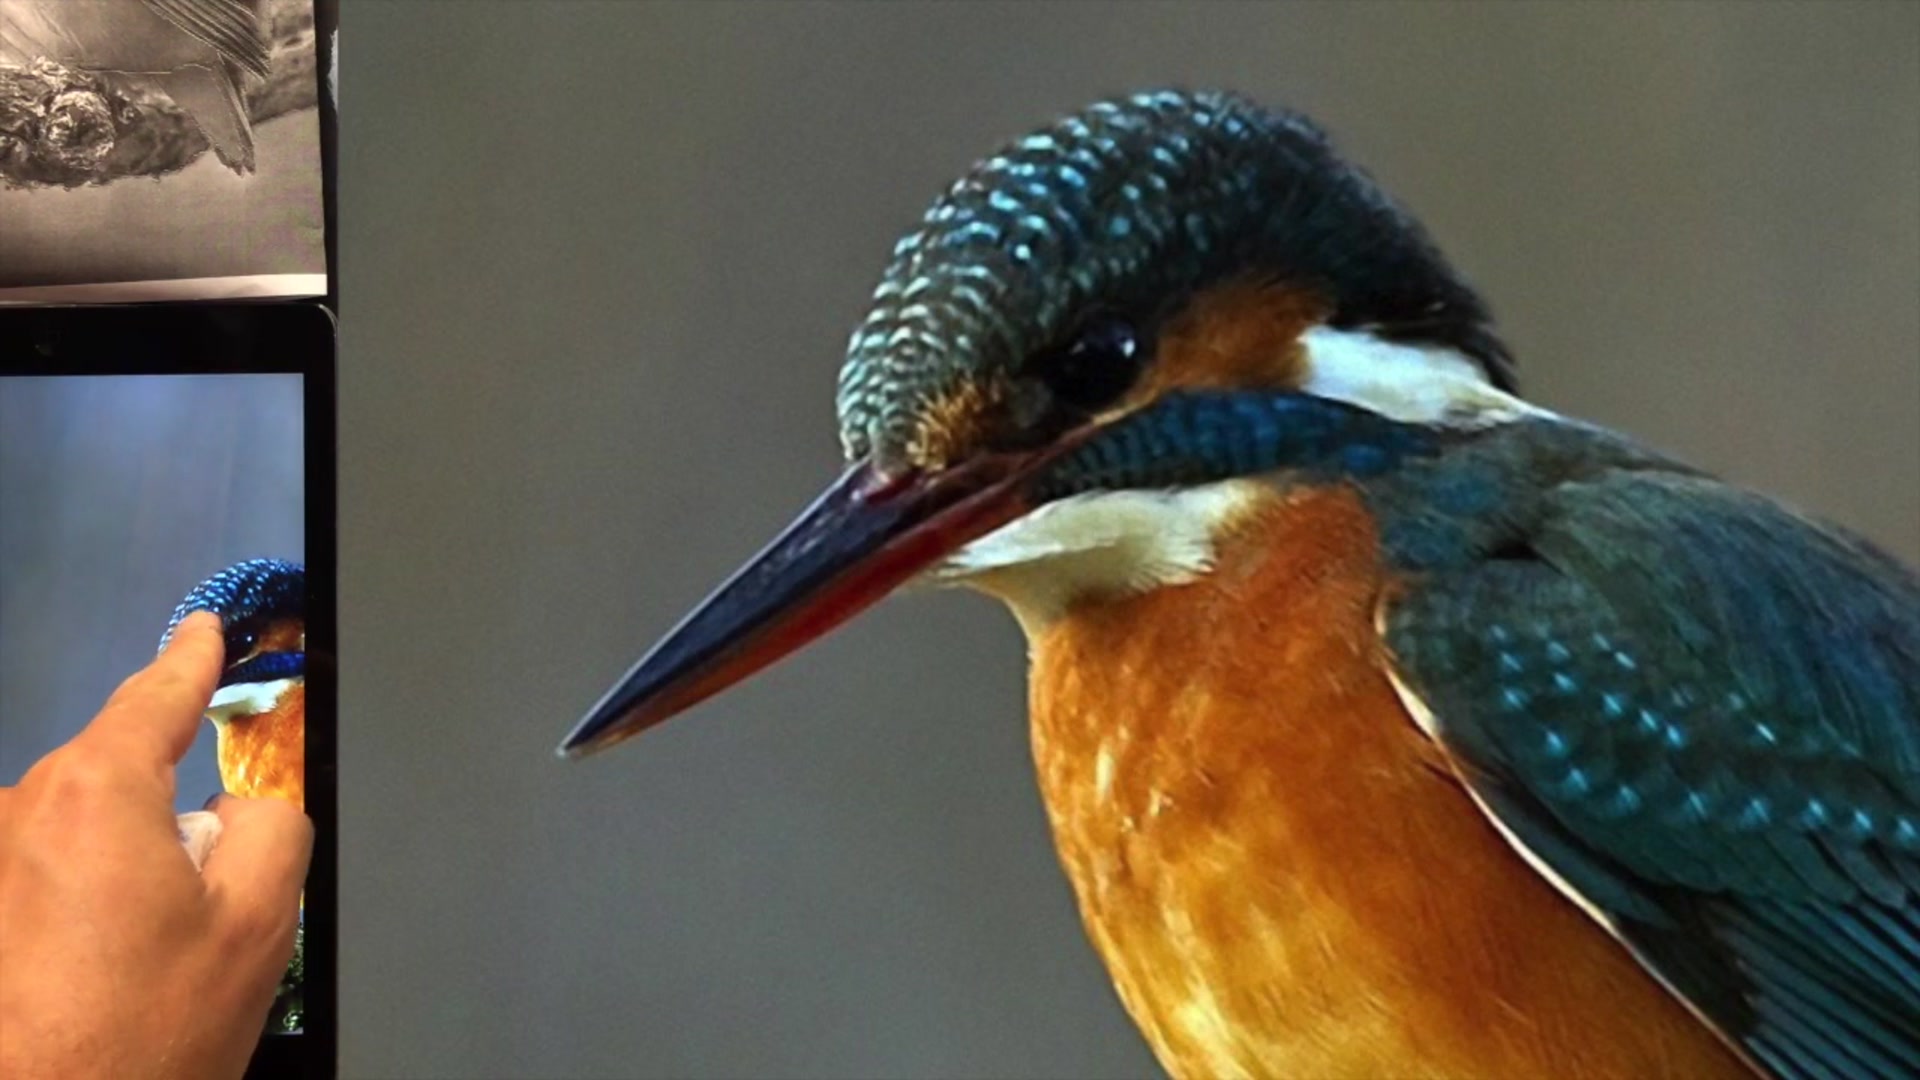
In this chapter, we're diving into the vibrant world of painting a stunning kingfisher, a subject that offers both beauty and challenge. With its striking colors and delicate features, the kingfisher is a rewarding subject that allows us to explore a variety of techniques. We'll use synthetic brushes from Rosemary & Co., including long flats, a rigger brush, and a filbert, perfect for the intricate details of this small-scale project. M. Graham's acrylics will bring our kingfisher to life, and with just a jar of water and some cotton buds, we'll keep our process simple and effective. You'll learn how to create a soft-focus background using a spray bottle to mist the canvas lightly, allowing the paint to blend smoothly for an artistic effect. I'll guide you through an easy drawing cheat and demonstrate simple techniques to achieve complex details. Whether you follow along step by step or adapt the techniques to your own style, this lesson promises to enhance your painting skills and bring joy to your creative journey.
This guide accompanies the full video lesson. The lesson includes the complete narrated video, the printable PDF chapter, and personalised critique support.
Embark on your painting journey by setting the stage with a beautifully blended background. Use water to keep the canvas moist, allowing for smooth transitions and soft edges. This will create a subtle backdrop that lets your kingfisher take center stage. As you progress, carefully transfer your drawing onto the canvas, ensuring it’s positioned just right to capture the bird's dynamic presence.
With the groundwork laid, it's time to bring the kingfisher to life with vibrant colors. Start by preparing areas for glowing hues with a base of white, ensuring your colors pop against the background. Pay attention to the beak, head, and eye, using a mix of blues, reds, and whites to capture the intricate details and depth. As you paint the wings and body, focus on color transitions and feather details, using precise brushstrokes to enhance realism.
In the final stages, add the finishing touches to the bird and its perch. Use a variety of greens and browns to paint the branch, keeping edges soft for an out-of-focus effect. Finally, add crisp details with a rigger brush and sign your work to complete the piece. Remember, each stroke contributes to the overall harmony and vibrancy of your painting.
Points to remember
Keep the canvas wet by spraying it with water for smooth blending.
Use a base layer of white paint to ensure vibrant colors stand out.
Paint your lights a little lighter than you think, as acrylics dry darker.
Use the edge of your brush to add fine details to feathers.
Start with a very dark color for the eye to create contrast and depth.
Use a Rig-A-Brush for precise arcs and feather details.
Sketch light renditions with watered-down acrylic before committing.
Use a Q-tip to soften edges and maintain an out-of-focus effect.