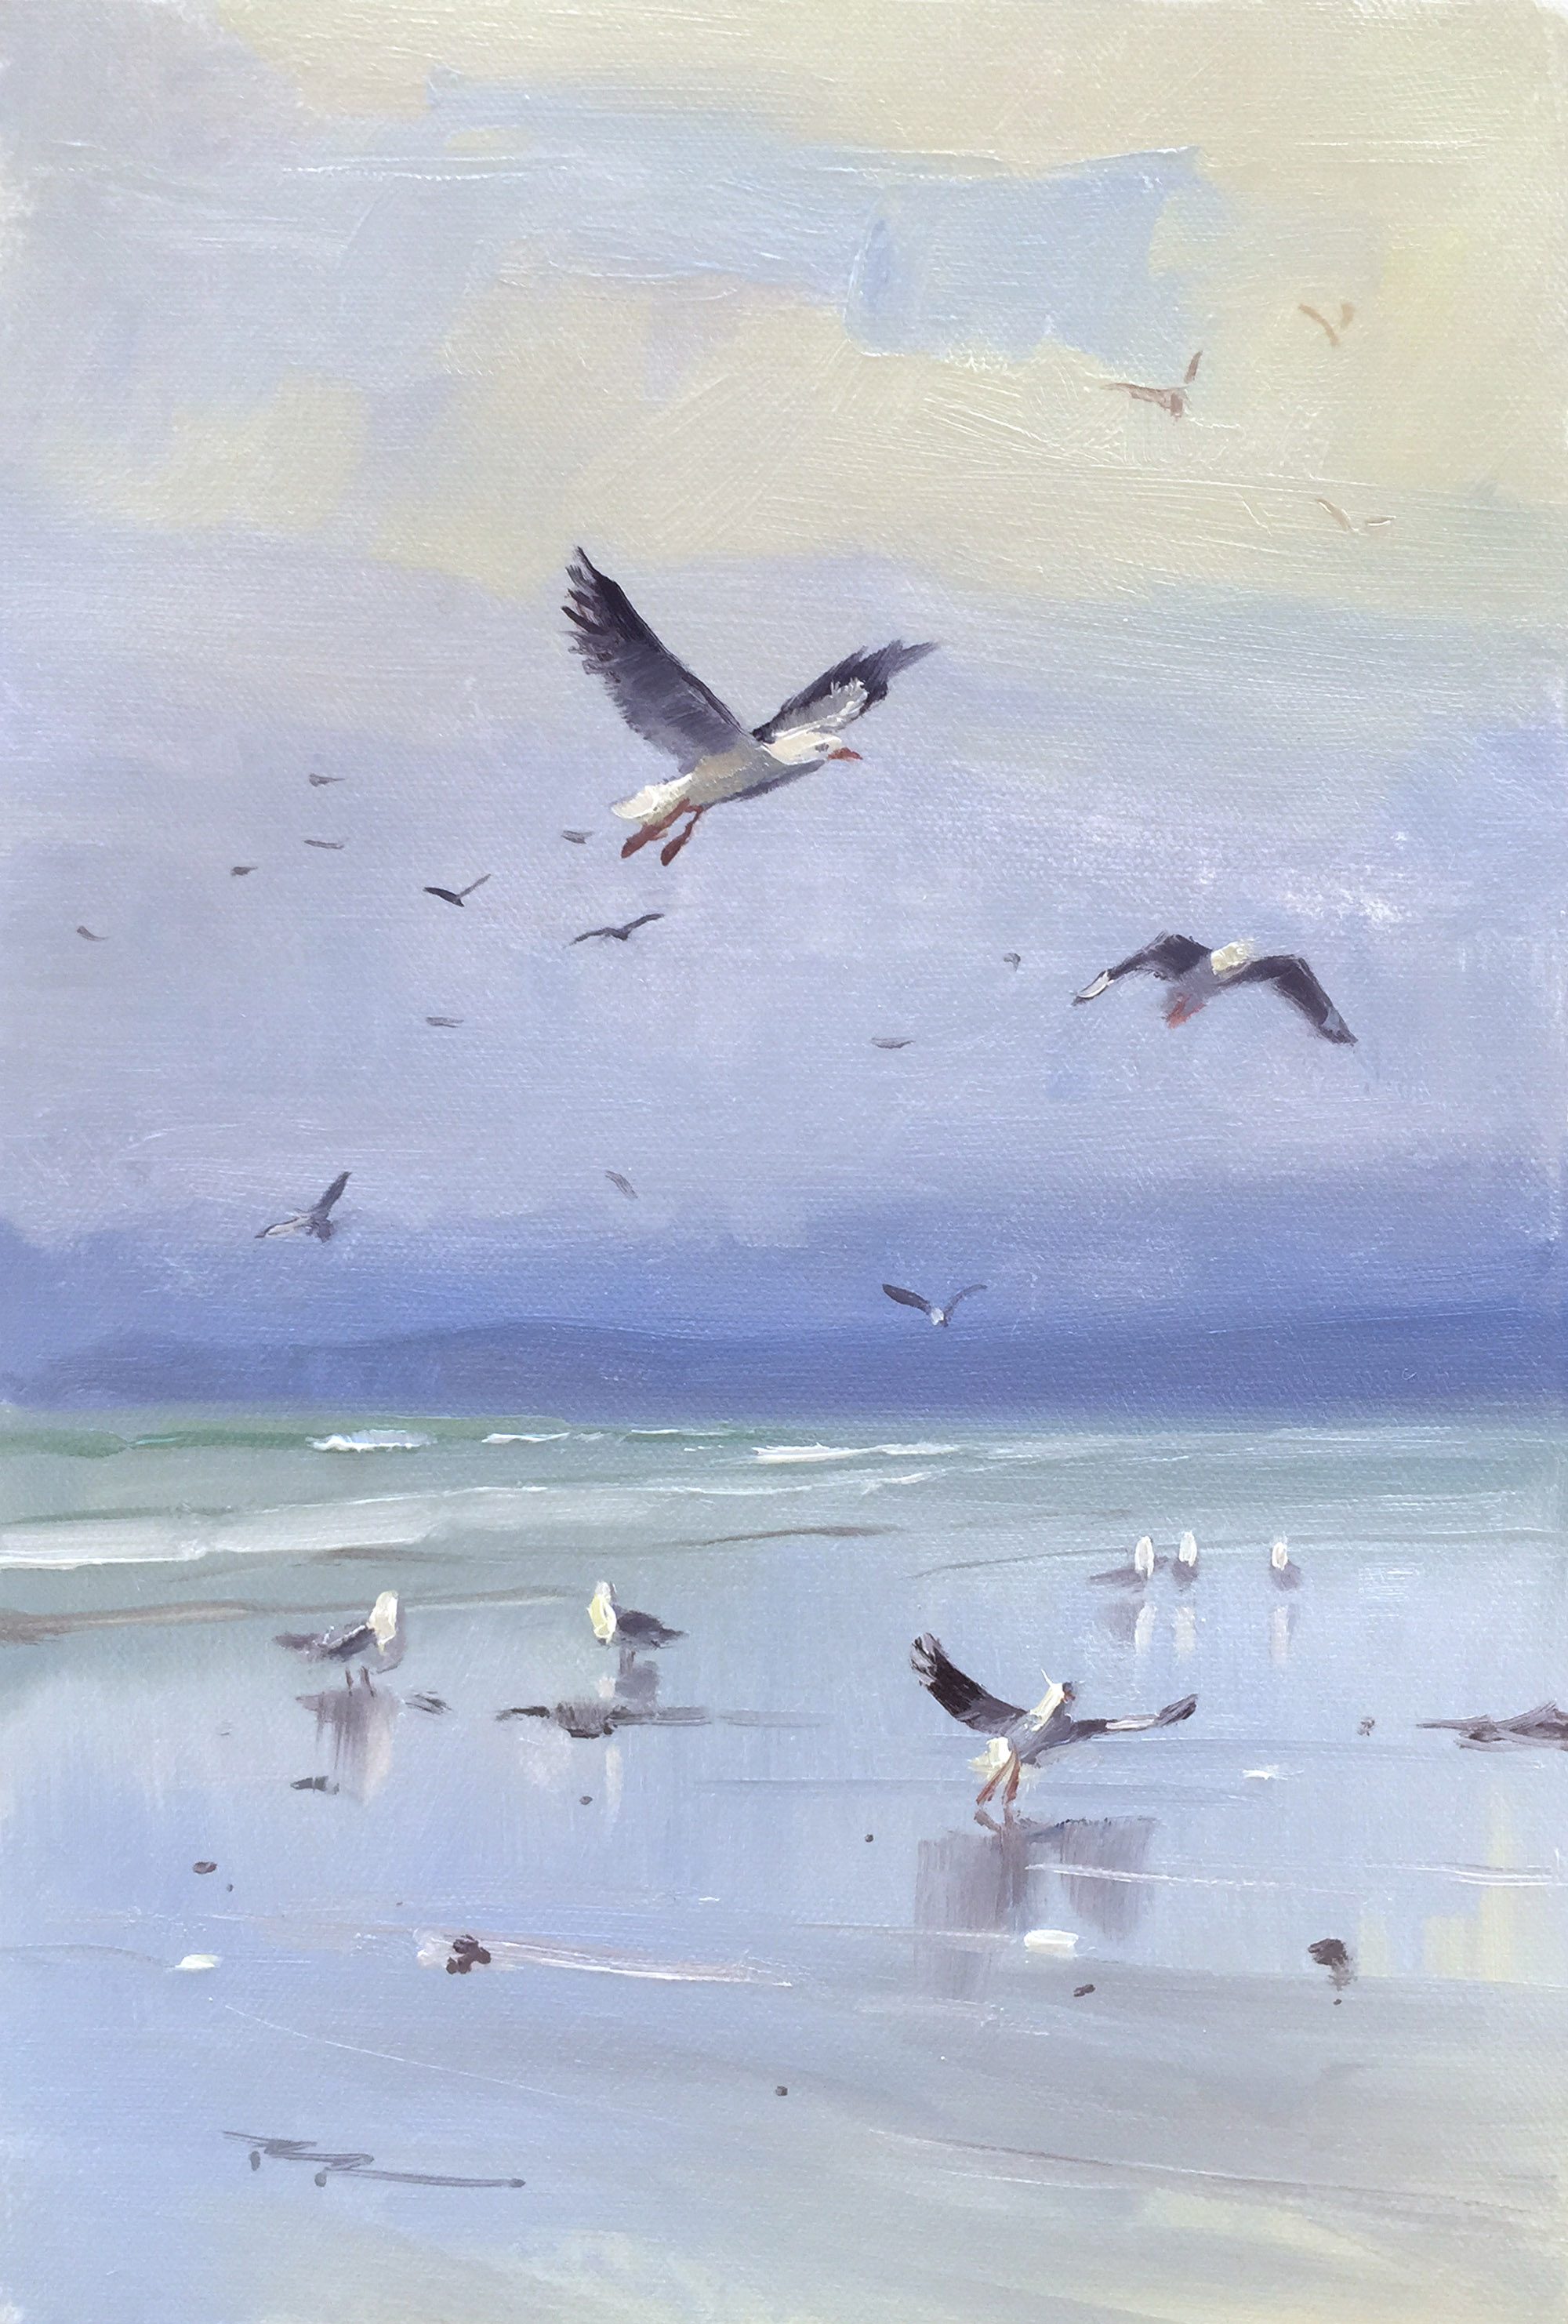
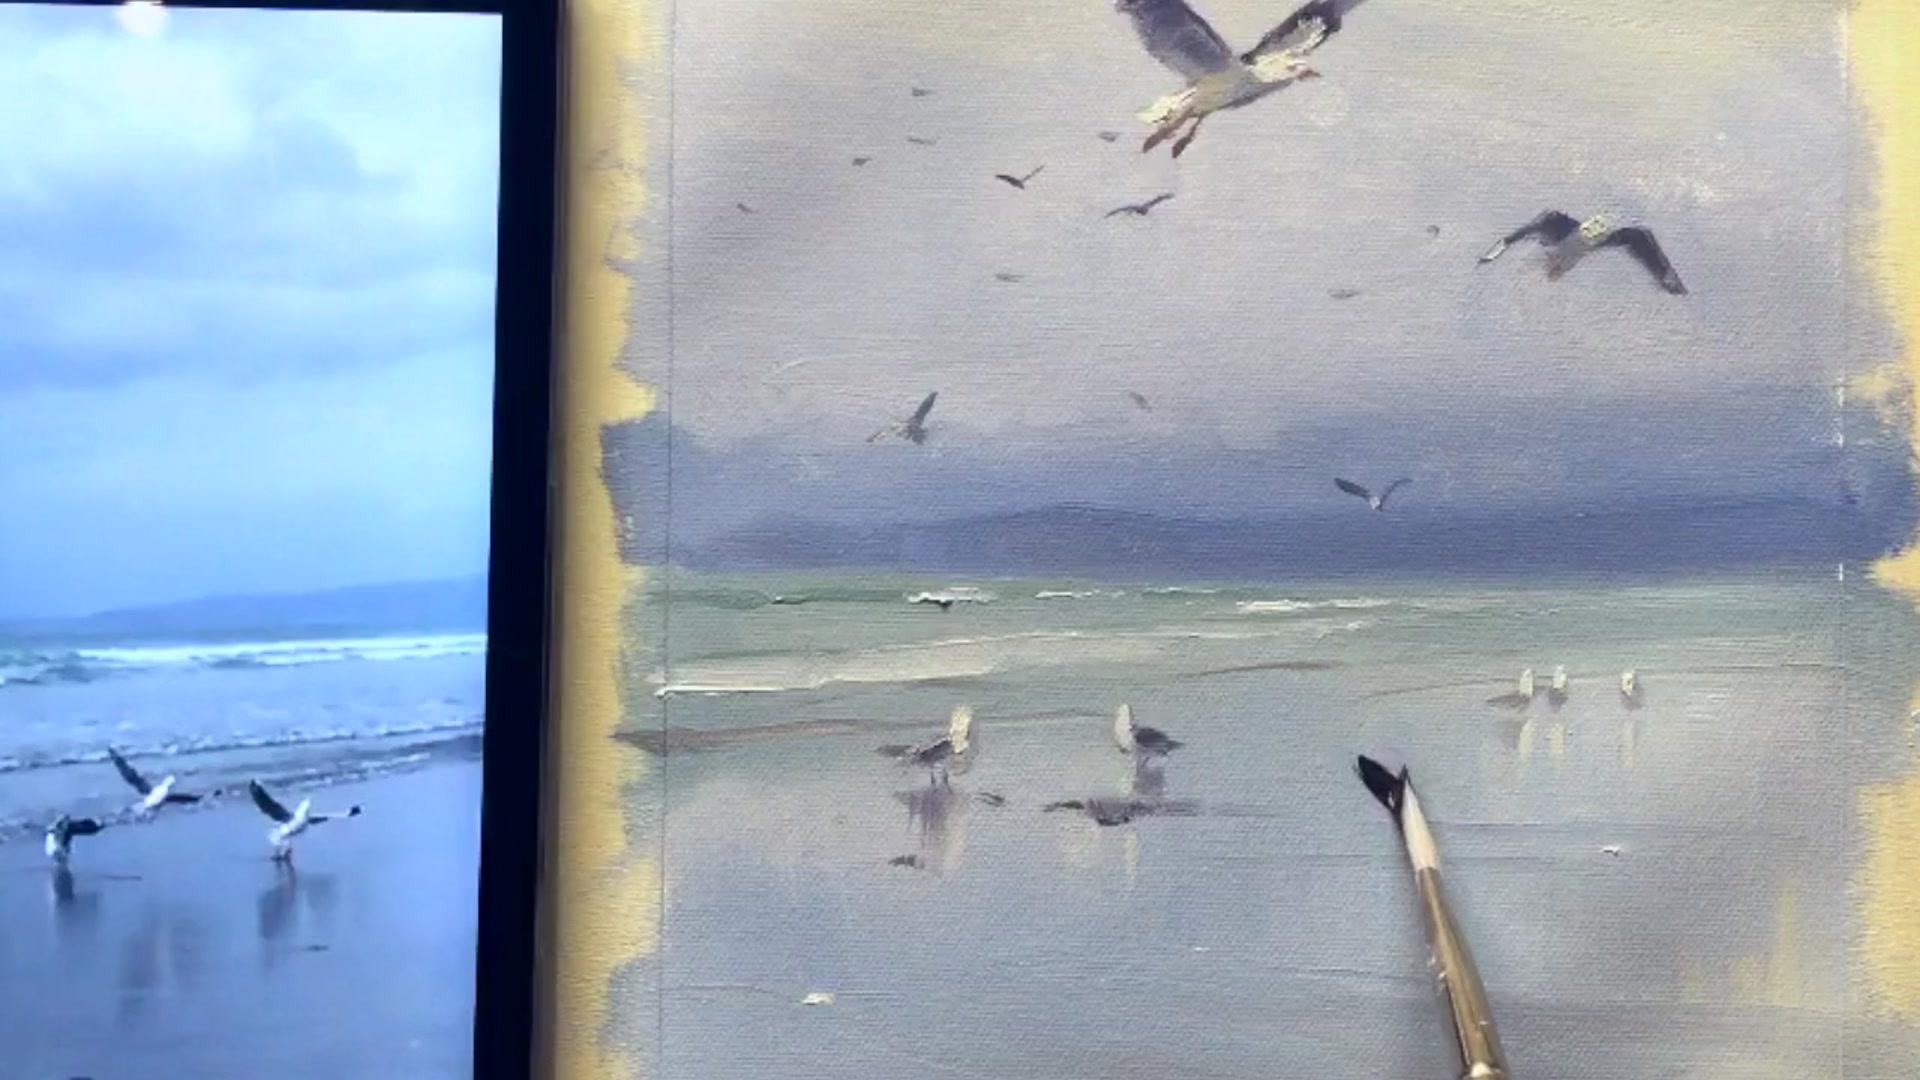
In this chapter, we'll explore the delightful addition of seagulls to your coastal paintings, bringing a lively charm and interest to your work. Imagine yourself at your local beach, capturing the essence of the scene with a video camera to study back in your studio. This approach allows you to observe and replicate the natural beauty and behavior of seagulls in your art. We'll start by creating a quick beach background, setting the stage for our feathered friends. Together, we'll learn how to position seagulls in the distant sky, as well as flying and standing in the midground and foreground, enhancing the depth and realism of your painting. You'll discover techniques for grouping seagulls naturally, applying atmospheric perspective, and drawing their elegant shapes with accuracy. Additionally, I'll guide you on how to experiment with their placement without risk and adapt to different lighting conditions. Whether you follow my step-by-step process or use the resource photos to craft something uniquely yours, this lesson promises to enrich your painting skills and bring your coastal scenes to life. Enjoy the journey!
This guide accompanies the full video lesson. The lesson includes the complete narrated video, the printable PDF chapter, and personalised critique support.
"Seagulls" 8 x 12" Oil on Canvas by Richard Robinson.
Step 10Foreground seagull and reflections
Paint the Foreground Seagull
Start by painting the dark areas first, then add a mid-value grey for the shadow on the body. This establishes the form and depth of the seagull.
Add Reflection and Highlights
Extend the shadow and mid-value grey into the reflection on the sand. Apply lighter tones on top of the seagull to highlight areas where the sun hits, especially warming up the tail with yellow and white.
Detail the Legs and Reflection
Paint the legs of the seagull and their reflection on the wet sand. Ensure the reflection is slightly distorted to mimic the wet surface.
Flatten the Reflections
Add small swishes through the wet surface of the sand to flatten the reflections, making them appear as reflections rather than separate objects.
Pro tipWhen painting distant seagulls against a bright warm light, adjust their color to be warmer and lighter to match the atmospheric perspective.
Embark on your seagull painting journey by preparing your canvas and palette with care. Begin by laying down a serene beach scene as a backdrop, setting the stage for your seagulls. Use a combination of colors to create depth and atmosphere, ensuring the background supports rather than competes with the main subjects.
As you move forward, focus on the ocean and foreground, capturing the reflective qualities of water with vertical strokes. Introduce seagulls into your scene, using strategic placement and varied shapes to create a natural and dynamic composition. Pay attention to the details of each bird, using minimal brush strokes to convey their form and movement.
Finally, refine your painting by adding reflections and adjusting colors to match the light conditions. Use atmospheric perspective to enhance the sense of distance and realism. Whether your seagulls are the stars of the show or subtle accents, they should add life and interest to your composition.
Points to remember
Paint the background first to give context and depth before adding seagulls.
Thin the background paint with walnut oil to ensure it doesn't interfere with the seagulls.
Use vertical strokes to enhance the reflective quality of water surfaces.
Use the concept of a scalene triangle to avoid pattern making in your seagull placement.
Aim to paint each seagull with just two or three brush strokes by adjusting the angle and pressure of your brush.
Use a sheet of glass or plastic to test seagull placement before painting them on the canvas.
Ensure reflections are spaced away from the body to avoid the appearance of tiny legs.
Adjust the color on the seagulls' undersides based on the ground color and light conditions to create realistic reflections.