In this chapter, I invite you to join me in the studio as we embark on the delightful journey of painting petunias. These exquisite flowers, which I stumbled upon unexpectedly at the flower store, captivated me with their delicate, sculptural beauty. They offer a wonderful opportunity to explore the nuances of floral painting. We'll dive into the process using both acrylics and oils, allowing you the flexibility to choose your medium or experiment with both. Our focus will be on creating a textural background, premixing greys, and painting with shapes to bring out the unique character of each petunia. You'll learn how to use edges to draw attention and create a composition that highlights the flowers' elegance. By zooming in on the flowers and cropping out distractions, we'll craft a composition that resembles a flower study, perhaps with a touch of Japanese or Oriental design simplicity. This lesson is not just about painting flowers; it's an exploration of your artistic identity. Let's enjoy this creative process together.
This guide accompanies the full video lesson. The lesson includes the complete narrated video, the printable PDF chapter, and personalised critique support.
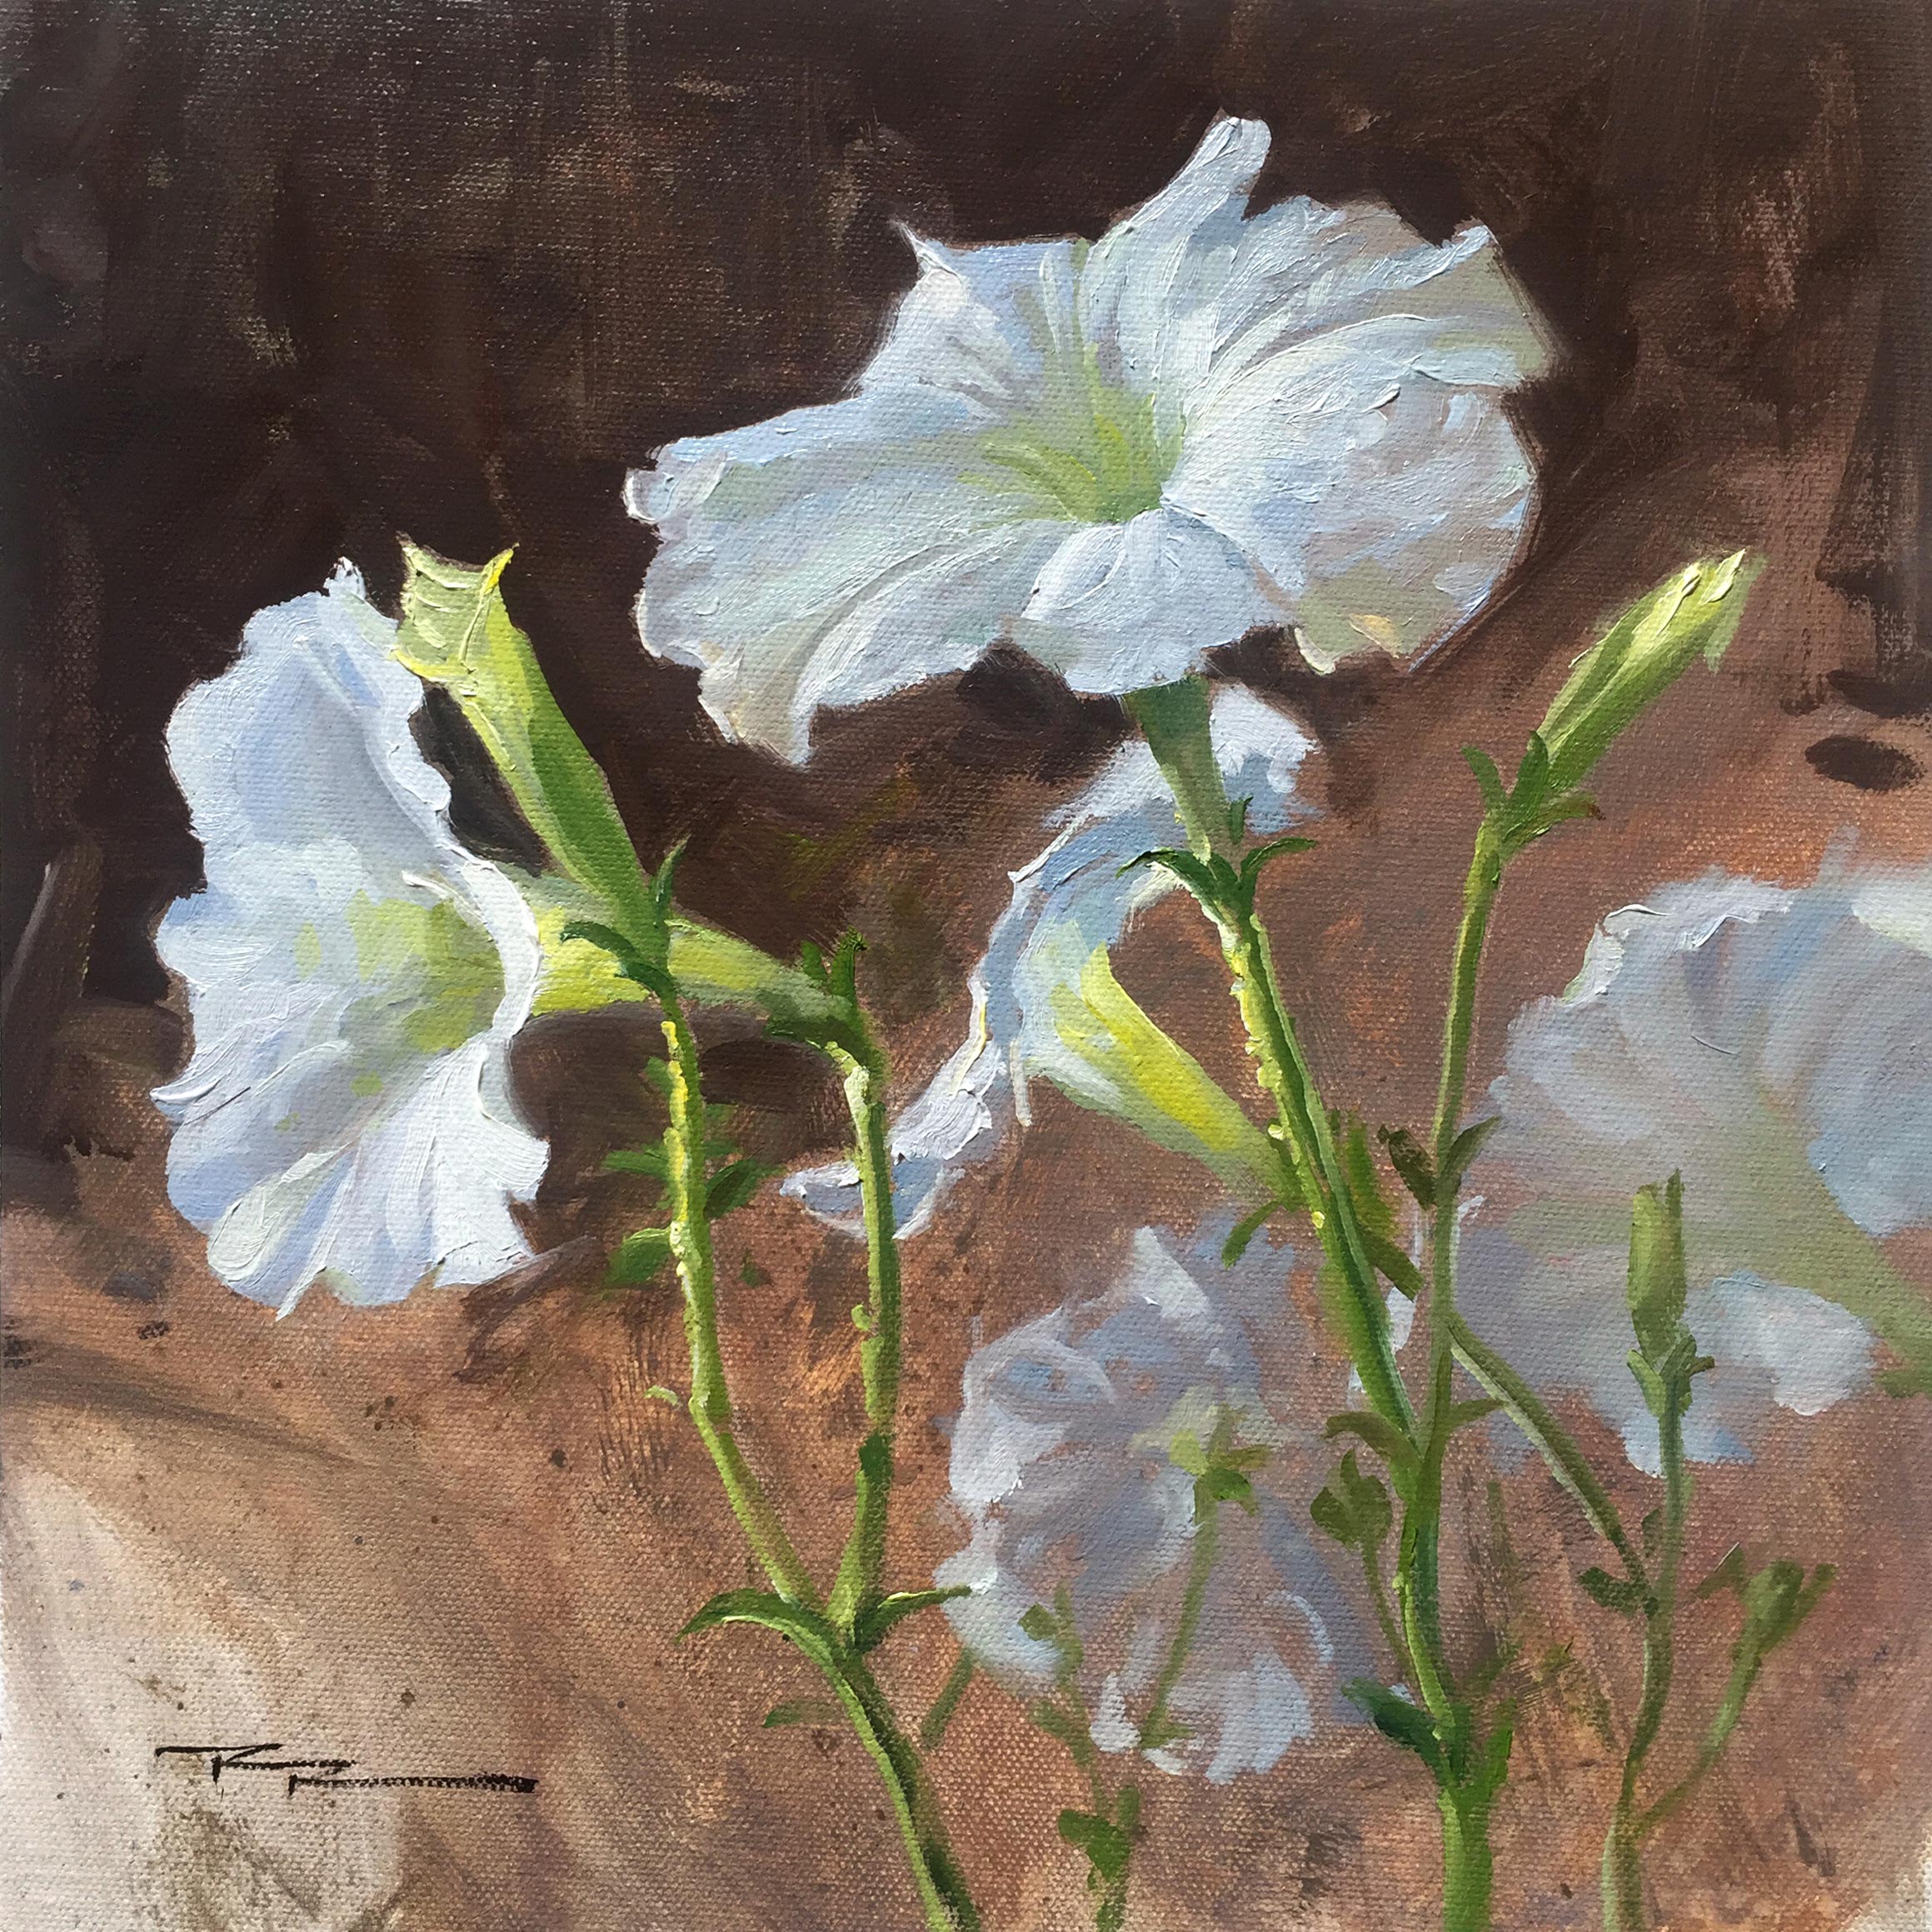
"Petunias" 11 x 11" Oil on Canvas by Richard Robinson.
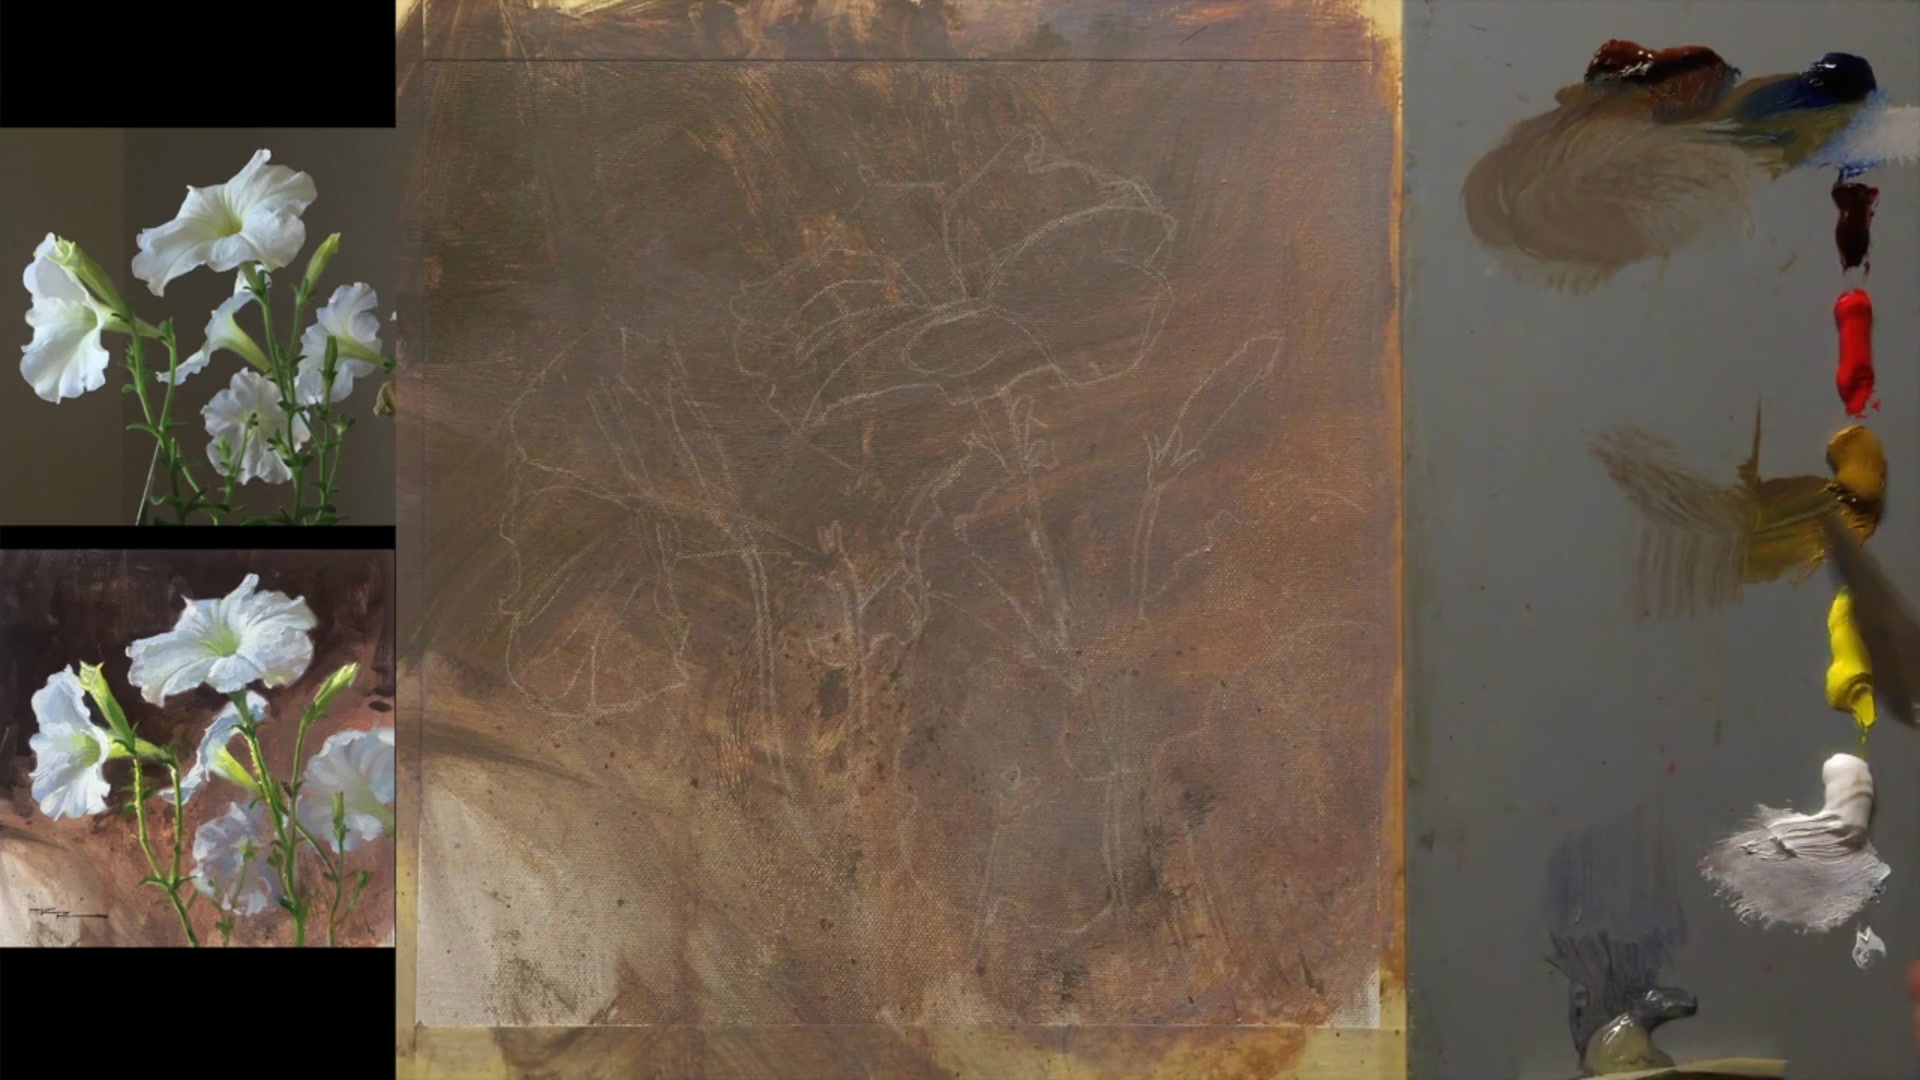
Step 6Mixing greys and greens
Mix a Cool Light Grey
Combine equal amounts of burnt sienna and blue with a lot of white to create a neutral grey. Adjust by adding more blue to achieve a slightly cooler tone. Ensure the mixture is lighter than mid-grey for subtlety in your painting.
Mix a Warm Light Grey
Add more burnt sienna and reduce the blue in your mixture to create a warm light grey. Keep the value similar to the cool grey, but with a warmer hue. This provides a balanced contrast in your painting.
Mix a Strong Green
Add a small amount of blue to yellow to create a strong green. Be cautious with the blue, as only a little is needed to transform the yellow. This green will be useful for the abundant greenery in your painting.
Pro tipUse a neutral mid-grey palette to accurately judge the subtle differences in your grey mixtures.
Embark on your painting journey by setting up a compelling composition that highlights the beauty of individual petunias. Begin by preparing your canvas with an extra coat of gesso and a warm mid-grey tone, setting the stage for a textured and dynamic background. As you progress, focus on the major shapes of the flowers, keeping the background loose to emphasize the detailed beauty of the blooms.
Mix and apply grey tones to create depth and contrast, ensuring the background complements the vibrant petals. Use a white watercolor pencil to confidently draw the big shapes, treating your painting as a study. Block in the petals with a delicate touch, using a smaller brush and gel medium to capture the intricate details of the petunias.
As you refine your painting, pay attention to the interplay of light and shadow, using cool colors for highlights to reflect the indoor lighting effect. Adjust colors and edges with precision, ensuring soft transitions and crisp edges where needed. Make final adjustments to balance the composition, enhancing contrast to make the flowers stand out against a softened background.
Points to remember
Zoom in and crop to focus on the beauty of individual flowers.
Apply an extra coat of gesso to help the canvas accept paint more easily.
Use a thin oil wash to tone down an overly intense acrylic background.
Adjust the grey's temperature by adding more burnt sienna for warmth or more blue for coolness.
Use a white watercolor pencil for better visibility when drawing on your painting surface.
Use a smaller brush and gel medium for a delicate touch when painting intricate details like petunias.
Use cool colors mixed with white for highlights to reflect the indoor lighting effect.
Use a clean brush with solvent to refine edges and prevent smudging.