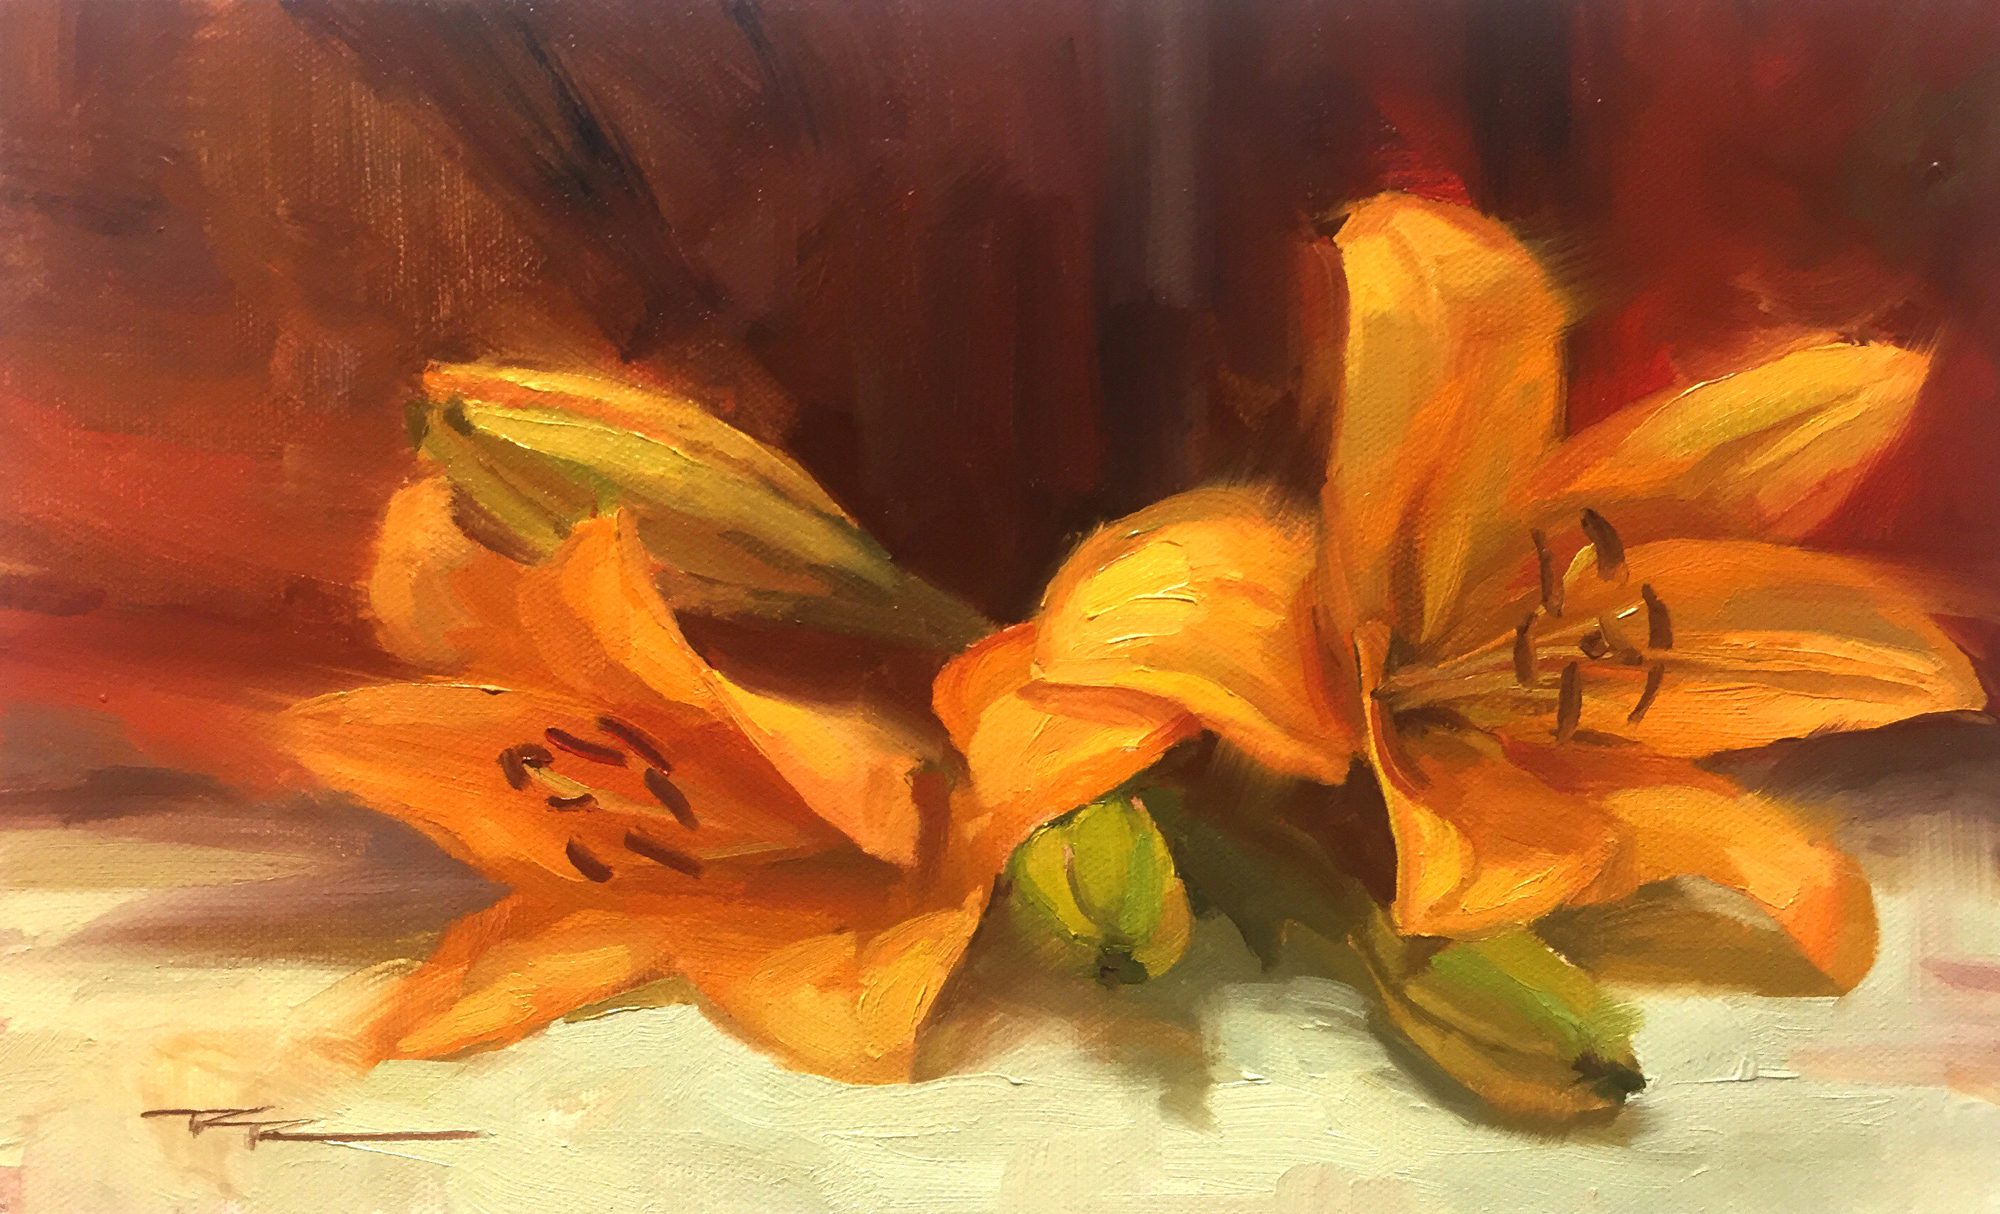
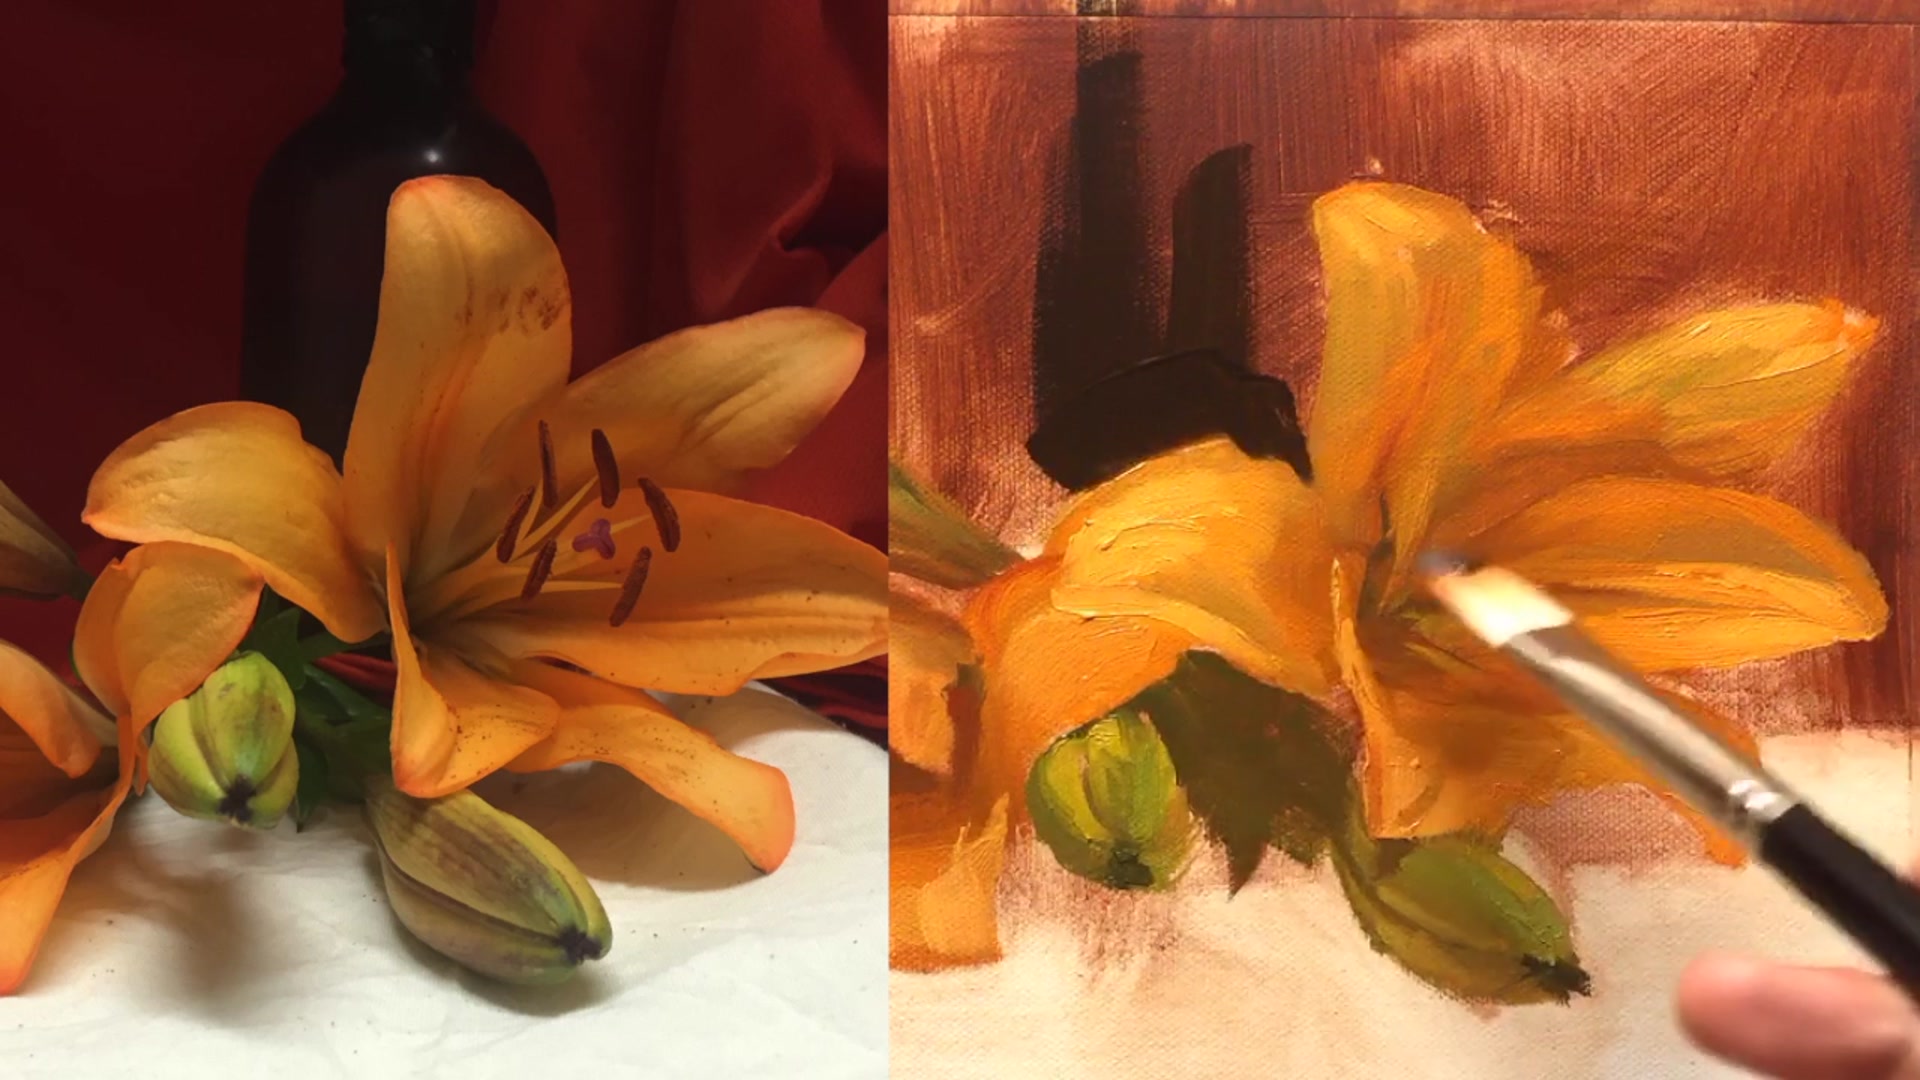
In this chapter, I invite you back into the studio to explore the beauty of lilies. Last time, we dabbled with faux roses, but today, we're diving into the real deal with these stunning, sculptural flowers. They might look like they're crafted from silk, but trust me, their intoxicating fragrance is all natural. As we delve into painting these lilies, we'll focus on capturing their essence—those three inner petals, three outer petals, and the six stamens that give them their unique character. This lesson will guide you through setting up a still life, starting with a monochrome underpainting, and then moving on to accurately matching colors to create subtle, glowing effects. It's a bit more complex than our first lesson, so we'll take our time to truly see before we paint. By the end, you'll have a deeper understanding of how to make these lilies come alive on canvas, and perhaps you'll enjoy the process as much as I do.
This guide accompanies the full video lesson. The lesson includes the complete narrated video, the printable PDF chapter, and personalised critique support.
Embark on your painting journey by thoughtfully setting up your still life, choosing a background that complements your flowers and enhances the mood you wish to convey. Begin with a monochrome block-in using burnt sienna to establish the composition's dark and light areas, creating a strong foundation for your painting. Use the drawing and wiping technique to refine your composition and protect your initial sketches with a fixative.
As you progress, observe your scene carefully, focusing on the interplay of light and shadow. Simplify the subject by blurring your vision to identify large color shapes and understand the relationship between colors. Use large brushes to block in these shapes, and gradually refine your work with smaller brushes, paying attention to the subtle variations in color and the edges that define your subject.
In the final stages, enhance your painting by adjusting edges for variety and adding glow to the petals. Pay close attention to the details and accents that bring depth and realism to your work. Remember, practice is key—start with small paintings to hone your skills before tackling larger projects. This approach will build your confidence and improve your technique over time.
Points to remember
Choose a background color that complements your flowers and sets the mood.
Use q-tips and paper towels to reveal light areas on your canvas.
Apply a fixative to protect pencil lines from solvent.
Allow underpainting to dry thoroughly before adding color.
Observe your scene and blur your eyes to simplify shapes and colors.
Use straight paint for lights to keep them thick and vibrant.
Adjust edges for variety to enhance the composition.
Practice with small paintings to improve your skills.