In this chapter, I invite you to explore the captivating beauty of Garrapata, a stunning stretch of the Californian coastline near Point Lobos. Each section of this coastline offers its own unique charm, making it a challenging yet rewarding subject to capture on canvas. In this lesson, we focus on the art of premixing greys, a technique that can significantly speed up your painting process. As landscape painters, we often find that the colors we observe are subtly greyed, and mastering this can transform your work. By premixing a set of greys before you begin, you'll find that the often time-consuming task of color mixing becomes much more efficient. This approach not only saves time but also allows you to focus more on the creative aspects of painting. Follow along with my step-by-step guide or use the resource photo to infuse your own style into the scene. Embrace the challenge and joy of painting this remarkable landscape, and discover how these techniques can enhance your artistic journey.
This guide accompanies the full video lesson. The lesson includes the complete narrated video, the printable PDF chapter, and personalised critique support.
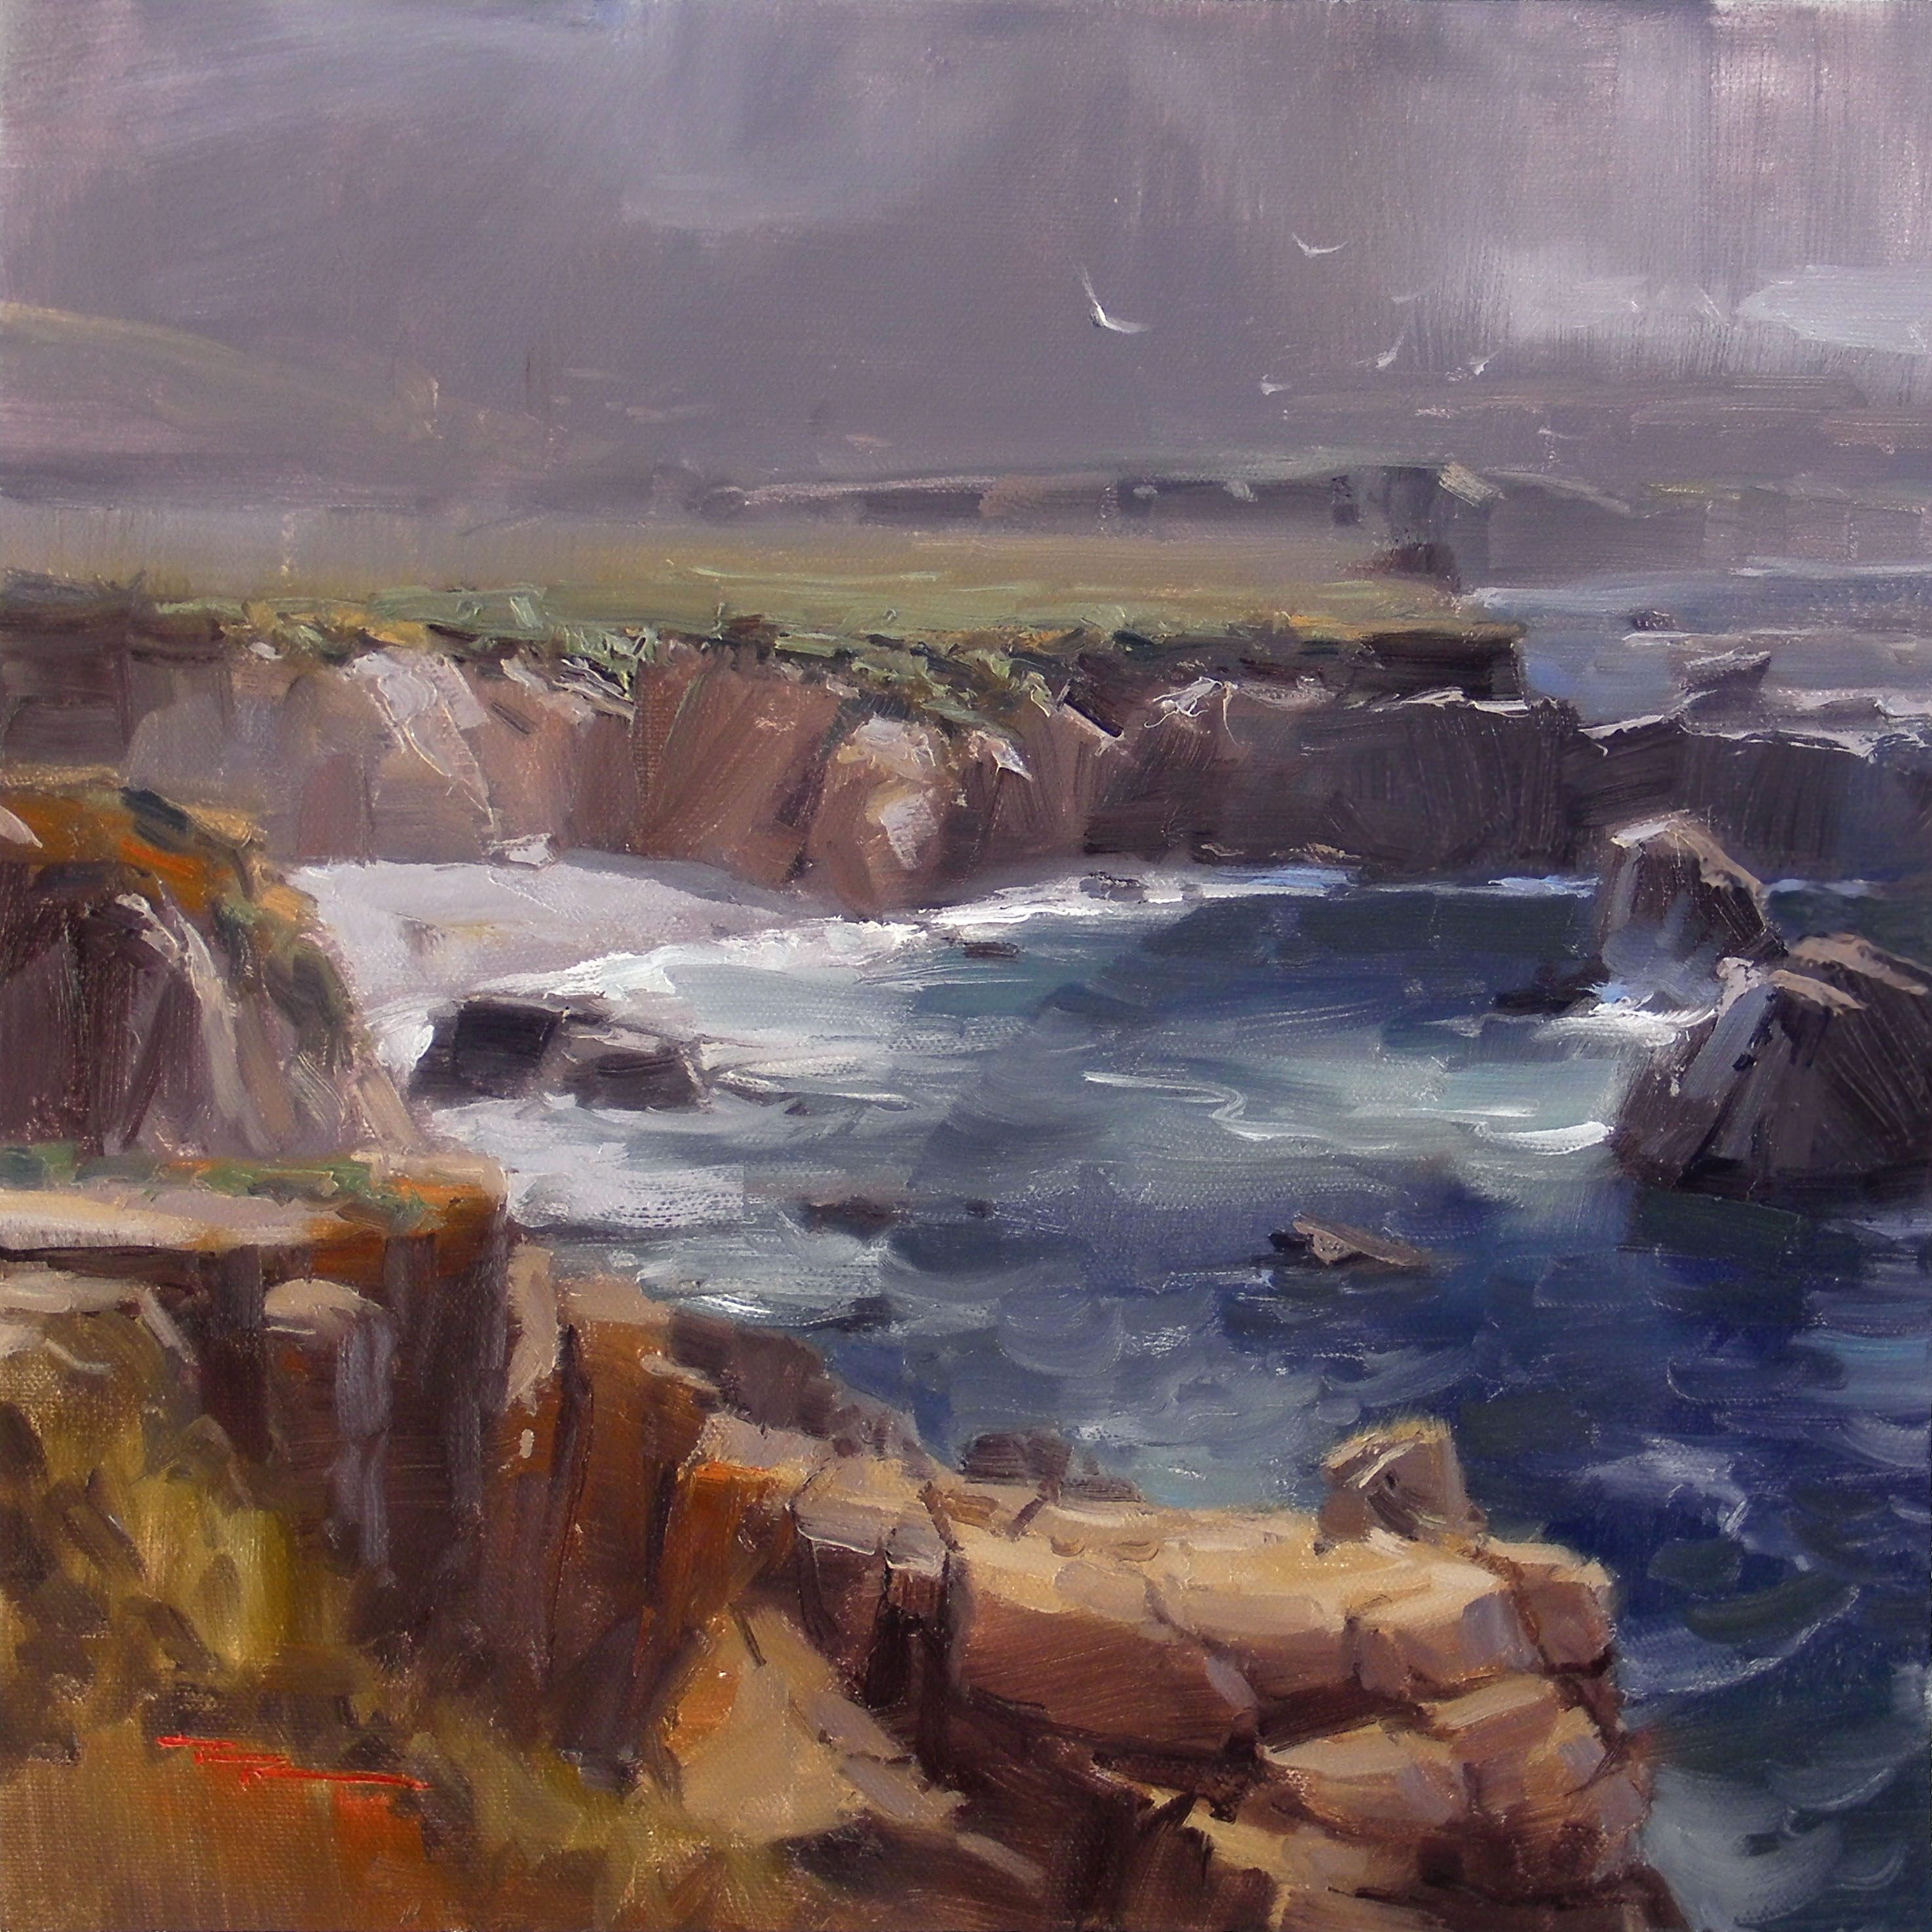
"Garrapata" 12x12" Oil on Canvas by Richard Robinson
Step 1Mixing warm and cool grays
Mix a Dark Cool Gray
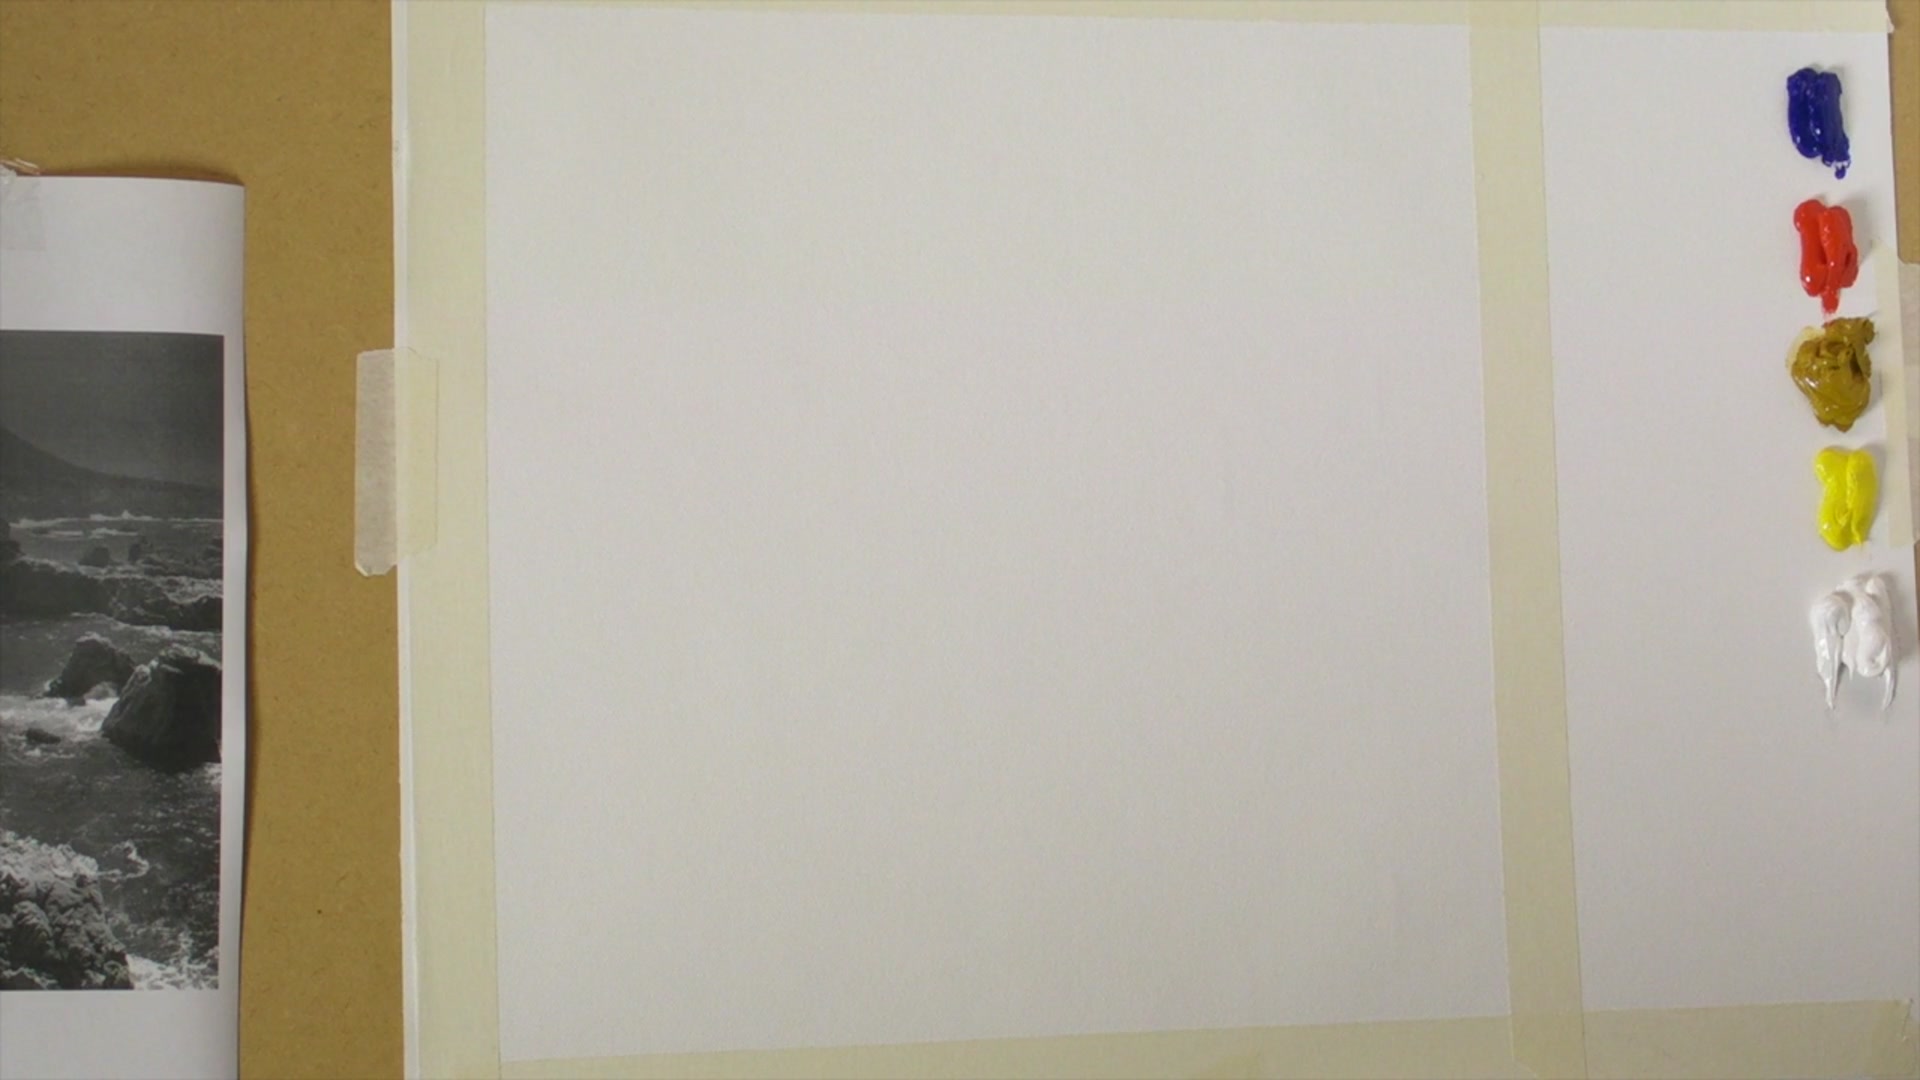
Start with a blob of blue, then add some red and yellow ochre, and a little bit of white. Mix these colors together to create a very dark neutral gray that leans slightly towards blue.
Create a Mid-Gray
Take a small portion of the dark cool gray and add white to it. Aim to mix a mid-gray that is halfway between black and white.
Mix a Light Gray
Take a very small piece of the mid-gray and add a lot of white. Create a very light value, just one or two steps away from white.
Mix a Dark Warm Gray
Mix a dark warm gray similar to the first value, but adjust it to lean towards red on the color wheel.
Create Warm Gray Values
Add white to the dark warm gray to achieve the same range of values as before, ensuring you have distinct differences between each value.
Pro tipExperiment with the warmth and coolness of your grays by adjusting the amount of red or blue in your mix.
Embark on your painting journey by mastering the art of mixing warm and cool grays. This foundational step sets the tone for your entire piece, allowing you to create a dynamic range of values that will bring depth and contrast to your work. As you progress, remember to embrace experimentation, as trying new techniques can lead to unexpected and exciting results.
As you sketch the major shapes and block in the cliffs and rocks, focus on capturing the essence of your reference image. Use a thin mixture for sketching to allow easy adjustments, and layer your colors thoughtfully to build a solid foundation. Pay attention to the foreground, using warmth to create a sense of depth and draw the viewer's eye into the scene.
In the final stages, refine your painting by adding texture and detail. Use a combination of soft and sharp edges to create interest and maintain contrast. Keep your palette harmonious by using grays to tone down bright colors, ensuring a balanced composition. Finish with delicate touches like seagulls and a subtle signature to complete your artwork with finesse.
Points to remember
Experiment with the warmth and coolness of your grays.
Use a thin mixture to sketch lightly, allowing for easy adjustments.
Use grays to adjust overly vibrant colors, maintaining subtle variations.
Use more warmth in the foreground to enhance depth.
Maintain color harmony by using a reduced palette.
Use grays to keep bright colors toned down and harmonious.
Keep the fan brush clean to avoid muddy colors.
Only soften the dark areas while keeping the light areas sharp.