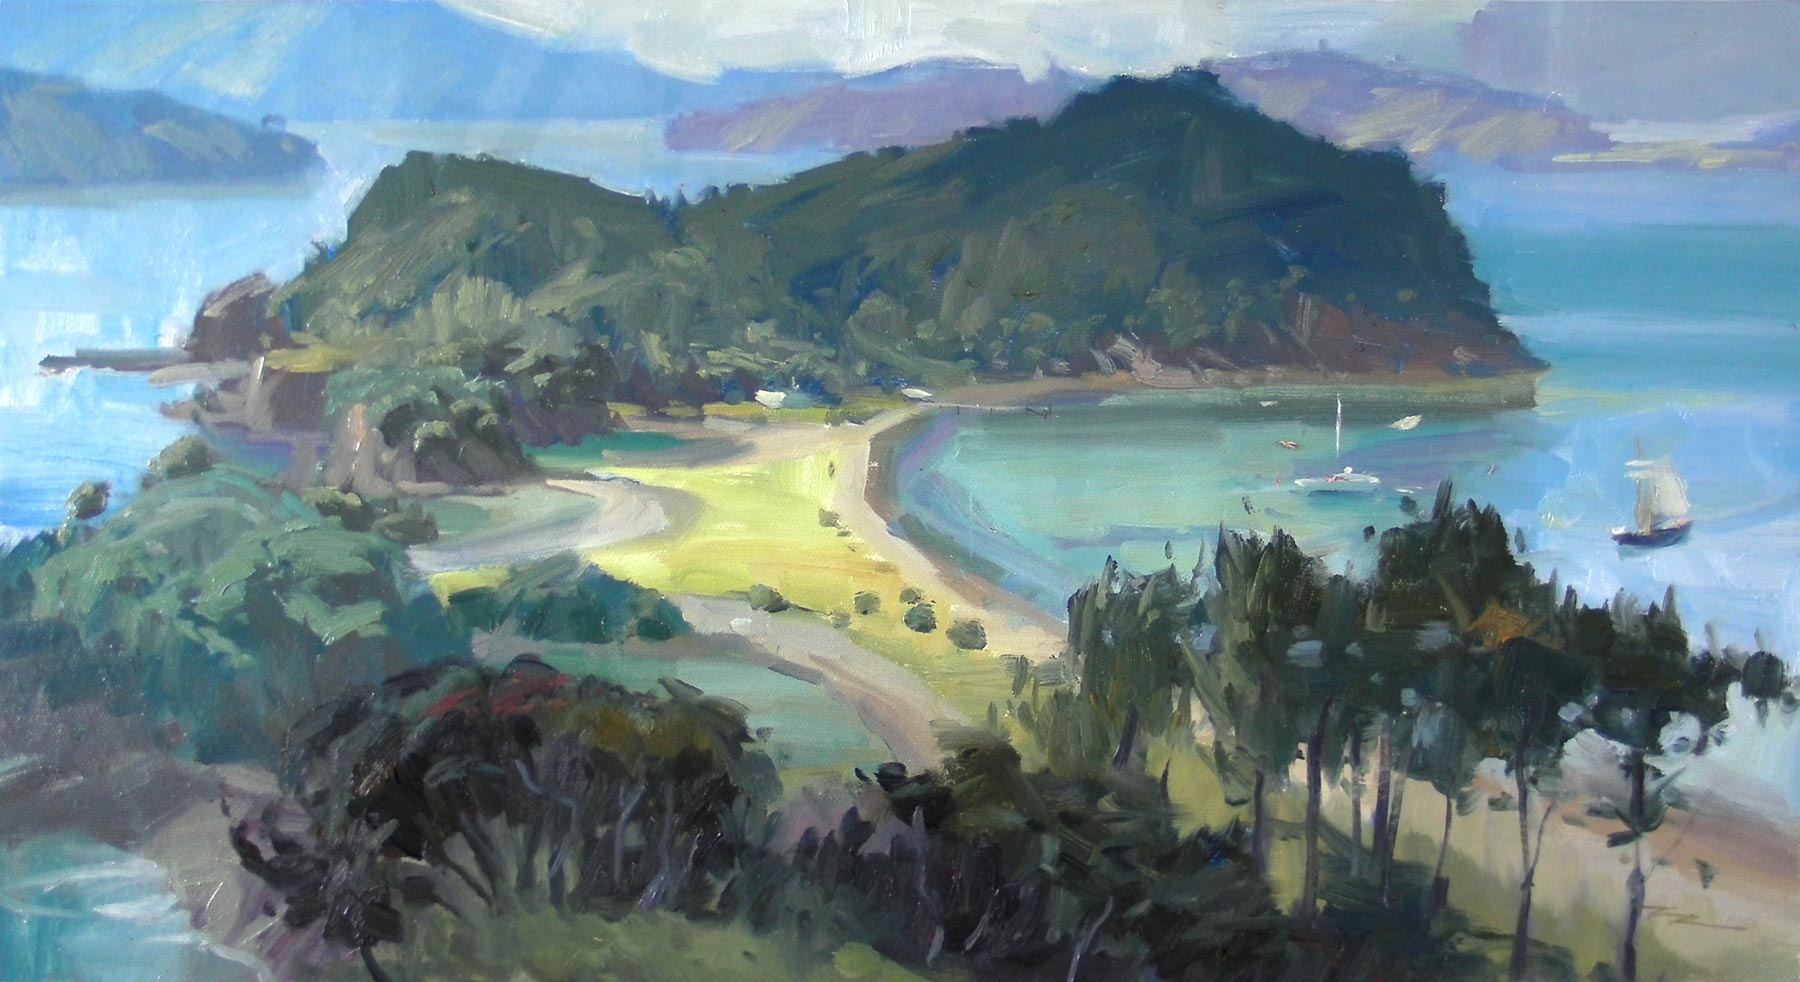
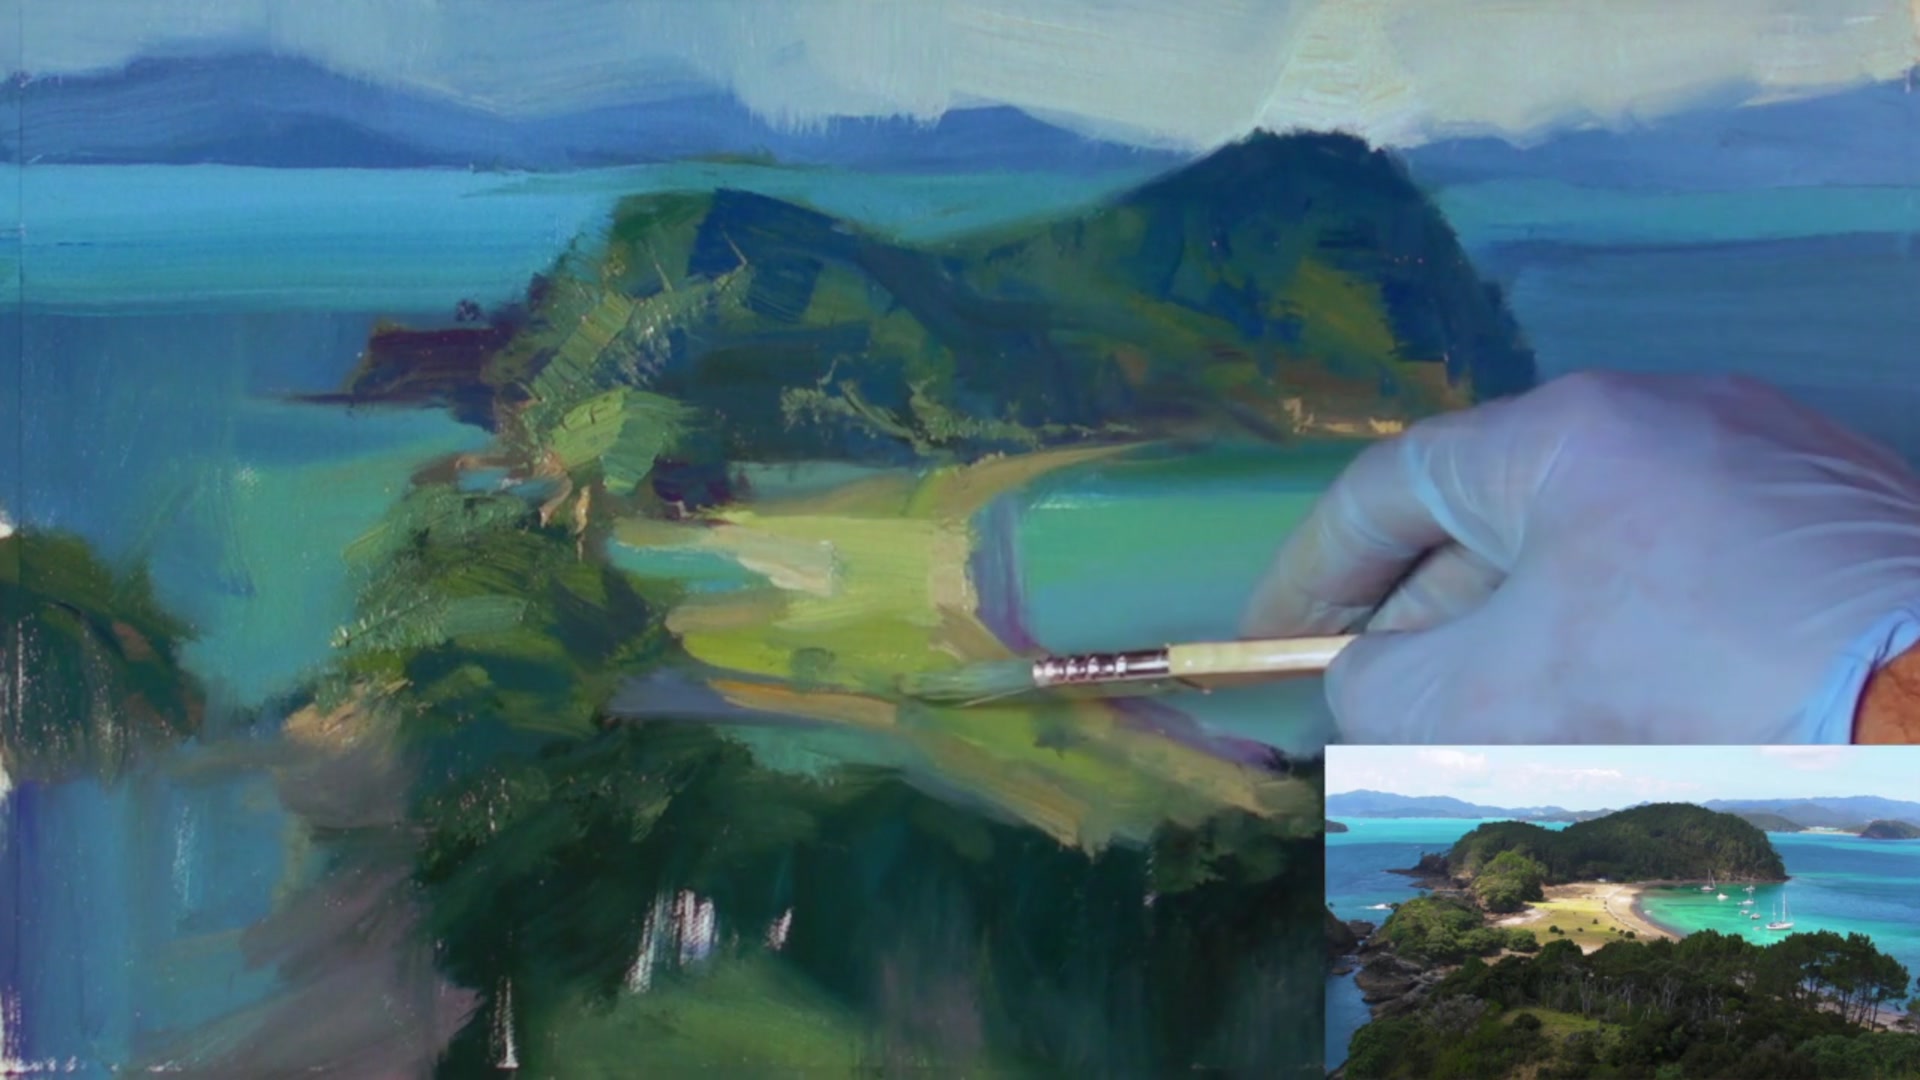
In this chapter, we're embarking on an exciting journey to Roberton Island in the Bay of Islands, New Zealand, a place that holds a special spot in my heart. It's a location filled with cherished memories from my childhood, and now I get to share it with my own kids. This stunning setting is the perfect backdrop for our lesson in expressionism, where we'll challenge ourselves to paint more loosely and break free from the confines of 'little brush syndrome.' We'll be using just one large brush and a credit card to create our masterpiece. This approach encourages us to embrace the texture of the paint, allowing it to suggest detail rather than meticulously applying it with a small brush. The magic happens when a viewer sees a beautifully intricate scene from afar, only to discover a captivating abstract when they step closer. It's a rewarding experience that transforms our perception of painting. Feel free to use your own photos if you prefer, as the goal is to explore these new tools and techniques. Let's dive in, have fun, and see what we can create together in this breathtaking location.
This guide accompanies the full video lesson. The lesson includes the complete narrated video, the printable PDF chapter, and personalised critique support.
"Roberton Island" 11x16" Oil in Canvas by Richard Robinson
Step 13Final Touches and Details
Soften the Edge
Use your fingernail to gently soften the edge of the hill. This will help push the hill into the distance and make the sharp edge stand out more by comparison.
Add a Mast
Use a tiny brush to apply a thin strip of paint right on the edge. This technique can create the appearance of a little mast, adding detail to your painting.
Pro tipUse your fingernail to soften edges and create depth by pushing elements into the distance.
Embark on your painting journey by carefully preparing your canvas and sketching the major shapes. Pay close attention to the angles and proportions, especially the beach, as this sets the foundation for your entire composition. As you lay down your initial colors, use atmospheric perspective to create depth, transitioning from cooler, lighter tones in the distance to darker, warmer hues in the foreground.
Experiment with texture by varying brush techniques and paint thickness. Use large brushes and even unconventional tools like a credit card to add dynamic textures and sharp edges. These techniques will help bring your landscape to life, adding interest and dimension to your work.
As you refine your painting, focus on contrasts and focal points. Use shadows to enhance depth and ensure your composition remains clear by avoiding intersecting lines. Pay attention to light transitions, keeping your brush clean to maintain vibrant colors. Finally, add delicate details and soften edges to create a sense of distance and realism, completing your masterpiece with finesse.
Points to remember
Focus on getting the angle of the beach correct during the initial sketch.
Darken the colors as you move towards the foreground to create depth using atmospheric perspective.
Press the brush down onto the surface to create a delicate, lacery texture.
Play with different brush techniques to discover unique textures and effects.
Use a darker, bluer green in the foreground to create a shadow effect and enhance depth.
Use a credit card to apply thick paint and create sharp edges and texture.
Lighten the sky just above the hill's peak to create a focal point with contrasting light and dark.
Keep your brush clean to prevent muddied colors when transitioning between light and dark areas.