Preparing MDF Board for Painting Like a Pro
Getting your painting surface just right is key to achieving those professional-looking results. In this guide, I’m going to walk you through the steps to prep a piece of MDF (Medium Density Fiberboard) so you’ve got the perfect base for your artwork. This method will give you a smooth, even surface—just like the pros use.
Start with a piece of MDF. It’s affordable, reliable, and works great as a painting surface. Give it one coat of standard house acrylic undercoat. You can use artist’s undercoat if you prefer, but the regular stuff is usually more budget-friendly and works just as well.
Once that undercoat is dry, grab your 220 grit sandpaper and give it a light sand. The goal is to smooth out any bumps and create a nice, even texture. Make sure you wipe away all the dust afterward so you’re working with a clean surface.
If your undercoat has been sitting around for a while and has thickened up, give it a good stir. If it’s too thick, you can add a little water—about 10% of the paint’s volume should do the trick. Just be careful not to overdo it, or you’ll end up thinning the paint too much.
Before you start painting, make sure to pre-wet your synthetic bristle brush. This helps prevent paint from drying in the brush’s ferrule, which can ruin it over time. A larger brush with fine bristles will give you a smoother finish, but a smaller brush can work too, especially for tighter areas.
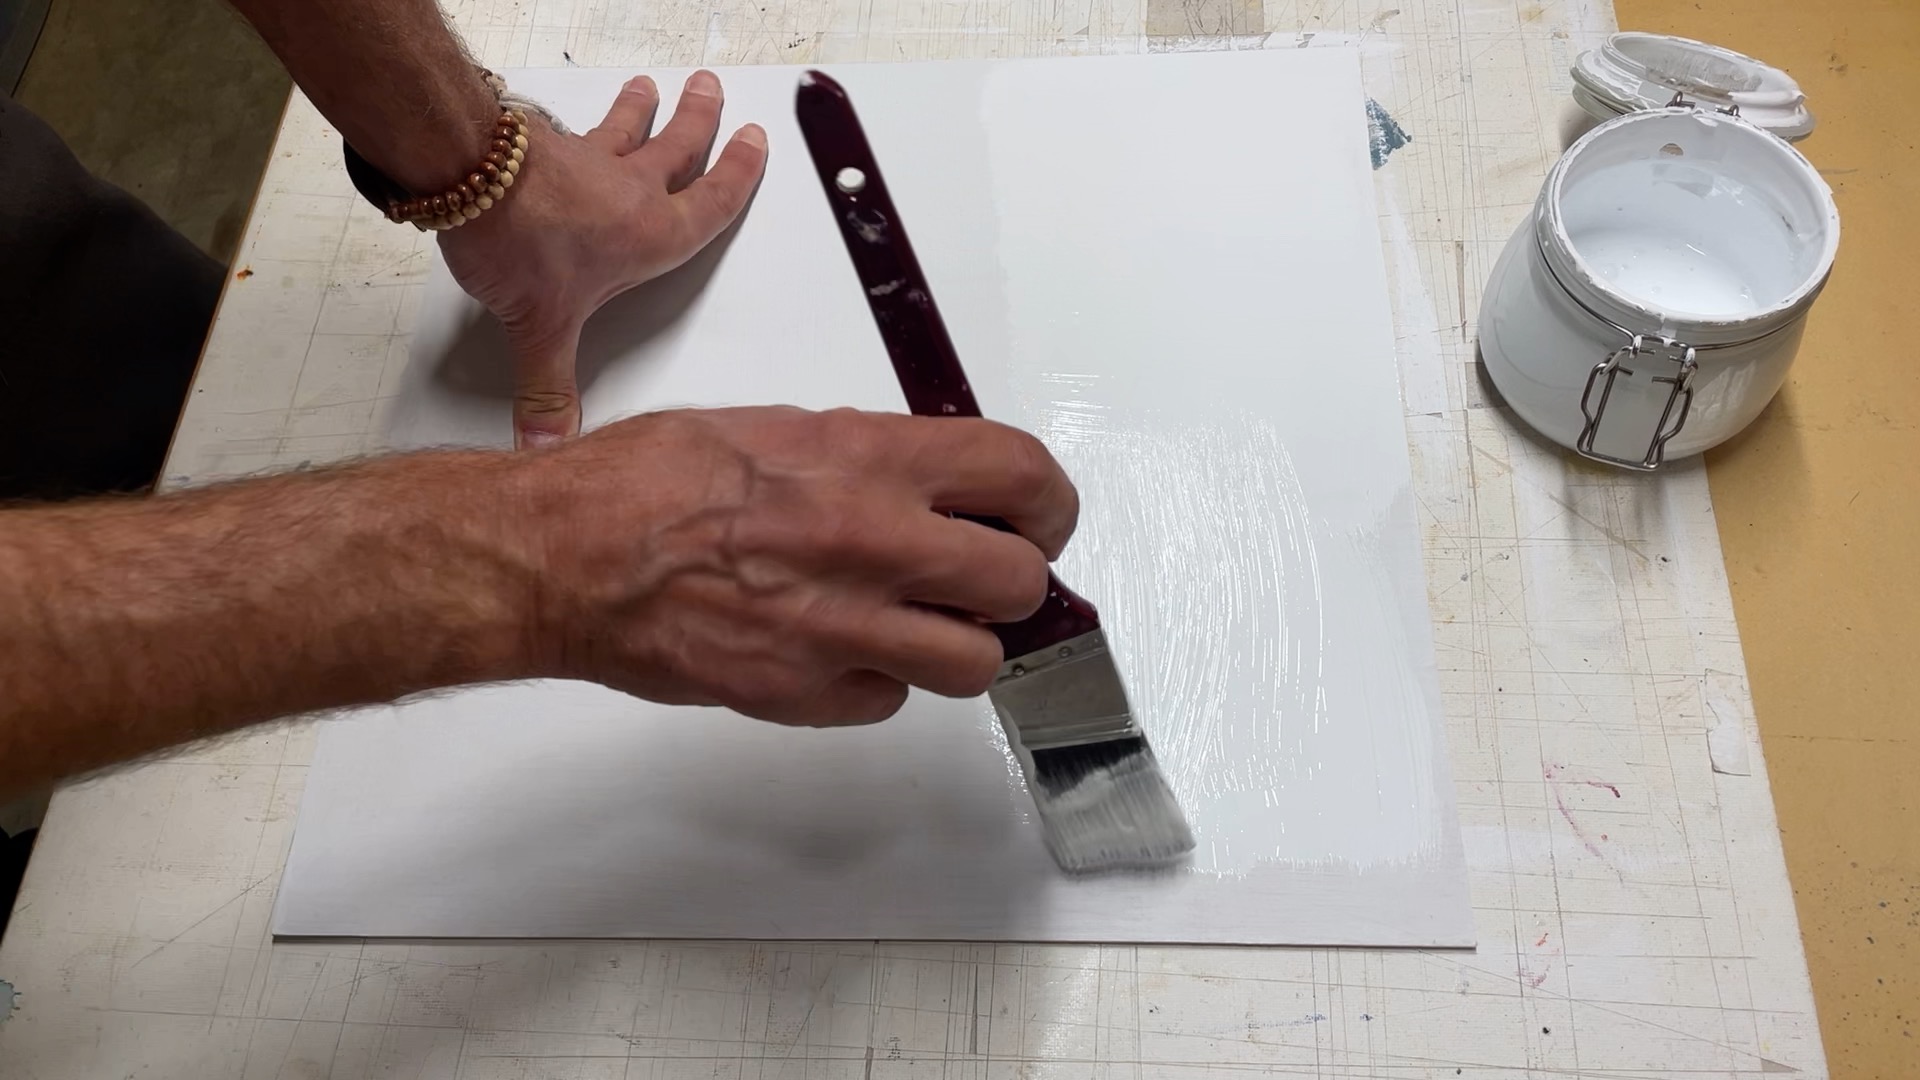
Dip your pre-wet brush into the undercoat and start painting from one corner of the MDF. Lay the paint on thick at first, then spread it out evenly. Watch out for the edges—they can be a bit tricky, so make sure they’re well-covered for a uniform look.
Work in small sections, applying the paint in one direction, then go over it with strokes in the opposite direction. This crisscross method helps ensure the paint is evenly spread across the board. Feather out the paint to avoid leaving visible brush strokes.
Once you’ve got a good, even layer of paint, squeeze any excess paint off your brush. Then, drag it lightly over the surface in overlapping strokes to smooth out any lumps and bumps. Let the paint dry completely before moving on.
After the first coat is dry, take a look for any imperfections. Then, give it a light sand, dust it off and apply a second coat just like you did the first, but this time drag the brush in the opposite direction of your first strokes. This creates a subtle crosshatch texture, giving the surface a look similar to fine canvas.
Don’t forget to seal the sides and back of the MDF as well. This step is crucial because MDF tends to soak up moisture, so you want to protect it as much as possible.
Let the second coat dry overnight, then give it a final light sanding. Repeat the painting process one more time for a third coat. After that, your MDF board will be prepped, sealed, and ready for you to start creating your masterpiece.
Now that your MDF is prepped and ready, you’ve got a solid foundation to start your next painting. Taking the time to properly prepare your surface makes a huge difference in the quality and longevity of your paintings. So go ahead—grab your brushes and get creative!
By following these steps, you’re ensuring that your MDF board is perfectly prepped and ready to bring your artistic vision to life.
Login to your account to post a comment.