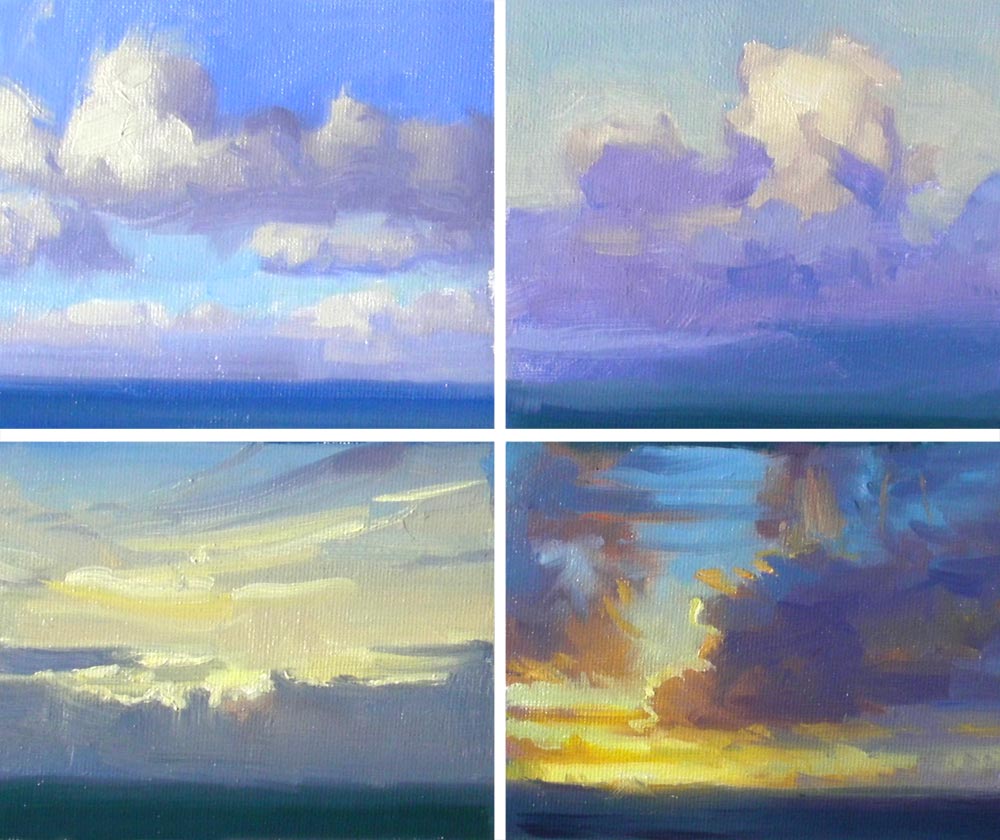
In this chapter, we delve into the captivating world of painting clouds, a subject that has intrigued many of you and is one of the most requested topics in my workshops. Hawaii, with its breathtaking skies, serves as the perfect backdrop for this exploration. Painting clouds is both thrilling and a bit daunting, as they embody a unique blend of structure and unpredictability. As artists, we must balance the analytical construction of their forms with the freedom to capture their abstract essence. My approach is to simplify the scene, which not only helps manage the complexity but also makes the painting more accessible to viewers. I often find myself challenged to add more detail, while some of you might face the opposite struggle of needing to simplify. In this lesson, I will guide you through my process of painting various cloud forms, encouraging you to observe and translate these 'wee beasties' onto your canvas. Together, we'll learn to visualize clouds as solid geometric shapes, understand their light and shadow dynamics, and simplify color mixing to achieve a realistic effect. Let's embrace the challenge and joy of painting clouds in all their glory.
This guide accompanies the full video lesson. The lesson includes the complete narrated video, the printable PDF chapter, and personalised critique support.
"Cloud Studies" 11x12" Oil on Canvas by Richard Robinson
Step 4Painting Cloud Shadows and Halftones
Sketch the Horizon and Cloud Shapes
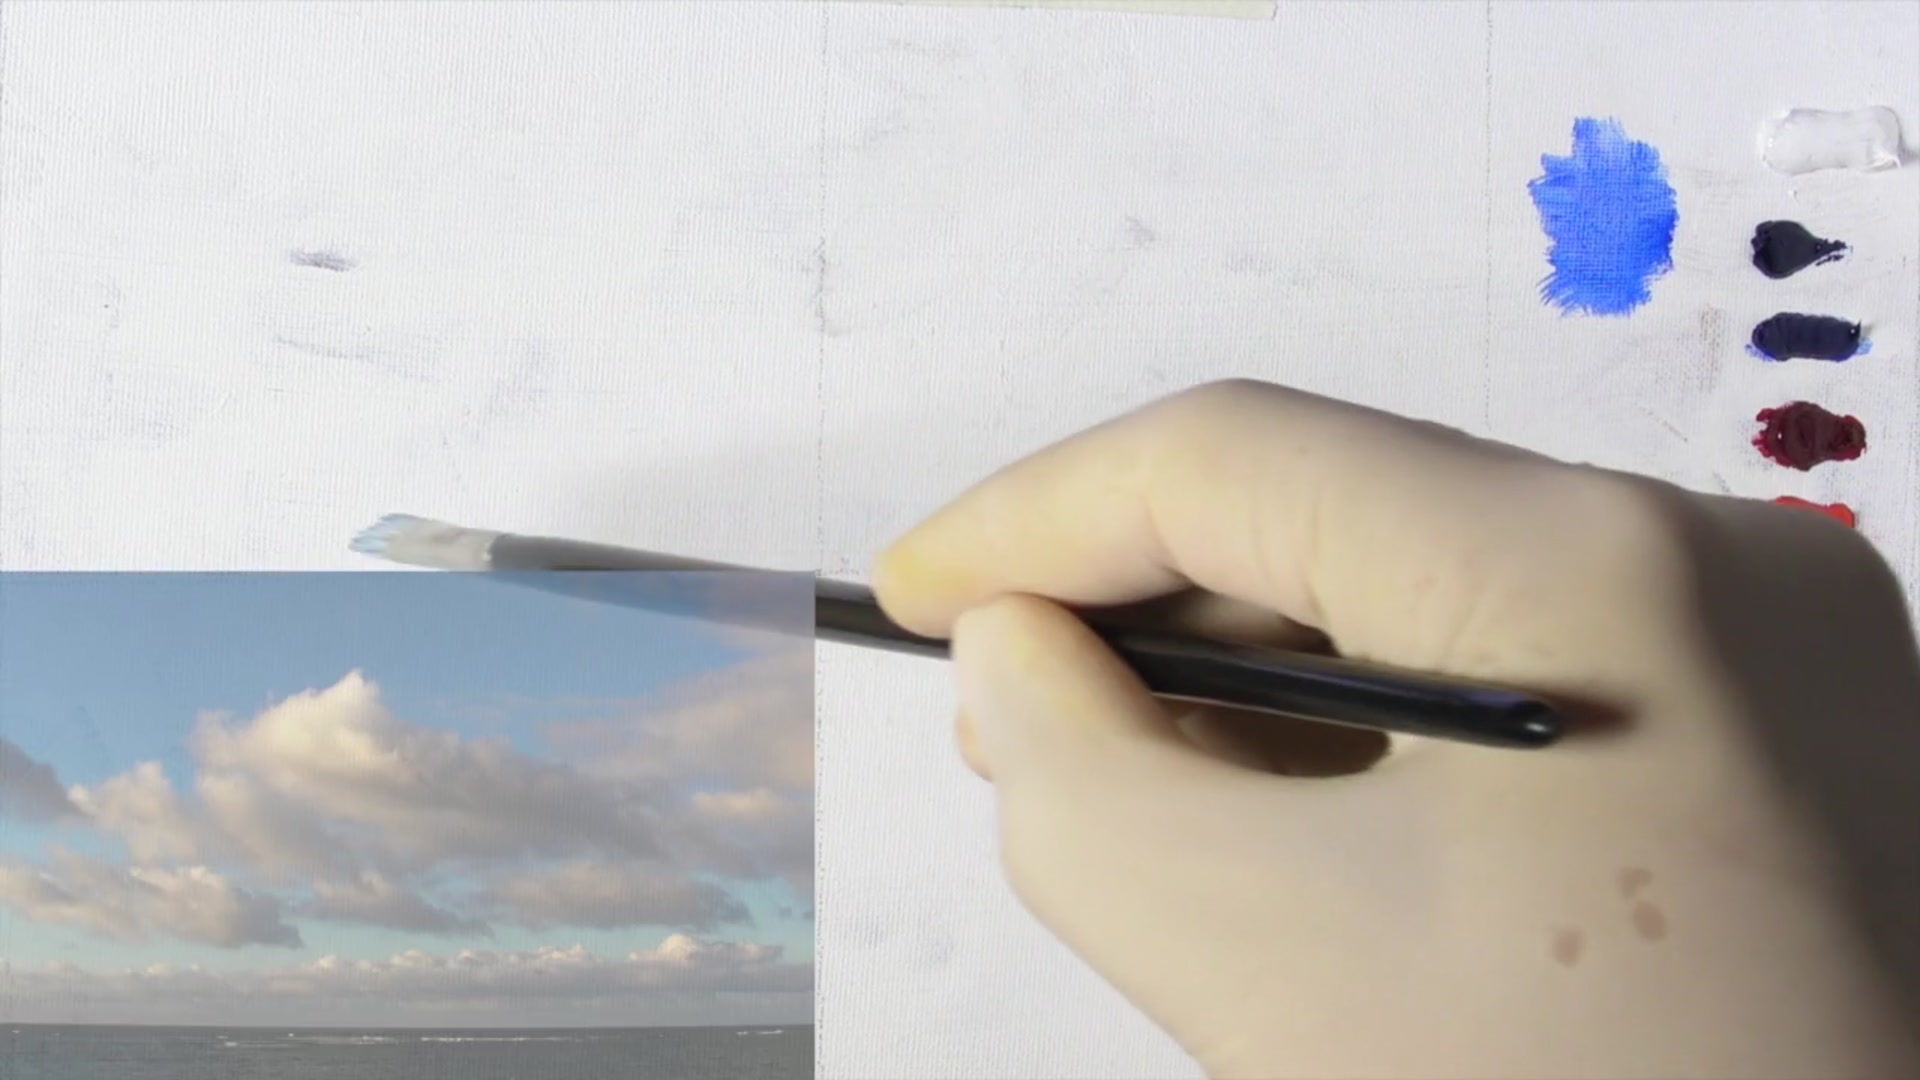
Use an oily mixture of ultramarine blue and walnut oil to sketch the horizon line. Outline the basic shapes of the main clouds, ensuring the bottoms of the clouds flatten as they recede into the distance.
Paint the Cloud Shadows
Mix ultramarine blue, a little red, and a fair amount of white to create a middle value color for the shadow side of the clouds. Apply this mixture thinly with plenty of oil to cover the canvas without leaving gaps. This fluid application helps establish the dark areas of the clouds.
Adjust Shadow Colors for Distance
As you move to the next set of clouds, lighten and cool the shadow color by adding more white and a touch of blue. This adjustment creates atmospheric perspective, allowing the clouds to recede naturally into the background.
Mix Halftone Colors
Create a lighter, warmer gray for the halftones, which are the cloud faces not fully in light or shadow. Use the warm light, cool shadow principle: as you move into the light, make colors lighter and warmer by adding more red to halftones and more yellow to lights.
Adjust Halftones for Depth
Lighten and cool the halftones as they recede into the distance, similar to the shadow colors. This prevents them from standing out too much and maintains the depth in the sky.
Pro tipUse atmospheric perspective by lightening and cooling colors as they recede to create depth in your sky.
Embark on your cloud painting journey by visualizing clouds as solid geometric forms, focusing on their structure and lighting. Begin with blocky shapes, refining them gradually to create unique and dynamic cloud formations. Pay attention to the direction of light to establish realistic light and shadow sides, and use a simplified color palette to capture the essence of clouds.
As you progress, incorporate perspective to add depth, making sure closer clouds appear larger and more detailed, while distant clouds flatten and recede. Use atmospheric perspective by lightening and cooling colors as they move into the distance, enhancing the sense of space and realism. Manage edges carefully, blending most to softness while reserving a few sharp ones for contrast.
Finally, add drama and interest by incorporating accents and details, such as crisp shadows and highlights that reflect the natural light. When painting sunsets, work from light to dark to capture the vibrant transitions of color without muddiness. Throughout, maintain clean brushwork and vibrant color relationships to ensure a harmonious and dynamic composition.
Points to remember
Visualize clouds as solid geometric shapes to understand form and lighting.
Ensure every cloud and part of the cloud is unique to avoid repetition.
Think of the sky as a city of clouds with streets running between them.
Use atmospheric perspective by lightening and cooling colors as they recede.
Most cloud edges should be soft, with only a few sharp edges for contrast.
As clouds recede, adjust their contrast to blend more with the sky color.
Use phthalo blue for cooler sky tones that lean towards green.
Keep your brush clean and reload it with fresh paint for vibrant colors.