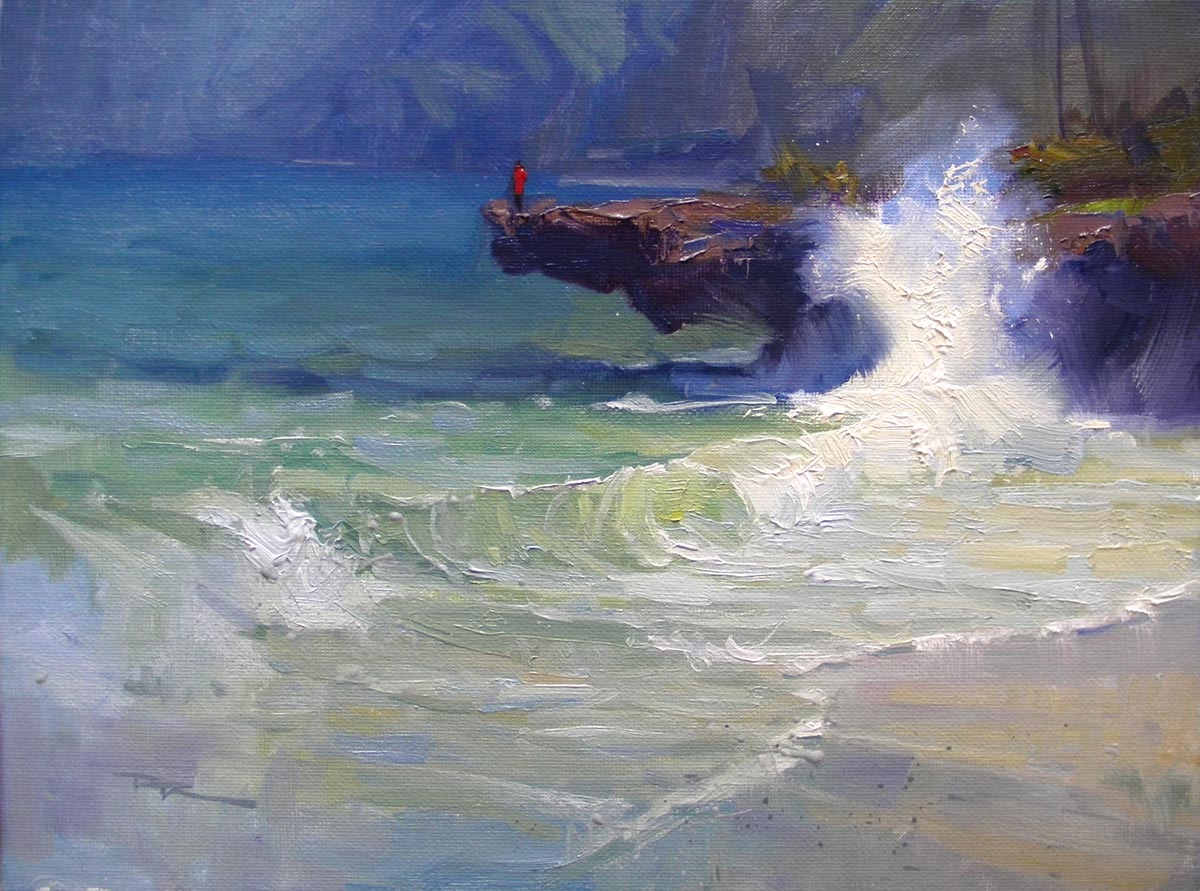
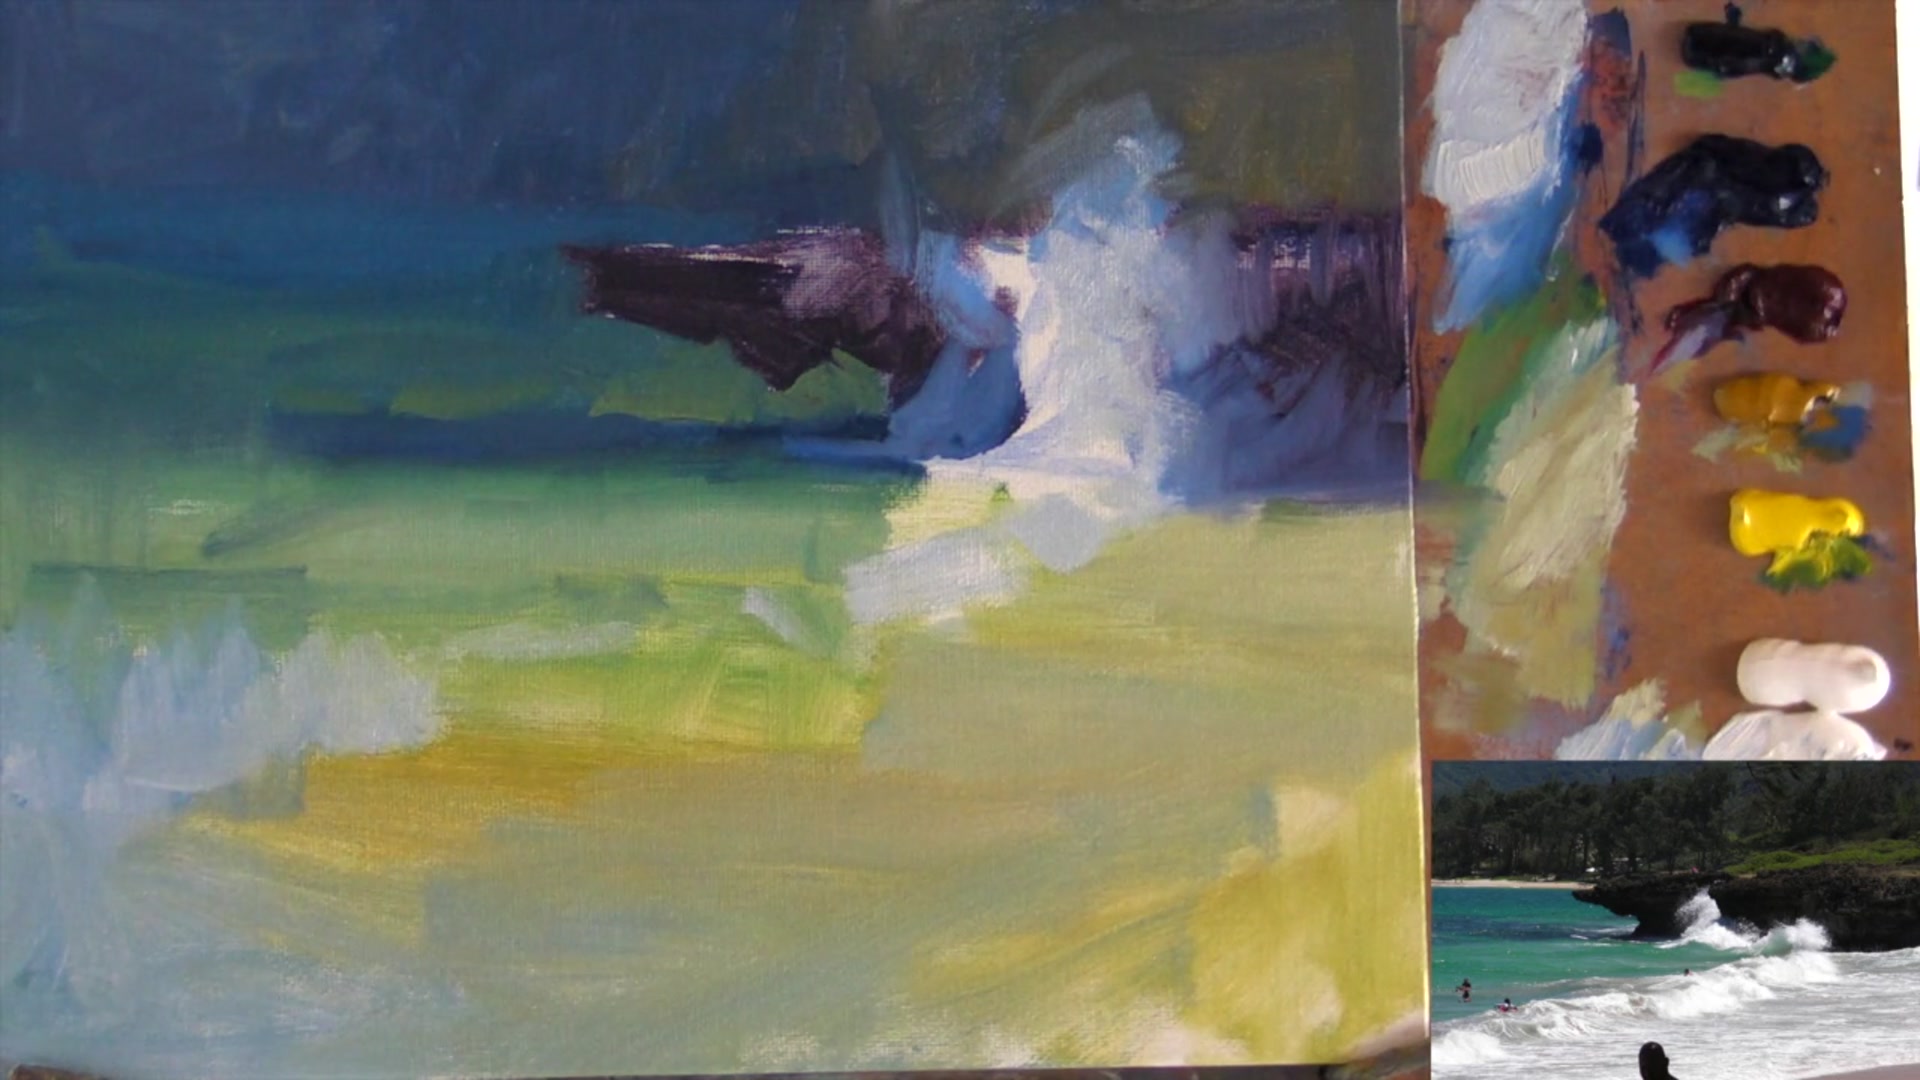
Welcome to this chapter, where we'll dive into the art of painting waves with expressive brushwork. This lesson is set at a beach affectionately known as Pounders, named for the powerful waves that crash against its shore. The scene is perfect for capturing the dynamic energy of the ocean, with its dramatic lava rock outcroppings that send up spectacular bursts of white spray. As we explore this subject, you'll learn how to infuse your painting with beautiful, exciting brushwork. I believe that effective brushwork should have variety, unity, purpose, and vigor. Up close, it should present an intriguing abstract collection of marks, which then resolves into a coherent scene as you step back. In this chapter, I'll guide you step by step, or you can use the resource photo to create something uniquely your own. Keep your eyes open and watch the waves closely, focusing on the split second when they reach the perfect position. Together, we'll capture the colors and forms of the waves, making this a rewarding and enriching painting experience.
This guide accompanies the full video lesson. The lesson includes the complete narrated video, the printable PDF chapter, and personalised critique support.
"Pounders II" 11x14" Oil on Canvas by Richard Robinson
Step 11Shadow and light on waves
Create Shadow on the Wave
Use a very light cool gray to paint the shadow areas of the wave. This will help establish the three-dimensionality of the wave.
Add Light to the Wave
Apply a very thick light warm color, almost white, over the shadow areas. This contrast will enhance the wave's form and highlight the light source.
Paint the Rock with Texture
Mix a brown color without thoroughly blending it on the palette. Push the paintbrush into the pile and apply the paint thickly. The dry mixture, without any painting medium, will create a textured look, enhancing the impression of rocks.
Pro tipUse a dry, thick paint mixture to create texture and interest in rock surfaces.
Embark on your painting journey by observing the dynamic beauty of waves. Capture the fleeting moment when a wave reaches its peak, using online resources to guide your understanding of the scene. Analyze the structure and spacing of the waves to create a realistic depiction, and employ expressive brushwork to convey the energy and movement of the ocean.
Begin your composition by sketching the horizon and major shapes, ensuring the surf interacts dynamically with the rocks. Mix and modify your colors to maintain harmony and efficiency throughout the painting. Use a variety of brushwork techniques to add texture and interest, especially in areas like the splash and the rocks.
As you refine your painting, focus on creating depth and contrast through careful color choices and softening techniques. Highlight the waves with thick, textured paint, and add random patterns for a natural effect. Pay attention to the details in the foreground, such as reflections and foam, to enhance the realism and visual appeal of your scene. Remember to adjust colors and textures to capture the essence of light and shadow on the waves.
Points to remember
Observe the waves closely to capture their colors and form at the right moment.
Use photos and videos as references to capture complex scenes like waves in motion.
Experiment with different brushwork techniques to achieve dynamic contrast.
Draw the wave in perspective to create depth and guide the viewer's eye.
Continuously modify your base color to enhance efficiency and cohesion.
Use quick flicks with your brush to express movement and energy.
Soften edges in less important areas to guide focus to the main subject.
Wipe the brush clean frequently to maintain bright, clean highlights.