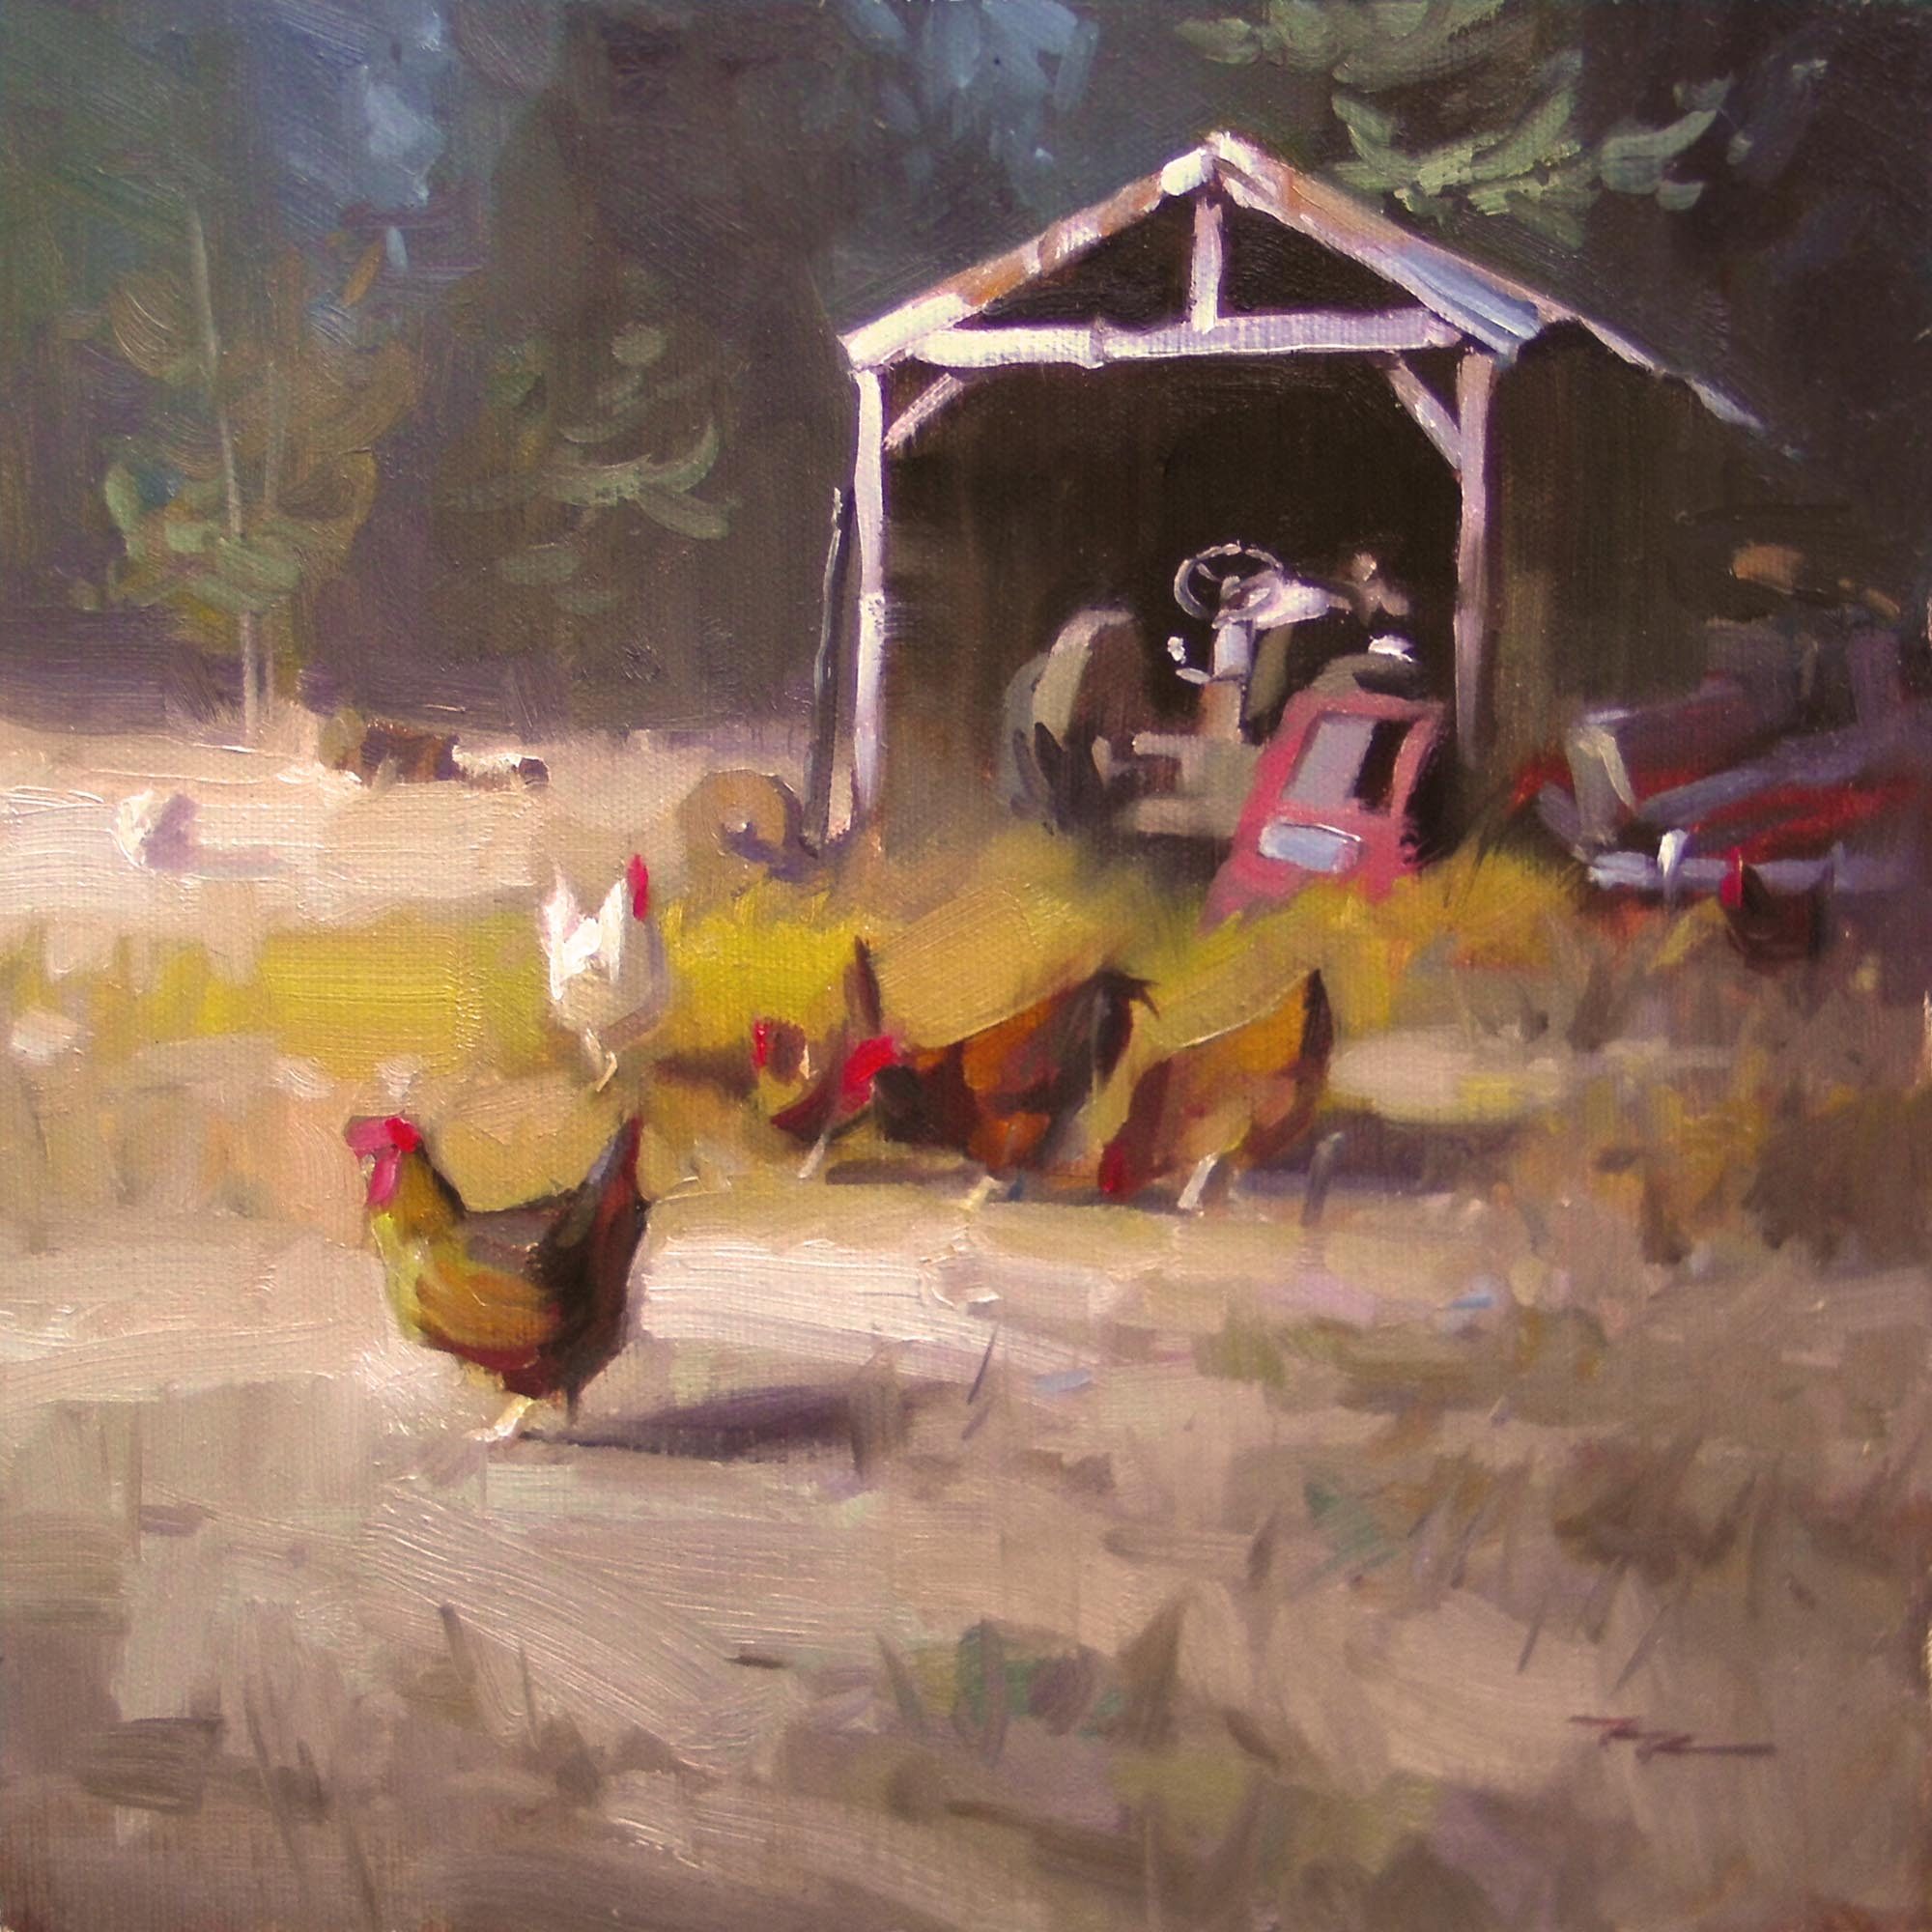
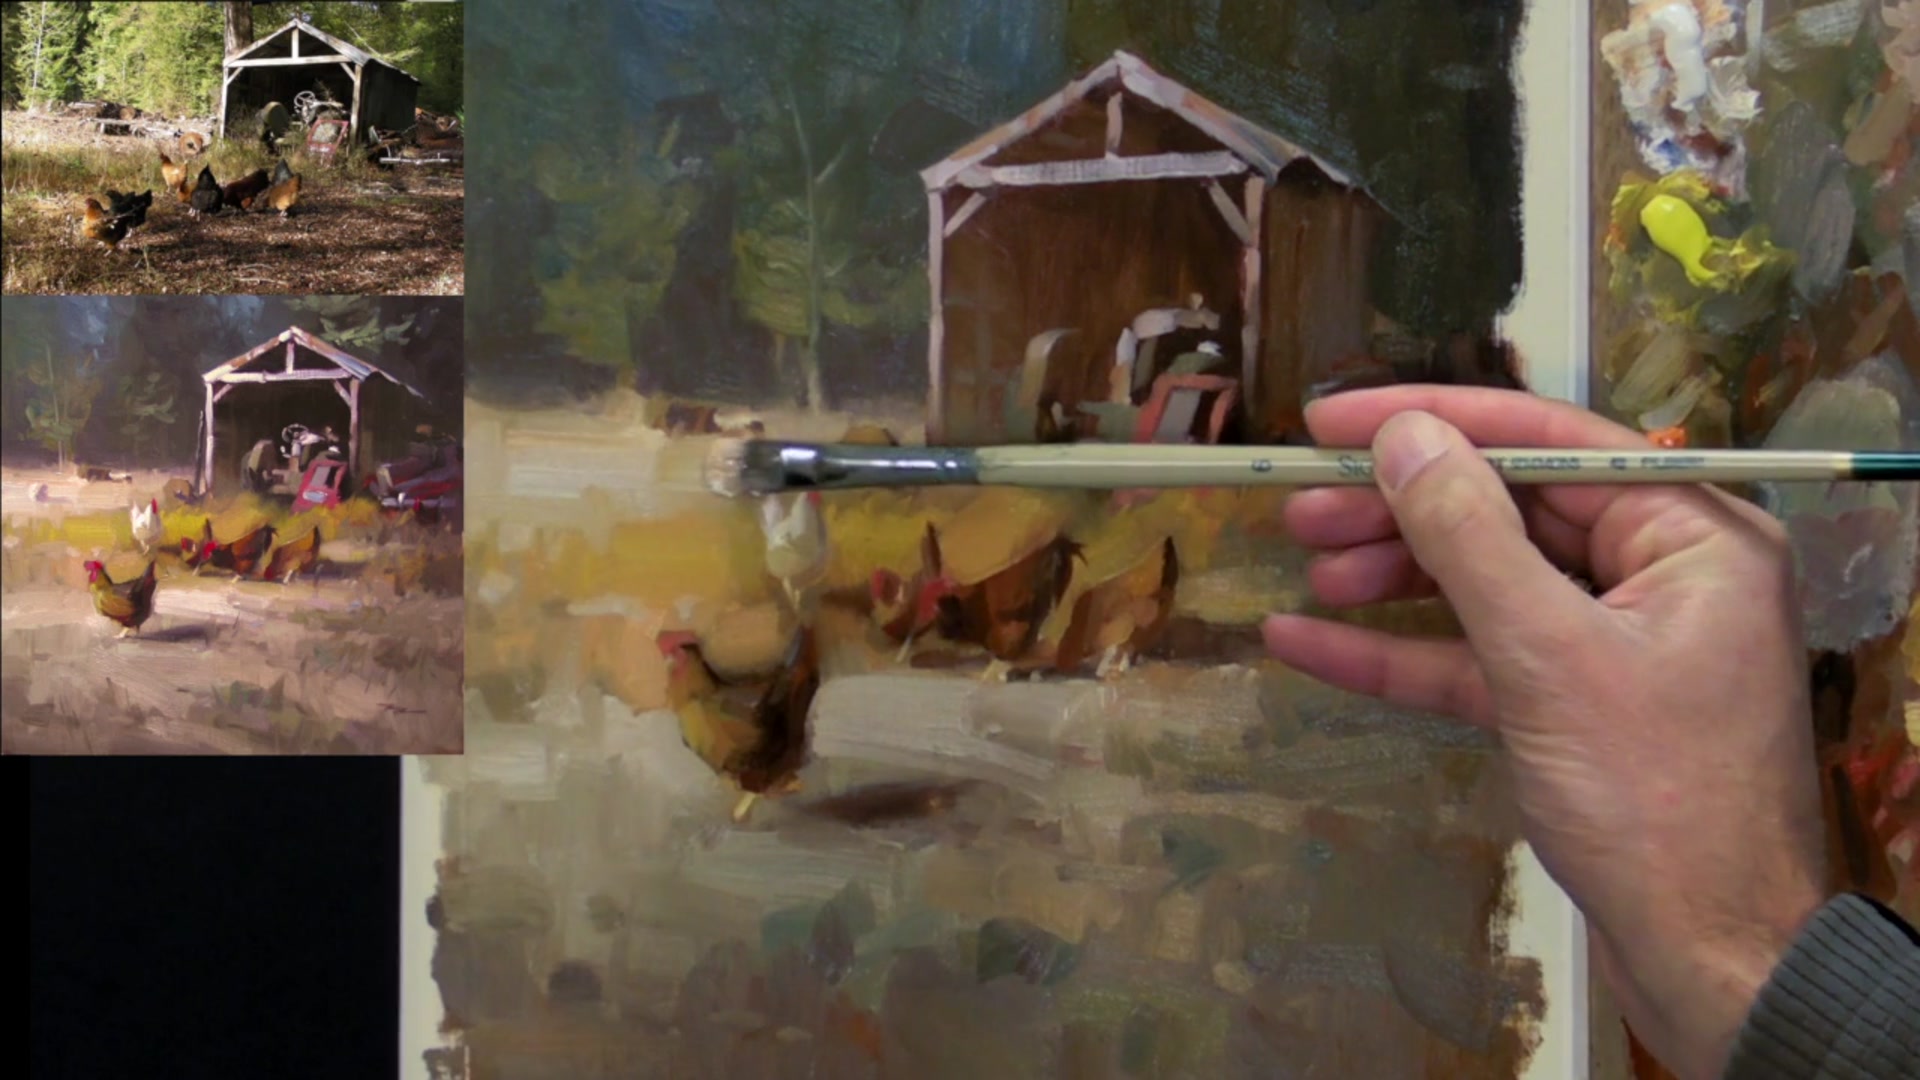
I recently discovered a breathtaking spot in Paradise Valley, near Glenorchy in New Zealand's South Island, while painting with my friend John Crump. The scene was perfect—a shed bathed in the last rays of sunlight, a tractor, and, as if on cue, a flock of chickens emerged, scratching around in the foreground. It was a magical moment, and although the light was fleeting, we captured it with photos and video, which I later used to create the demo painting you'll see in this chapter. Here, we'll delve into the often-overlooked art of edges in painting. Edges are crucial for adding variety, describing form, and guiding the viewer's eye. By observing nature, we can learn how to manipulate edges to make certain elements pop or recede, creating depth and interest. This lesson will guide you in using edges to highlight focal points and enhance your composition, transforming a simple scene into a captivating work of art. Enjoy the journey of discovery as you explore the possibilities of edges in your own paintings.
This guide accompanies the full video lesson. The lesson includes the complete narrated video, the printable PDF chapter, and personalised critique support.
"Chickens in Paradise" 11 x 11" Oil on Canvas by Richard Robinson
Step 12Adjusting Background Elements
Enhance Shed Depth
Add a cool dark tone to the recesses of the shed. This will push the back of the shed further away and bring the front forward, creating depth. Include small shadows in the woodwork to enhance the effect.
Blend Shed into Forest
Darken the forest area behind the shed. Blend the back edge of the shed into the forest so it nearly disappears, integrating the elements smoothly.
Adjust Tree Spacing
Observe the spacing of the trees and ensure it isn't too regular. If needed, blot out any overly uniform trees and replace them with more subtle variations to create a natural look.
Pro tipBlend the back edge of the shed into the forest to create a seamless transition.
Embark on your painting journey by understanding the importance of edges. They are not just lines; they guide the viewer's eye and add depth to your work. Begin by blocking in your darkest darks with a thin mix of thinners and Venetian Red, setting the stage for the rest of your composition. As you progress, pay attention to the edges you create, deciding which should be sharp to draw attention and which should be soft to blend into the background, adding mystery and depth.
As you move from the initial drawing to adding details, remember to balance your colors and edges. Use oils to manipulate edges, creating soft transitions in the grass and shadows, or work with acrylics, keeping them moist for blending. Introduce cooler tones to balance warmth, and use reflected light to reveal subtle details in shadows. These techniques will enhance the depth and realism of your painting.
In the final stages, refine your composition by adjusting background elements and adding vibrant highlights. Use pure tube colors sparingly to create focal points and add sparkle. With careful attention to edges and color balance, your painting will come to life, capturing the dynamic beauty of your subject.
Points to remember
Use softer edges to create depth and mystery by letting them blend into the background.
Always complete the design stages to improve your painting's composition and structure.
Use a thin mix of thinners and Venetian Red to sketch and set boundaries before blocking in darks.
Consider whether you are creating sharp or soft edges with each brushstroke to enhance depth and focus in your painting.
Use a clean, dry brush to blur edges effectively, helping elements recede into the background.
Keep your spray bottle handy to maintain moisture when working with acrylics.
Use greys and cooler colors to balance overly warm areas in your painting.
Use pure tube colors in small areas to create vibrant highlights and add sparkle to your painting.