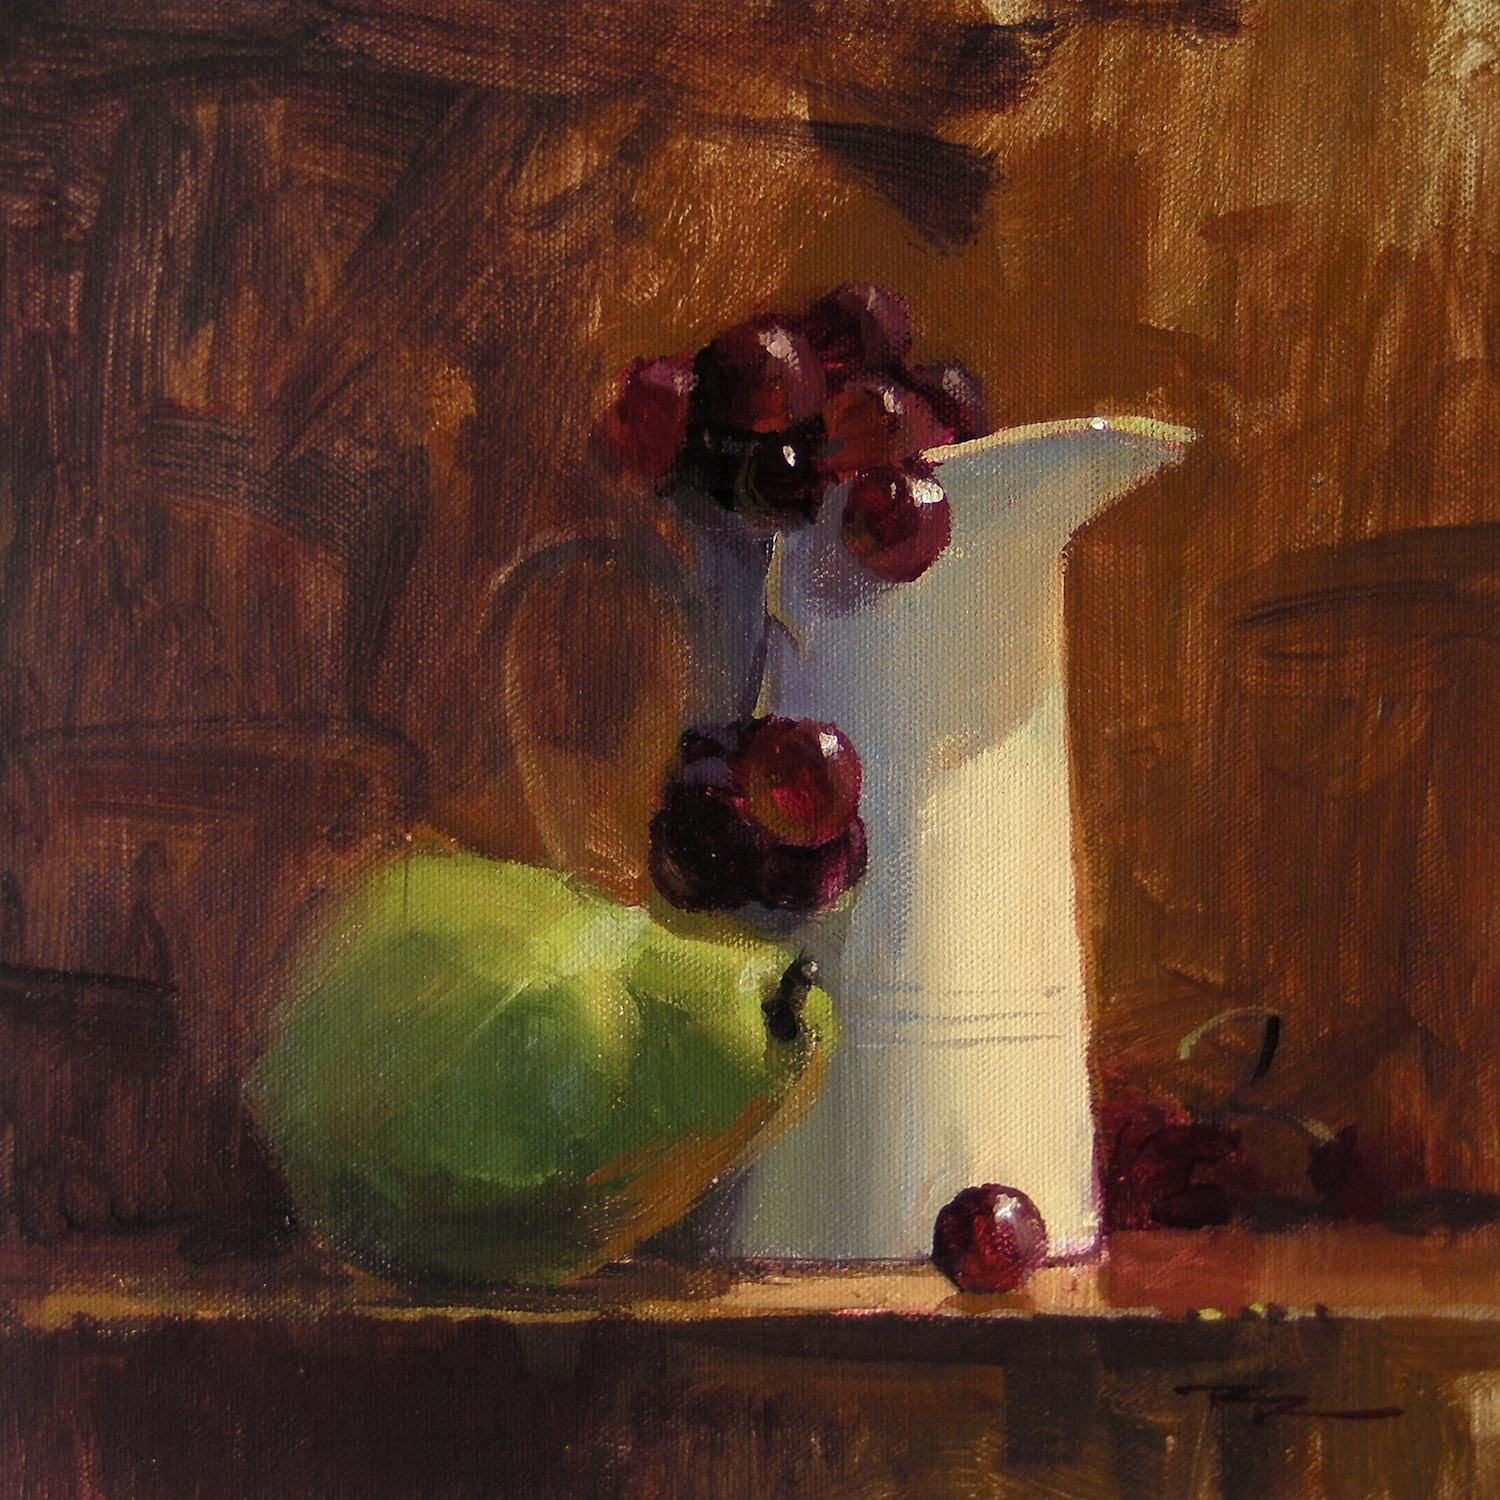
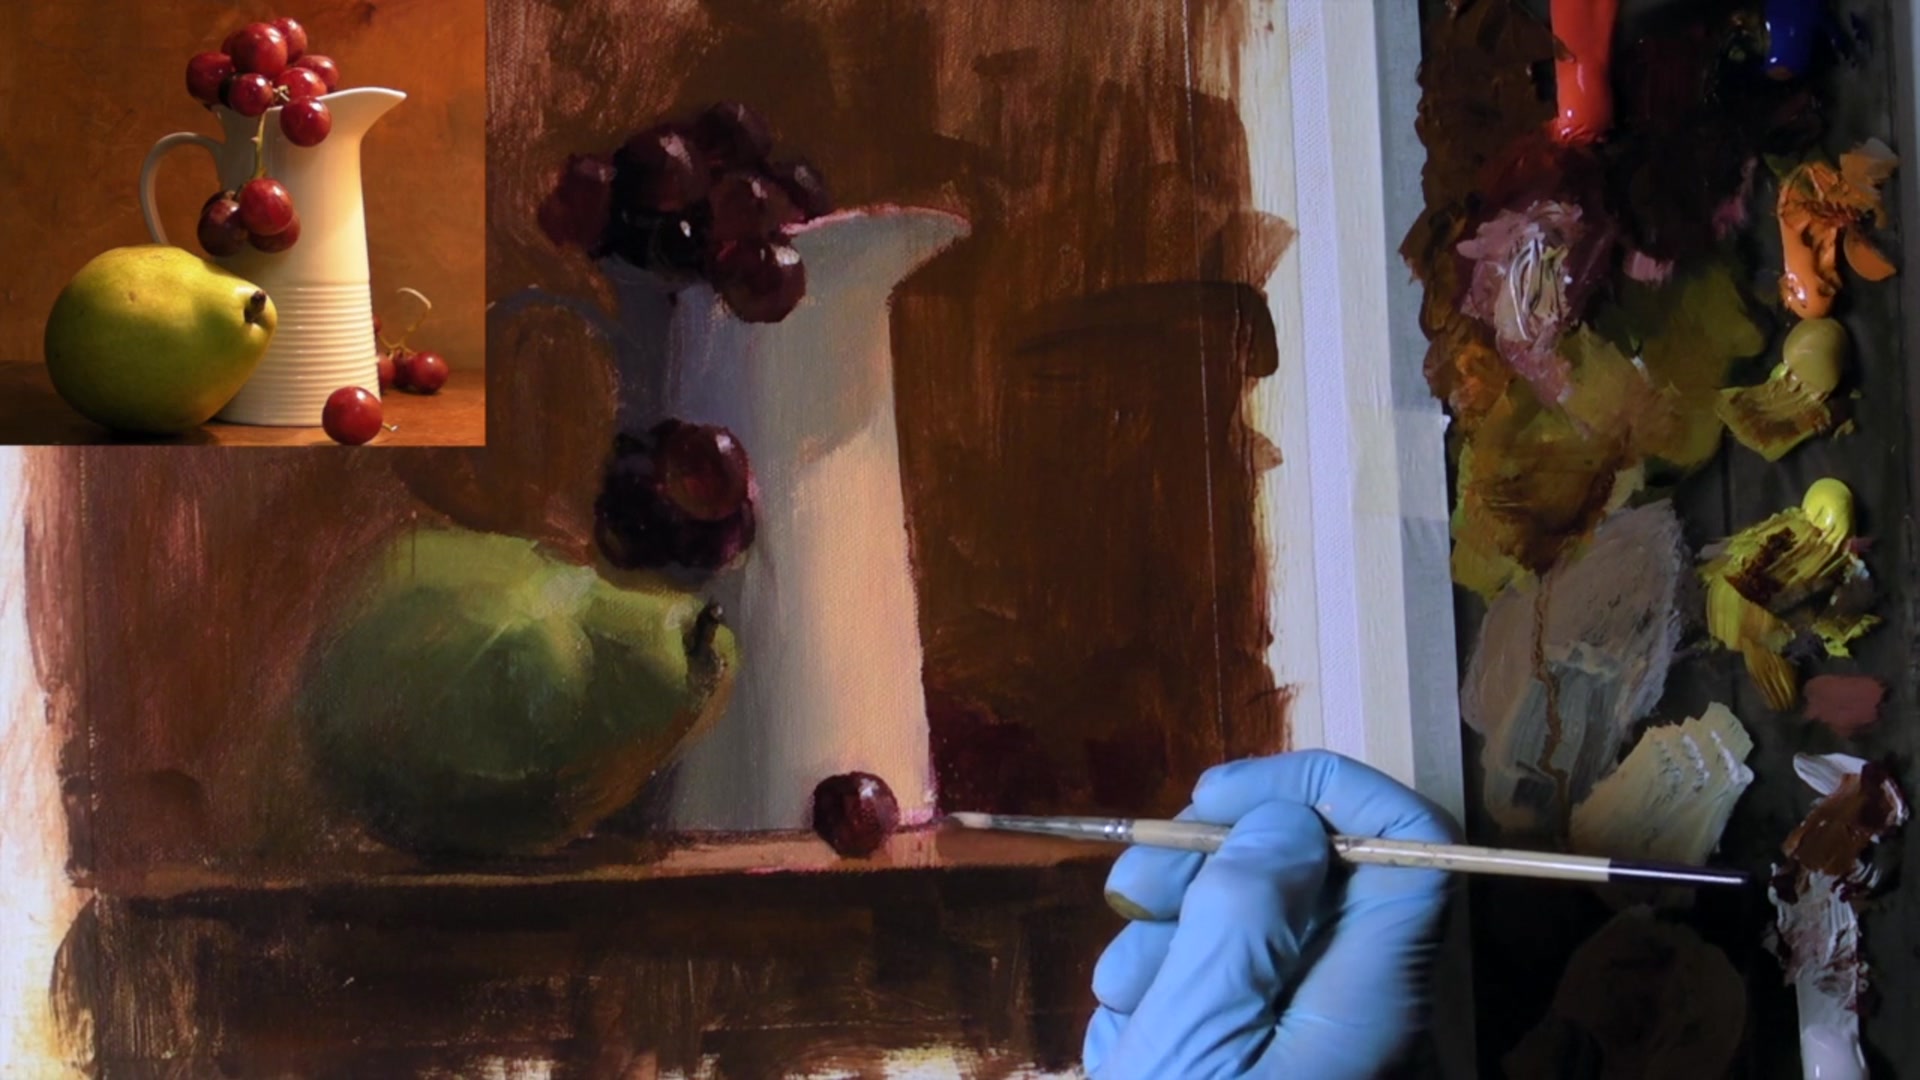
In this chapter, we delve into the art of setting up a still life, a crucial step that sets the stage for your painting's success. I've arranged a warm-colored panel on the right and back, with a simple lamp casting light from above and slightly in front. A black panel on the side and a top panel casting a shadow onto the background leave our still life in full light. Though it appears simple, this setup took me two hours to perfect, and I challenge you to do the same. The key lies in arranging your chosen elements—each with distinct shapes, colors, textures, and sizes—into a composition that captivates. Variety is essential, not just in your selection but also in the spacing and positioning of each item. For instance, maintaining the pear's unique shape rather than aligning it with the grapes' roundness adds interest. This process is an art form in itself, so take your time, experiment, and learn. Whether it takes hours or days, capturing the perfect setup is invaluable. As we progress, you'll also learn to harness the quick-drying nature of acrylics, which demands swift decision-making and brushwork, ultimately elevating your skills to match those of oil painting.
This guide accompanies the full video lesson. The lesson includes the complete narrated video, the printable PDF chapter, and personalised critique support.
"The White Jug" - Acrylic on Canvas by Richard Robinson
Step 12Detailing with Small Brush
Use a Small Pointy Brush for Details
Select a small pointy brush to draw fine lines in specific areas that require precision. These lines will stand out, especially when placed against darker areas, so handle them with care.
Steady Your Hand with a Mall Stick
Use a mall stick to steady your hand while painting important lines. This will help maintain control and precision, especially for lines that need to be very light against dark backgrounds.
Limit the Use of the Small Brush
Avoid the temptation to use the small brush across the entire painting. Overuse can lead to a tight, overly detailed finish. Reserve it for necessary touch-ups and fine details only.
Pro tipUse a mall stick to steady your hand for precise lines with the small brush.
Embark on your painting journey by embracing the unique qualities of acrylics. Their fast-drying nature demands swift decision-making and confident brushwork, offering both a challenge and an opportunity to refine your skills. Begin by simplifying your scene into abstract patterns, focusing on the arrangement of shapes and colors rather than intricate details. This approach will help you develop an eye for composition and enhance your creative freedom.
As you progress, practice consistently to build confidence in setting up still life compositions. Prepare your canvas with a warm base to set the tone of your painting, and use a retarded medium to maintain a wet surface, allowing for smooth blending and a painterly quality. Pay attention to the value range, ensuring your darkest darks and lightest lights are well-defined to create depth and contrast.
Focus on capturing the nuances of light and reflection, particularly on the jug and surrounding objects. Use warm and varied colors to depict the interplay of light, and incorporate subtle color variations to enhance realism. As you add texture to the background and reflections on surfaces, embrace a playful approach, allowing for expressive brushwork. Finally, refine your painting with careful detailing and ensure your canvas remains moist to achieve a smooth, blended finish.
Points to remember
Work efficiently with acrylics to leverage their fast-drying properties.
Simplify scenes into abstract patterns by squinting.
Consistent practice makes still life setups more intuitive.
Use a retarded medium to keep paint wet for blending.
Ensure darkest darks are thick enough to prevent show-through.
Segment shapes and soften edges for a rounded appearance.
Match reflection colors to objects for realism.
Use a mall stick for precise lines with a small brush.