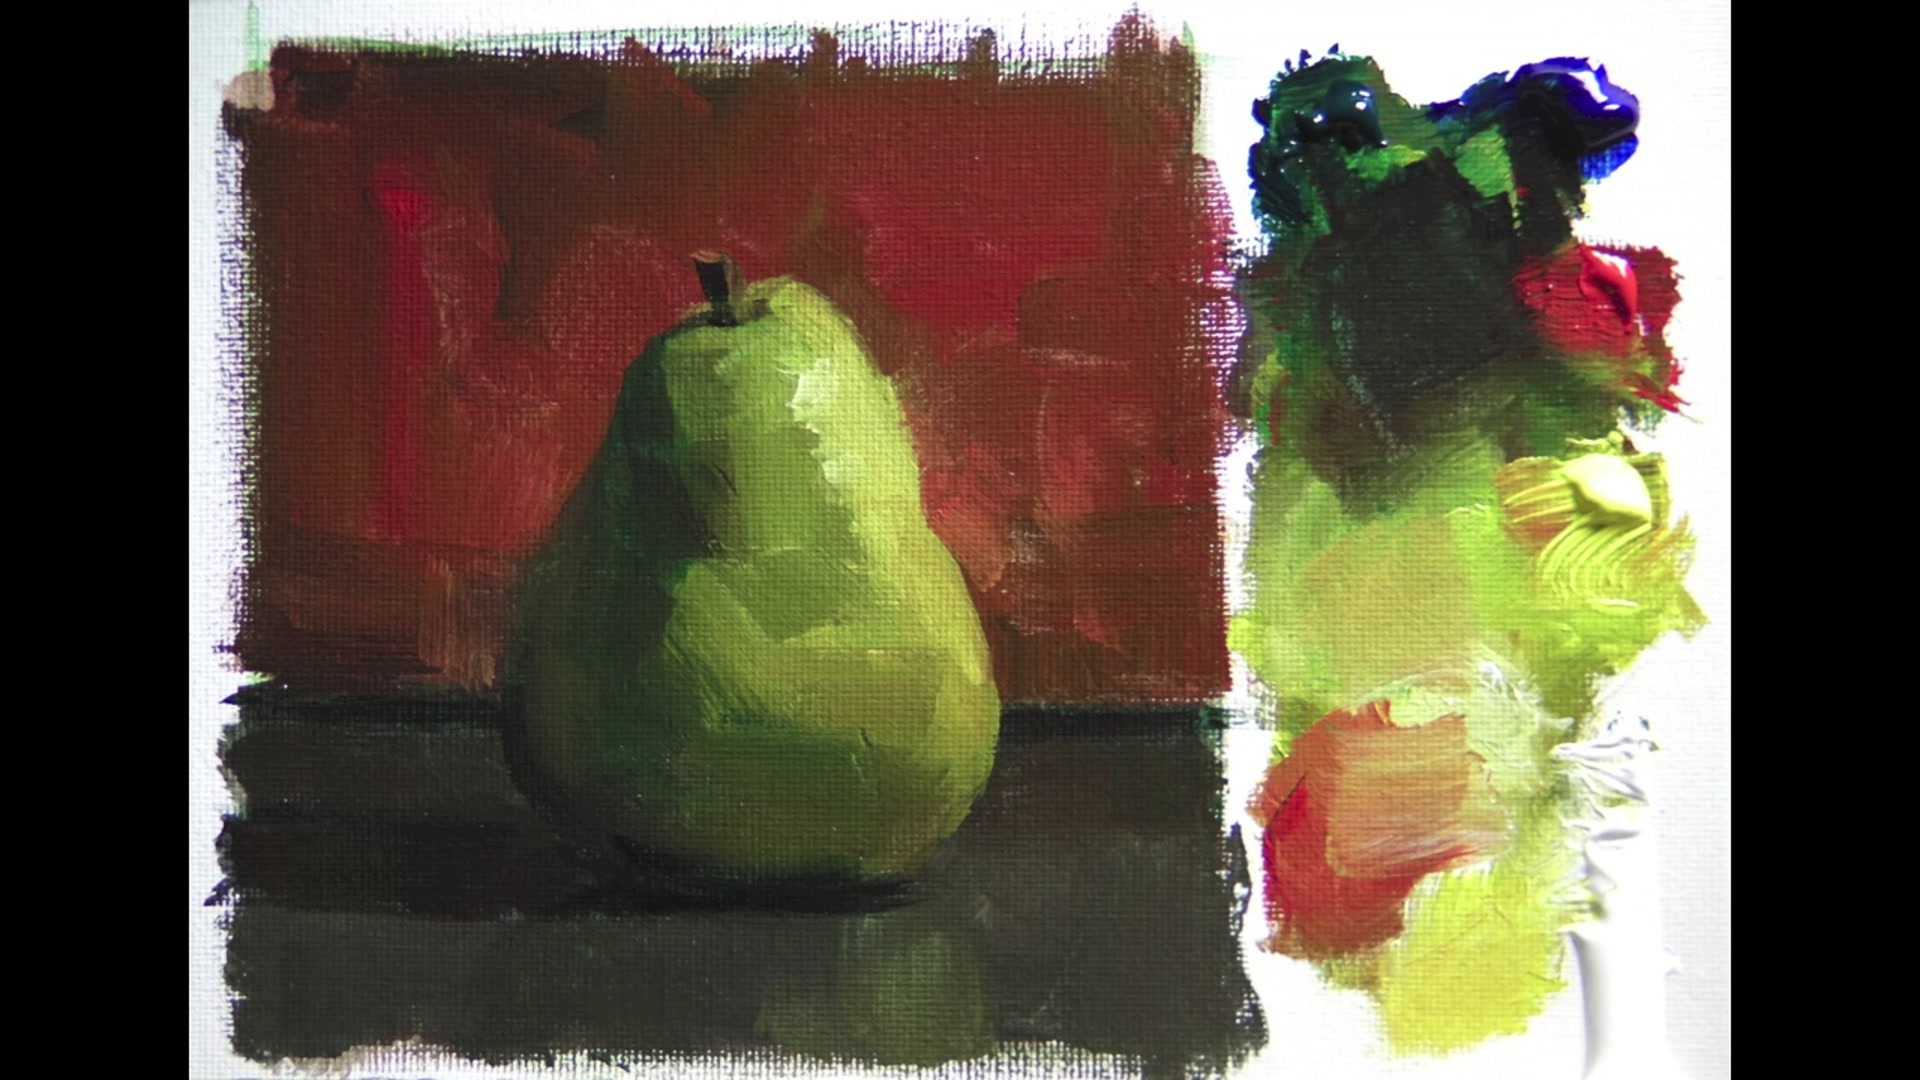
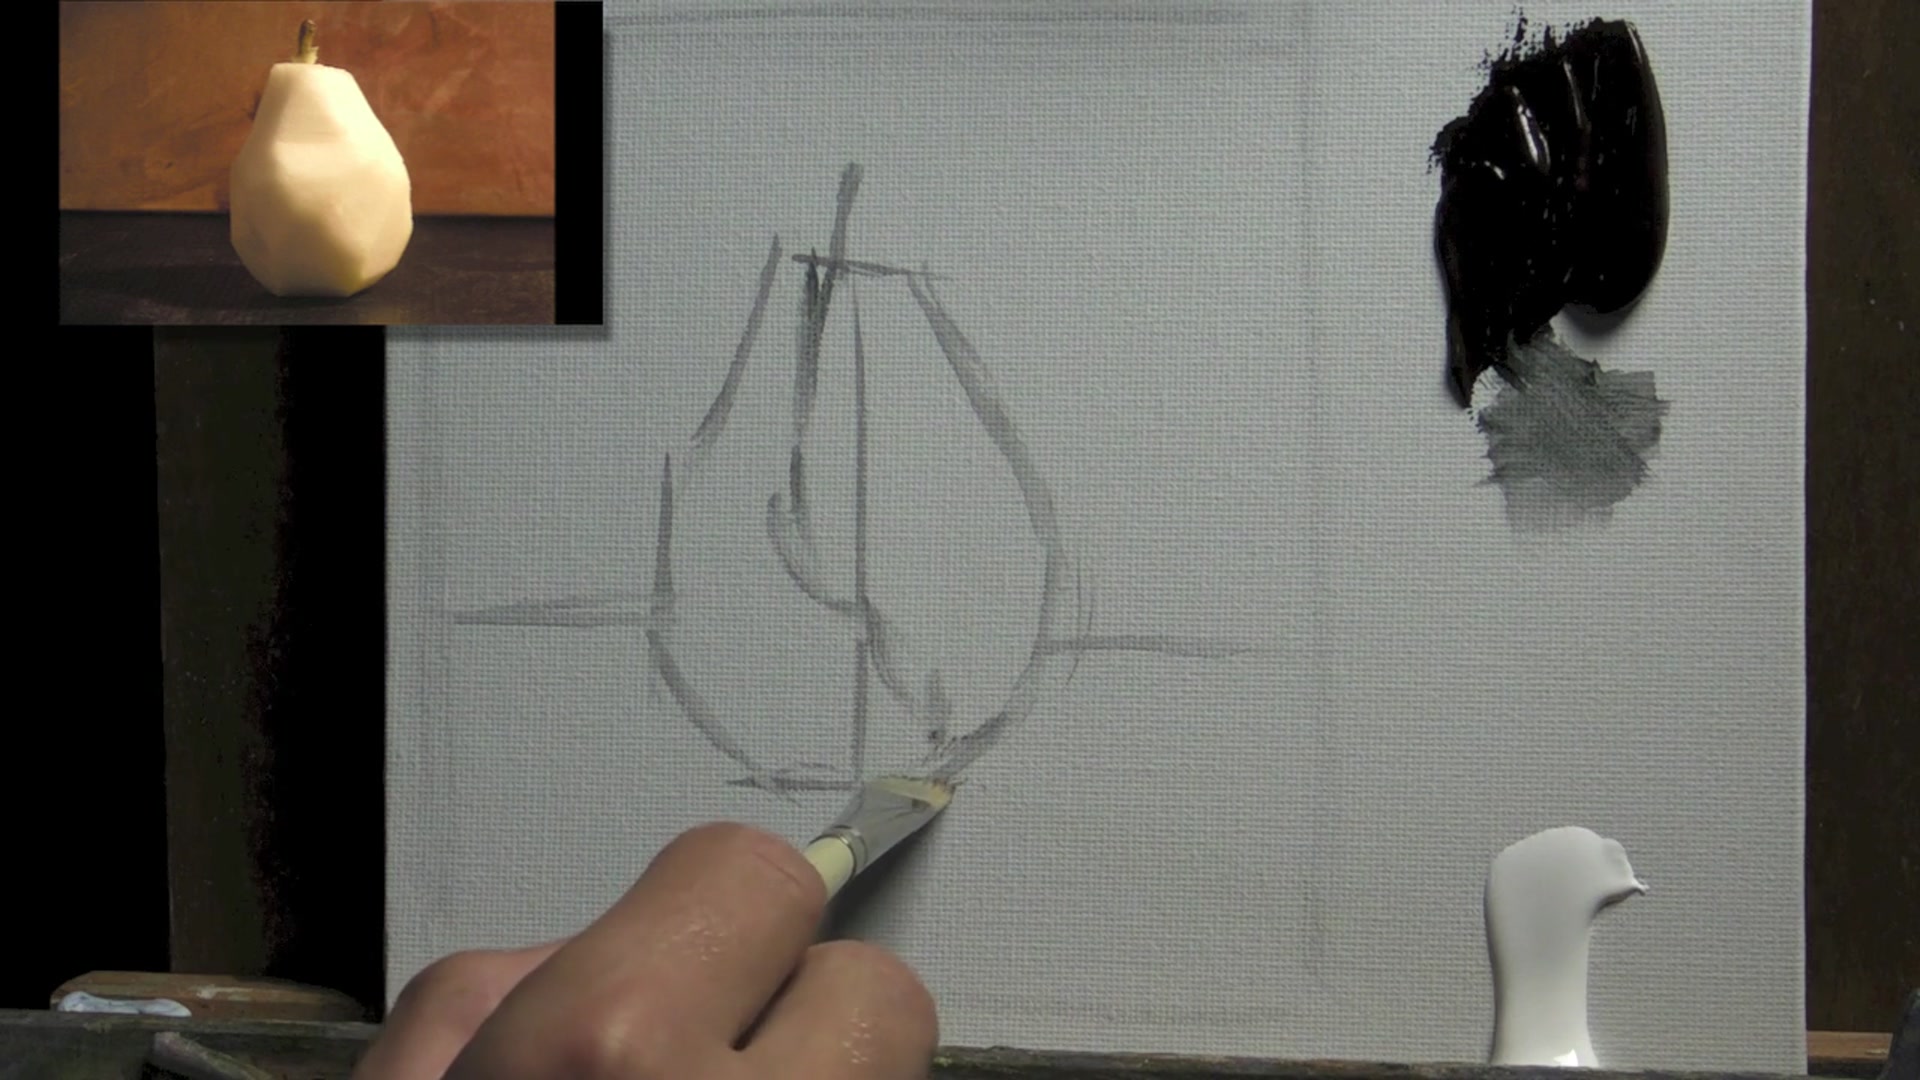
In this workshop, I invite you to dive into the world of still life painting, a fundamental practice that serves as a great teacher for all painters. If you've ever found yourself struggling with landscapes or figure studies, returning to the basics with still life can be incredibly beneficial. It allows you to arrange shapes, colors, and lighting in a controlled environment, focusing on the seemingly simple task of translating these elements onto canvas. We're starting with a single pear in a simple setting, which is perfect for exploring key concepts like light and shade families, value planes, and color relationships. By selecting a single light source, such as a lamp or a window in a dimly lit room, you'll create strong contrasts between light and shadow. This approach not only enhances your understanding of these concepts but also provides a rewarding subject to paint. I hope you enjoy this step-by-step journey into still life painting, where all great painting begins.
This guide accompanies the full video lesson. The lesson includes the complete narrated video, the printable PDF chapter, and personalised critique support.
Observe the lightest light in your subject. Note that it may appear darker than expected due to surrounding dark colors. This contrast emphasizes the light area.
Paint the Core Shadow
Block in the core shadow, which is the second darkest part of the shadow family. Pay attention to any reflected light, though it may be minimal on a black surface.
Use a Color Checker
Create or use a color checker to compare values between areas. Hold it up to your subject, close one eye, and assess whether an area is lighter or darker. Mix your palette to match these value differences.
Block in the Background
Quickly block in the background, noting any slight lightening towards the light source. This helps establish the overall value structure.
Move to the Lights Family
Shift focus to the lights family. Even a black base can appear in the light family if illuminated. Concentrate on value relationships, shapes, and edges.
Adjust Halftone Values
Identify halftone planes that are neither fully in light nor dark. Adjust these values, considering translucency and reflected light affecting them.
Finalize and Adjust
Make final adjustments to ensure value relationships are accurate. Soften edges where necessary using the background color.
Pro tipUse a color checker to accurately compare and mix values, ensuring correct value relationships in your painting.
Embark on your painting journey by setting up a simple still life with a single light source to create strong contrasts between light and shadow. Position your pear in full light against a darker background to emphasize its form. As you begin, simplify the pear's shape by slicing it into straight edges and use a marker to delineate the light and shadow families. This will help you understand the interplay of light and shadow on your subject.
Move on to a value study by preparing a 6x6 inch canvas and mixing black paint from complementary colors. Establish the light and shadow areas by drawing lines to separate them, and use a color checker to ensure accuracy in your value relationships. Focus on blocking in the core shadow and adjusting halftone planes to capture the pear's true form. Remember to soften edges where necessary to create a harmonious composition.
Finally, explore color differences by setting up your easel with the previous value study for comparison. Use an extended primary palette to experiment with color mixtures, and divide the pear into large planes of distinct color. Engage in a 10-minute painting challenge to refine your skills, focusing on capturing large color masses and simplifying brushwork. Each new painting should introduce a slight change in the scene to keep your approach fresh and dynamic.
Points to remember
Use a single light source to create strong contrasts.
Squint to see large masses of light and shadow.
Mix black paint using complementary colors.
Draw lines to separate light and dark areas.
Use a color checker to compare and mix values accurately.
Defocus your eyes to see color differences between planes.
Divide your canvas for quick studies and focus on large color masses.
Use two brushes: one for darks and one for lights.