Teacher
Richard is a talented full time artist, who loves painting and teaching.

with Richard Robinson
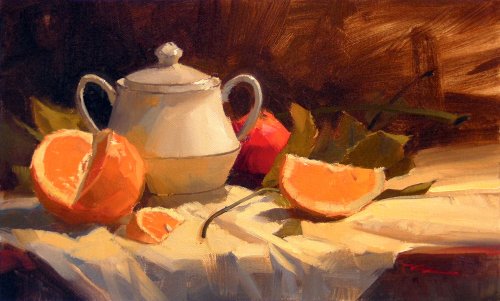
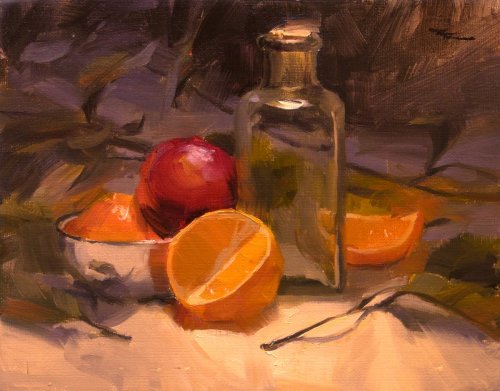
Get started in still life painting with this painting workshop. This is where all great painting begins. Follow along step by step or use the resource photo to create something more your own. Enjoy!
Whenever you’re ready! The lesson is available online any time, and your access to the lesson never expires.
As long as you need! Your access never expires, so you can come back again and again.
Sorry, no you can’t download the video. This is to avoid piracy. You’ll always be able to view the video on this site though.
Richard is a talented full time artist, who loves painting and teaching.
Hi I’m Richard. I’ve been painting my whole life and back in 2001 I traded my graphic design career for the humble life of a full time artist. I love painting, and as it turns out, I love teaching too.
Nowadays I balance my life between parenting, painting, surfing, travelling and teaching. My work is regularly featured in international art magazines, in galleries in New Zealand and America, on TV and in my Mum’s house.
I give outdoor painting workshops in interesting spots around this beautiful planet of ours and love encouraging people to paint. Two of my favourite artists are John Singer Sargent and Joaquín Sorolla.
My painting website: www.nzpainter.com
I’d love to be your new teacher.

Richard is a master artist with an exceptional skill in identifying and communicating key factors to making successful paintings. I have found his video workshops an excellent resource for improving my own work.
Challenge 3 : Seeing Colour Differences.
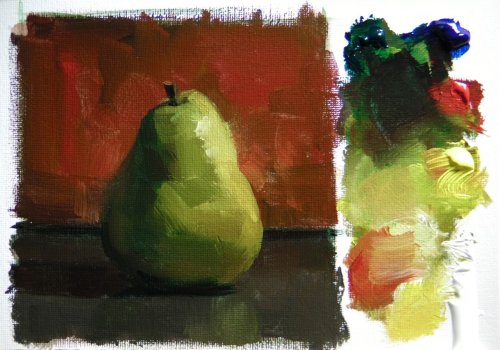
Replace the planed pear with the normal pear and paint a 6x6" colour study using an extended primary palette of Pthalo Green, Pthalo Blue, Cadmium Red Light, Cadmium Yellow Light and Titanium White. Again use a fairly large brush and try to segment the pear in your painting into large planes of separate colour as in the previous challenge. Make sure every plane is a different colour. You may soften edges between planes but do NOT paint large blends. Start with your darkest dark and lightest light. When you're trying to see colour differences between planes it's better to defocus your eyes rather than squinting because squinting darkens all the colours. Closing one eye helps too.
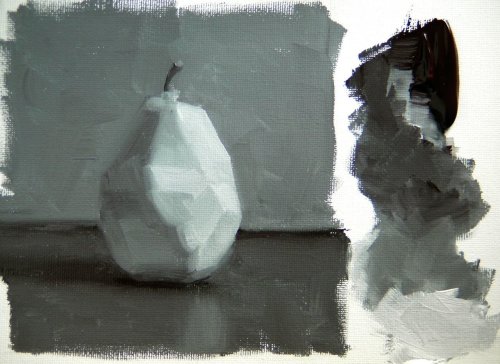
Challenge 2 : Seeing Value Planes.
Using the planed pear, paint a value study using only black and white paint on a 6x6" canvas. Feel free to mix your own black with Ultramarine Blue + Burnt Sienna, or Pthalo Green + Cadmium Red or something similar. Use a fairly large brush so you don't get carried away with detail. You should just be trying to capture the individual value of each plane in correct relationship with the planes next to it. Keep squinting! Use a colour isolator if you wish to help judge relative values. Now you should have something like this...

Here's how I set mine up - pretty simple. Note the card over the top which is casting a shadow onto the background. The pear is placed just forward of this cast shadow so that it is in full light contrasted against the darker background.
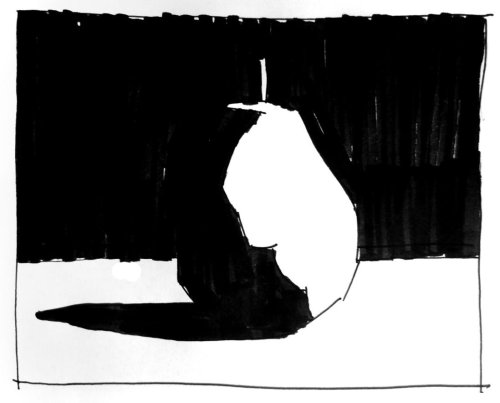
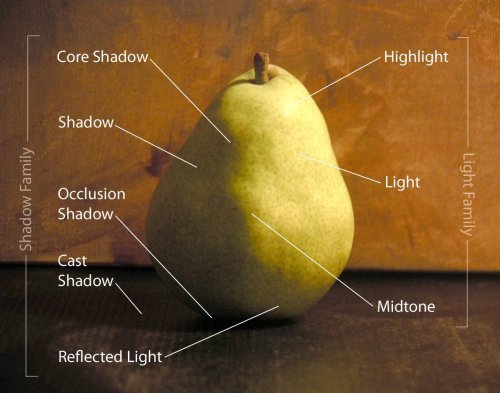
Challenge 1: Seeing Light and Shade.
Replace the pear in your still life with this planed pear. Using a black marker pen draw the pear on paper in just black and white areas, separating the light from the dark. Remember the half tone (the area between light and shadow) belongs to the light. Include the cast shadow in your drawing. Squint at your pear to help you see the large masses. When we are painting later on we will be looking first for the light and shade areas in this way. You will notice that the black base is part of the light family except where a shadow is cast upon it. The brown background is in shadow so it too becomes part of the shadow family. Now you should have something that looks like this..
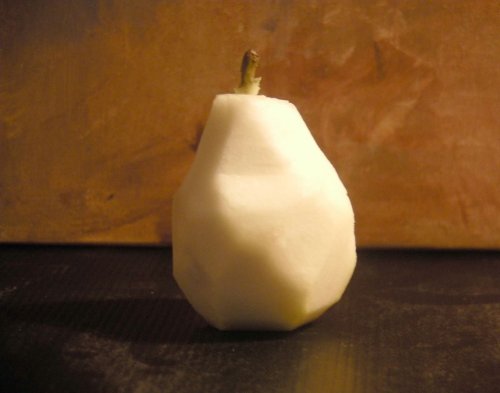
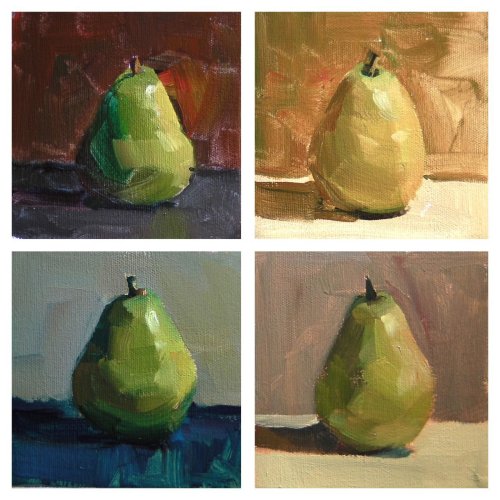
Challenge 4 : The 10 Minute Challenge.
This exercise helps you to learn to see and paint the large colour masses and to simplify your brushwork. (It can also cause fits of despair and hopelessness and short but sweet moments of absolute clarity). Using the same setup and colours divide a 10x10" canvas (or similar) into 4 quarters and give yourself just 10 minutes to paint the pear in the top left quarter. Use a timer. Stop as soon as 10 minutes is up. (No cheating!) Next, change something about the colour arrangement in your scene and give yourself another 10 minutes to paint it again in the top right quarter. Repeat in the bottom left and bottom right.
$15.00USD

$15.00USD
$15.00USD
$15.00USD
Not loving your painting lessons? No worries!
If it’s not the right fit, we’ll give you a full refund within 30 days of purchase - no questions asked.
When you purchase a DVD you also get online access to the same lesson, including any lesson resources like photos, downloadable notes and access to upload your painting to the student gallery.
That's why you need to make a password when you purchase a DVD, so you can access the online content as well. Enjoy!