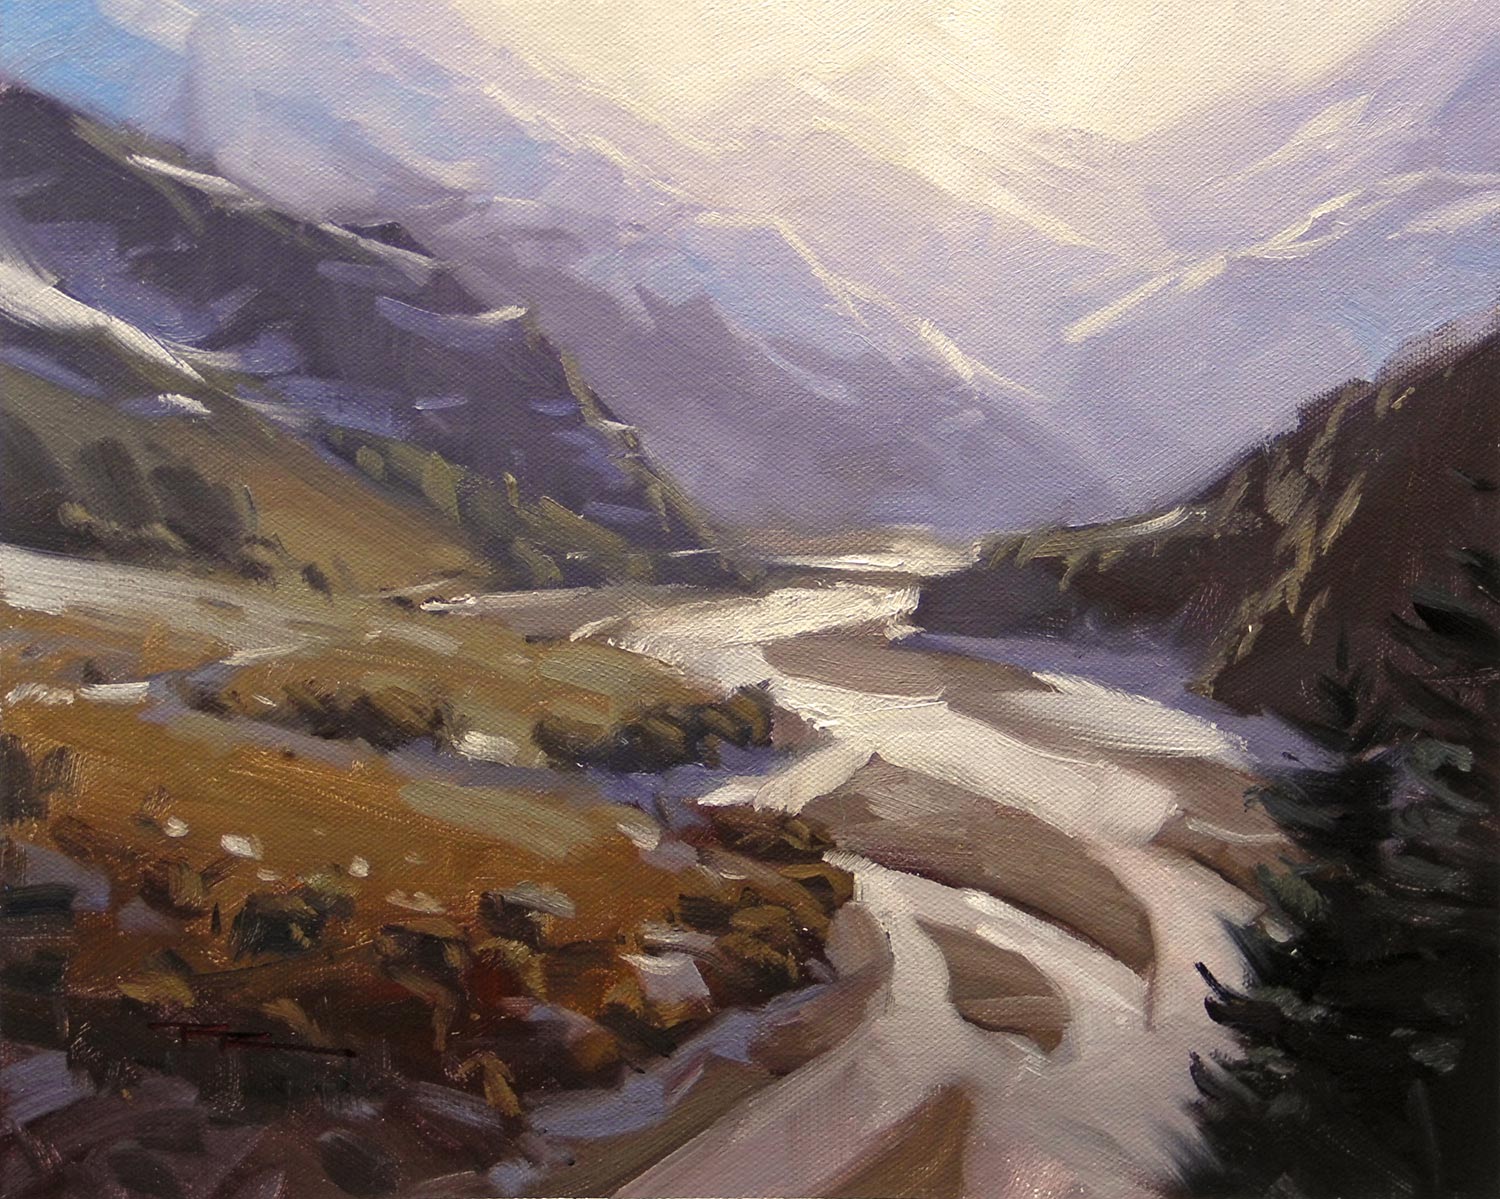
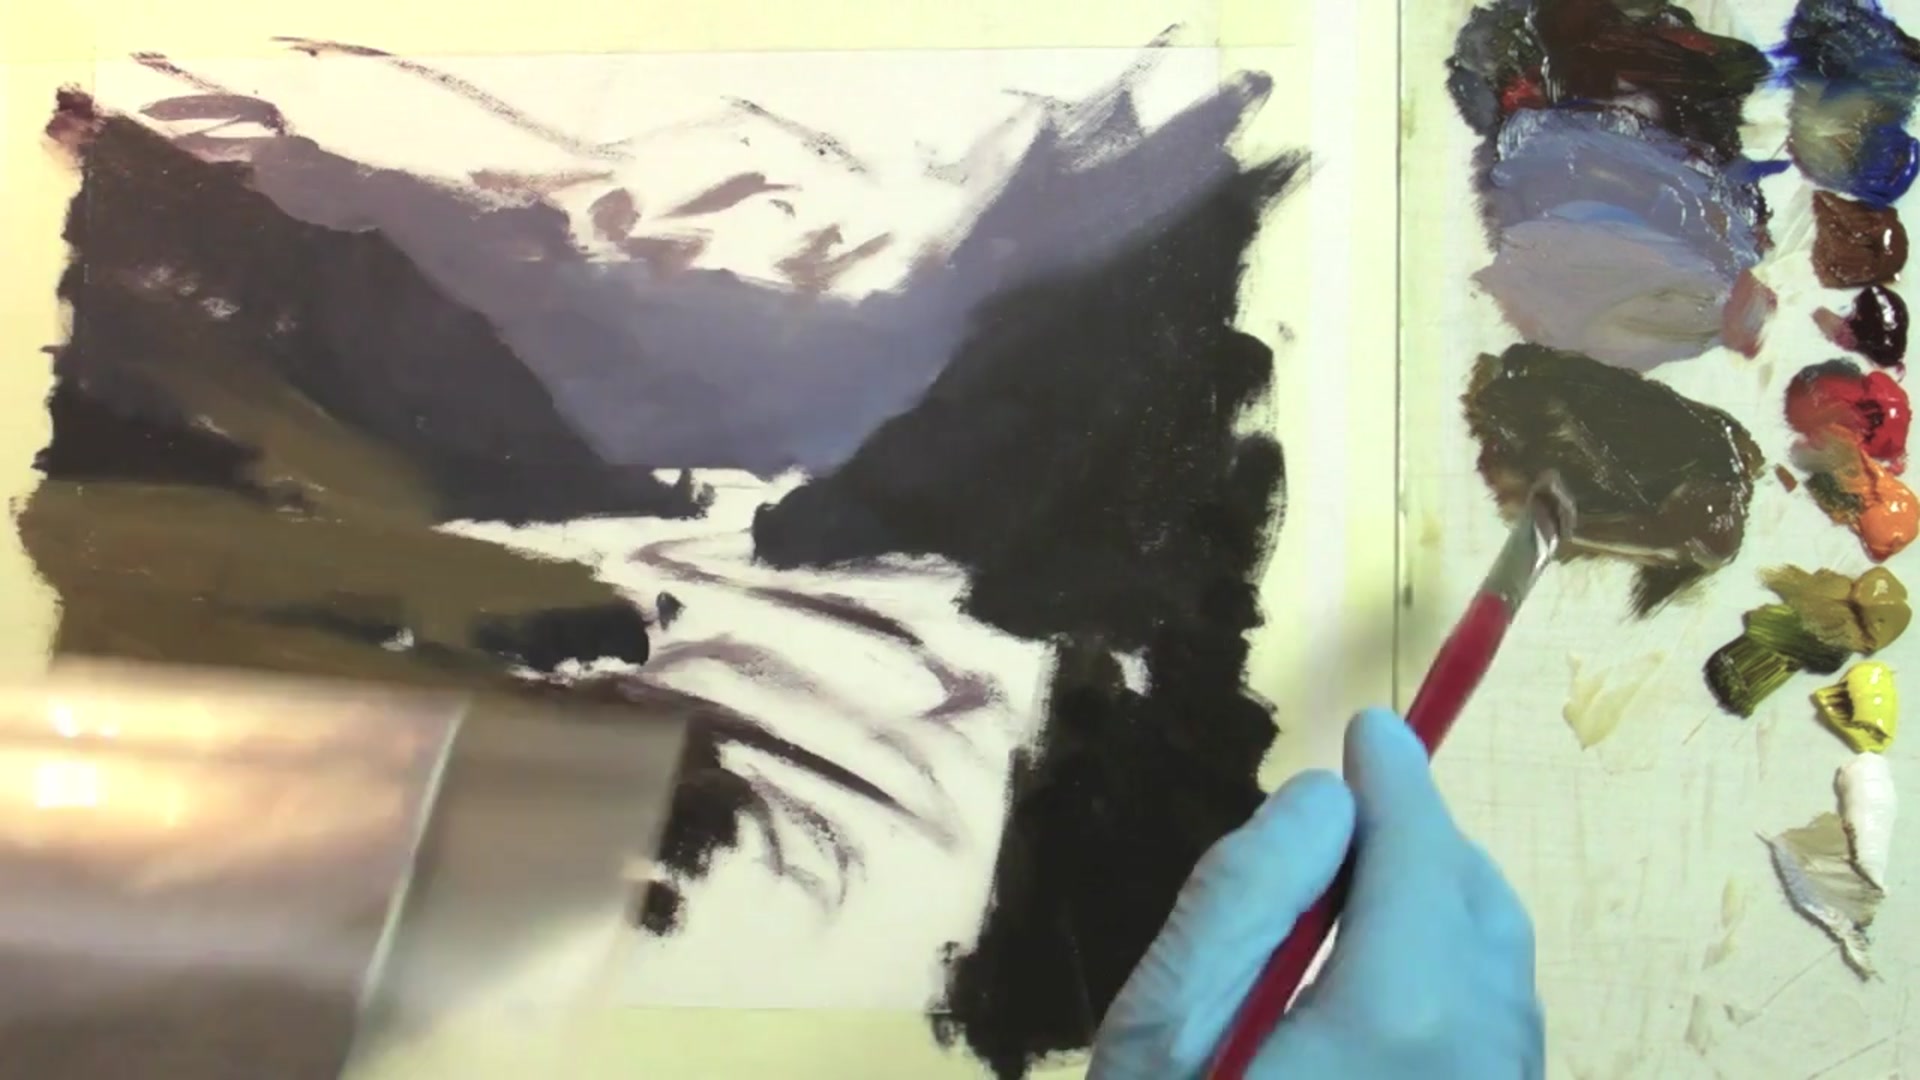
In this chapter, we delve into the captivating landscape of the Rees Valley, a scene that offers both challenge and reward for the aspiring painter. On location, time was of the essence as the sun swiftly disappeared behind the mountains, but that fleeting moment inspired a smaller plein air piece that I later developed into a 20-inch square studio painting. This approach allows us to capture the essence of the scene while refining our vision in the studio. You'll start by using the provided photo as inspiration, applying your artistic license to create something uniquely yours. Begin with notan designs to simplify the composition and focus on the interplay of light and dark. Limited value studies will help you understand the tonal range, guiding you in creating depth and contrast. Incorporating atmospheric perspective is key to conveying the vastness of the valley. Finally, explore the glowing light effect to imbue your painting with a magical quality. This lesson is an opportunity to explore techniques that will enhance your ability to capture the beauty and grandeur of nature in your art.
This guide accompanies the full video lesson. The lesson includes the complete narrated video, the printable PDF chapter, and personalised critique support.
Embark on your painting journey by drawing inspiration from the Rees Valley. Begin with notan designs to establish a strong composition, focusing on the balance of light and dark areas. Use limited value studies to understand the tonal range and incorporate atmospheric perspective to add depth, capturing the vastness of the scene. As you progress, remember to critique your work with a fresh perspective, identifying areas for improvement to enhance your skills.
Set up your materials thoughtfully, ensuring your palette and brushes are suited to the techniques you plan to employ. As you paint, focus on creating a harmonious relationship between the elements, such as the sky and water, and use strategic composition adjustments to guide the viewer's eye. Pay attention to the glowing light effects and the subtle shifts in color as they recede into the distance, enhancing the sense of depth and atmosphere.
As you refine your painting, focus on detailing and edge softening to add realism and depth. Use a palette knife to create sparkling highlights on the snow and introduce mist to push the background further back. With the final touches and signing, complete your artwork, ensuring it reflects your unique artistic vision. Remember, each painting is a step in your artistic journey, and with each critique and adjustment, you grow as an artist.
Points to remember
Use atmospheric perspective to create depth and enhance the sense of distance.
Review your work after some time has passed to gain a fresh perspective.
Critique your painting as if it were created by your harshest critic.
Use dark masses strategically to guide the viewer's eye and enhance composition.
Avoid making shapes too similar to prevent a man-made appearance.
Test your color choice with a small spot on the canvas before applying it broadly.
Ensure the color of the water relates closely to the color of the sky.
Use a mostly dry brush to soften edges that should not draw attention.