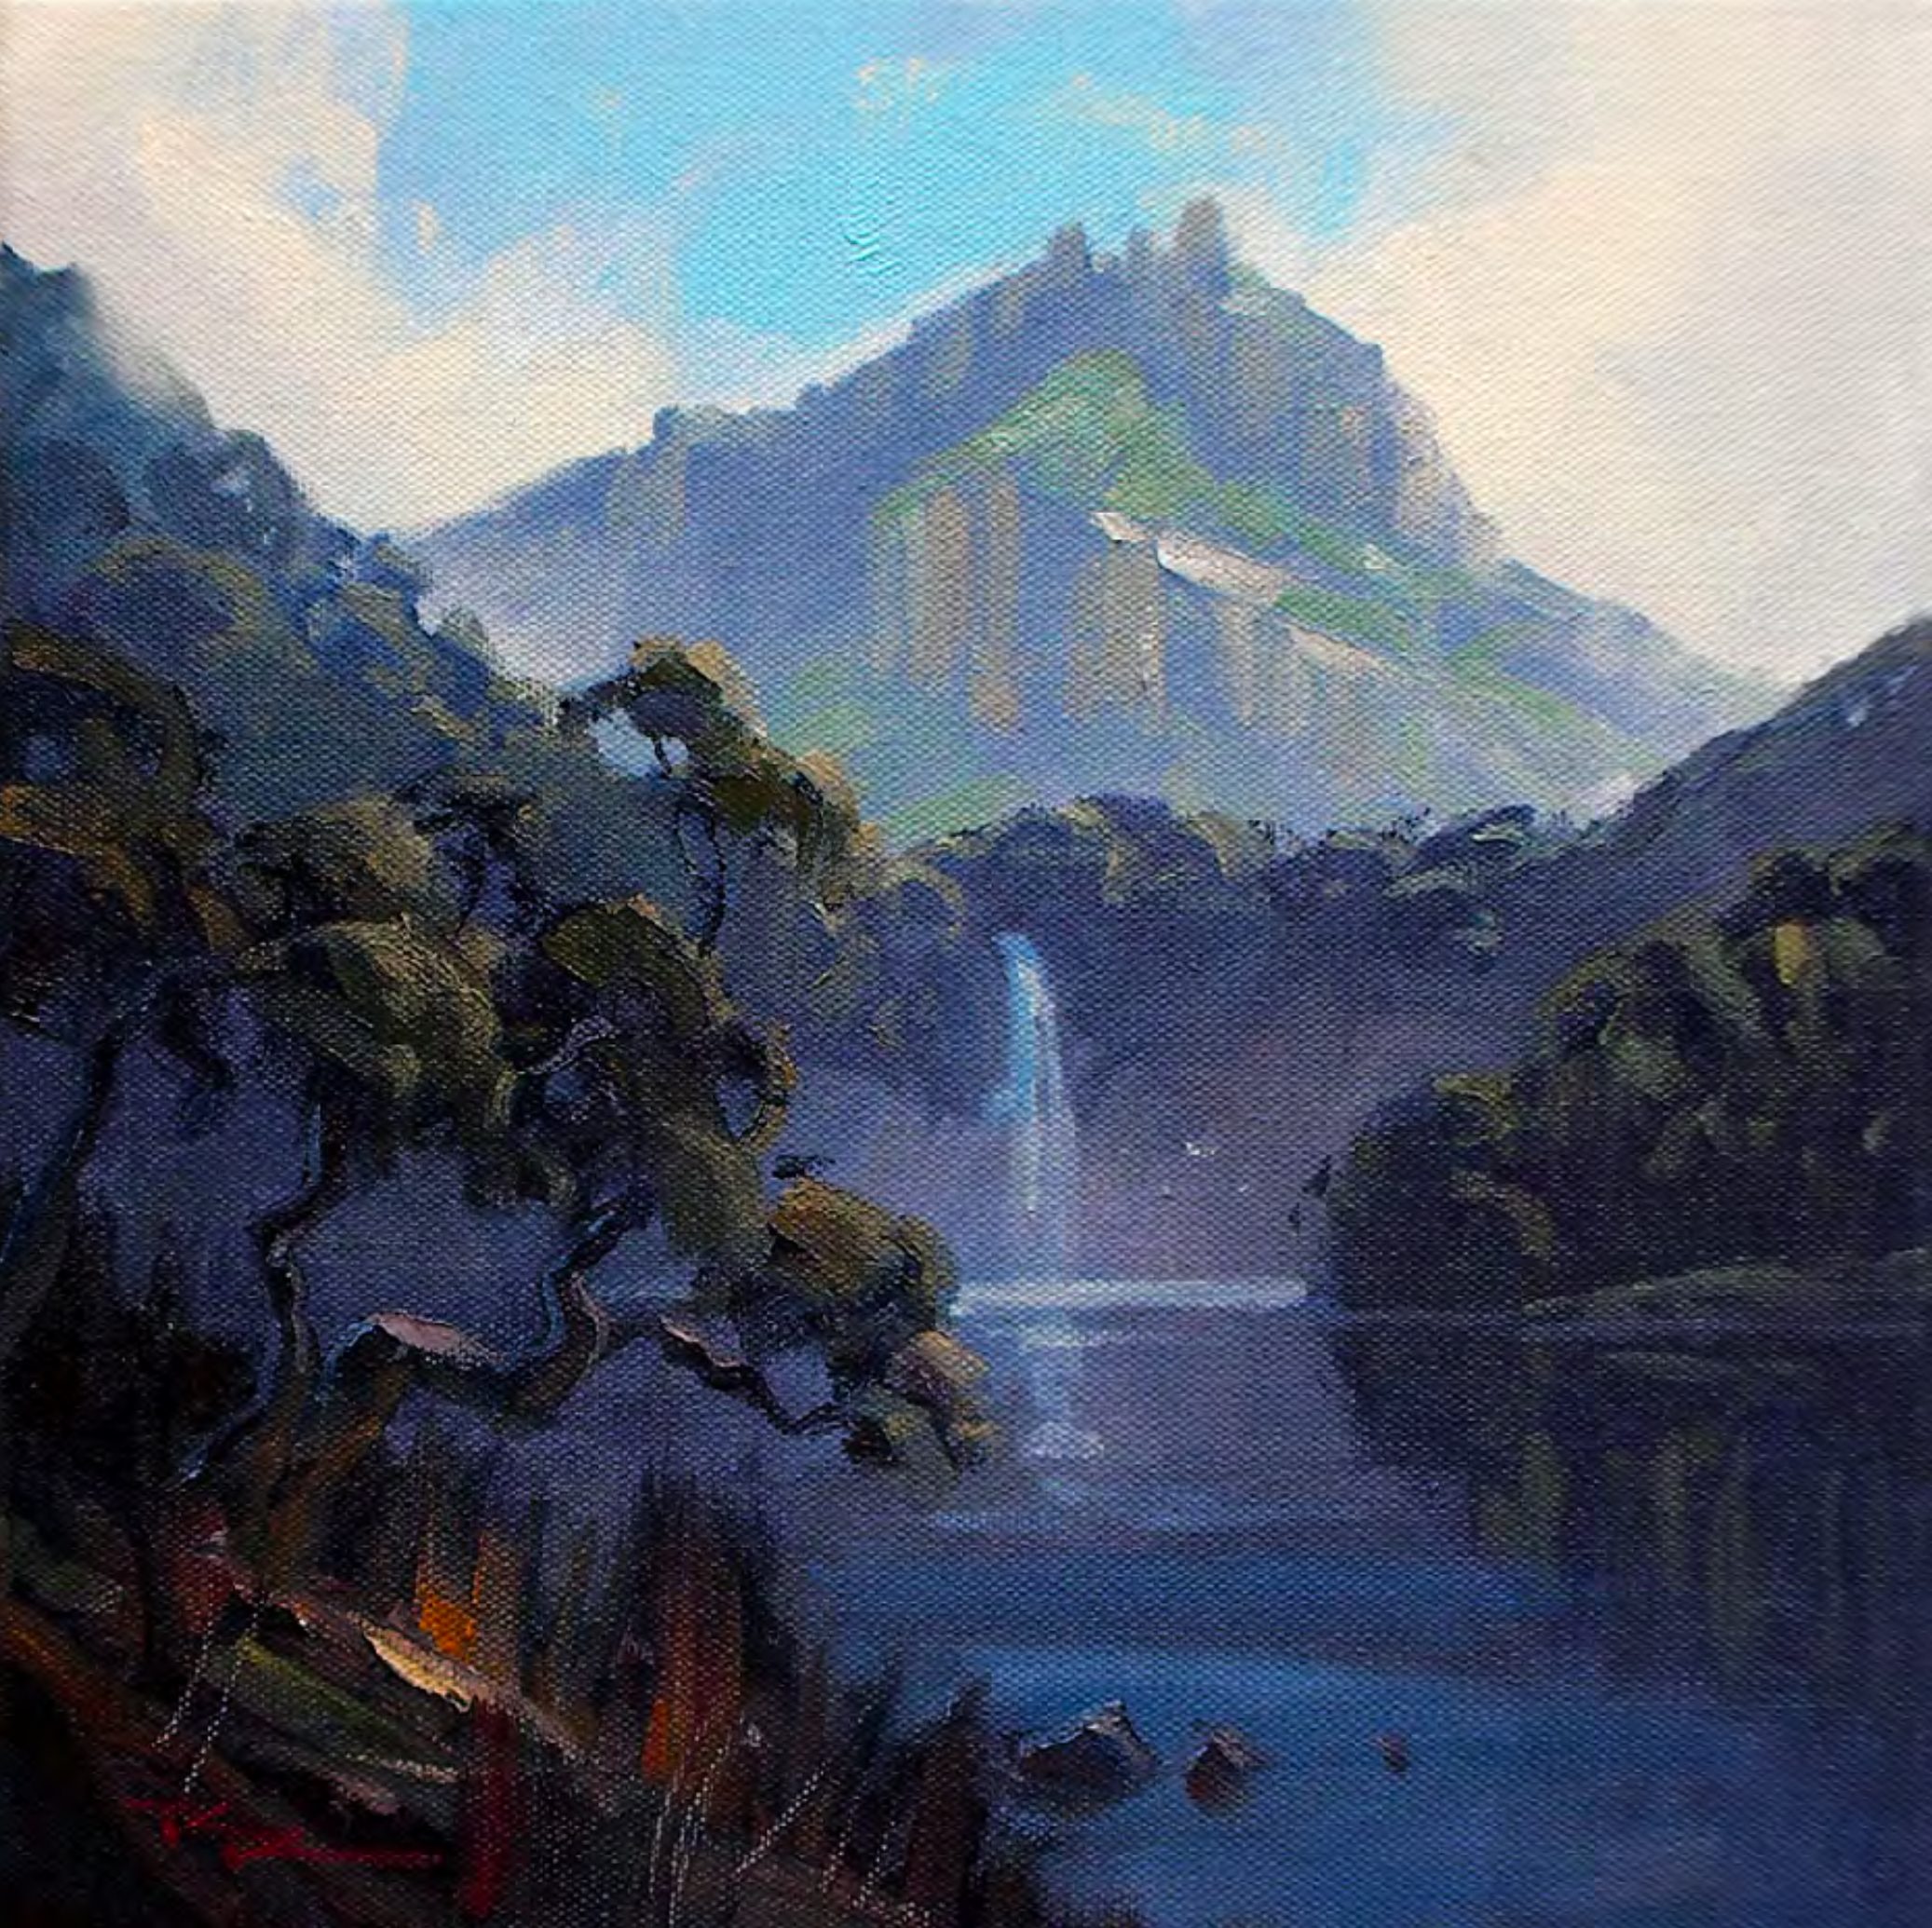
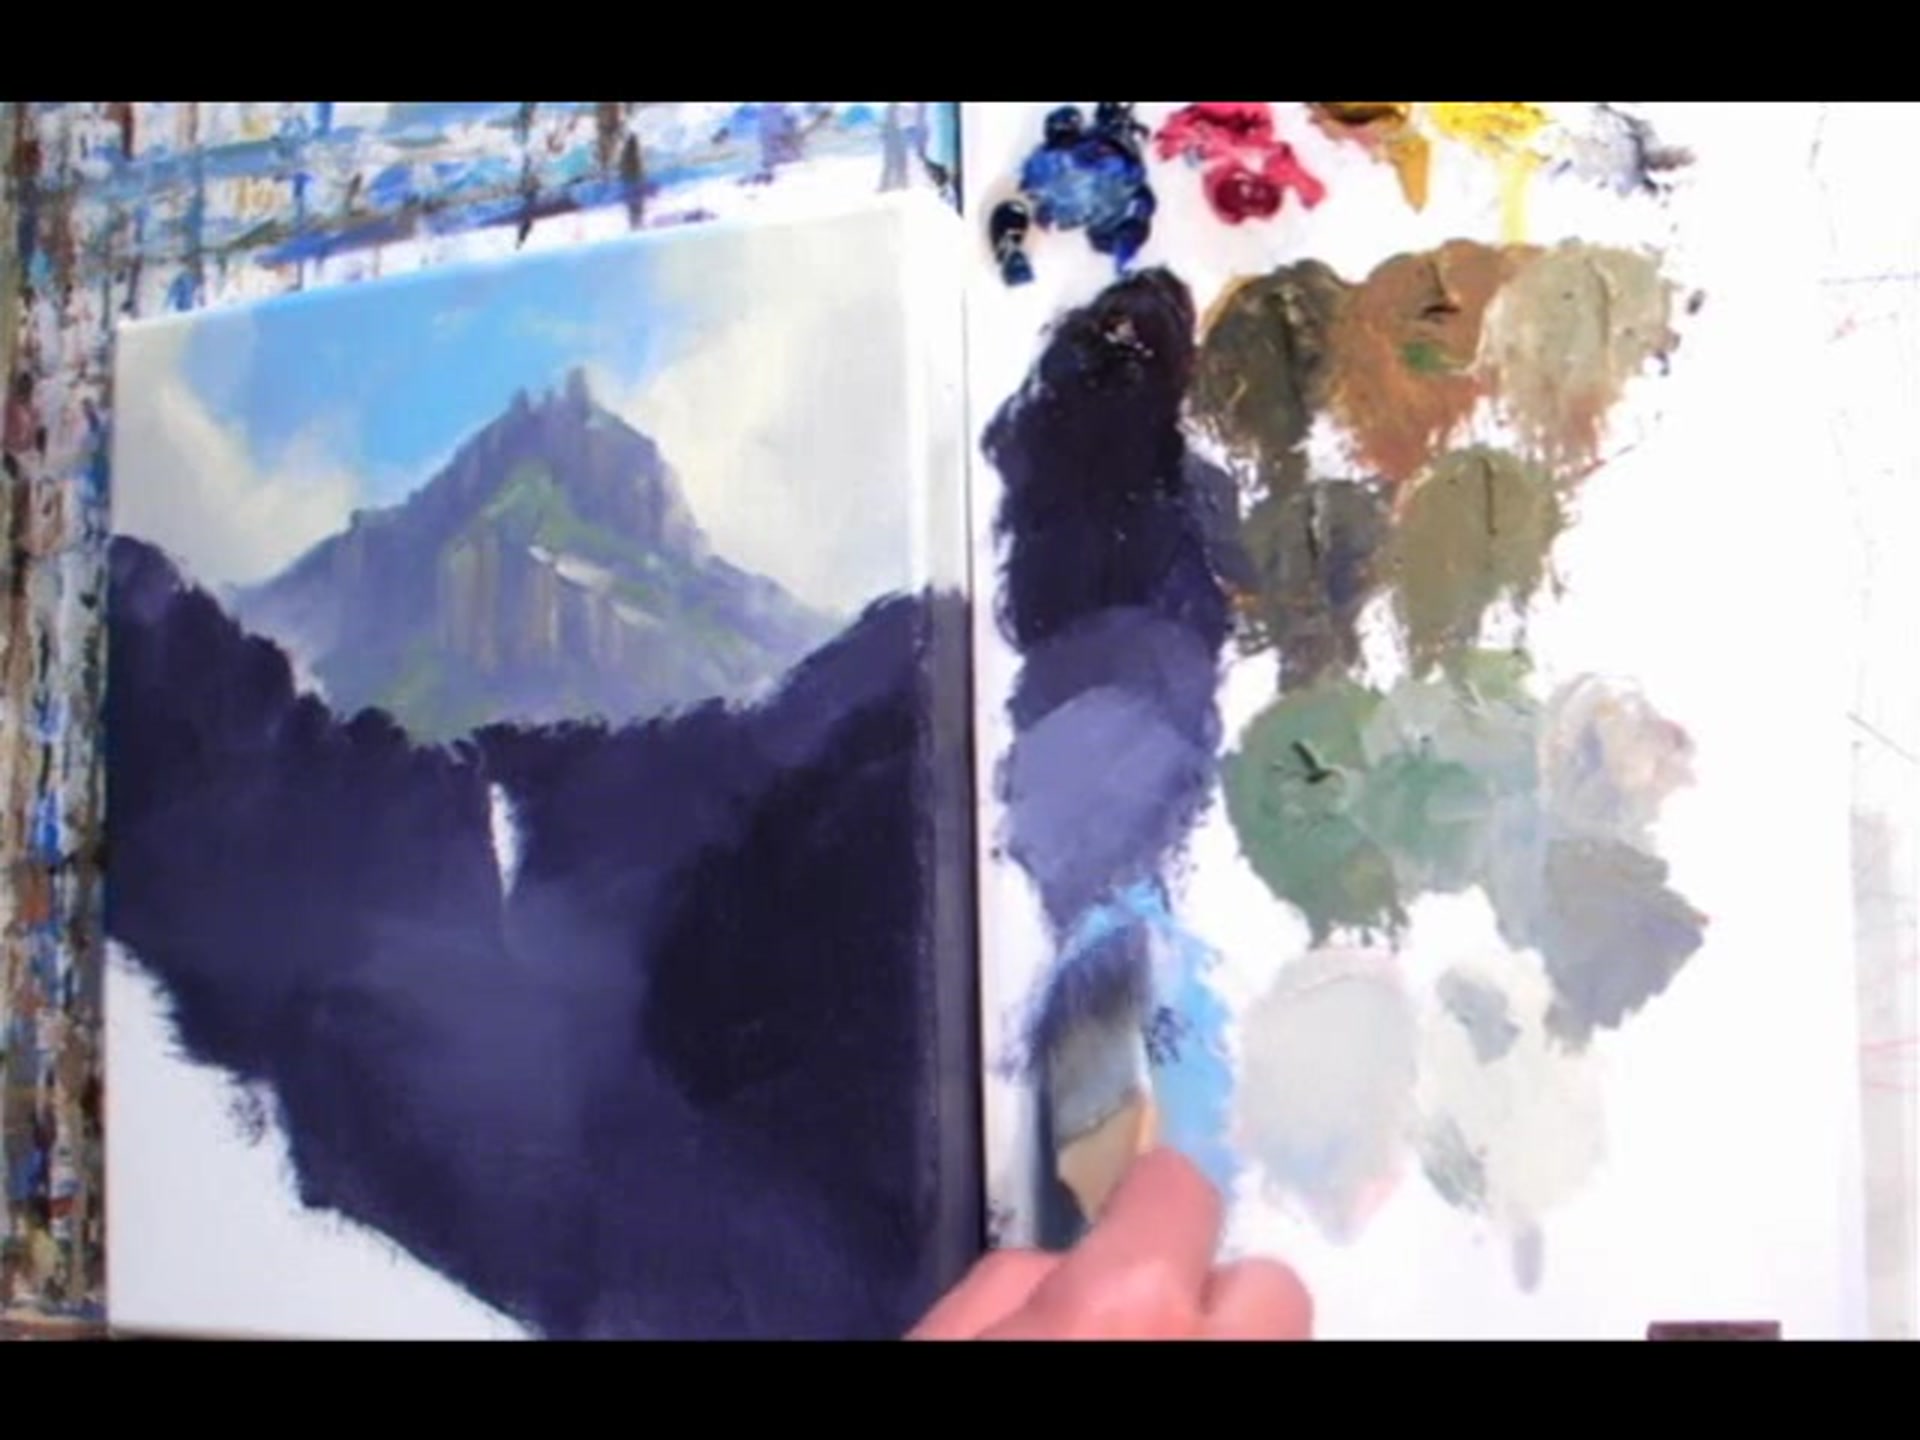
In this chapter, I invite you to join me in the studio as we explore the captivating beauty of Mount Manaia, a dormant volcano that stands majestically over Whangarei Harbour in Northland, New Zealand, where I call home. This iconic landmark has been a source of inspiration for me, and despite having painted it numerous times, I am continually drawn to its allure, striving to capture its essence more fully with each attempt. Together, we'll delve into the process of transforming a photograph into a vibrant painting, using our knowledge and artistic license to bring the scene to life. You'll learn how to harness the benefits of studio painting, such as consistent lighting, which allows us to maintain control over the light on our canvas and avoid the exaggerated contrasts often found in photographs. We'll also discuss how to compensate for these contrasts by understanding outdoor lighting conditions. While studio painting may lack the spontaneity of plein air work, it offers the opportunity to plan and refine our compositions, ultimately leading to a polished final piece that conveys the spirit of this remarkable location. Let's embark on this artistic journey and capture the timeless beauty of Mount Manaia together.
This guide accompanies the full video lesson. The lesson includes the complete narrated video, the printable PDF chapter, and personalised critique support.
Mix a light orange by combining your warm light color with your waterfall color. Apply this mixture to the mist area to simulate the effect of light falling on it. This will create a warm glow, enhancing the sense of light in the painting.
Blend Waterfall into Mist
Reload your brush with the light color to keep it pure. Paint into the mist area, allowing the light value to naturally blend with the background colors. This will create a smooth gradation as the light disappears into the mist.
Establish Tree Tops on Mid-ground Hill
Begin with the mid-ground hill on the left by painting the tops of the trees. Use a slightly lighter and bluer color to suggest light coming over the hill. This will give the impression of light pushing past the edge of the hill, infusing the edge with a lighter tone.
Pro tipUse a big brush creatively to achieve versatile effects without needing smaller brushes too early.
Embark on your painting journey by understanding the unique advantages of both studio and outdoor settings. While the studio offers controlled lighting, allowing for consistent work, outdoor painting captures the dynamic essence of natural light. Use your studio time to refine your compositions and sketches, ensuring that your final piece conveys the spirit of the location, even if painted indoors.
Begin your painting with strong compositional sketches, focusing on tonal values to create depth and interest. Simplify your values to maintain clarity and use a limited palette to streamline your color mixing process. As you progress, pay attention to the subtle shifts in color and value, ensuring that each element of your painting contributes to a cohesive whole.
As you add the final touches, focus on the details that bring your painting to life. Use your brushstrokes to express texture and movement, and carefully adjust colors to capture the light and shadow play across your scene. Remember, your brushstroke is your signature, so let it reflect your unique style and vision.
Points to remember
Control studio lighting to avoid glare and maintain consistent lighting on your subject.
Limit the number of values in your sketch to create a strong tonal base and enhance the composition.
Avoid mixing values on the canvas to maintain clarity in your tonal range.
Mix larger piles of base colors to serve as parent colors, allowing easy adjustments for variations.
Use phthalo blue to cool down your sky color when needed.
Squint through your eyelashes to reduce color intensity and focus on checking values accurately.
Use ultramarine blue for a warm sky color to add variation and interest.
Avoid overdoing highlights; focus on one major highlight with a few supporting ones.