I believe that encouragement is one of the most valuable gifts we can receive, and this art course is designed to offer just that. Whether you're 5 or 95, the principles you'll learn here are timeless and universal. I've found that art and design skills can be quickly grasped by anyone with average ability, and as you progress through these steps, you'll see your drawing and artistic skills flourish. We begin by honing our pencil work, focusing on the fundamentals of shapes, proportions, perspective, and the magic of light and shade to bring your drawings to life. As you advance, you'll explore the vibrant world of color, enhancing your ability to convey action, character, and emotion. We'll build confidence with pen work, delve into the expressive potential of pastels, and eventually embrace the fluid beauty of watercolors. Finally, we'll venture into the rich textures of oil painting and mixed media. This journey is crafted to inspire and encourage you every step of the way, and I am thrilled to be part of your artistic growth.
This guide accompanies the full video lesson. The lesson includes the complete narrated video, the printable PDF chapter, and personalised critique support.
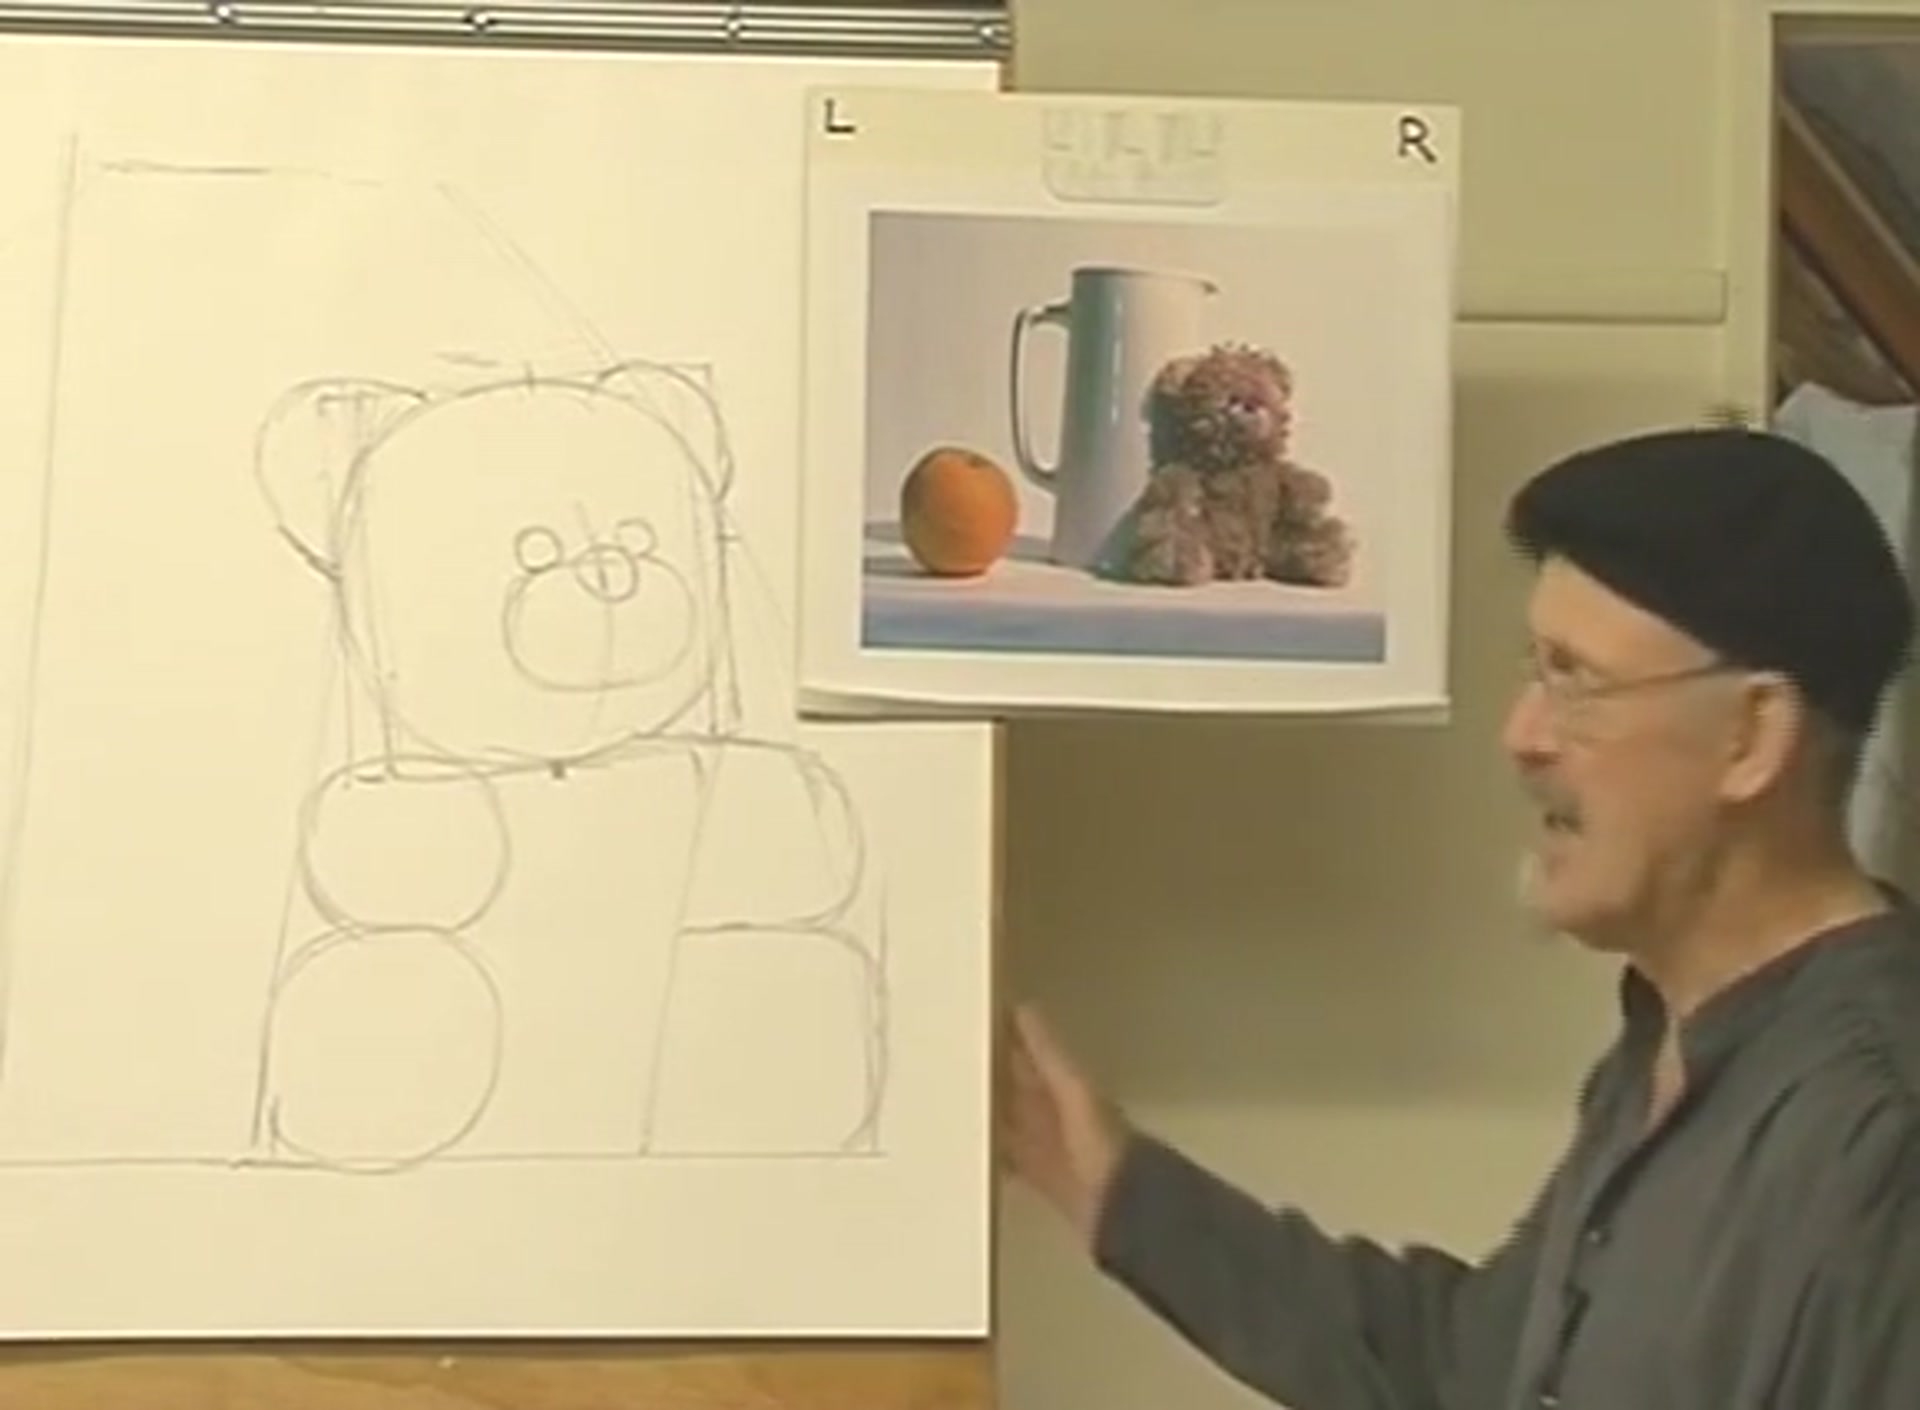
Begin by sketching the flat top of the jug. Observe carefully and align it with the edge of the teddy bear's ear. Notice the slight slope on one side and draw it accordingly. Curve the top part of the jug down and around to complete the shape.
Position the Handle
Locate the handle slightly below the top of the jug. Measure about half the distance from the top of the teddy bear's head to the top of the jug. Draw a flat line for the top of the handle, ensuring it sticks straight out.
Draw the Handle's Length
Check how close the handle comes to the orange, ensuring it cuts into the corner slightly. Draw the handle extending lower than the top of the orange, with a slight curve as it descends.
Shape the Handle
Sketch the outside of the handle with a consistent width, avoiding variations from fat to skinny. Make the top corner of the handle rounded, not sharp. Draw the inside of the handle similarly, maintaining a solid appearance.
Refine the Jug's Curves
Add small curves to the handle where it meets the jug. Ensure the top of the jug slopes slightly downward at each end, creating a gentle curve. Look closely at these shapes to ensure accuracy.
Position the Jug
Determine the jug's position relative to the teddy and the orange. Start the jug a little higher up on the table, as it's further away. Draw the bottom of the jug with a slight upward curve, indicating its position further back on the table.
Pro tipDraw lightly and use multiple lines to refine shapes, allowing for easy adjustments.
Embark on your artistic journey by honing your foundational skills with pencil work. Begin by mastering shapes, proportions, and textures, and gradually incorporate light and shade to bring your drawings to life. As you progress, introduce color to your pencil drawings to express emotion and character, and experiment with pen, wash, and pastels for added depth and detail.
Warm-up exercises are essential to train your hand-eye coordination and build confidence. Start each session by practicing simple patterns, focusing on accurate replication and proportion. This preparation will enhance your control and precision as you move on to more complex subjects, such as still lifes and detailed compositions.
As you refine your drawing, pay attention to the big shapes and sub-shapes within your subject. Use light lines to sketch and adjust proportions, and gradually add details and textures. Remember to incorporate shadows and highlights to enhance the three-dimensional quality of your work. With practice and patience, your drawings will become more expressive and realistic.
Points to remember
Start with pencil to build foundational skills.
Always begin with a warm-up exercise to improve control.
Use your fingers to measure consistent distances.
Measure new elements against existing shapes for accuracy.
Use halfway marks to guide curves for perfect circles.
Draw lightly to allow for easy adjustments.
Leave spaces between lines where light hits for texture.