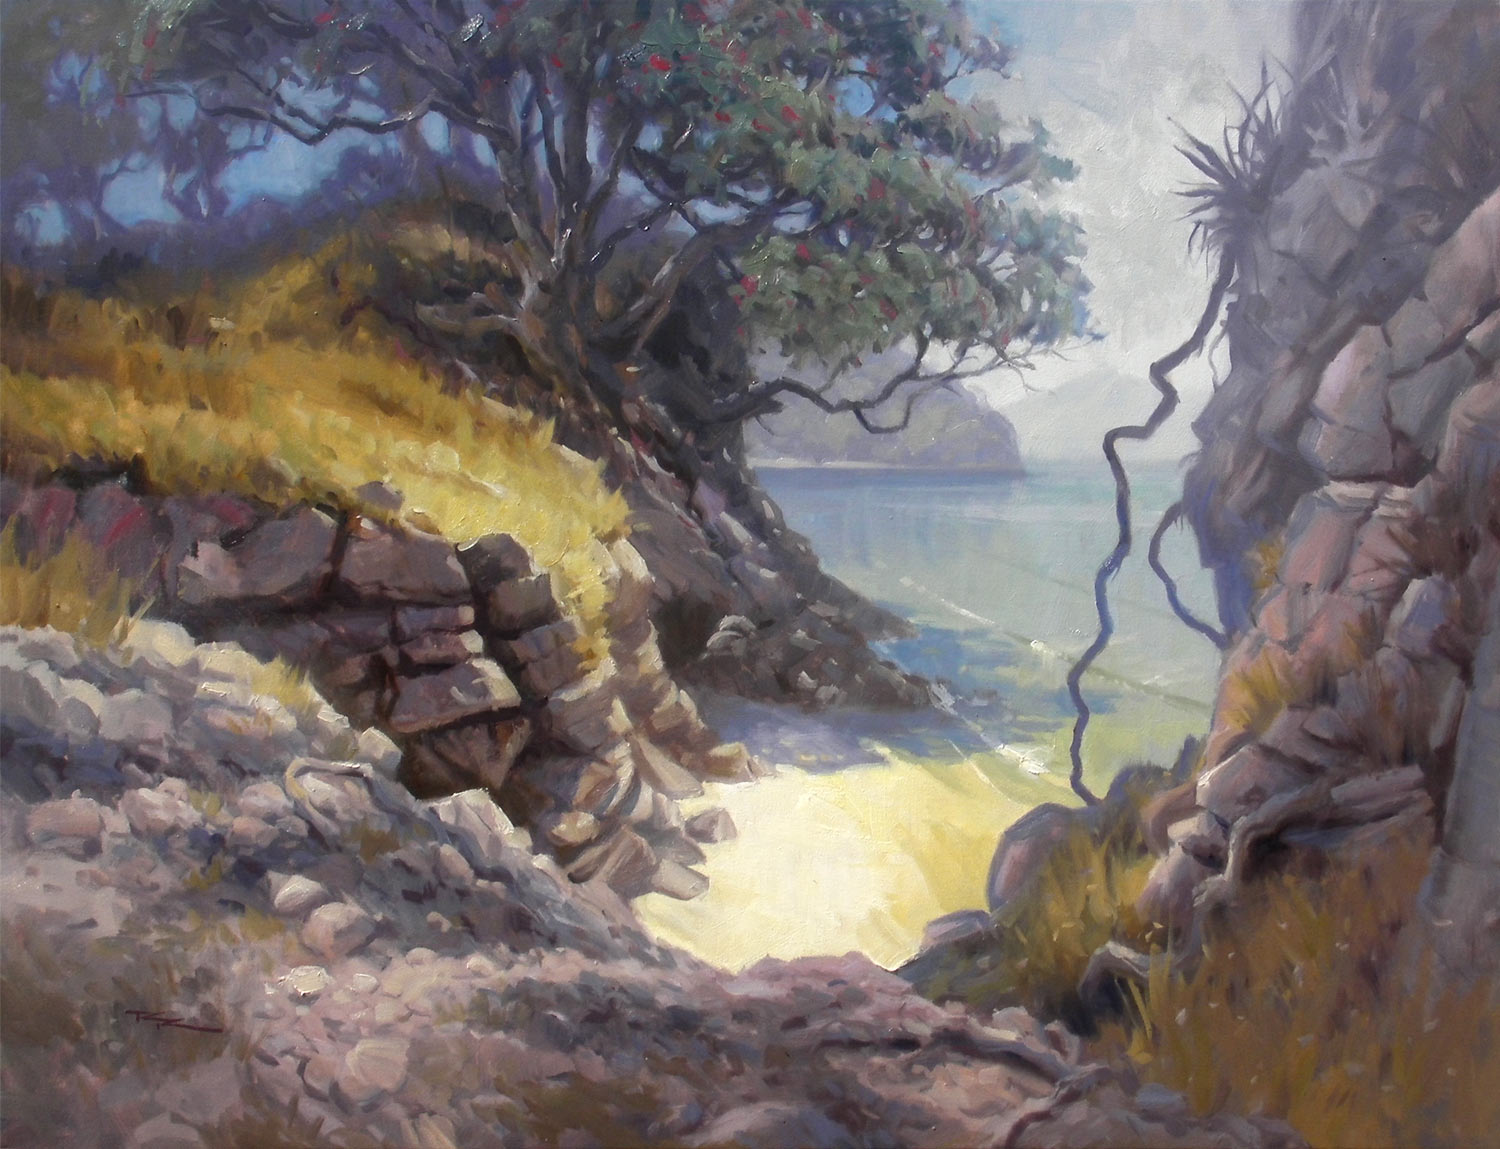
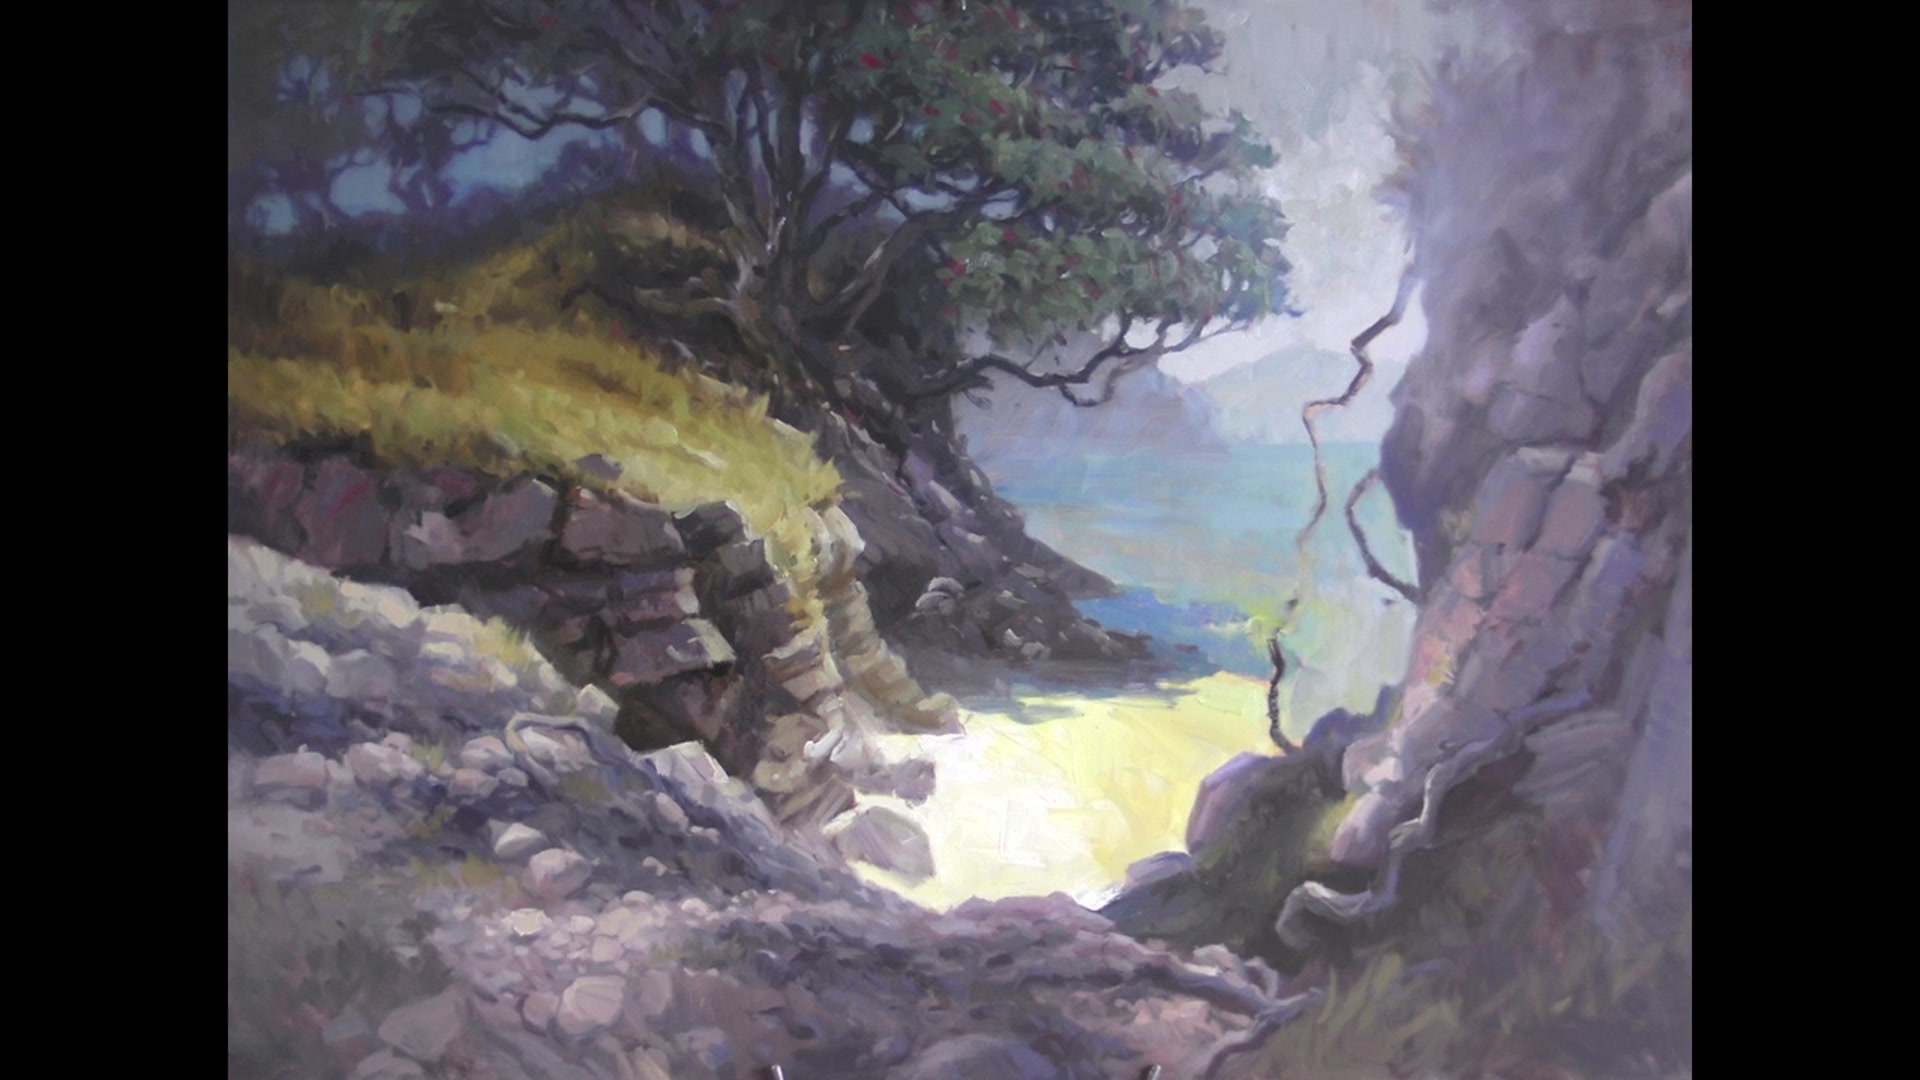
In this chapter, we'll embark on an exciting journey to capture the serene beauty of Pa Beach. This scene is a perfect introduction to landscape painting, offering a delightful mix of elements that will challenge and inspire you. As we begin, you'll learn to block in the dark areas, which is crucial for establishing the composition and guiding the placement of other elements. Our focus will be on painting the water and beach areas first, as these are the heart of the scene. The glowing quality of the beach is a key feature that adds vibrancy and life to your painting, and I'll guide you step by step to capture that essence. Whether you follow along closely or use the resource photo to infuse your own creativity, this lesson will help you develop your skills and confidence. The tranquil charm of Pa Beach makes it a rewarding subject, and by the end of this chapter, you'll have a stunning piece of art that reflects both the scene's beauty and your personal touch.
This guide accompanies the full video lesson. The lesson includes the complete narrated video, the printable PDF chapter, and personalised critique support.
Studio Painting 30x40" Oil on Canvas by Richard Robinson
Step 22Final Adjustments and Water Effects
Add Grasses for Variation
Introduce some grasses into the foreground to create variations in the grey area. This will help link the foreground with the midground, enhancing depth and interest.
Tidy Up Details
Refine any areas that need attention to ensure a cohesive composition. Focus on smoothing transitions and correcting any distracting elements.
Paint Shallow Water Effects
Create a gradual color change from the horizon to the shore. This transition reflects the sky near the horizon and reveals the sandy bottom near the shore.
Consider Water Elements
Incorporate land reflections, wind lines, swells, waves, and foam into the water. Also, add the cast shadow of the tree and the glow from the beach to enrich the scene.
Pro tipEnsure a gradual color change in the water to reflect both the sky and the sandy bottom.
Embark on your painting journey by establishing the composition with a focus on the main elements, such as the glowing beach and vibrant water. Begin with broad strokes and large color areas to set a strong foundation. This approach will guide you through the complexities of plein air painting, helping you capture the essence of the scene efficiently.
As you progress, pay attention to the interplay of light and shadow, using color temperature to create depth and separation between elements like distant hills and foreground rocks. Embrace the natural elements, such as wind, to add dynamic movement to your brushwork, and use pre-mixed colors to maintain consistency and clarity.
In the final stages, refine your painting by adding precise details and enhancing the overall composition. Use digital tools to explore and refine your ideas for studio work, ensuring a cohesive and luminous effect. Remember to let each color note harmonize like a symphony, bringing your painting to life with depth and vibrancy.
Points to remember
Start with dark areas to establish composition.
Ensure smooth transitions from water to sand colors.
Prioritize large color shapes over details in plein air.
Lighten and cool distant hills to enhance depth.
Cover the whole canvas with color first.
Avoid peering directly into shadows for accurate color perception.
Pre-mix rock colors for consistent shadow painting.