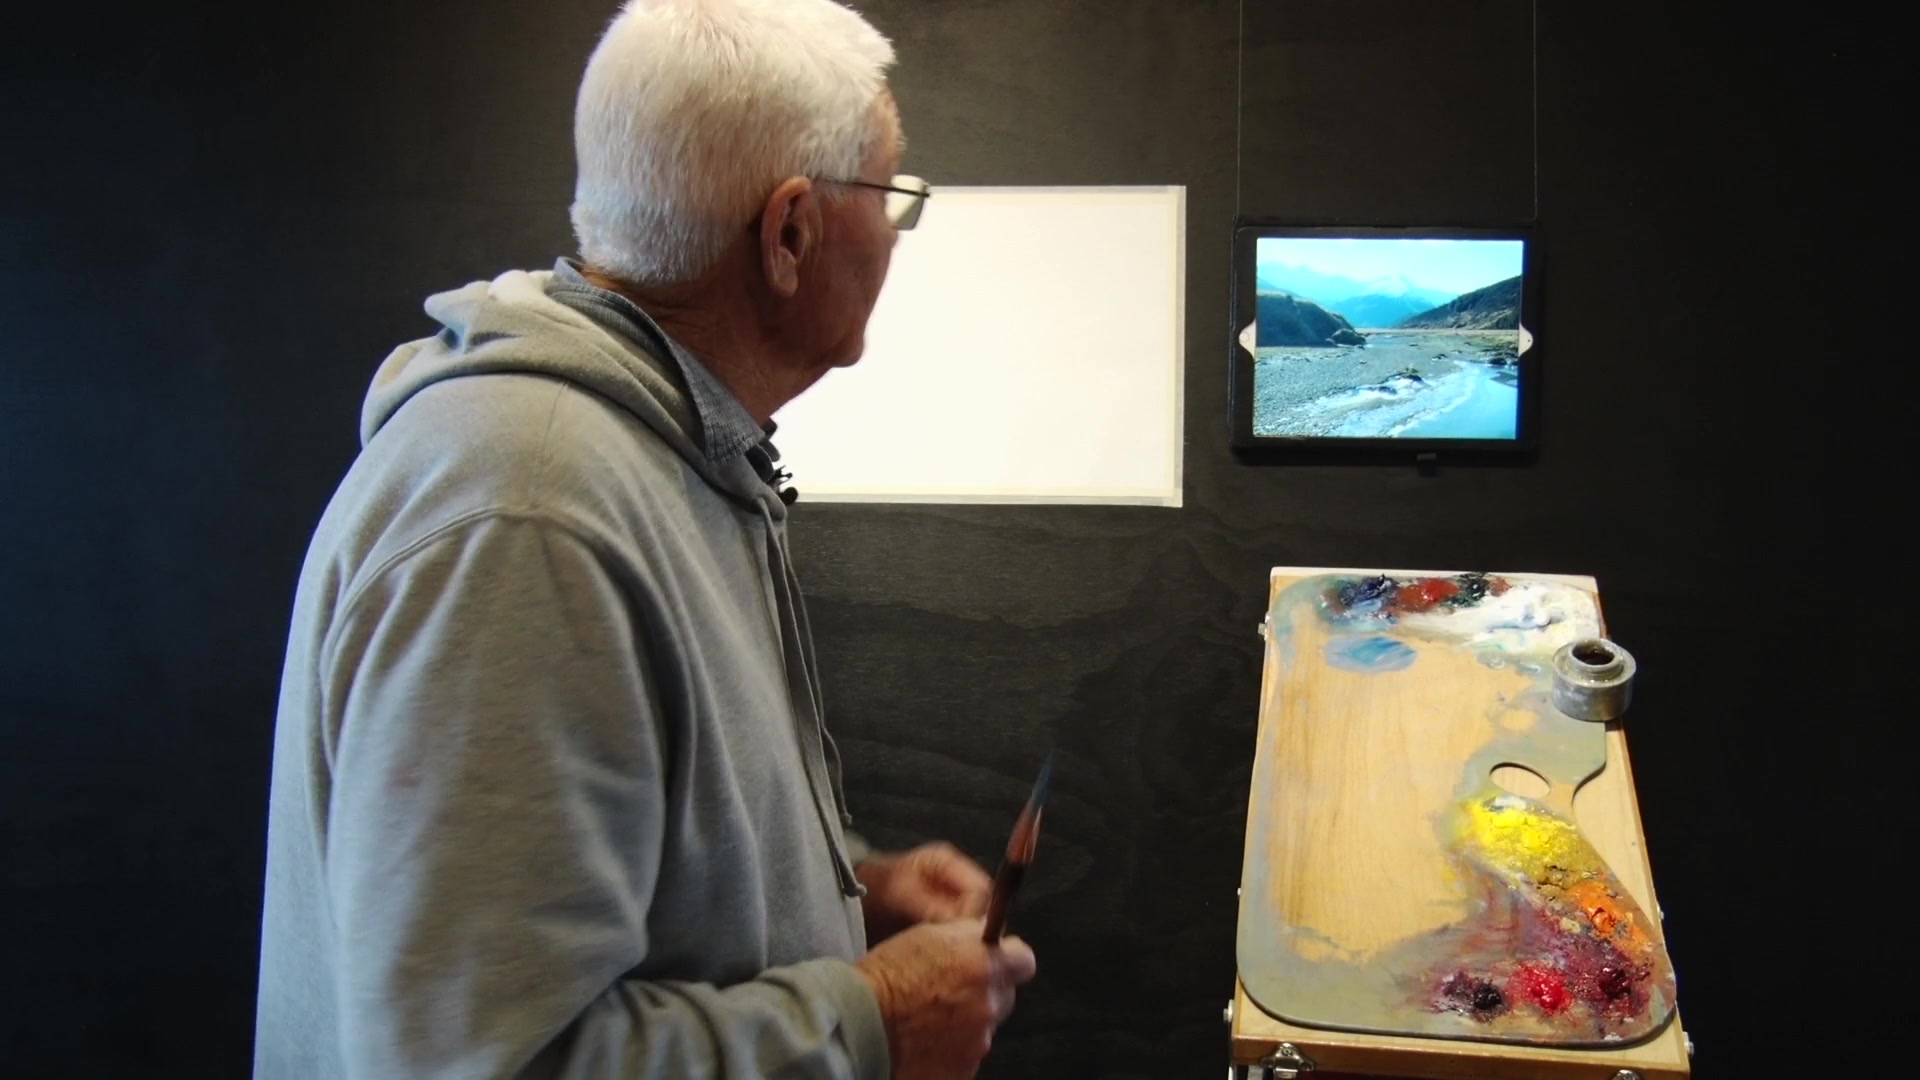
In this chapter, I invite you to explore the exhilarating world of expressive brushwork alongside the esteemed New Zealand artist John Crump. As we delve into this workshop, you'll witness three captivating demo paintings that beautifully illustrate John's mastery of a painterly style developed over more than four decades. This lesson is designed for every artist who dreams of painting with a loose, impressionistic flair. We'll focus on selecting the right tools for the job, starting with size 12 brushes that are perfect for most of your painting needs. Opt for brushes with square tips and long bristles that can hold plenty of paint, enabling you to create long, expressive strokes that bring your canvas to life. While small brushes have their place for intricate details like twigs or building features, they can slow you down when covering large areas. By the end of this chapter, you'll gain insights into achieving a sense of freedom and joy in your painting, capturing the essence of your subject with bold, confident strokes.
This guide accompanies the full video lesson. The lesson includes the complete narrated video, the printable PDF chapter, and personalised critique support.
Decide early on where the main thrust of your painting will be. Consider the composition and adjust the mountains to avoid similar angles that could create imbalance. Steepen or flatten areas as needed to differentiate them clearly.
Add the Darkest Darks
Start with the darkest points in the foreground to establish a reference for color and tone. Use dark tones sparingly to ensure they remain in the foreground. If necessary, invent dark elements like rocks or tussocks to enhance depth.
Mix Colors with Your Brush
Mix your paint directly with your brush for a quicker and easier blend. This method allows you to maintain a clean canvas and adjust colors as needed. Keep the paint thin to allow for easy adjustments later.
Paint the Snow
Apply the snow with clean, sharp edges, even if the reference shows ragged edges. Keep the paint thin to allow for over-painting and adjustments. Focus on the overall idea of the mountains rather than precise details.
Shape the Mountains with the Sky
Use the sky color to define the mountain shapes. Mix a slightly yellowed sky color with minimal blue to create a late-day effect. Paint around the mountains to easily form their tips and shapes.
Add Highlights and Reflections
Introduce highlights on the snow and suggest reflected light in the scene. Use a light touch to add these details without overpowering the painting. Avoid perfect reflections in water to prevent distractions.
Refine the Design
Continuously assess the design of your painting. Adjust elements that may create unwanted parallels or distractions. Ensure every brushstroke has a purpose and contributes to the overall composition.
Pro tipMix paint directly with your brush for a quicker and easier blend, maintaining a clean canvas for adjustments.
Embark on your painting journey by selecting the right tools and materials. Choose large brushes with square tips for expressive strokes and a smooth artist's palette for effective color mixing. Opt for a canvas that enhances your brushwork, such as a fine, smooth surface that showcases your expressive style.
As you begin painting, focus on establishing the composition with dark tones and gradually build up to midtones and highlights. Use a variety of techniques, like the sawtooth method, to soften edges and maintain a harmonious balance in your work. Pay attention to the interplay of light and shadow, ensuring depth and movement in your scenes.
Throughout your painting process, remain flexible and open to adjustments. Whether you're painting rocks, mountains, or trees, continually assess the design and make changes to enhance the overall composition. Keep your brushwork purposeful, and remember that each stroke contributes to the expressive quality of your painting.
Points to remember
Use large brushes for most of your painting to maintain speed and expressiveness.
Avoid touching the sides or bottom of the dipper with your brush to keep the medium clear.
Opt for a fine canvas to enhance the visibility of your expressive brush strokes.
Keep darks thin and lights with more body to create depth and allow easy adjustments.
Mix paint directly with your brush for a quicker and easier blend, maintaining a clean canvas.
Keep your paint layers thin to maintain control and avoid overworking the painting.

.jpg)