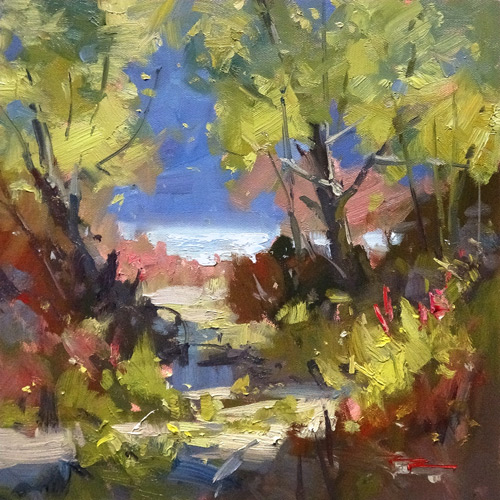
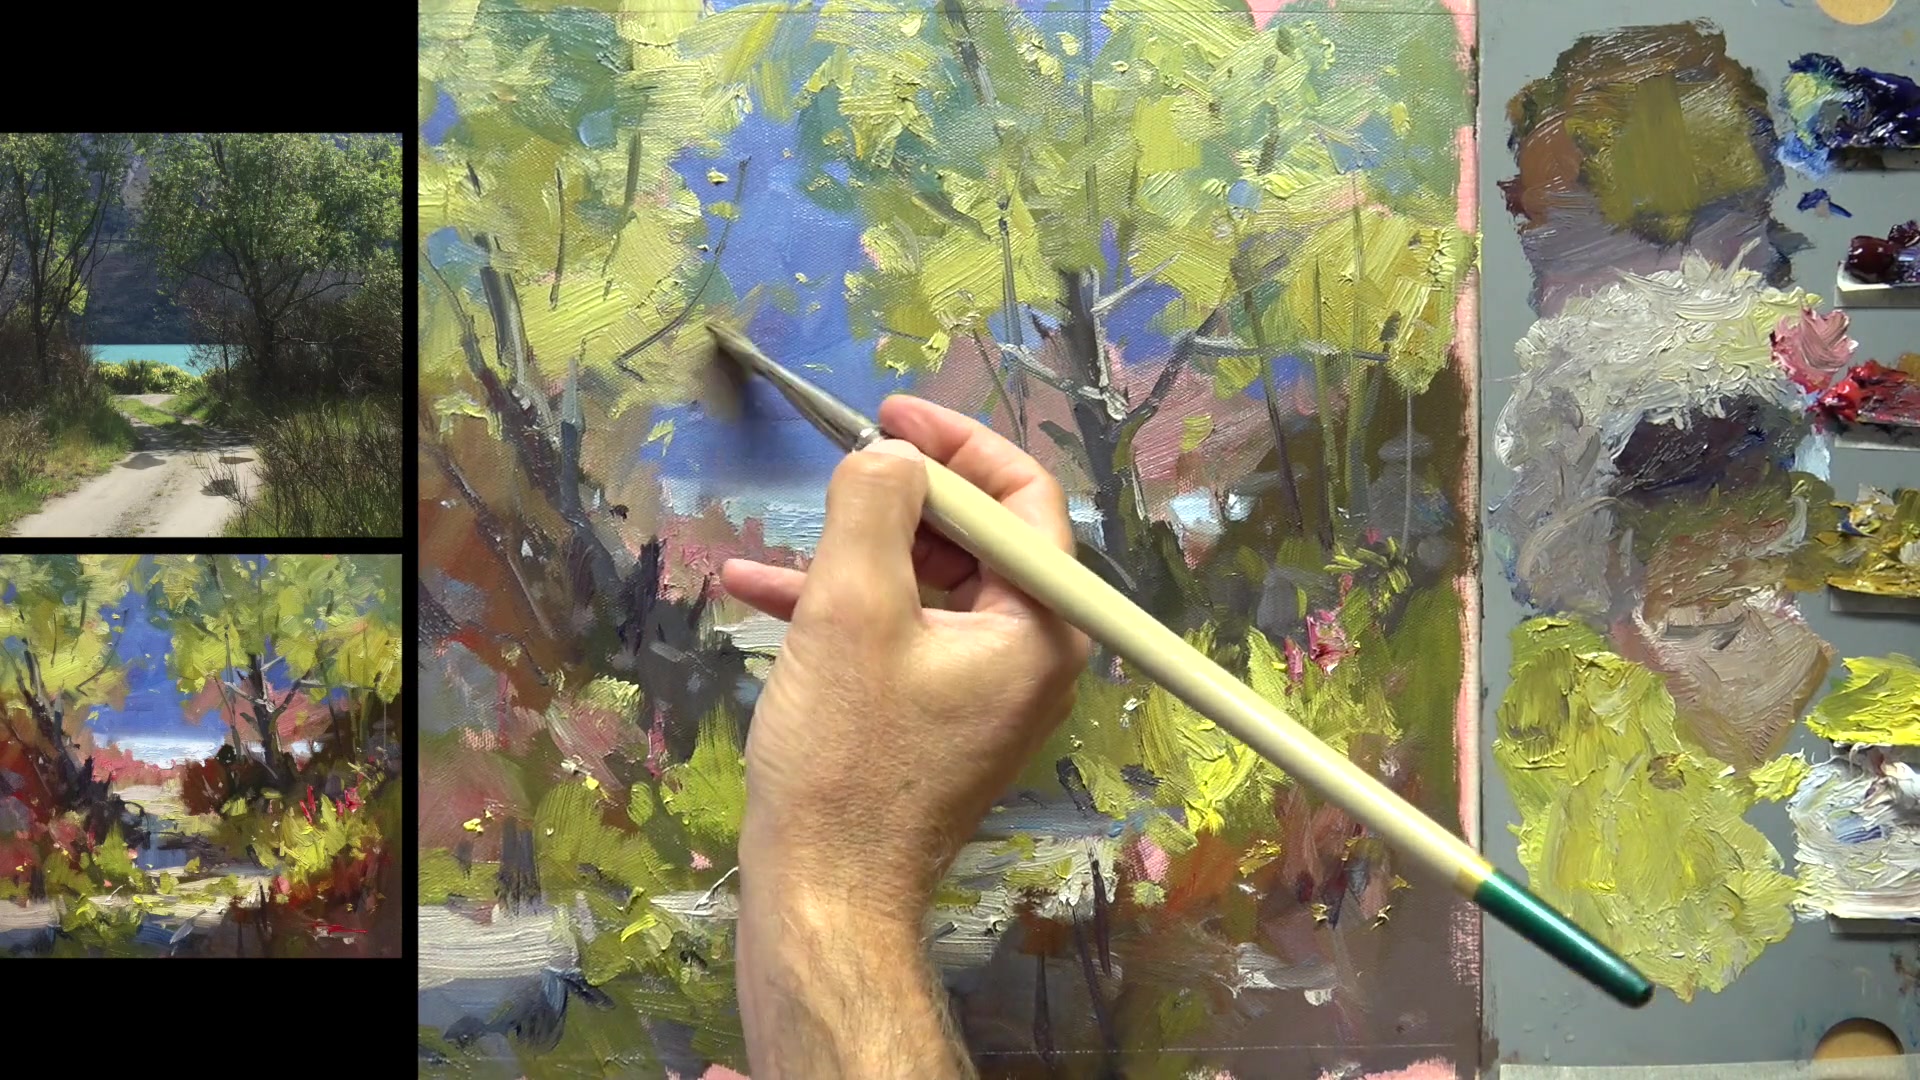
In this chapter, I invite you to join me on a virtual walk to Glenorchy, a charming village nestled at the edge of Lake Wakatipu in the South Island of New Zealand. This picturesque spot, located near the popular tourist destination of Queenstown, offers a stunning landscape that is perfect for painting. As we explore this beautiful area, you'll learn to capture the essence of its light-filled scenery in an impressionistic style. We'll focus on the theme of looking through trees to the landscape beyond, a common motif in Glenorchy paintings that adds depth and interest to your work. Using large brushes and generous amounts of paint, I'll guide you step by step through the process of designing an inviting scene and painting with freedom. This lesson is all about embracing the joy of painting outdoors and discovering techniques that bring your canvas to life. Whether you're stuck indoors or simply yearning for a creative escape, this chapter offers a rewarding subject that will enrich your painting journey.
This guide accompanies the full video lesson. The lesson includes the complete narrated video, the printable PDF chapter, and personalised critique support.
Use a palette knife to gently smush some of the edges in your painting. This creates interesting textures and adds depth. Be careful not to overdo it; subtlety is key.
Sign Your Painting
Once satisfied with the textures, sign your painting. This personal touch marks the completion of your artwork.
Remove the Tape
Carefully pull off the tape from the edges of your painting. This will give your artwork a clean, finished look.
Pro tipUse a palette knife sparingly to create subtle textures without overwhelming the painting.
Embark on your painting journey by thoughtfully composing your scene, drawing inspiration from natural elements like trees and streams to create depth and interest. As you paint, pay attention to the interplay of edges and contrasts, using soft edges to blend elements seamlessly into the background and sharp edges to highlight focal points. Balance warm and cool tones to enhance the vibrancy and depth of your landscape.
Embrace the challenge of painting with time constraints to capture the essence of your scene with dynamic brushwork. Use large brushes to cover your canvas quickly, and don't shy away from vigorous paint application to infuse energy into your work. As you progress, consider the role of trees as natural frames and exaggerate contrasts to create a visually engaging composition.
Refine your painting by adjusting color saturation and intensity to compensate for camera limitations, ensuring your colors remain vibrant yet true to the scene. Pay close attention to the design and placement of elements, using shadows and varied shapes to guide the viewer's eye and maintain interest. Finally, soften any distracting edges and ensure your painting's composition remains dynamic and inviting.
Points to remember
Incorporate trees and natural elements to create depth and interest.
Use soft edges to blend elements into the background.
Set a time limit to encourage quick, expressive brushwork.
Exaggerate warm and cool contrasts to enhance visual dynamics.
Enhance color saturation to compensate for camera limitations.
Find your personal threshold for color intensity to avoid an overwhelming effect.
Vary the heights and widths of shapes to add interest to your painting.
Use a zigzag swish technique to maintain soft, clean edges.