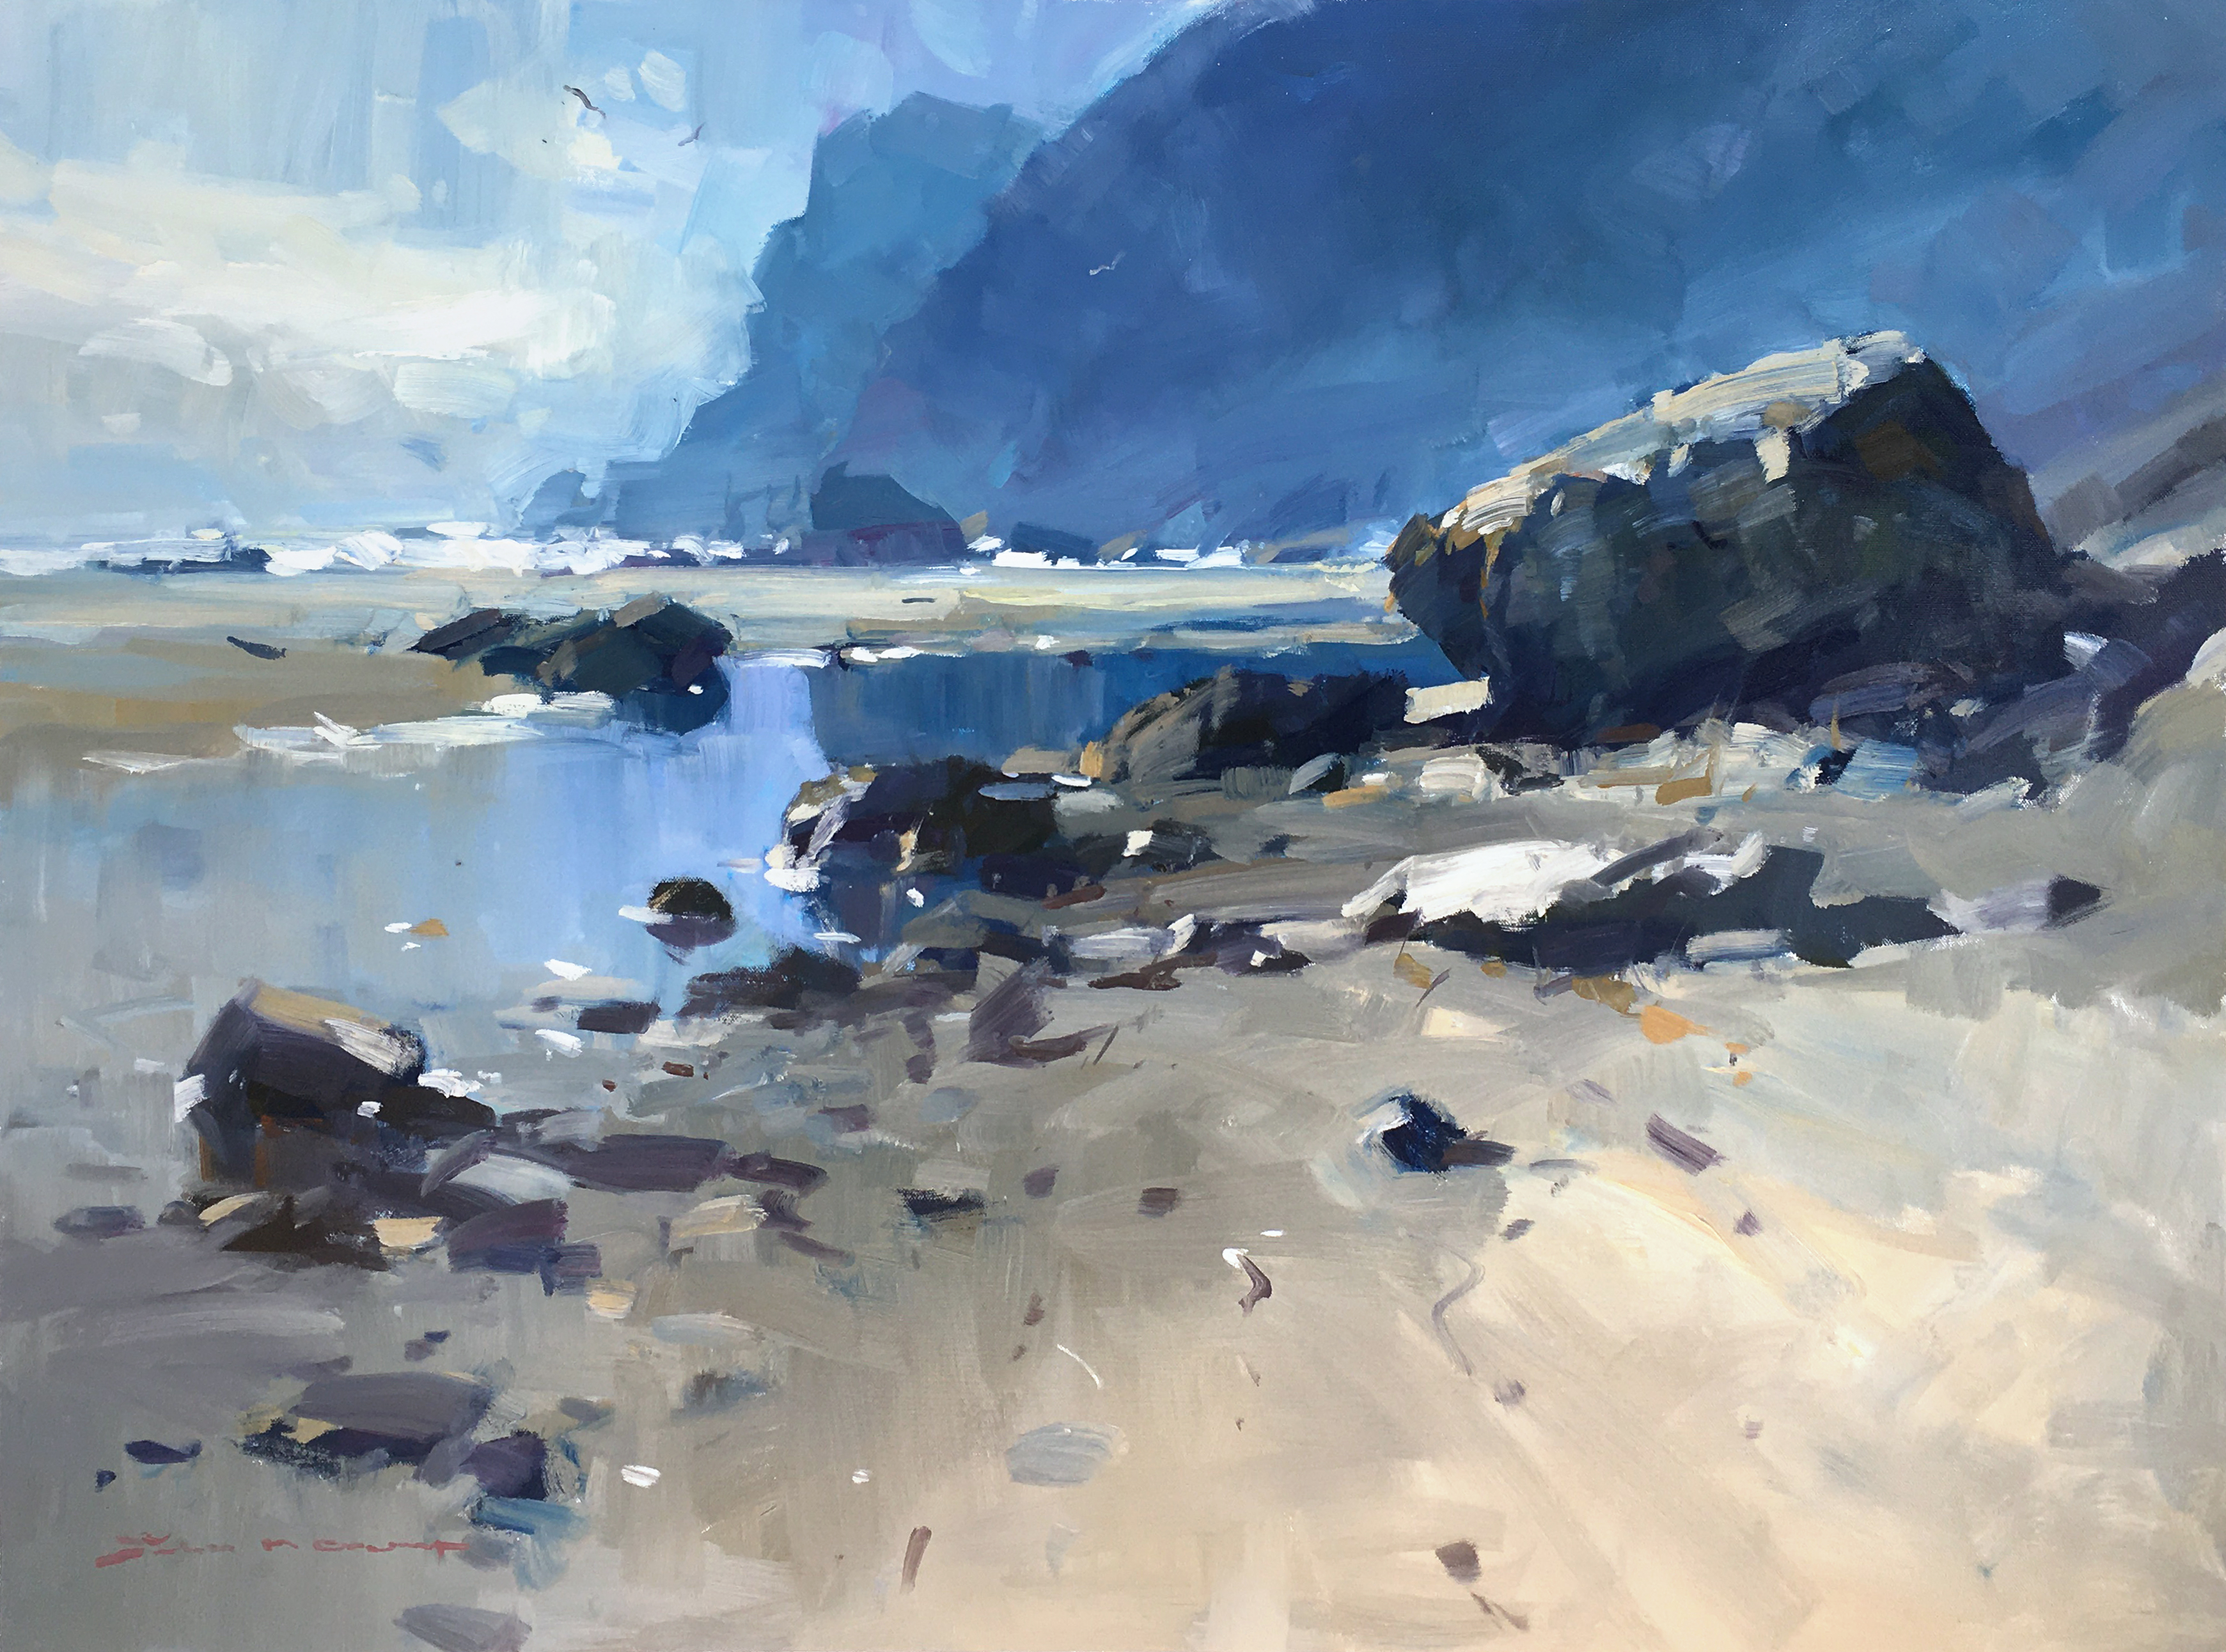
In this chapter, I invite you to join me at the stunning Taupo Bay, where we'll delve into the captivating world of mood and light in painting. These elements are what often inspire us to pick up a brush, yet achieving a convincing atmospheric effect can be a challenge. With the guidance of New Zealand artist John Crump, who brings 50 years of painting experience, you'll learn how to infuse your work with drama and emotion. We'll explore techniques to manipulate light and shadow, creating a sense of depth and atmosphere that draws the viewer in. One of the first steps is ensuring your paint flows easily, which is crucial for blending and achieving the desired effects. By adjusting the consistency of your paint with a medium like Winsor & Newton Liquin Original, you'll find it more flexible and easier to apply. This simple adjustment can transform your painting experience, allowing you to focus on capturing the essence of the scene. Together, we'll unlock the secrets of mood and light, enriching your paintings with a new level of expression.
This guide accompanies the full video lesson. The lesson includes the complete narrated video, the printable PDF chapter, and personalised critique support.
Push the rocks further away by reducing their size to make them less dominant in the composition. This will help emphasize the distance of the cliffs and create a more balanced scene.
Introduce Sand Color
Bring the sand color into the painting, ensuring it remains light to maintain the overall brightness. Be cautious not to let the tone become too dark, as this can affect the mood and light of the scene.
Mix the Sand Tone
Mix a very light grey with a touch of cadmium orange and a little gold ochre to achieve a warm sand tone. Be careful not to add too much warmth, as it can make the color too prominent.
Work Over Existing Layers
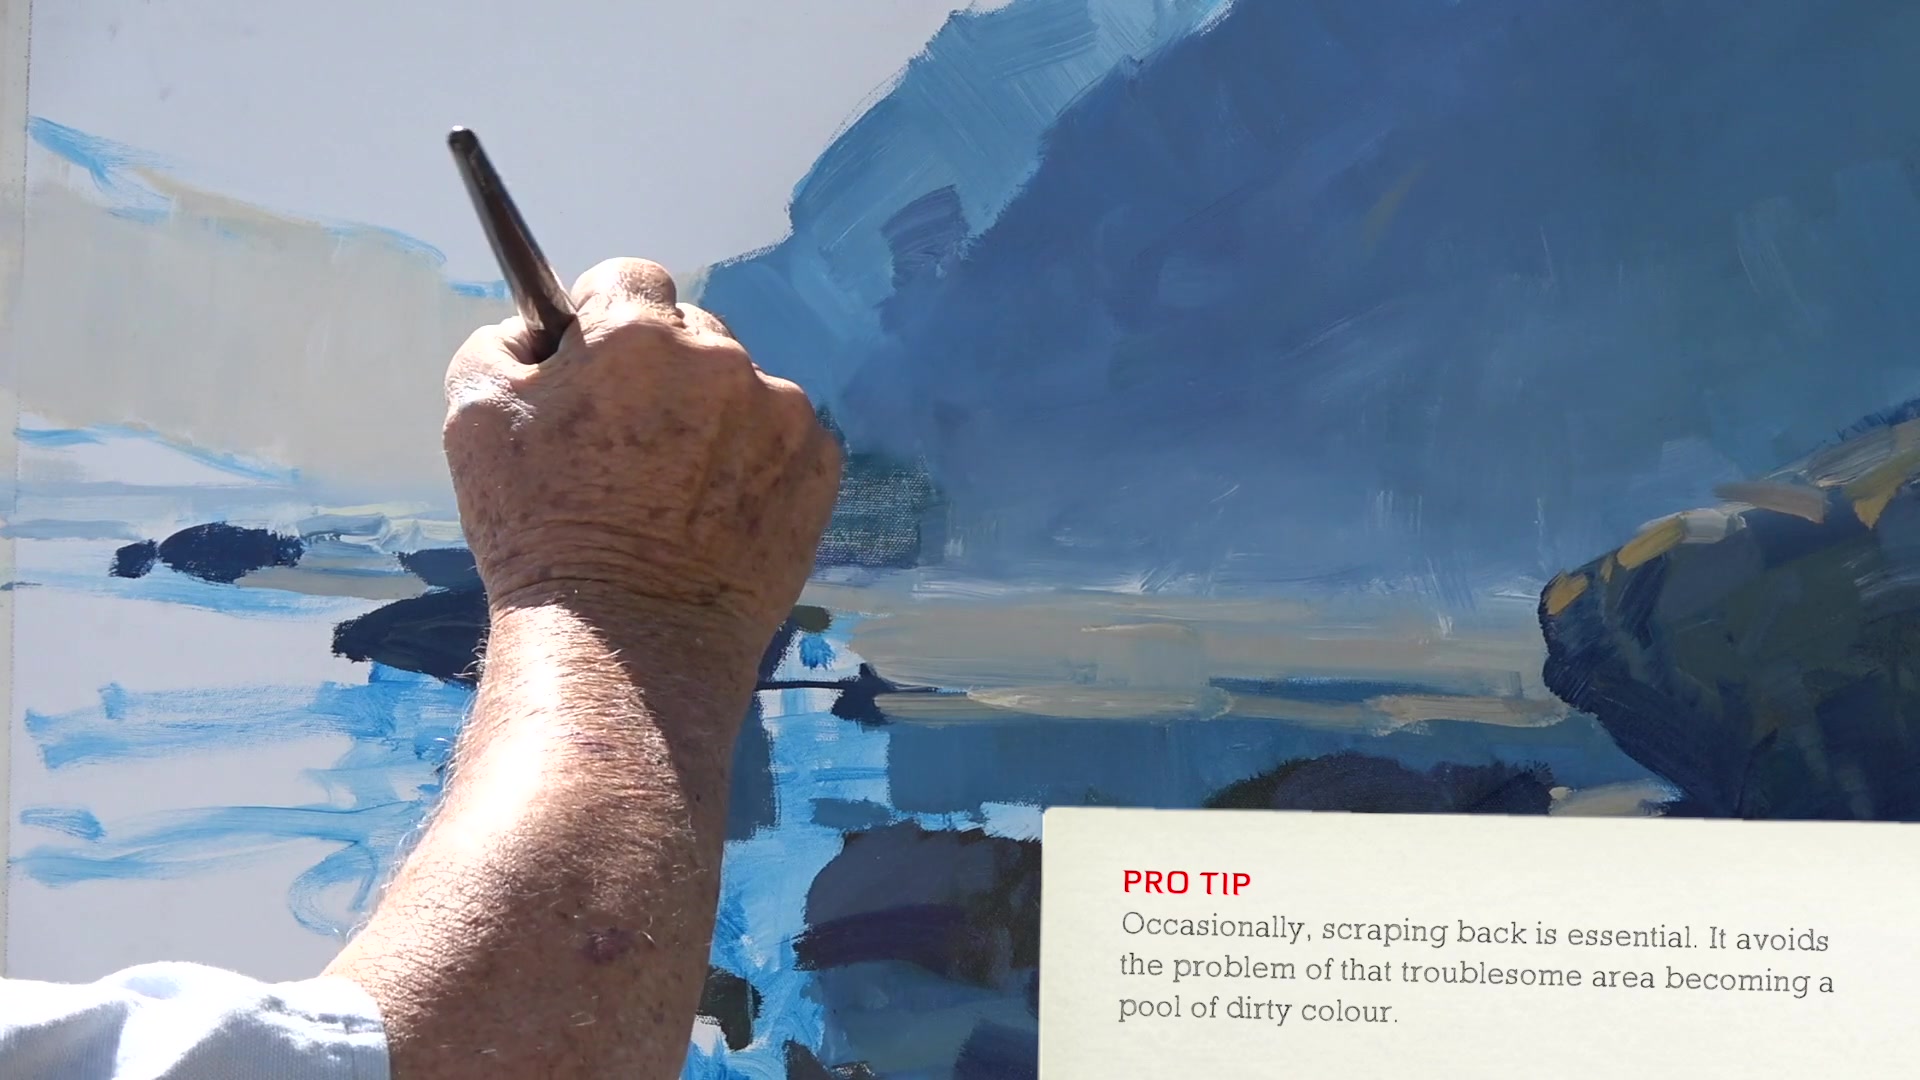
If the area becomes murky or dirty, scrape back the paint and work over the top without needing to wash it off. This allows for adjustments without starting over completely.
Enhance the Bluff
Identify and enhance the sloping bluff that extends into the distance. Ensure it blends into the murk to maintain depth and interest in the landscape.
Pro tipMix a very light grey with a touch of cadmium orange and gold ochre for a warm sand tone without overpowering the scene.
Embark on your painting journey by ensuring your paint flows smoothly, using mediums to achieve the right consistency. Begin with a thoughtful sketch, focusing on composition and the placement of key elements. Use shadows and atmospheric effects to guide the viewer's eye and set the mood. As you build your painting, start with dark tones to establish depth, then gradually introduce lighter tones, reflecting the natural play of light and shadow.
As you progress, pay attention to the subtleties of light and color. Use mid-tones and reflected light to add dimension and realism, while maintaining a consistent lighting condition to unify your work. Emphasize the mood by capturing the misty atmosphere and the interplay of light on different surfaces. Adjust elements like rocks and sand to enhance the composition, ensuring each piece contributes to the overall harmony of the scene.
In the final stages, focus on refining details and adding the finishing touches. Use texture and highlights sparingly to maintain clarity and avoid clutter. Sign your painting while the paint is still wet to seamlessly integrate your signature into the artwork. Remember, each stroke and adjustment is a step towards capturing the essence of mood and light in your painting.
Points to remember
Ensure paint flows easily by adjusting consistency with a medium.
Use shadows strategically to lead the viewer's eye and enhance atmosphere.
Start with dark tones to accurately judge overall tone against the canvas.
Avoid chasing changing light; stick with your initial lighting setup.
Lighten areas to suggest mistiness and create a serene appearance.
Use vertical stripes in water to simulate reflections.
Mix a warm sand tone with light grey, cadmium orange, and gold ochre.
Sign your painting while it's wet to embed the signature into the paint.