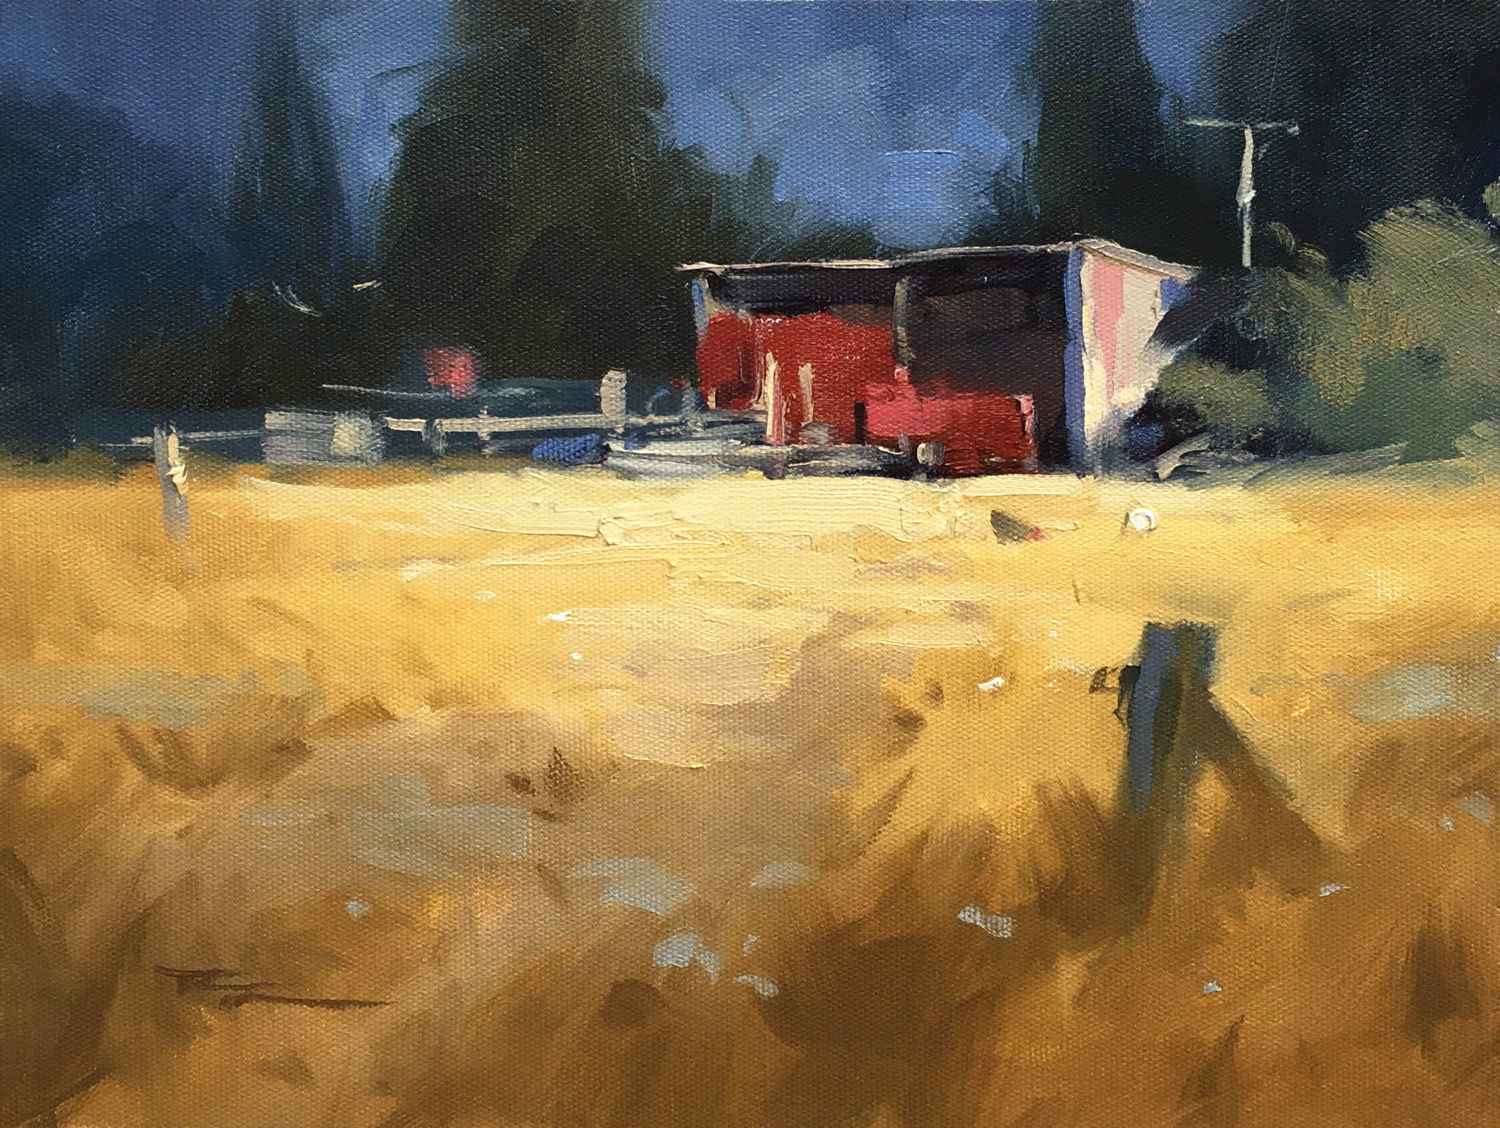
In this chapter, we'll embark on an artistic journey to capture the charm of a rustic farm shed, a subject that offers a delightful blend of simplicity and complexity. As we paint, you'll discover the secrets to achieving a fresh, painterly look while maintaining a sense of realism. This scene is particularly rewarding because it invites us to explore texture, light, and shadow in a way that brings the shed to life on canvas. We'll start by selecting a range of long flat brushes, which are perfect for covering large areas with ease, thanks to their ability to hold more paint. For those intricate details that add character to our painting, small dagger brushes will be our tools of choice. These brushes allow for expressive, gestural strokes that can transform a simple scene into a vibrant depiction. As you paint along with me, you'll have the opportunity to pause, replay, and truly immerse yourself in the experience, just like a live workshop. So, grab your favorite beverage, perhaps a cookie, and let's enjoy this creative process together.
This guide accompanies the full video lesson. The lesson includes the complete narrated video, the printable PDF chapter, and personalised critique support.
Paint the large soft areas beyond their intended final size. This allows you to paint the sky back into them later, avoiding the need for precise edge work.
Create Soft Edges
Work back into the extended areas to create soft edges in the background. This technique will make the sharp edges in the foreground stand out more prominently.
Replicate Visual Focus
Soften the background edges to mimic natural visual focus, where the eye sharpens on one spot and blurs the rest. This approach enhances the center of interest in your painting.
Pro tipPaint soft areas larger than needed, then refine by painting the sky back into them for a natural look.
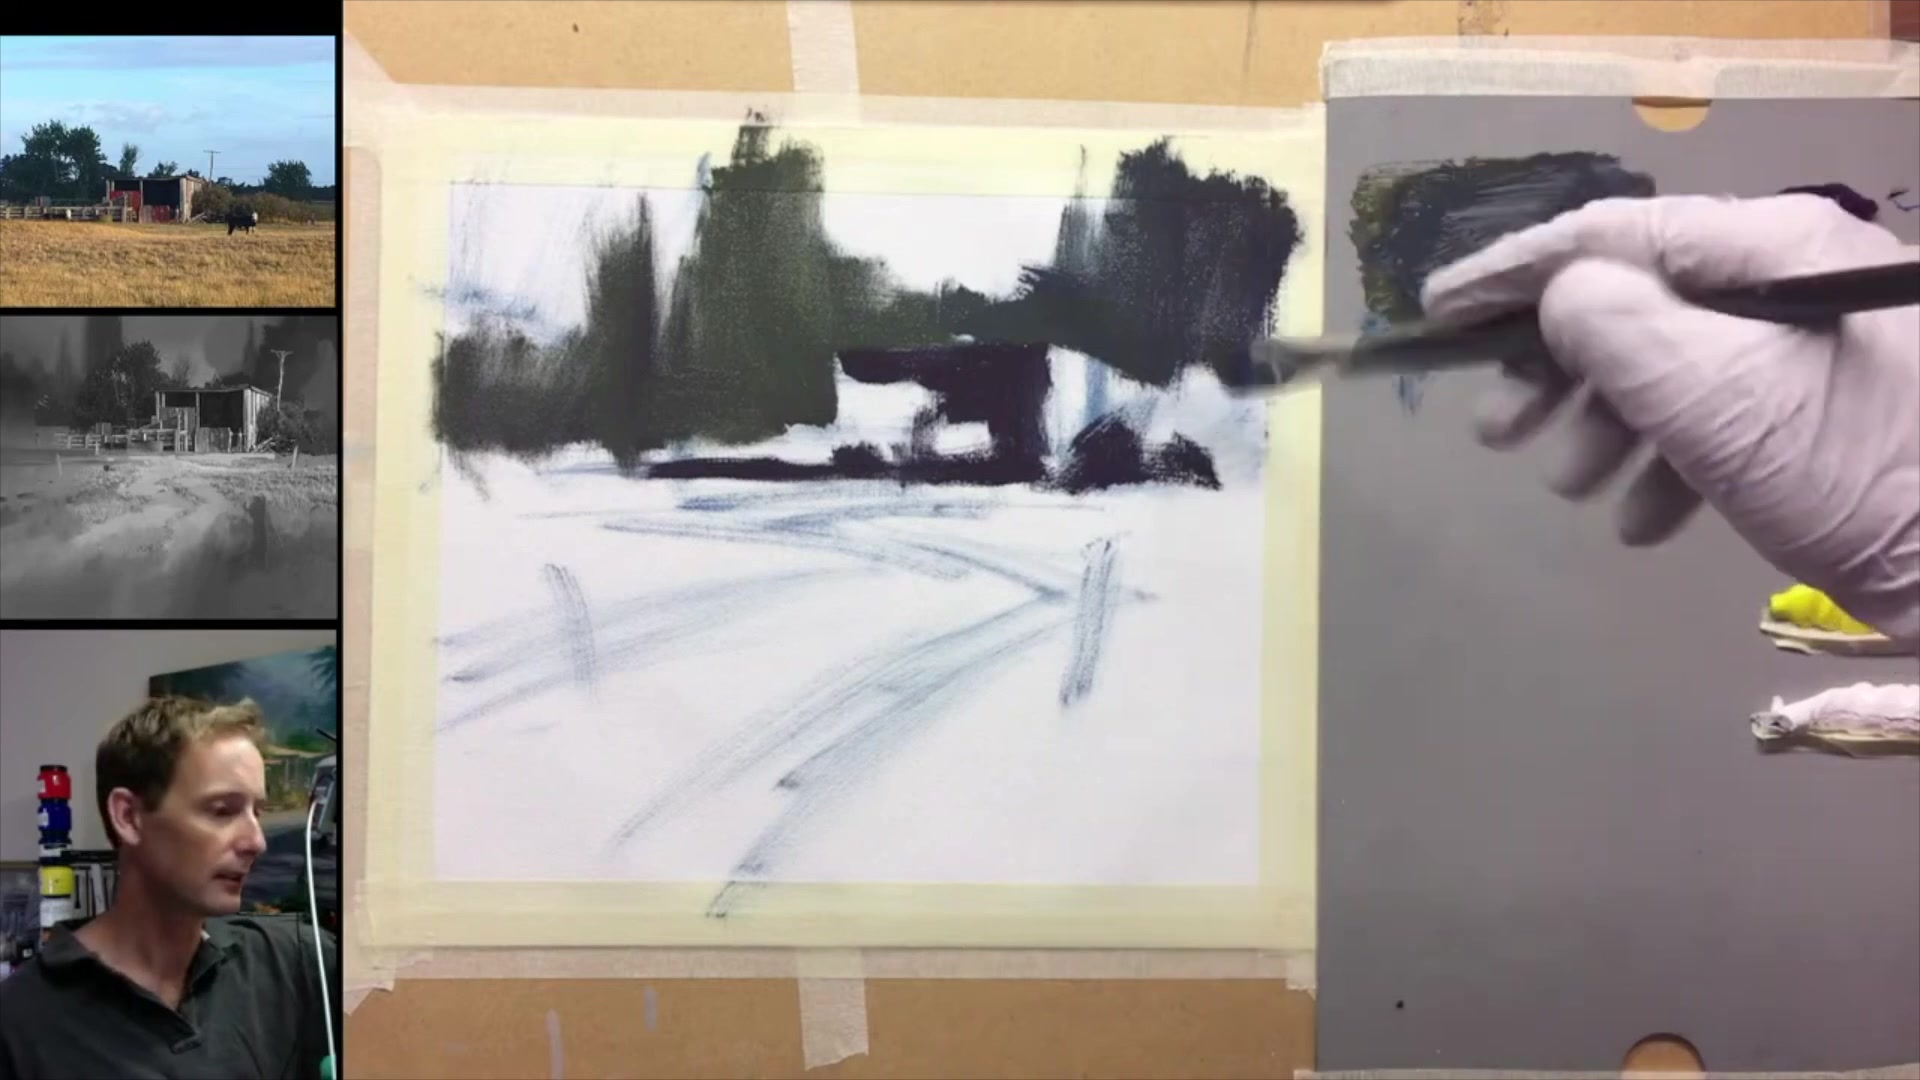
Embark on your painting journey by selecting the right tools and materials. Choose long flat brushes for broad strokes and small dagger brushes for intricate details. Set up your palette with a range of colors and use walnut oil to enhance the flow of your paints. Begin your composition by sketching directly onto the canvas, positioning your main subject using the rule of thirds for balance.
As you progress, focus on blocking in dark areas to establish the foundation of your painting. Use paths to guide the viewer's eye and create a visual journey. Pay attention to color choices, ensuring your sketching colors do not interfere with the final layers. Whether using acrylics or oils, keep your paints workable and blendable to achieve soft edges and natural transitions.
Trust the process as you add layers and details, knowing that the initial stages may not look perfect. Embrace the rough beginnings as part of the creative journey. Use light and shadow effectively to enhance realism, and be mindful of color mixing to avoid muddy tones. With patience and practice, your rustic farm shed painting will come to life with depth and vibrancy.
Points to remember
Use long bristle brushes for larger areas and expressive strokes.
Position key elements using the rule of thirds for balance.
Use a dark background to enhance contrast and draw attention.
Choose a weak sketching color that won't interfere with final layers.
Keep your darks thin to prevent them from affecting top layers.
Paint soft areas larger than needed, then refine for a natural look.
Avoid making trees the same size and spacing for a natural appearance.
Separate warm and cool colors on your palette to prevent muddy mixes.