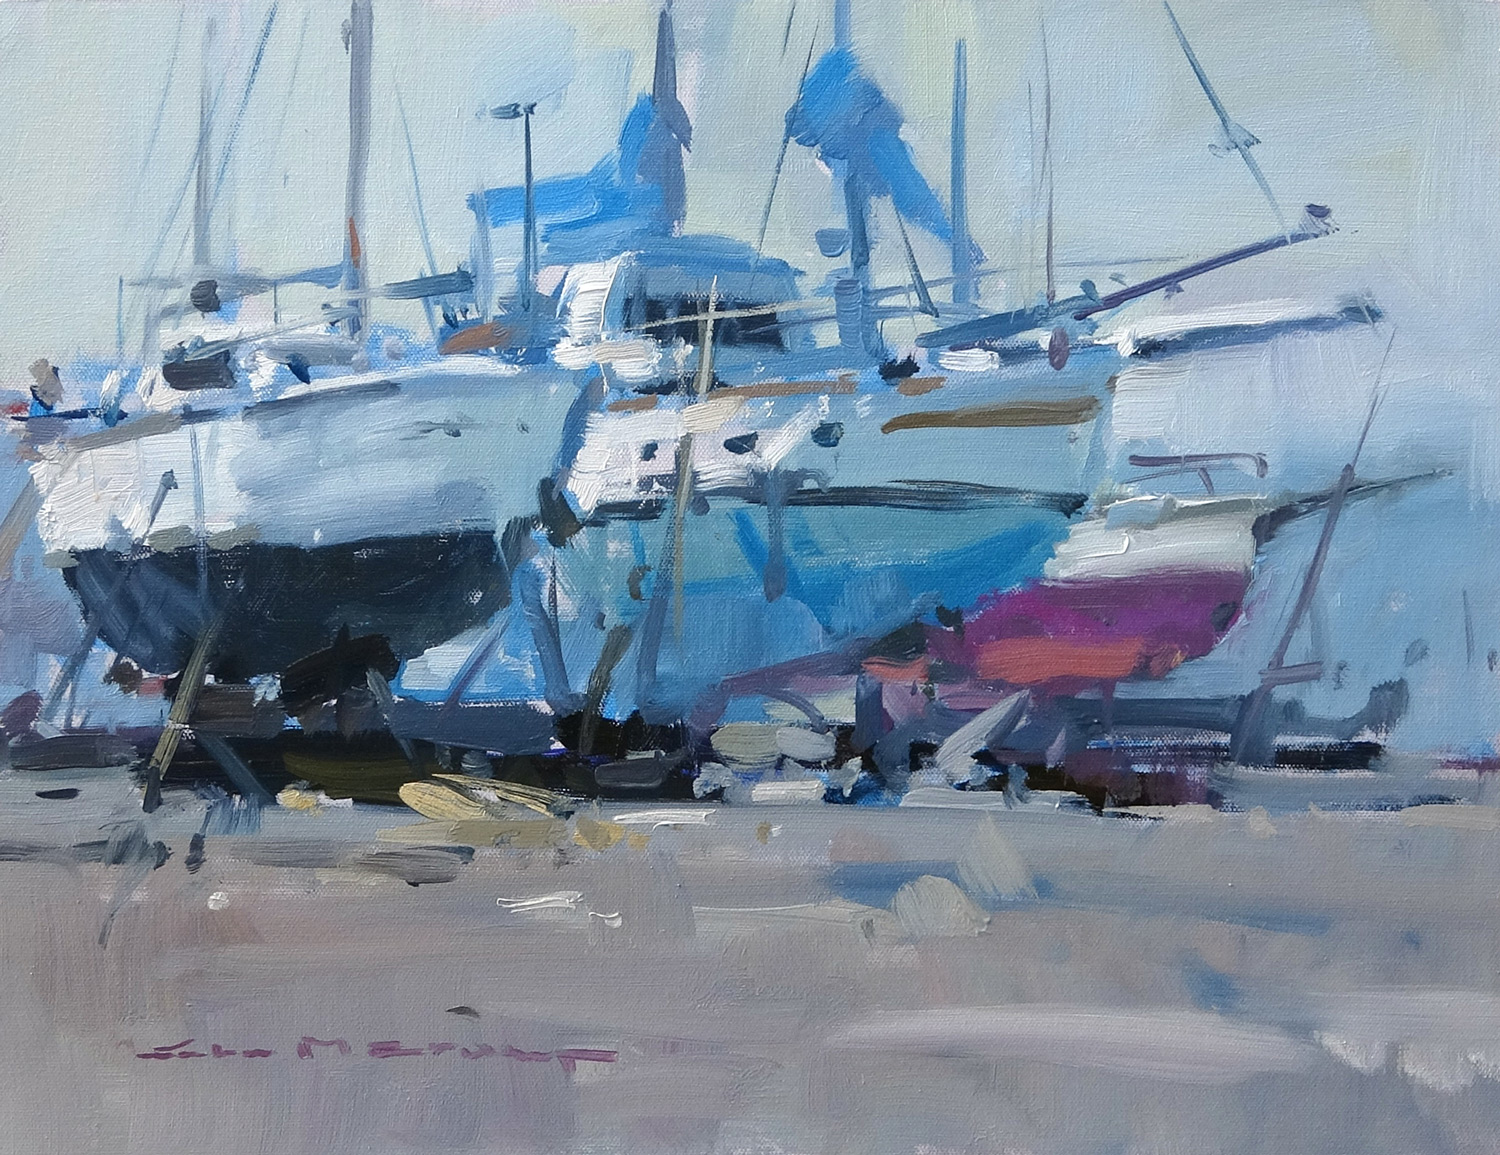
In this chapter, I invite you to join me on a journey of rediscovery through the art of quick studies, a technique championed by the esteemed John Crump. Whether you're returning to painting after a hiatus or simply looking to infuse your work with fresh energy, quick studies offer a powerful way to reignite your creative fires. We'll explore three inspiring outdoor locations, each offering dynamic lighting and atmosphere to invigorate your senses and challenge your skills. By setting up with small canvases and imposing a strict time limit of 20 to 30 minutes per study, you'll learn to make swift decisions and embrace spontaneity. This approach encourages bold, expressive brushwork and sharpens your ability to capture the essence of a scene. As you progress through multiple sketches, you'll witness your growth, even if the first attempts aren't perfect. The key is to keep moving, allowing new ideas to flow and your artistic voice to strengthen. This chapter is about embracing the joy of painting and the satisfaction of seeing your skills evolve with each stroke.
This guide accompanies the full video lesson. The lesson includes the complete narrated video, the printable PDF chapter, and personalised critique support.
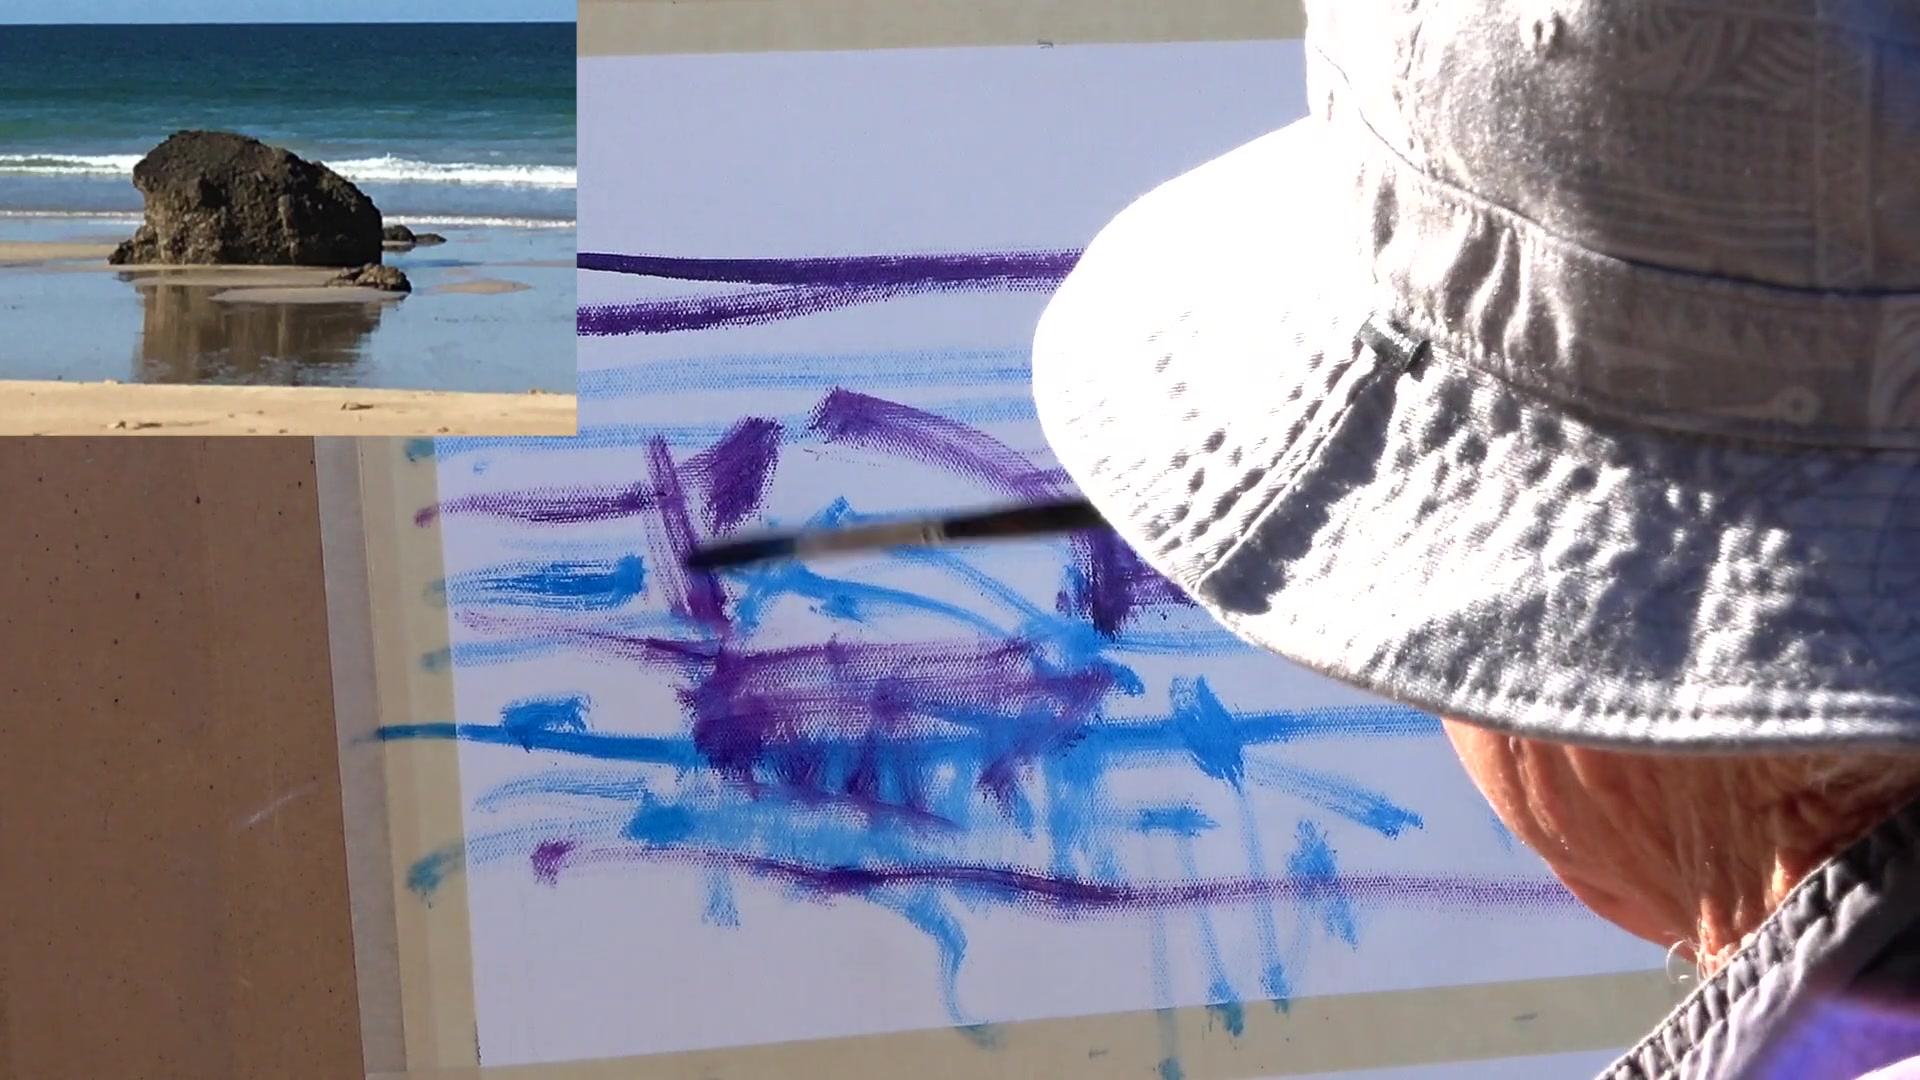
Use a small brush to sketch out the subject. This approach is similar to using a drawing instrument and helps in defining the composition clearly. Focus on capturing the main elements with dark tones using a mix of blue, permanent rose, and a touch of cadmium orange.
Paint the Light and Reflections
Apply a lighter tone to the rock and beach area using a clean brush with liquid medium. Remember that reflections in water are not perfect mirrors; a dark area will appear slightly lighter, and a light area will appear slightly darker. Adjust the tones accordingly to create a realistic reflection.
Add Sky and Clouds
Introduce the sky using a blue tone, but consider adding more character with variations in color or light and shade. Add light clouds by using a brush with a hint of yellow, but be cautious as yellow is a strong color. Soften the horizon to add depth and interest.
Enhance the Water and Sand
Use the mixed blue to start painting the sea, ensuring to keep the colors in a pattern. For the surf, use pure white from a clean part of the palette. Add a touch of blue to the sand to introduce a hint of gray and variation, avoiding a monotonous look.
Refine Details and Avoid Overworking
Introduce subtle variations in the rock's shaded side with permanent rose and cadmium orange. Be cautious not to overwork the painting; sometimes less is more. Soften edges and add small details like hints of light or darks to suggest rocks or glints, but avoid excessive fiddling.
Pro tipWhen painting reflections, remember that a dark area will appear slightly lighter and a light area slightly darker in water.
Embark on your painting journey by stepping outside and immersing yourself in the dynamic play of light and atmosphere. Set up with a few small canvases and embrace the challenge of quick studies. By imposing a strict time limit, you encourage spontaneity and quick decision-making, allowing your creativity to flow freely. As you complete each sketch, take a moment to reflect on your progress and appreciate the improvement in your technique.
Select a vibrant palette that avoids muddiness and enhances your work. Begin with a well-lubricated brush to ensure smooth application and sketch the main elements of your scene with confidence. Focus on capturing the essence of your subject with bold strokes and thoughtful color choices. Remember, reflections in water require careful tonal adjustments to achieve a realistic effect.
As you choose new scenes, look for elements that inspire abstraction and strong design. Adjust your composition to highlight the center of interest and maintain balance. Apply dark tones first to establish a tonal reference, and use large brushes to create dynamic strokes. Embrace the natural flow of your painting, allowing for sketchy elements and adapting to changing light. Remember, the goal is to enjoy the process and let your creativity shine.
Points to remember
Set a strict time limit for each sketch to encourage quick decision-making.
Use artist-quality paints for consistent, vibrant colors.
Lubricate your brush with Liquin before picking up paint for smooth application.
Remember that a dark area will appear slightly lighter and a light area slightly darker in water reflections.
Adjust elements like the horizon and rock sizes to fit the composition.
Apply dark tones first to establish a reference point for the painting's tonal range.
Limit your painting time to encourage spontaneity and prevent overthinking.