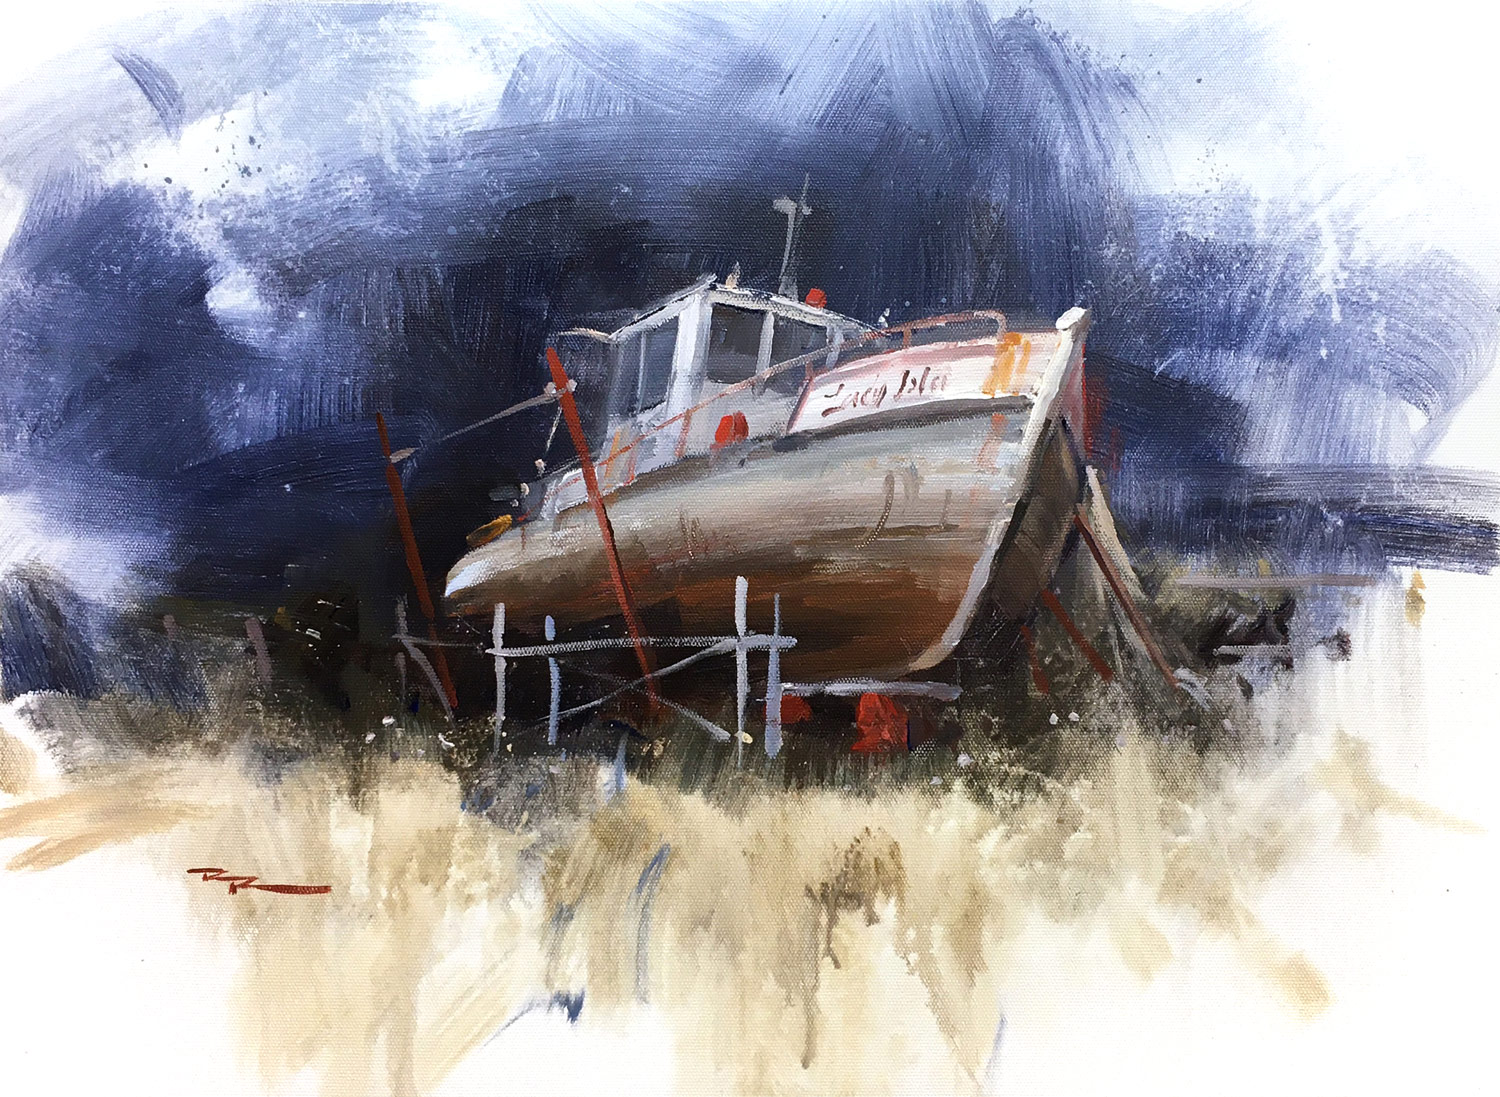
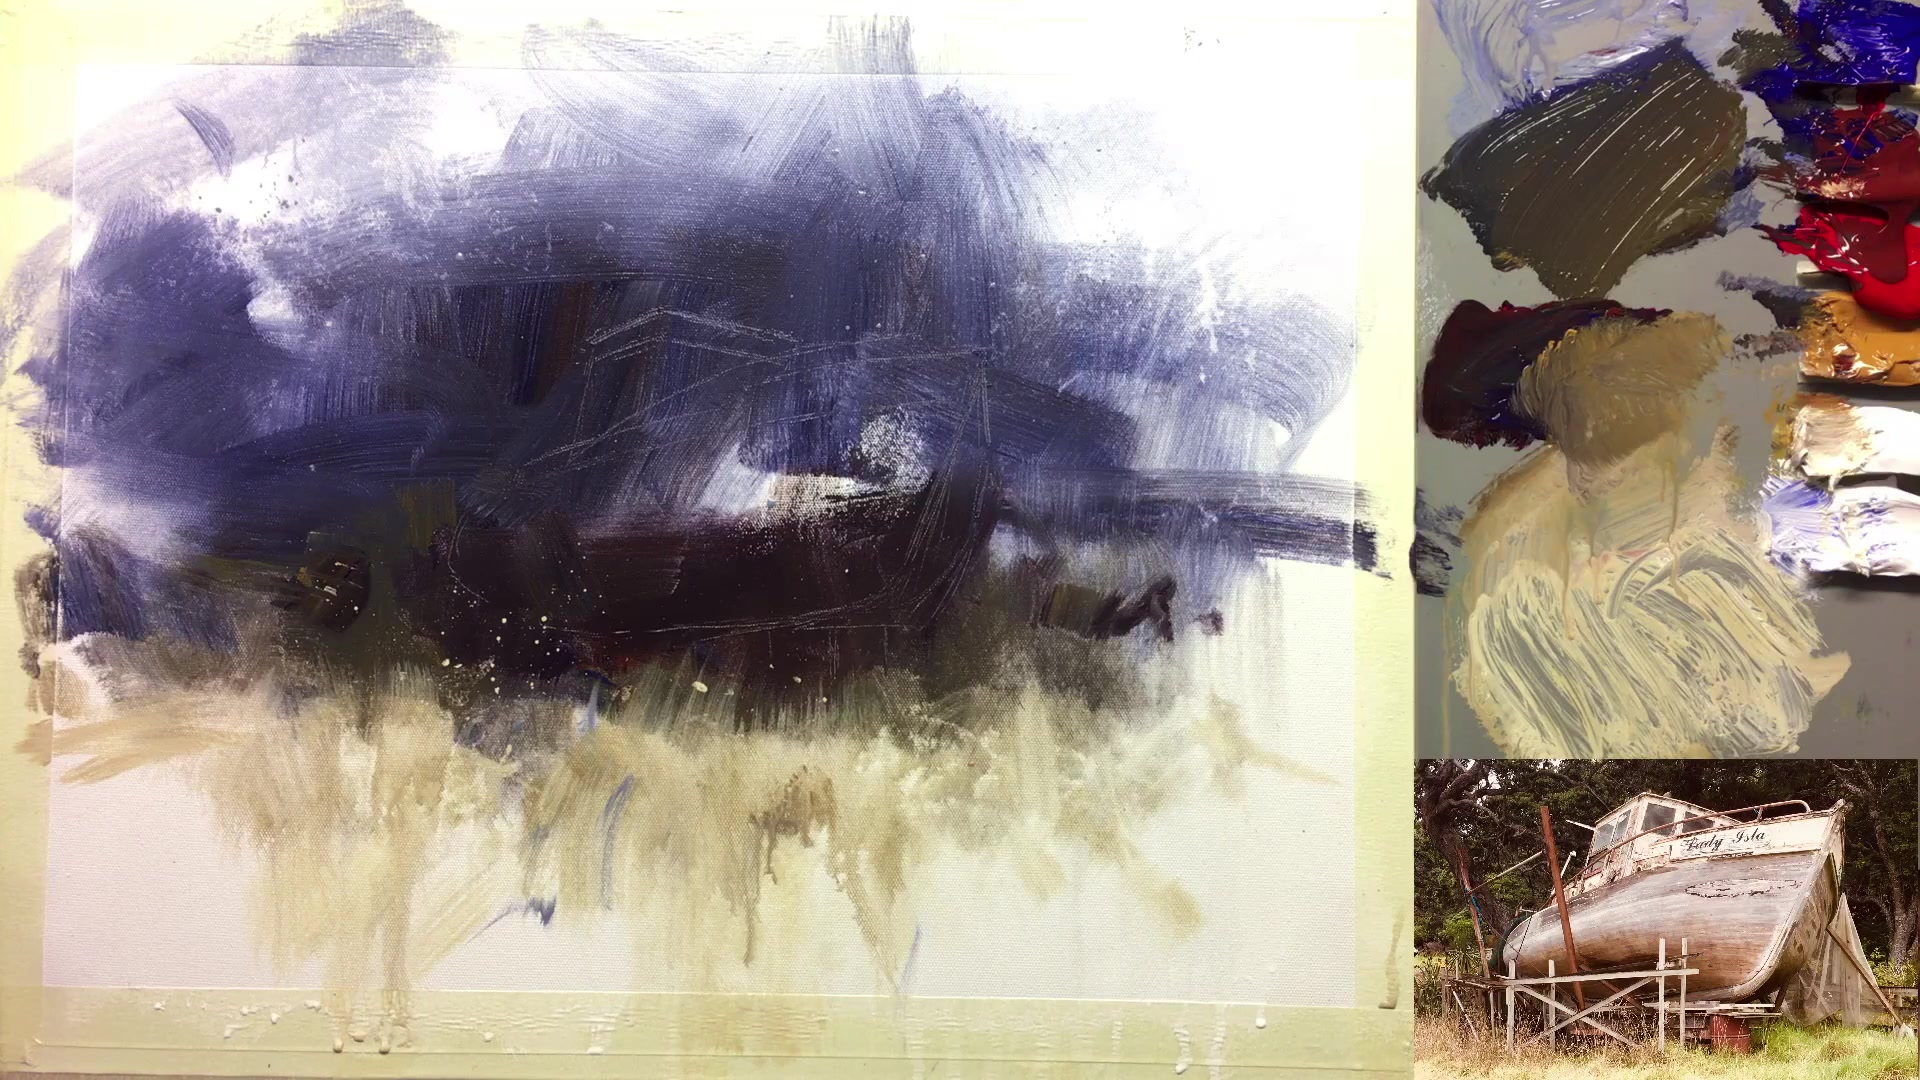
In this chapter, I invite you to explore the captivating interplay of abstraction and realism in a painting I like to call 'Better Days.' This scene, with its ageing beauty, offers a rewarding challenge that combines expressive abstract backgrounds with detailed realism. You'll learn to use a greyed palette, punctuated by a single strong accent color, to bring out the drama of the subject. I’ll guide you through the process, one brushstroke at a time, using a range of flat brushes and a palette knife to add texture and depth. We’ll be working with Atelier Interactive acrylics, which are perfect for wet-into-wet techniques, allowing us to keep the canvas lively and dynamic. As we dive into the painting, we’ll focus on creating a vibrant, abstract background with loose, energetic brushstrokes. This sets the stage for the more detailed elements, such as the boat, where gestural strokes will capture its essence and character. By the end of this lesson, you'll have a piece that beautifully contrasts crisp details with an expressive backdrop, showcasing your newfound skills in design, drawing, and passionate brushwork.
This guide accompanies the full video lesson. The lesson includes the complete narrated video, the printable PDF chapter, and personalised critique support.
Select a nice synthetic brush, ideal for both large areas and fine details. Work from the bottom of the boat, moving from dark to light areas.
Mix and Apply Base Colors
Start with a brown base color, using your flat brush to cover large areas. As you move into lighter areas, gradually add yellow ochre to create a smooth gradation from dark to light.
Adjust the Color Tone
To avoid a brownish appearance, incorporate more blue into your mix. Aim for a transition from warm at the bottom to a cool grey at the top, creating a natural look.
Create Texture
Use a light touch to brush over the surface, leaving small speckles for texture. Press harder if you want to smooth out the texture. Be mindful of the brush marks you create.
Pro tipUse the fine edge of a flat brush for crisp details while covering large areas efficiently.
Embark on your painting journey by setting a dynamic stage with an abstract, expressive background. Use loose brushstrokes to convey movement and energy, allowing the boat's character to emerge through gestural strokes. Balance this with crisp details in key areas to create contrast and focus, setting the tone for a captivating composition.
As you progress, maintain a subdued color scheme while introducing subtle reds for contrast. Enhance brown areas with hints of red or orange to create striking contrasts with surrounding greys. Utilize techniques like vignetting and gestural backgrounds to add depth and interest, and remember to keep your brushes clean and wet for smooth application.
In the final stages, focus on detailing and texture. Use splattering techniques to add dynamic texture, and carefully sketch and adjust the boat's proportions for accuracy. Pay attention to the interplay of light and shadow, and use a mahl stick for precision in fine details. Balance soft and crisp edges to create a harmonious and engaging painting.
Points to remember
Balance abstract background with crisp details for a dynamic composition.
Enhance the redness or orangeness in brown areas to create contrast with greys.
Use a thin layer of white paint around the edges to create a soft, light vignette.
Use the brush in all sorts of directions to create a loose, gestural background.
Wet your brushes before painting to prevent paint from drying on the ferrule and damaging the brush.
Spray water onto the painting and press paper onto it to create unique textures.
Use the clock method to accurately transfer angles from your reference photo to your canvas.
Soften sharp edges to create a variety of textures and avoid overly harsh lines.