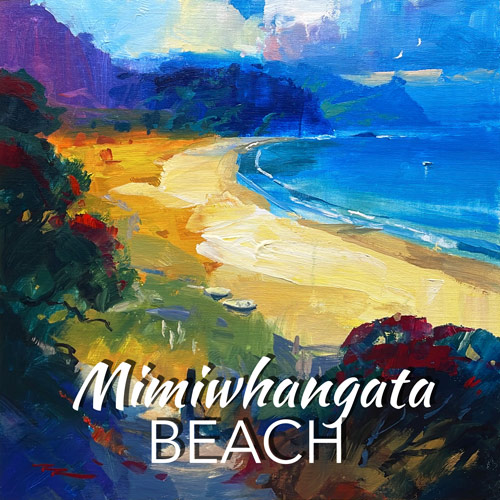
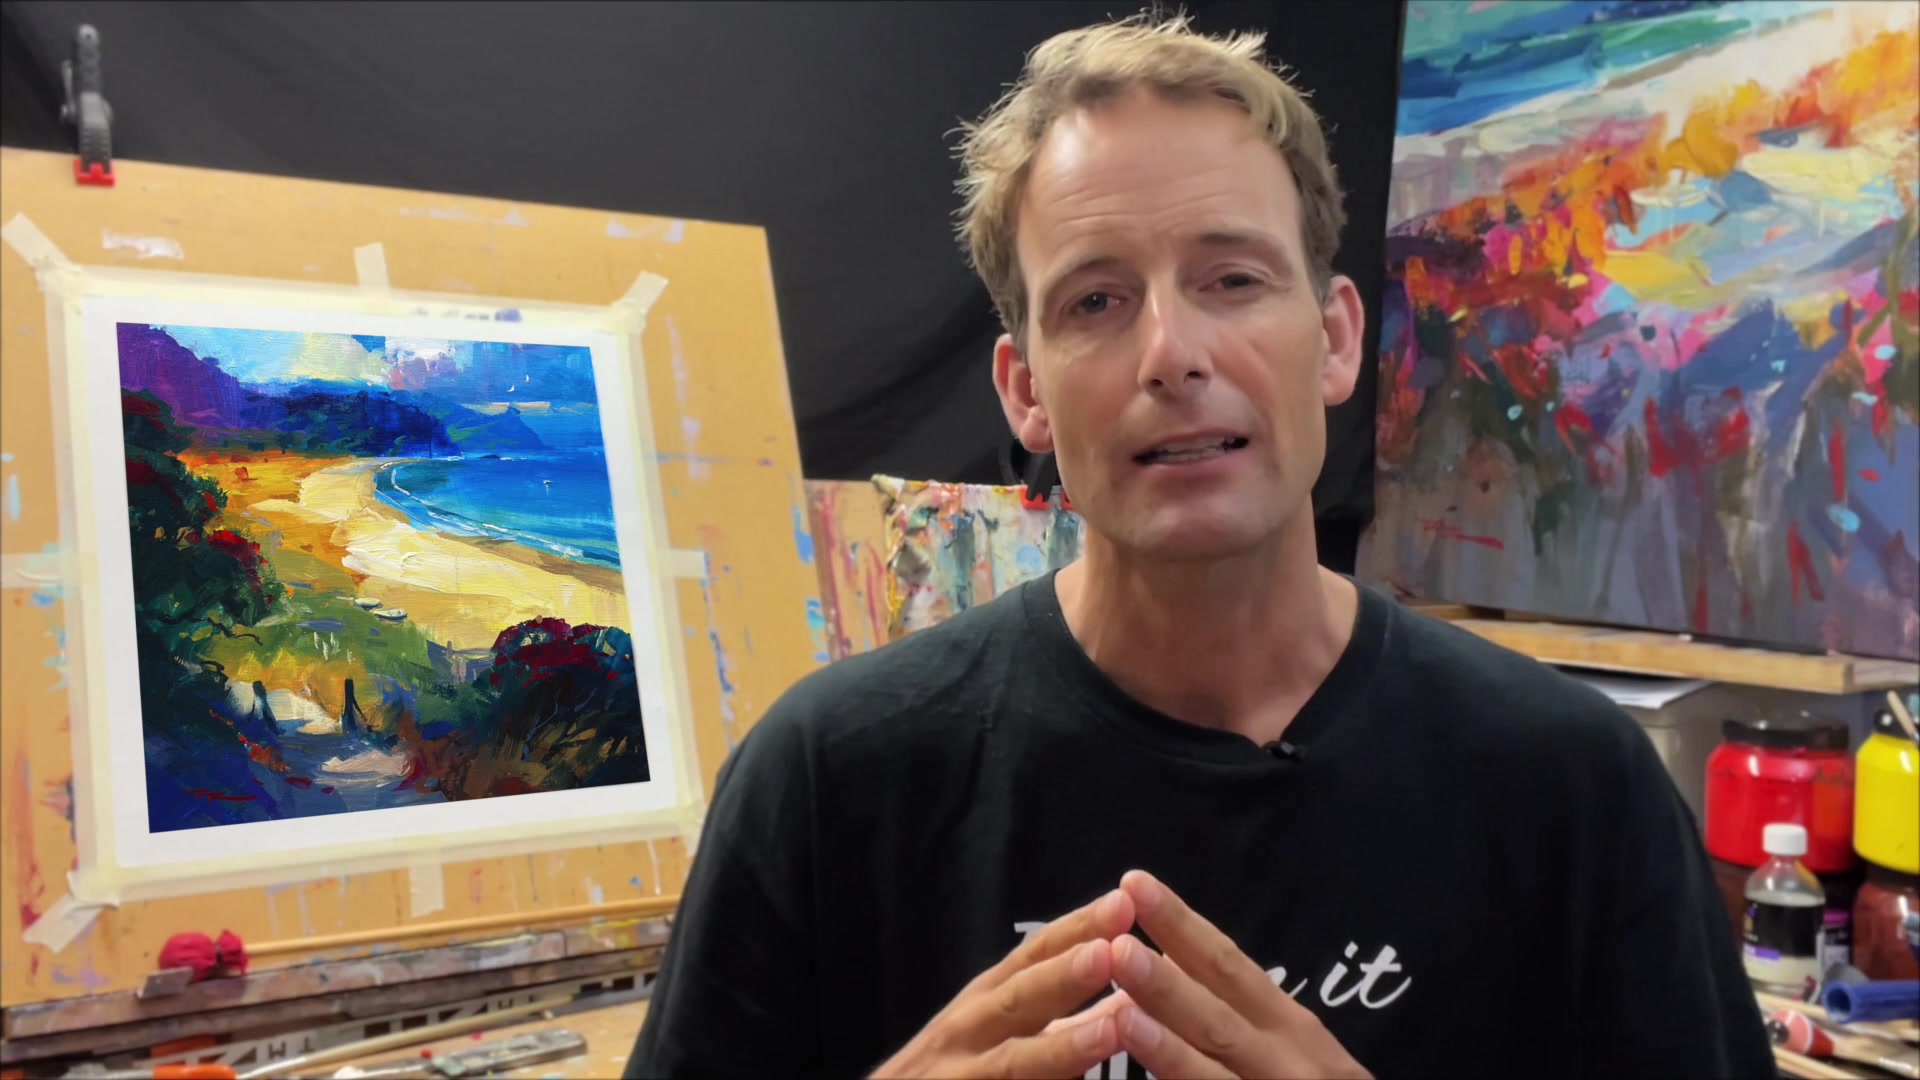
In this chapter, we embark on an artistic journey to capture the vibrant essence of Mimiwhangata Beach, a stunning location in New Zealand. As we delve into this expressive painting, I encourage you to explore the boundaries of your style by asking yourself powerful questions about vibrancy, subtlety, and abstraction. Our goal is to push the limits of how vibrant we can make this scene, using a combination of traditional techniques and modern technology. You'll learn how to utilize Artificial Intelligence in the design stage to enhance your creative process, starting with the Procreate app on your iPad. By blending two photographs, we create a cohesive scene that combines the best elements of each, while adjusting the background to achieve a realistic perspective. An AI-generated image will serve as inspiration, guiding your sketch with its tropical allure. Throughout this lesson, you'll discover the power of a simple palette, passionate brushwork, and a painterly approach, all of which contribute to a rewarding and dynamic painting experience.
This guide accompanies the full video lesson. The lesson includes the complete narrated video, the printable PDF chapter, and personalised critique support.
Select a photo of a scene you wish to paint and a photo of a painting in a style you admire. Use an AI tool to merge these, requesting the scene in the chosen style. Experiment with different AI tools to see varying results.
Refine Your Style
Use the AI-generated images as inspiration, not as a final blueprint. Consider these images as springboards to develop your unique style. Aim to enhance vibrancy or other elements you wish to explore.
Merge Designs and Colors
Place the AI-generated designs and your original sketch side by side at your easel. Begin painting by integrating the design elements from one image and the color palette from another. Focus on creating a cohesive and vibrant piece.
Pro tipUse AI-generated images as a starting point to explore and refine your unique painting style.
Embark on your painting journey by combining photographic elements in Procreate, creating a unique and cohesive scene that serves as the foundation for your artwork. Use the app's features to manipulate and blend images, allowing you to craft a composition that captures the essence of Mimiwhangata Beach. As you sketch, explore different brushes and layers to experiment with depth and style, setting the stage for your painting.
As you transition to the canvas, focus on blocking in bold colors and creating texture with a variety of brushstrokes. Embrace the fluidity of acrylics by keeping your paint wet, allowing for smooth blending and vibrant color transitions. Use AI-generated images as inspiration to refine your style, but let your creativity guide the painting process, ensuring each mark is unique and expressive.
In the final stages, pay attention to the details that bring your scene to life. Add highlights and subtle transitions to suggest light and movement, and use impasto techniques to enhance texture and depth. Remember to maintain good brush care throughout, ensuring your tools remain in excellent condition for future projects. With these techniques, your painting will capture the beauty and vibrancy of the beach, inviting viewers into your artistic vision.
Points to remember
Use the eraser tool in Procreate to seamlessly blend two photos.
Work on different layers in Procreate to easily experiment and make changes.
Apply paint thickly to extend drying time, allowing for easier manipulation.
Use a mix of sharp and soft edges to add texture and interest to your painting.
Avoid duplicating brush marks to maintain a natural and varied appearance.
Blend sky colors smoothly with white and a touch of yellow for a harmonious transition.
Use thin, horizontal marks near the horizon to maintain the effect of distance.
Keep your brushes wet to prevent acrylics from drying in them.