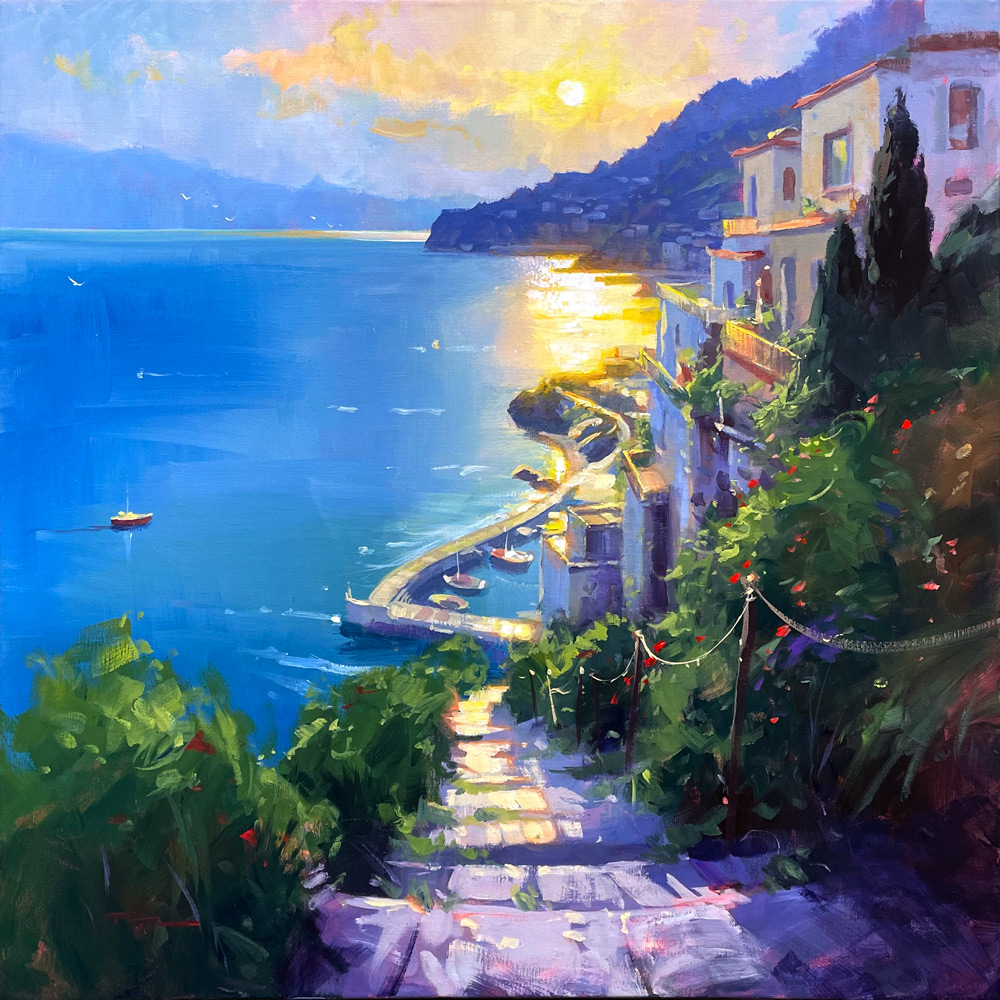
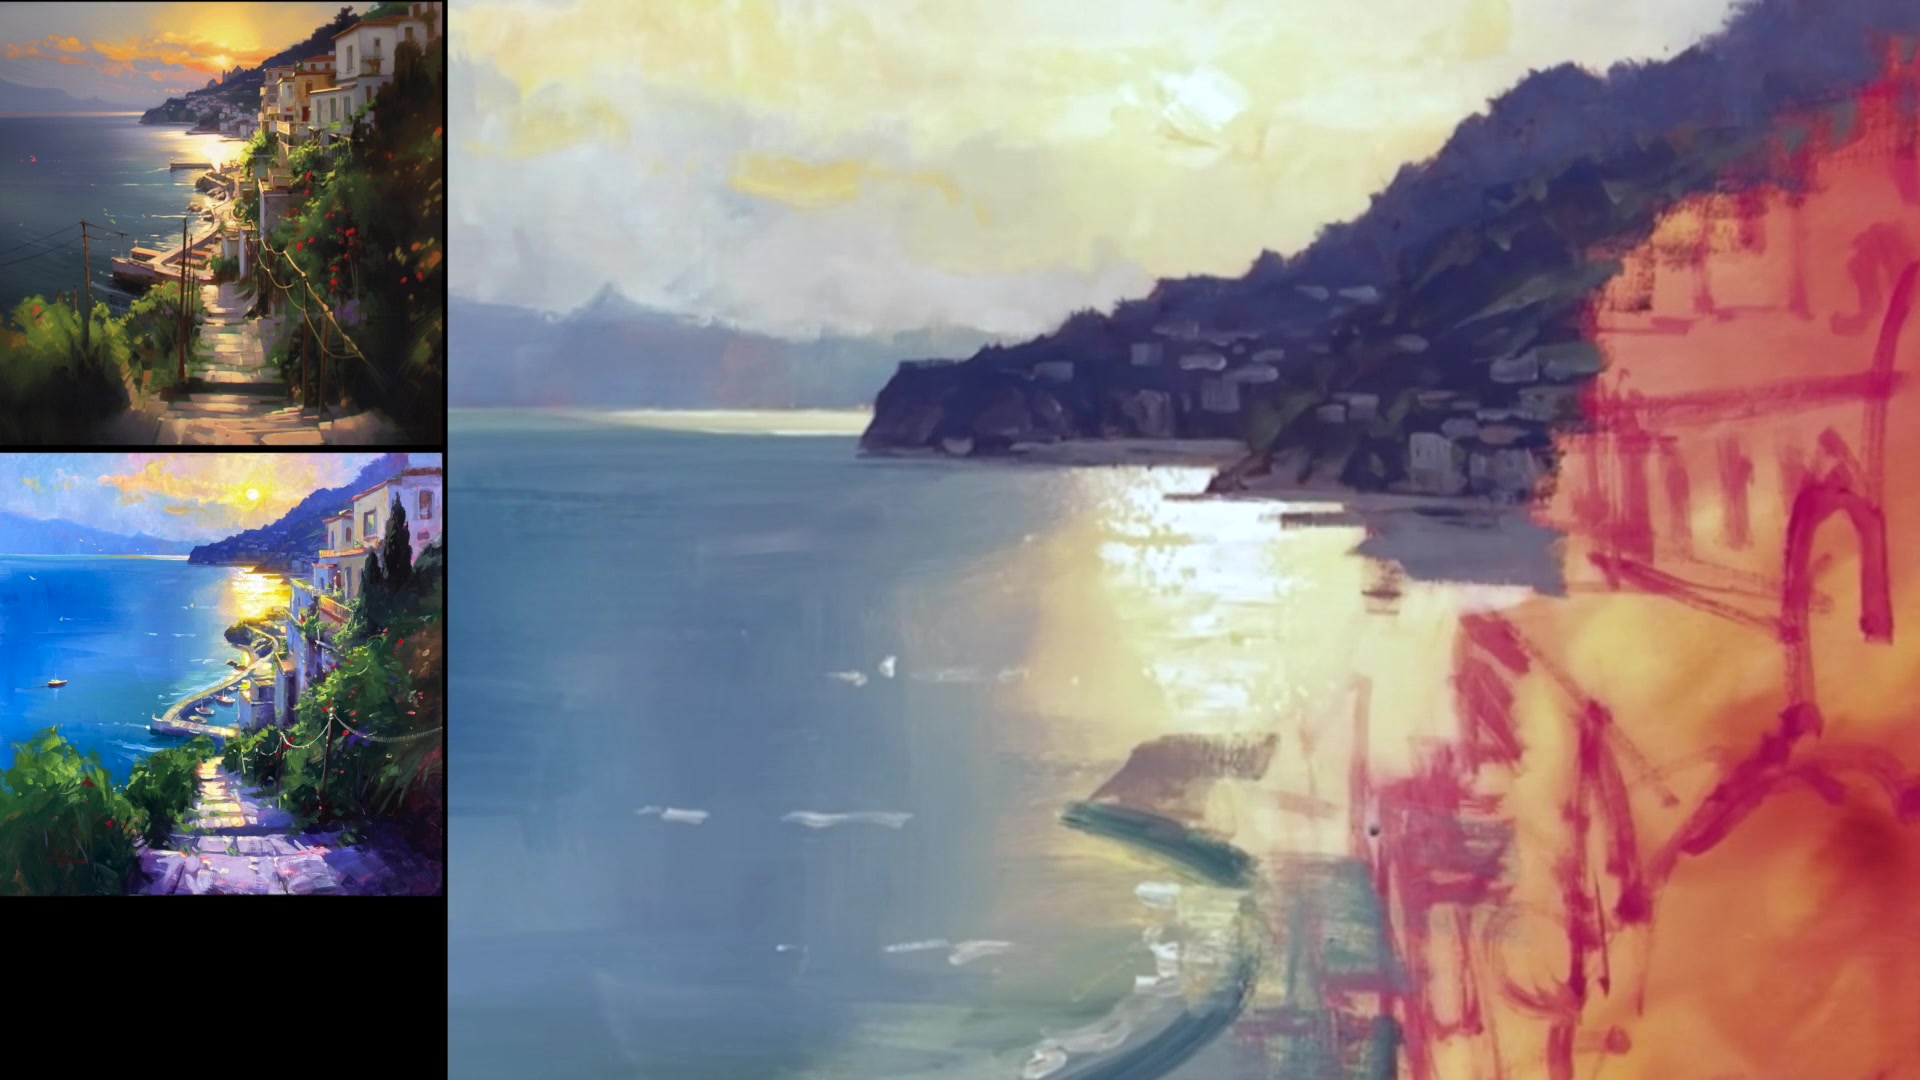
I am thrilled to share with you a painting journey inspired by my recent travels around the Greek islands, which led me to create a piece reminiscent of the stunning Cinque Terre on the Italian coast. This scene, painted in acrylics, captures the essence of the vibrant, glowing light and the charming architecture that characterizes this beautiful location. In this chapter, we will delve into creating this captivating scene, focusing on achieving a luminous glow and mastering a variety of brushwork techniques. Whether you prefer acrylics or oils, I will guide you through each step, offering insights on how to adapt the techniques for both mediums. This lesson is perfect for those who have some experience and are eager to expand their skills. Additionally, I will introduce you to the exciting world of using artificial intelligence to boost your creativity. Although PaintyBot is no longer active, you can use OpenArt.ai to generate inspiring images in minutes, saving you hours of searching. Join me as we explore these innovative tools and techniques to bring the enchanting Cinque Terre to life on canvas.
This guide accompanies the full video lesson. The lesson includes the complete narrated video, the printable PDF chapter, and personalised critique support.
"Cinque Terre" 30x30" Acrylic on Canvas by Richard Robinson
Step 8Painting the Foreground Buildings
Establish the Seawall Base
Begin with the seawall as your base. Add some green to indicate where greenery would naturally grow. Use a slightly darker color to block in these areas.
Create the Glowing Light Effect
Mix a strong orange using yellow and red. Apply it around the edges where the light transitions from light to dark, creating a glowing effect.
Add Highlights to the Seawall
Mix white, yellow, and a touch of yellow ochre to create highlights. Apply these to the top of the seawall, adding a touch of blue for sunlit foliage on top of the green areas.
Assess Your Work
Step back to view your painting from a distance. Use a mirror or your phone to flip the image and check the composition and balance.
Paint the Foreground Buildings
Begin with a mid-gray for the buildings, focusing on big shapes rather than details. Use a slightly darker gray to establish mid-values and add yellow ochre for variation.
Define Shapes and Perspective
Add blue, gray, and a little red to darken areas and define shapes. Ensure vertical lines are straight and perspective lines point correctly. Blur areas where foliage will overlap.
Pro tipFocus on painting big shapes rather than individual details to capture the essence of the scene.
Embark on your painting journey by harnessing the power of digital tools like PaintyBot to design your ideal composition. Start with an inspiring image and refine it through creative prompts and model selections to craft a unique vision of Cinque Terre. Once your digital design is ready, translate it onto a 30 by 30 inch canvas, laying down a glowing base coat to set the stage for your masterpiece.
As you bring the sky and ocean to life, focus on smooth transitions and vibrant colors. Use a variety of brush strokes and color mixes to capture the dynamic interplay of light and shadow. Pay attention to the drying properties of acrylics, ensuring your colors remain vibrant and true to your vision. Gradually build up the landscape, adding depth and interest with each layer.
Complete your painting by adding the intricate details of the Cinque Terre architecture and lush foliage. Use a combination of broad strokes and fine details to convey the essence of the scene, capturing the unique charm of the coastal village. Balance warm and cool tones, and use highlights to bring your painting to life, ensuring a cohesive and captivating final piece.
Points to remember
Keep image dimensions under 1000 pixels on any side for faster generation.
Experiment with different models and styles to find a composition that resonates with your artistic vision.
Use a large brush to soften the base coat for a smooth transition.
Acrylics dry darker than when wet, so paint slightly lighter than desired.
Maintain a wet surface to ensure smooth blending and avoid rough brushwork.
Keep your color mixes simple with just two colors plus white for easy remixing.
Use a square brush for building details to naturally create square shapes.
Use gestural, soft-edged strokes to build the larger forms of the foliage.