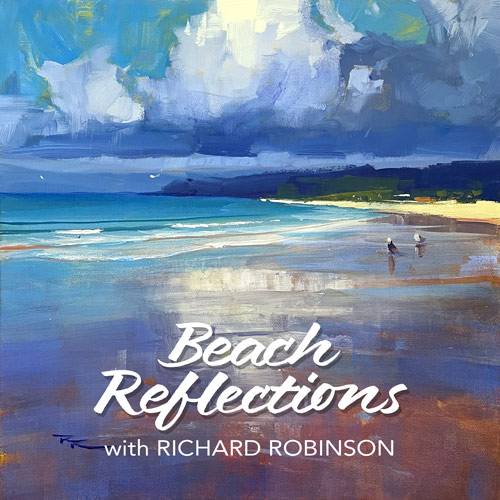
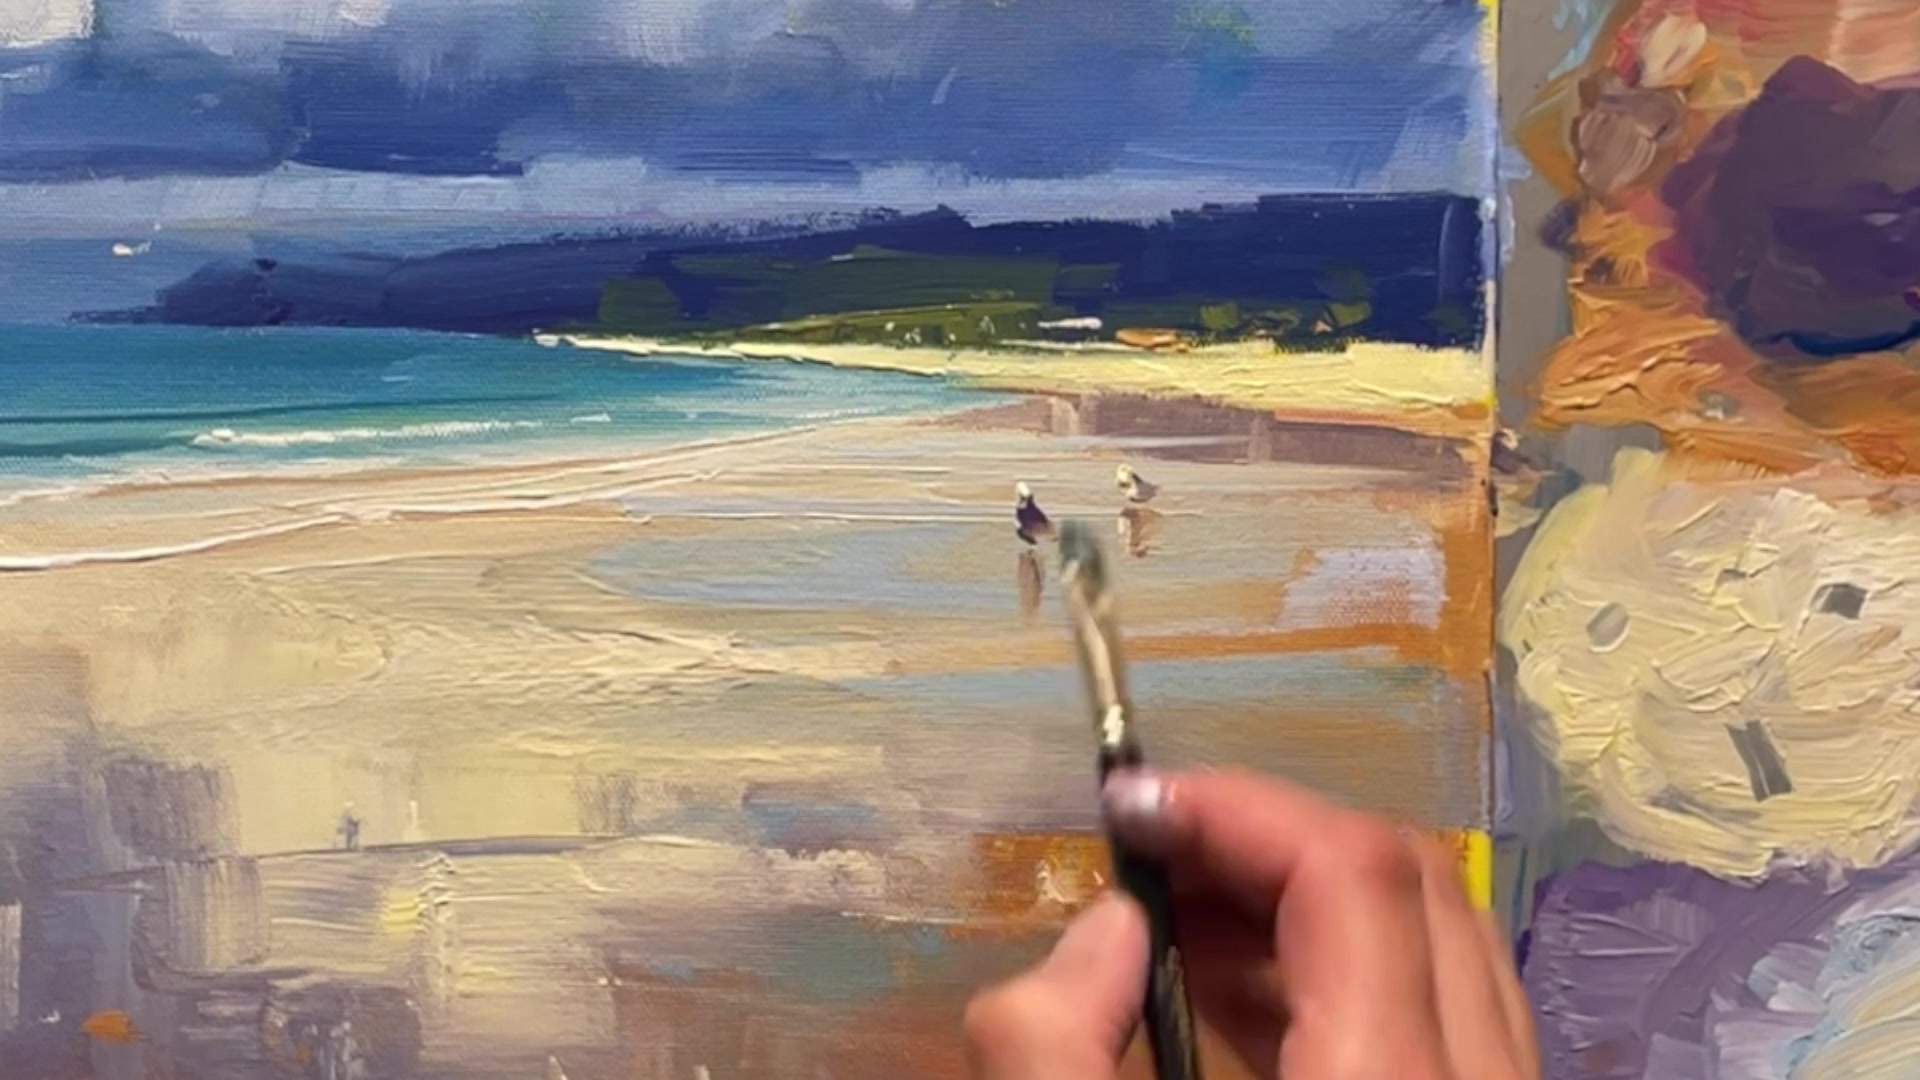
In this chapter, we'll dive into one of my favorite subjects to paint—a puffy cloud reflected in a wet beach, kissed by a sprinkling of sunlight. This scene offers a delightful opportunity to capture the transient beauty of nature, where the ever-changing weather and light conditions provide endless inspiration. As we explore this subject, you'll learn how to experiment with different perspectives, colors, textures, and styles, ensuring your work remains fresh and exciting. Whether you're using acrylics or oils, I'll guide you step by step through the process, making it easy to achieve a stunning result. In just a couple of hours, you'll create a beautiful painting that captures the serene and dynamic interplay of sky and sea. This lesson is designed to be both fun and rewarding, allowing you to enjoy the creative journey as much as the finished piece. So, let's embrace the challenge and joy of painting beach reflections together.
This guide accompanies the full video lesson. The lesson includes the complete narrated video, the printable PDF chapter, and personalised critique support.
"Beach Reflections" 14x14" Acrylic on canvas by Richard Robinson
Step 15Adjusting Finished Painting with Varnish
Prepare for Varnishing
Remove any tape from the painting and ensure it is dry. This will allow you to apply varnish smoothly and without obstruction.
Apply Gloss Varnish
Pour some gloss varnish into a lid. Use a big soft brush to apply a thin layer over the painting. This acts as a protective plastic-like sheet, allowing for easy adjustments later.
Dry the Varnish
Let the varnish dry naturally for about 10 minutes, or speed up the process with a hairdryer, which will take around 5 minutes. This quick drying time is an advantage of using acrylics.
Pro tipUse a gloss varnish to intensify colors slightly and protect the painting for easy adjustments.
Embark on your beach painting adventure by drawing inspiration from the dynamic weather and light conditions. Begin with a vibrant yellow primed canvas to set a lively tone, and gather a diverse palette of colors and tools to bring your vision to life. As you paint, embrace the fluidity of acrylics, keeping your paints moist and workable with regular misting.
Start by crafting a captivating sky, using soft transitions and varied strokes to build clouds with depth and light. Progress to painting the distant hills and beach, using expressive brushstrokes and a careful balance of colors to capture the essence of the landscape. Pay attention to the reflections in the water, using a palette knife and subtle color shifts to create a realistic and engaging scene.
As you add the final details, such as waves and highlights, ensure your painting is cohesive by softening edges and adding precise touches. Finish with a protective varnish to enhance and preserve your work. Remember, each layer and adjustment contributes to the overall harmony and vibrancy of your beach masterpiece.
Points to remember
Use the changing environment to inspire new ideas and techniques.
Prime your canvas with a warm yellow to set a vibrant tone.
Mist your acrylic paints regularly to keep them workable.
Spray the canvas lightly to keep acrylic paint wet for smoother blending.
Use a dry brush or your finger to soften edges for natural cloud forms.
Ensure highlights are lighter in value than previous layers for sunlight effects.
Use horizontal and vertical strokes to maintain a natural look on the beach.
Keep the paint wet with a fine misting spray for soft edge effects in reflections.