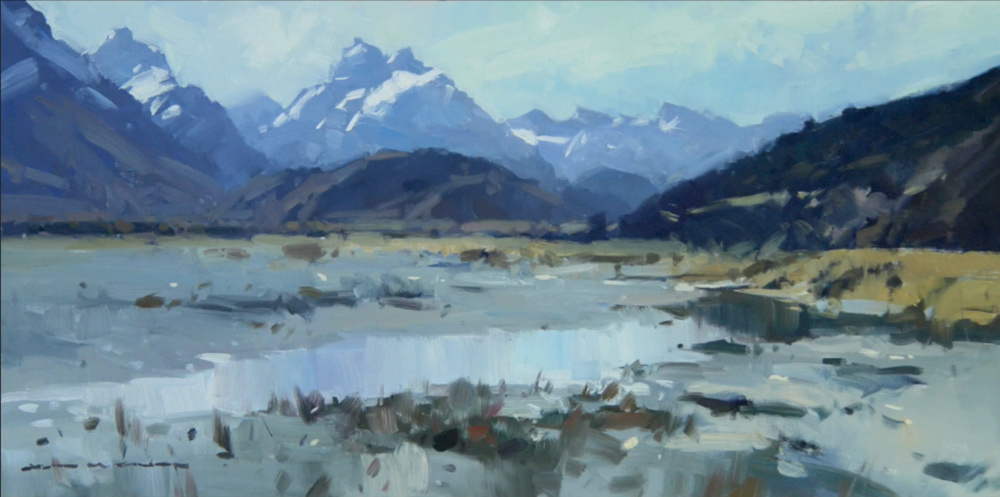
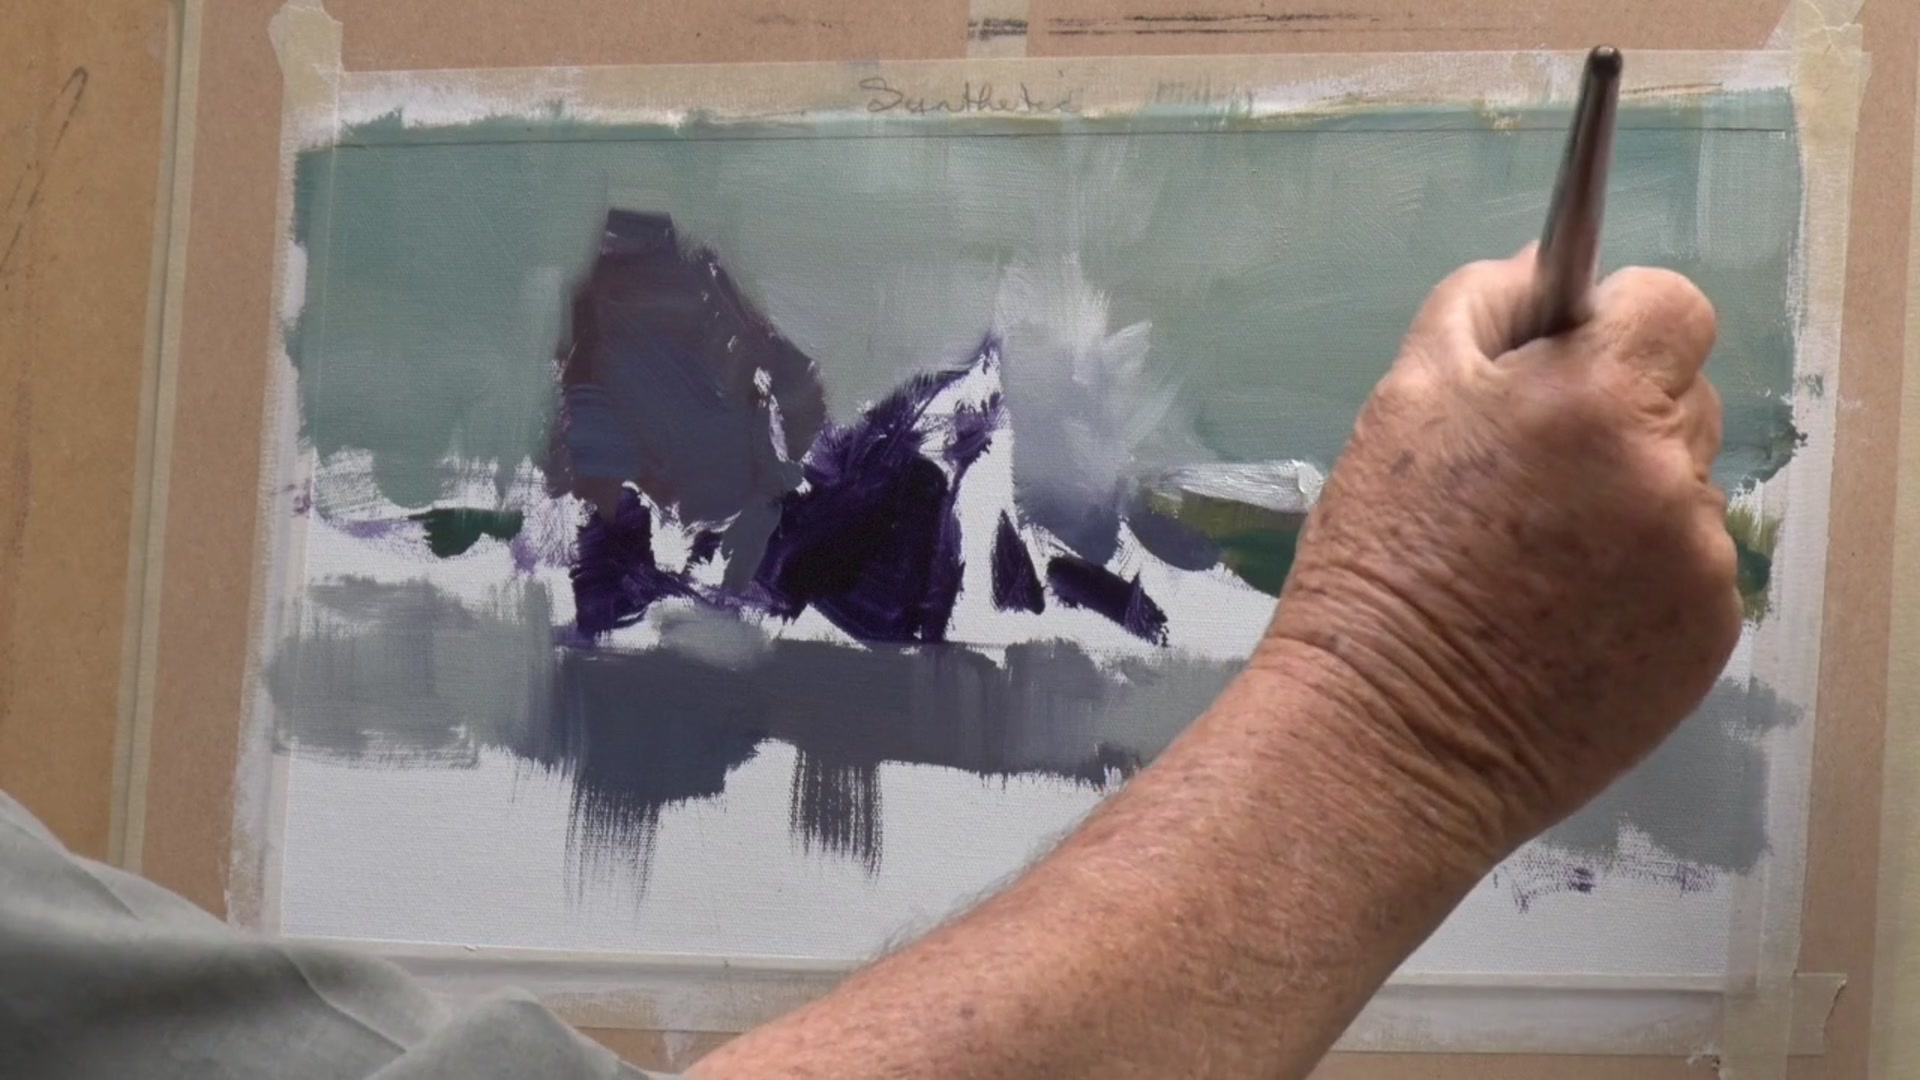
In this chapter, I invite you to explore the vibrant world of color mixing and paint application, as we dive into a coastal sketch and a stunning scene from the Dart River Valley. This lesson is a wonderful opportunity to learn about using color, composition, and bold, expressive brushwork. We'll be working with a palette of Winsor & Newton paints, including some of my favorites like Winsor Blue, Venetian Red, and Cadmium Yellow Pale. These colors are powerful and semi-transparent, offering a rich array of possibilities for creating warm darks and subtle tints. As we paint, you'll discover how to use a medium like liquin to enhance your brushwork, ensuring the paint flows smoothly and doesn't stick. The scene itself is a rewarding subject, capturing the beauty and challenge of painting in the great outdoors, where the play of light and the presence of sandflies add a dynamic element to our creative process. Join me in this artistic journey and enrich your painting skills with techniques that bring your work to life.
This guide accompanies the full video lesson. The lesson includes the complete narrated video, the printable PDF chapter, and personalised critique support.
Apply a stroke of white paint along the top of the wave. This will serve as the base for creating the wave's highlight.
Blend the Wave
Use a clean brush to pull the white paint downwards into the wave. This creates a sense of motion and integrates the highlight with the rest of the wave.
Add Highlights
Use a flicking motion to add a few highlights to the wave. Focus on areas where light would naturally catch, enhancing the wave's dynamic appearance.
Pro tipKeep your paint thin until the final stages to allow for easy adjustments.
Embark on your painting journey by preparing your brushes and organizing your palette. Begin with a clear plan for your color tones, keeping brushes dedicated to specific colors to maintain purity. As you lay down the foundational tones, remember to establish the darkest darks and lightest lights first, setting a clear tonal range for your painting.
As you progress, focus on mixing colors efficiently and applying them with purpose. Use techniques like softening edges and maintaining clean colors to enhance the vibrancy and realism of your scene. Pay attention to the interaction between elements like sky and sea, and use shadows to add depth and dimension.
In the final stages, add life and movement with small details like seagulls, and ensure every brush stroke contributes meaningfully to the composition. Sign your painting while it's still wet to integrate your signature seamlessly. Stand back to assess your work, making adjustments to tones and details to achieve a harmonious and dynamic piece.
Points to remember
Always dip your brush in medium before using paint to improve its performance.
Keep brushes dedicated to specific color tones to maintain color purity.
Establish your darkest dark and lightest light first to create a clear tonal range.
Keep your brush well-loaded to maintain clean and vibrant colors.
Extend color patterns from initial mixes to keep your palette organized and reduce paint waste.
Ensure your horizon line is level to maintain a balanced composition.
Use a fine-tipped brush to add small, lively details like seagulls to your painting.
Sign your painting while it's wet to easily integrate the signature and make adjustments if needed.