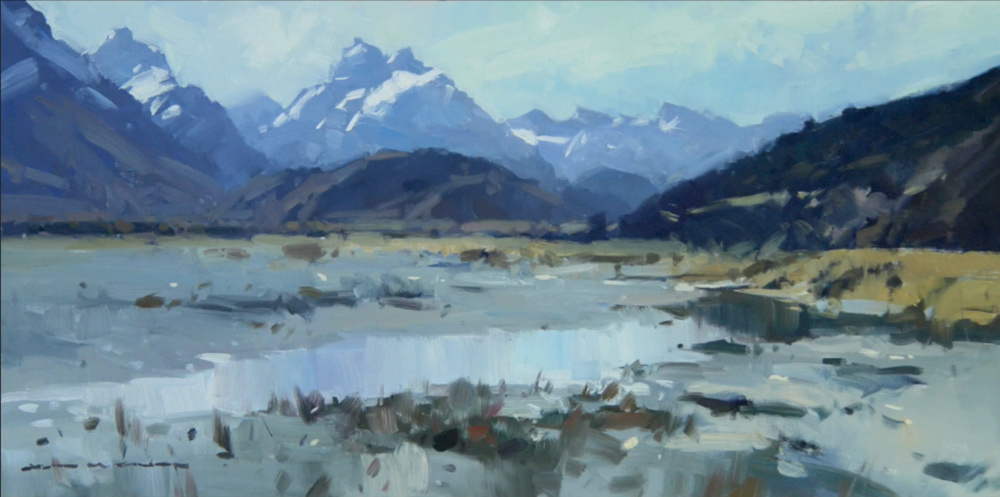
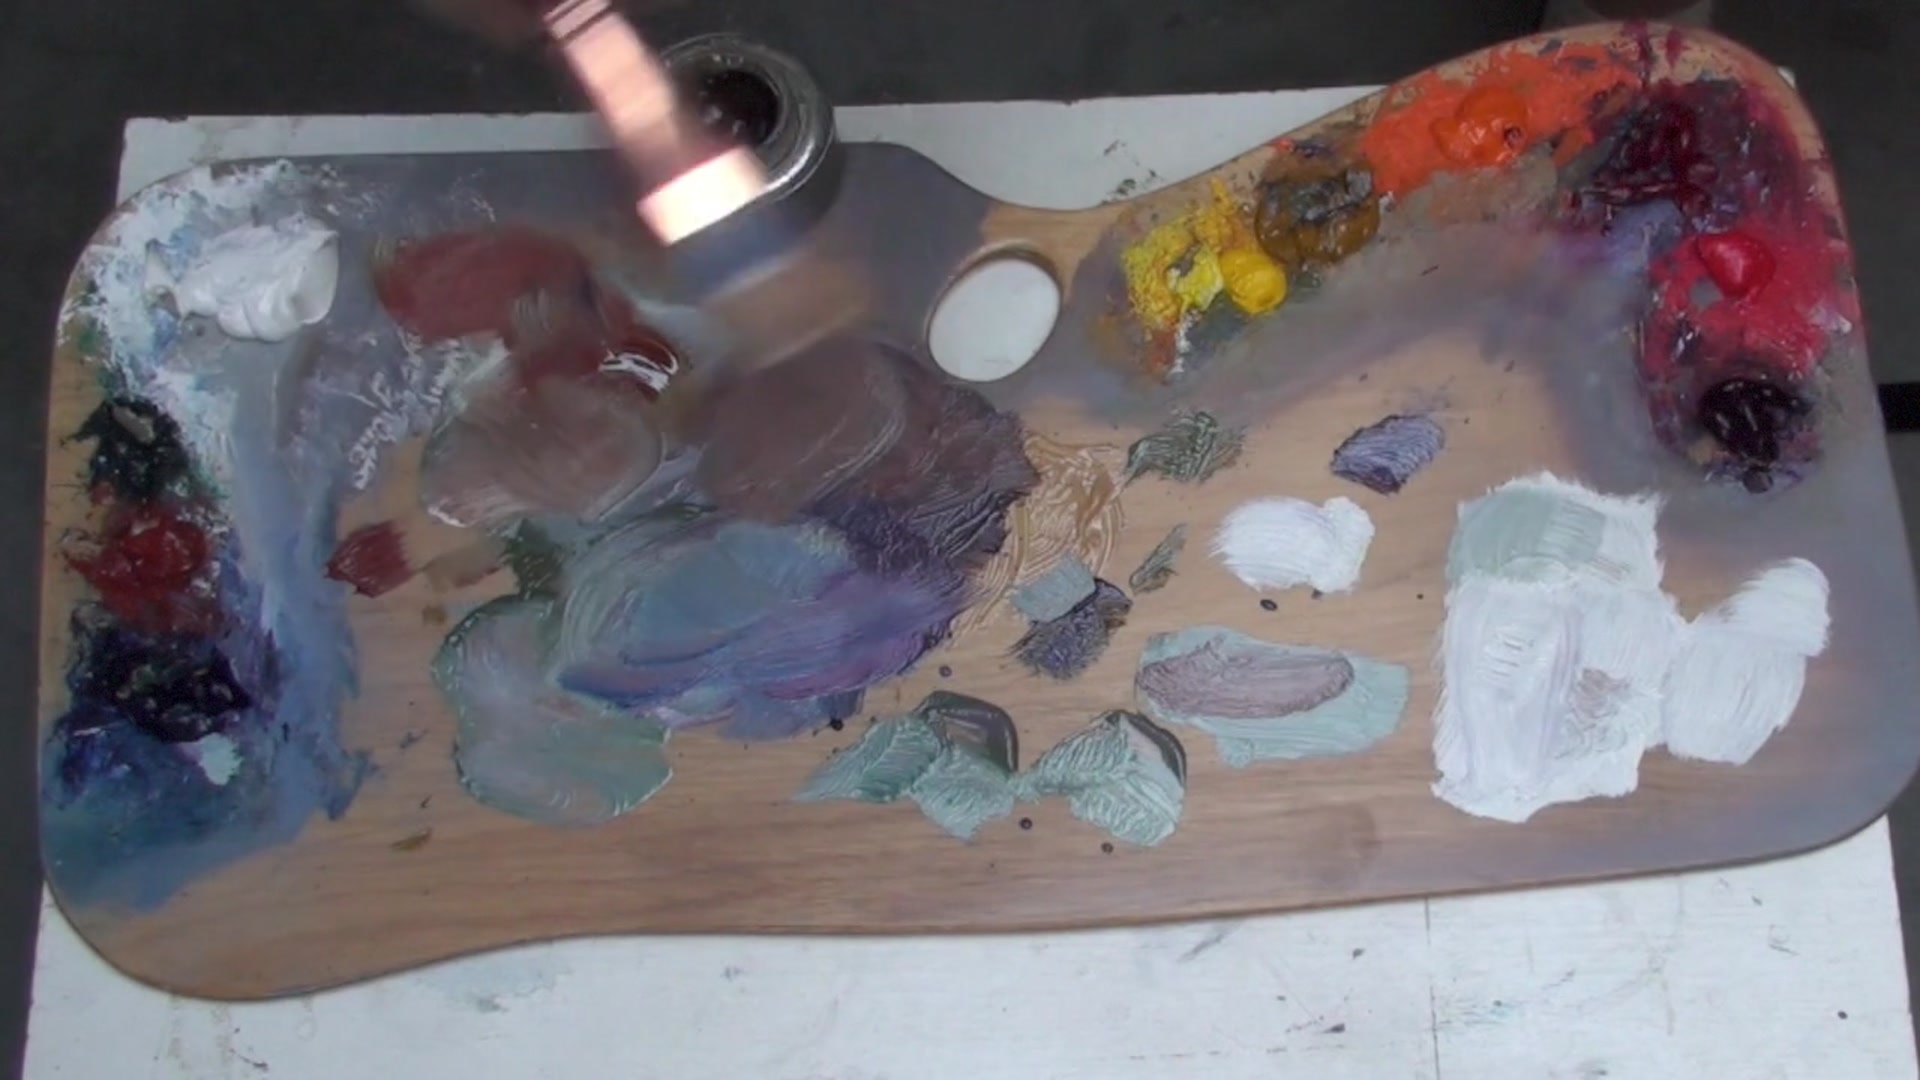
In this chapter, I invite you to explore the vibrant world of color mixing and paint application, as we dive into a coastal sketch and a stunning scene from the Dart River Valley. This lesson is a wonderful opportunity to learn about using color, composition, and bold, expressive brushwork. We'll be working with a palette of Winsor & Newton paints, including some of my favorites like Winsor Blue, Venetian Red, and Cadmium Yellow Pale. These colors are powerful and semi-transparent, offering a rich array of possibilities for creating warm darks and subtle tints. As we paint, you'll discover how to use a medium like liquin to enhance your brushwork, ensuring the paint flows smoothly and doesn't stick. The scene itself is a rewarding subject, capturing the beauty and challenge of painting in the great outdoors, where the play of light and the presence of sandflies add a dynamic element to our creative process. Join me in this artistic journey and enrich your painting skills with techniques that bring your work to life.
This guide accompanies the full video lesson. The lesson includes the complete narrated video, the printable PDF chapter, and personalised critique support.
Use simple, easy, sweeping brush strokes to create a smooth transition in your painting. Avoid hard lines across the canvas to maintain a natural flow.
Adjust Color Tones
Mix a bit of white with cadmium orange and a touch of blue to create a nice grey. If the color is too red, add more white to balance the warms and cools. Use warms and cools against each other to break up the color and add interest.
Incorporate Neutrals
Introduce neutral tones to exaggerate existing colors. Apply a cool tone to areas like the beach to prevent it from appearing too warm. Neutrals help in enhancing the vibrancy of surrounding colors.
Refine the Beach Area
Extend the beach slightly further down and across the reflection. Add a hint of sheen on the wet sand to create a realistic effect. This will help in achieving a rough and wild look.
Soften Edges
Soften the edges near the outside of the painting to prevent hard lines from drawing the viewer's eye away from the focal point. This keeps the viewer's attention where you want it.
Pro tipSoften edges near the painting's outer edges to keep the viewer's focus on the main subject.
Embark on your painting journey by preparing your brushes and organizing your palette. Begin with a clear plan for your color tones, keeping brushes dedicated to specific colors to maintain purity. As you lay down the foundational tones, remember to establish the darkest darks and lightest lights first, setting a clear tonal range for your painting.
As you progress, focus on mixing colors efficiently and applying them with purpose. Use techniques like softening edges and maintaining clean colors to enhance the vibrancy and realism of your scene. Pay attention to the interaction between elements like sky and sea, and use shadows to add depth and dimension.
In the final stages, add life and movement with small details like seagulls, and ensure every brush stroke contributes meaningfully to the composition. Sign your painting while it's still wet to integrate your signature seamlessly. Stand back to assess your work, making adjustments to tones and details to achieve a harmonious and dynamic piece.
Points to remember
Always dip your brush in medium before using paint to improve its performance.
Keep brushes dedicated to specific color tones to maintain color purity.
Establish your darkest dark and lightest light first to create a clear tonal range.
Keep your brush well-loaded to maintain clean and vibrant colors.
Extend color patterns from initial mixes to keep your palette organized and reduce paint waste.
Ensure your horizon line is level to maintain a balanced composition.
Use a fine-tipped brush to add small, lively details like seagulls to your painting.
Sign your painting while it's wet to easily integrate the signature and make adjustments if needed.