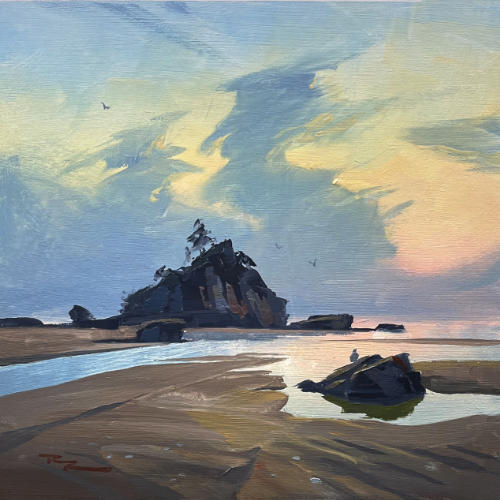
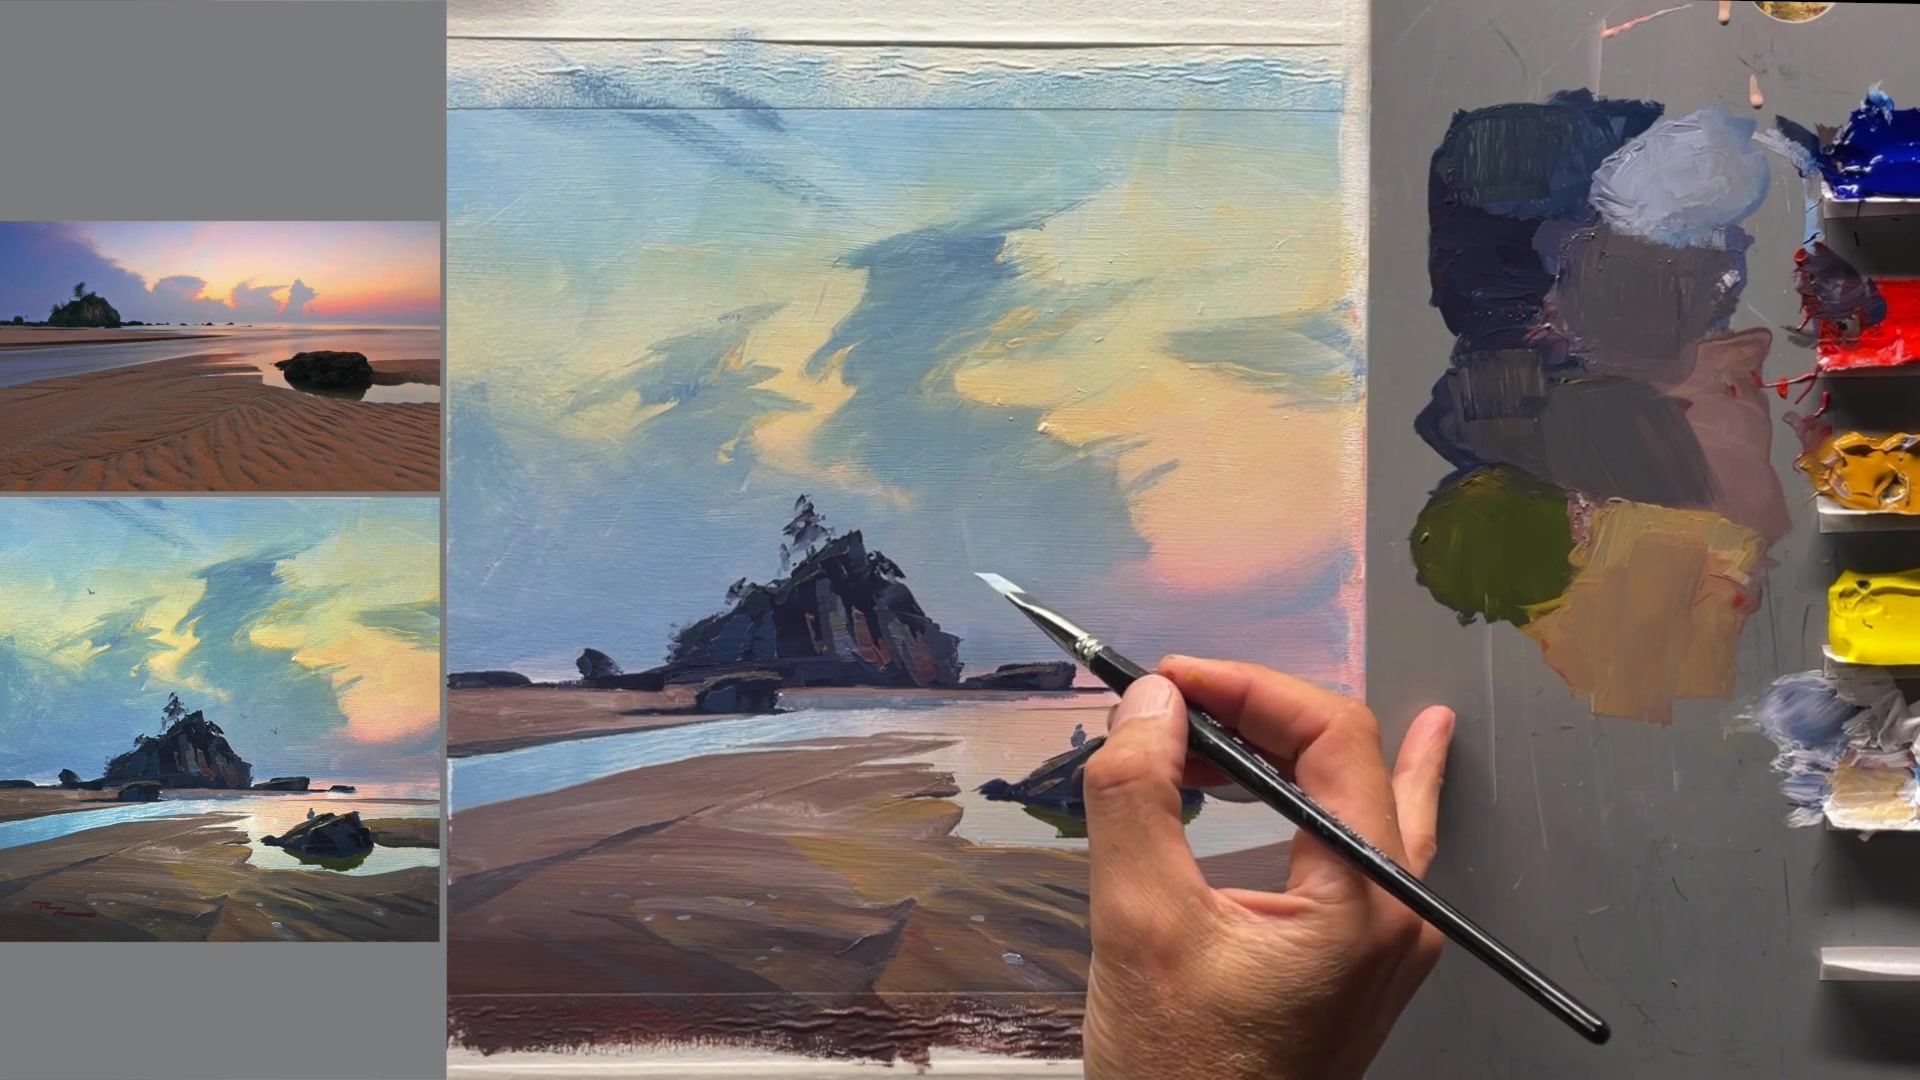
In this chapter, we delve into the art of painting expressive skies, focusing on a captivating backlit scene from Malaysia at sunset. This lesson is a part of a larger course I'm developing, Expressive Skies, and offers a glimpse into the techniques we'll explore. The scene presents a unique opportunity to understand backlighting, where the sun is positioned directly in front of us, casting the island and clouds into shadow while highlighting their edges with a beautiful rim light. This setup creates a striking gradation in the sky, transitioning from warm light near the sun to cooler, darker hues as you move away. We'll explore how to capture this effect effortlessly in both acrylics and oils. The process is broken down into four simple steps: painting the sky's gradation, layering the expressive clouds, adding the rocky island, and finishing with the wet sand in the foreground. Each step is designed to be easy to follow, allowing you to experiment and enhance your own paintings. I invite you to enjoy this free lesson and share any feedback you might have, as it will help me refine the course to better suit your creative journey.
This guide accompanies the full video lesson. The lesson includes the complete narrated video, the printable PDF chapter, and personalised critique support.
Use a mid-value blue-grey to add details to the sky. This color will appear darker against the lighter sky, creating depth.
Refine the Seagull
Switch to a smaller brush to refine the seagull. If needed, paint the sky back around it, keeping in mind that the paint will dry slightly darker.
Add Warmth and Sign
Mix a darkish color with some warmth and use it to sign your painting. Consider adding a touch of red to the rocks for added interest.
Enhance Vibrancy
Increase the saturation and vibrancy of your colors by adding more red, yellow, blue, or violet to the sky. A vibrant background will influence the colors you layer on top.
Personalize Your Painting
Feel free to shape the clouds, island, and sand path as you like. These elements are flexible, allowing you to create a unique composition.
Pro tipRemember that paint dries darker, so adjust your colors accordingly when painting details.
In this lesson on painting expressive skies with backlighting, you begin by establishing a smooth base for your sky using a wet-on-wet technique. This allows you to create seamless gradations from a sunset pink to a vibrant yellow and deep blue. As you progress, focus on blending colors smoothly and maintaining a wet surface to achieve the desired atmospheric effect.
Next, bring your sky to life by adding clouds, using a combination of soft and hard edges to create depth and interest. Employ retarder medium to extend the workability of your acrylics, allowing you to manipulate the paint for natural transitions. As you add details, such as highlights and shadows, remember to keep your brush clean and your colors fresh to enhance the backlit effect.
Finally, add the finishing touches to your landscape by painting the island, rocks, and their reflections. Pay attention to the interplay of light and shadow, using crisp edges and varied brushstrokes to convey realism. Incorporate small details like seagulls and shells to bring movement and life to your scene. Remember, the drying process will darken your colors, so adjust accordingly to maintain the vibrancy of your painting.
Points to remember
Keep the painted area wet by misting with water for smooth blending.
Use varied brushstrokes and keep the paint wet to achieve smooth blends in the sky.
Use retarder medium to keep acrylics workable for longer, allowing for smoother blending.
Use a mix of hard and soft edges on clouds to add depth and interest.
Ensure rock bases are horizontal and straight for a realistic effect.
A crisp edge between the rock reflection and sky reflection enhances realism.
Use a single brushstroke to create big, crisp shapes for a strong foundation.
Remember that paint dries darker, so mix colors slightly lighter than desired.