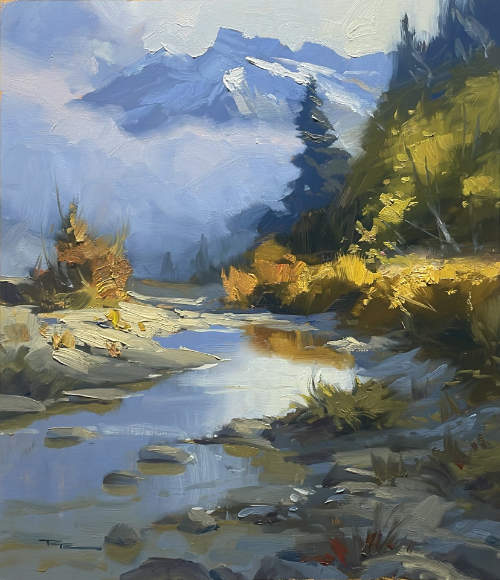
Welcome to the studio! Today, we're diving into the enchanting world of a mountain stream from New Zealand's South Island. This scene, captured from photographs I took during my plein air painting trip, offers a wonderful opportunity to explore the art of orchestrating light and shade. Whether painting from life or a photograph, our goal is to present the scene in its best light, idealizing it to capture its essence. In this chapter, we'll focus on identifying the elements you love most about the scene and using them to guide your artistic decisions. By concentrating on these key elements, you'll learn to enhance your focal point through thoughtful shape and light design, ensuring other areas remain subdued and non-competitive. This approach not only highlights the beauty of the scene but also teaches you to create paintings with depth and focus. Together, we'll navigate this process step by step, allowing you to apply these techniques to all your future works, transforming each painting into a masterpiece of light and shade.
This guide accompanies the full video lesson. The lesson includes the complete narrated video, the printable PDF chapter, and personalised critique support.
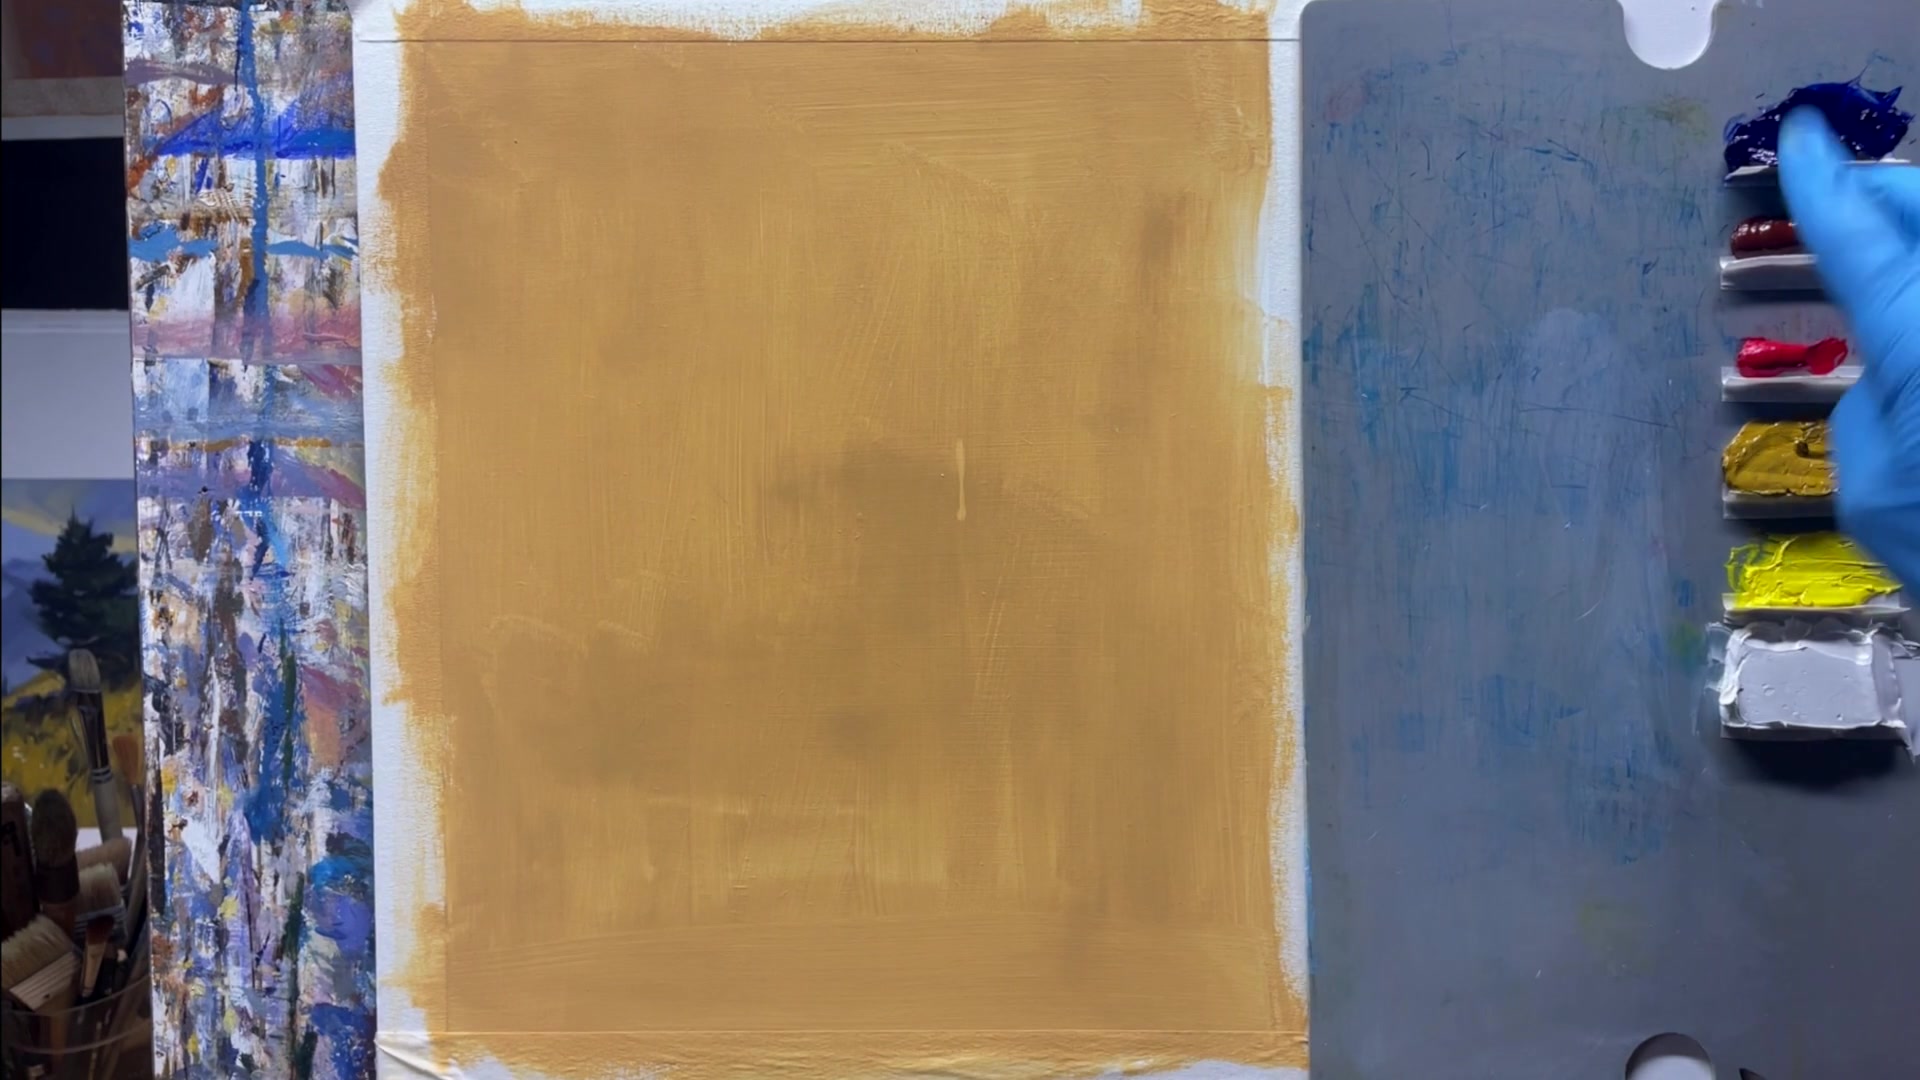
Set out your oil colors: ultramarine blue, burnt sienna, cadmium red, yellow ochre, cadmium yellow light, and titanium white. These colors will provide a versatile palette for your painting.
Select Your Brushes
Use long synthetic flat brushes from Rosemary & Co., including sizes 12 and 10, along with a filbert and a shorter flat. A rigger brush will be useful for adding finer details.
Choose Your Medium
Use Liquin as your painting medium to enhance the flow and drying time of your oils. Alternatively, walnut oil or another preferred medium can be used. If using acrylics, a painting medium is not necessary.
Pro tipSelect a variety of brush sizes to accommodate both broad strokes and detailed work.
Embark on your painting journey by identifying the key elements of your mountain stream scene that captivate you the most. Use shape and light design to enhance these focal points, ensuring they draw the viewer's eye. Subdue other areas to maintain focus and create a harmonious composition.
Capture the essence of changing light by photographing your scene over time, allowing you to select the most compelling lighting effects. Use these references to orchestrate a balanced play of light and shadow, guiding the viewer's eye through your painting with alternating areas of light and shadow.
As you build your painting, focus on creating a variety of shapes and textures to maintain interest. Use an S-curve to lead the eye deeper into the scene and incorporate dynamic shapes in both light and shadow. Prepare your canvas with a warm base tone and select versatile colors and brushes to bring your vision to life. As you refine your painting, pay attention to the interplay of sharp and soft edges, ensuring your composition remains engaging and cohesive.
Points to remember
Focus on key elements and subdue others to maintain focal points.
Use alternating shadow and light areas to guide the viewer's eye.
Ensure each shape is slightly different to maintain interest.
Use a big synthetic brush to evenly apply the base tone.
Select a variety of brush sizes for both broad strokes and detailed work.
Use gestural, big brushstrokes with soft edges for shadowed areas.
Use down strokes or side strokes to create realistic reflections in water.
Use contrast between sharp and soft edges to add variety and interest.