Painting Milford Sound is a dream come true for me, a place I've longed to capture on canvas since childhood. This stunning New Zealand landscape, often called the 8th Wonder of the World, is a perfect subject with its dramatic lighting and majestic peaks. In this chapter, we'll explore how to convey the grandeur and depth of this scene using seven visual tools. We'll start by understanding scale, atmospheric perspective, and overlapping shapes to create a sense of distance. Texture plays a crucial role, with thicker, rougher strokes in the foreground contrasting with smoother ones in the background. As we paint, we'll adjust colors to reflect the scene's cool, misty atmosphere and warm sunlit areas. I'll guide you through each step, from sketching the composition to adding the final details, ensuring you capture the essence of Milford Sound. Whether you're using oils or acrylics, this lesson will enrich your painting skills and inspire you to explore new creative paths. Let's dive into this breathtaking scene and bring its beauty to life on your canvas.
This guide accompanies the full video lesson. The lesson includes the complete narrated video, the printable PDF chapter, and personalised critique support.
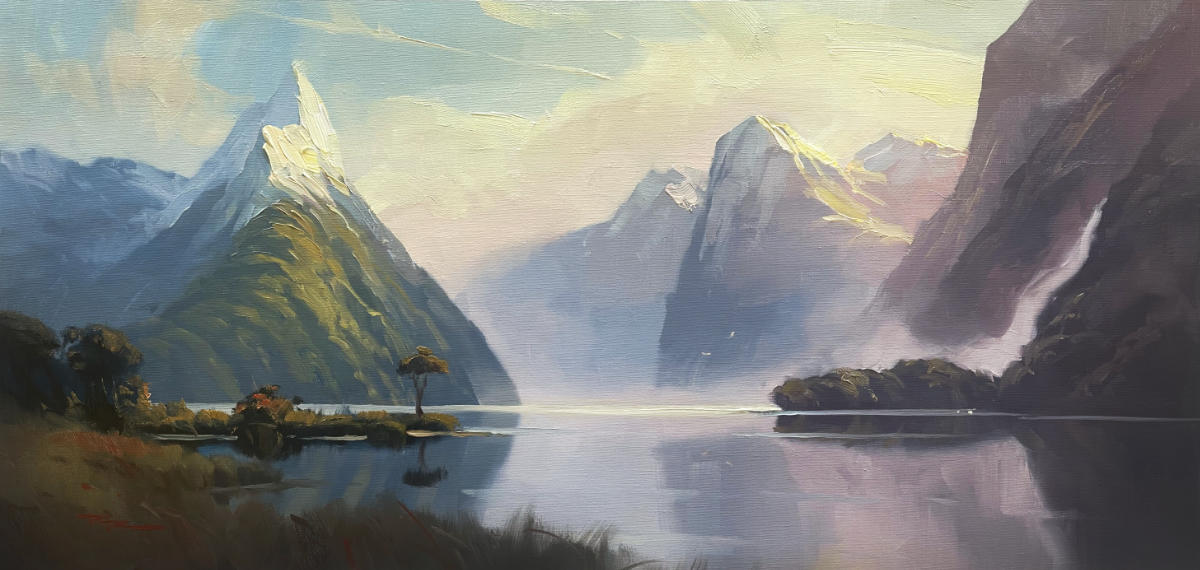
"Milford Sound 3" 13.5 x 28" Oil on Linen by Richard Robinson
Step 1Scene Description and Composition
Observe the Scene
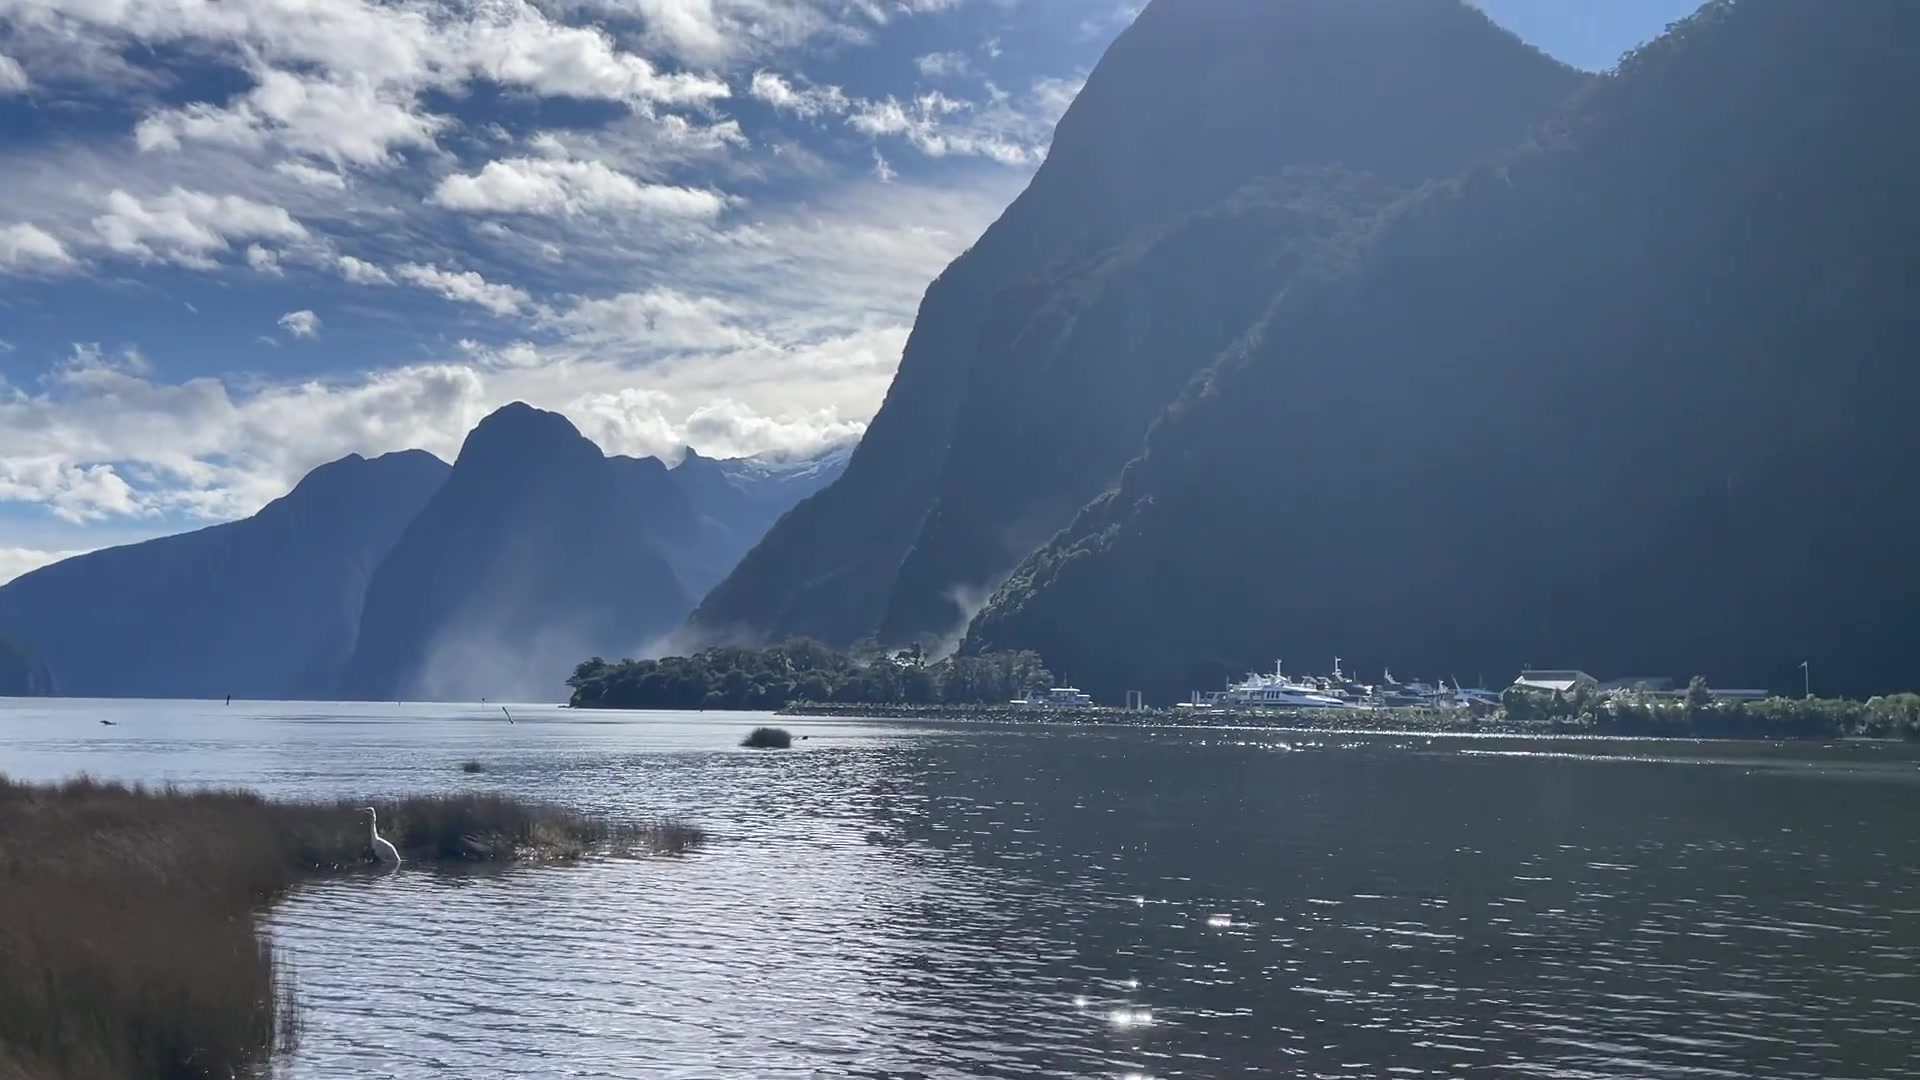
Take a moment to absorb the scene's vastness and complexity. Notice the mist from Sterling Falls, the depth of the valley, and the crisp shape of Mitre Peak. Appreciate how the sun lights the scene, enhancing its sculptural quality.
Identify Key Elements
Identify the key elements you want to include in your painting. Consider the side-lit trees, the long reflections in the water, and the magical sparkle on the surface. These elements will add depth and interest to your composition.
Capture the Atmosphere
Aim to capture the atmosphere of Milford Sound, including the sense of being dwarfed by the massive peaks. Remember the scene's backlit and side-lit qualities, which contribute to its dramatic lighting.
Pro tipFocus on the lighting effects to enhance the sculptural quality of the scene.
Embark on your painting journey by immersing yourself in the majestic beauty of Milford Sound. Begin by observing the scene's natural grandeur, focusing on the interplay of light and shadow that defines its dramatic landscape. Capture the essence of the scene by carefully selecting and composing key elements such as Mitre Peak, Sterling Falls, and the reflective waters, ensuring that your composition conveys both depth and atmosphere.
As you progress, use perspective and color to create a sense of depth and scale. Adjust the size of distant mountains to counteract the camera's distortion, and apply atmospheric perspective by transitioning from warmer, lighter colors in the foreground to cooler, darker hues in the background. This technique will enhance the three-dimensionality of your painting, drawing the viewer into the scene.
In the final stages, focus on refining details and adding the finishing touches. Use soft edges to blend the sky seamlessly with the mountains, and incorporate subtle variations in color to add interest and realism. Pay attention to the reflections and mist, which unify the composition and enhance the overall mood. With these techniques, your painting will capture the breathtaking beauty of Milford Sound, inviting viewers to experience its serene and powerful presence.
Points to remember
Focus on the lighting effects to enhance the sculptural quality of the scene.
Create a panoramic composition by cropping unnecessary elements and focusing on the main features.
Apply warmer and lighter colors to elements closer to the sun and cooler, darker colors to those further away to enhance depth.
Use a paper towel to gently rub off excess paint when toning the canvas, allowing it to dry quickly.
Make mountains steeper than they are in reality to add drama and impact to your landscape painting.
Paint the mountains slightly larger than needed to allow for edge refinement when adding the sky.
Blur the edges of reflections by brushing sideways and then downwards for a softer, more natural look.
As elements recede into the background, make them lighter and bluer to create a sense of depth.