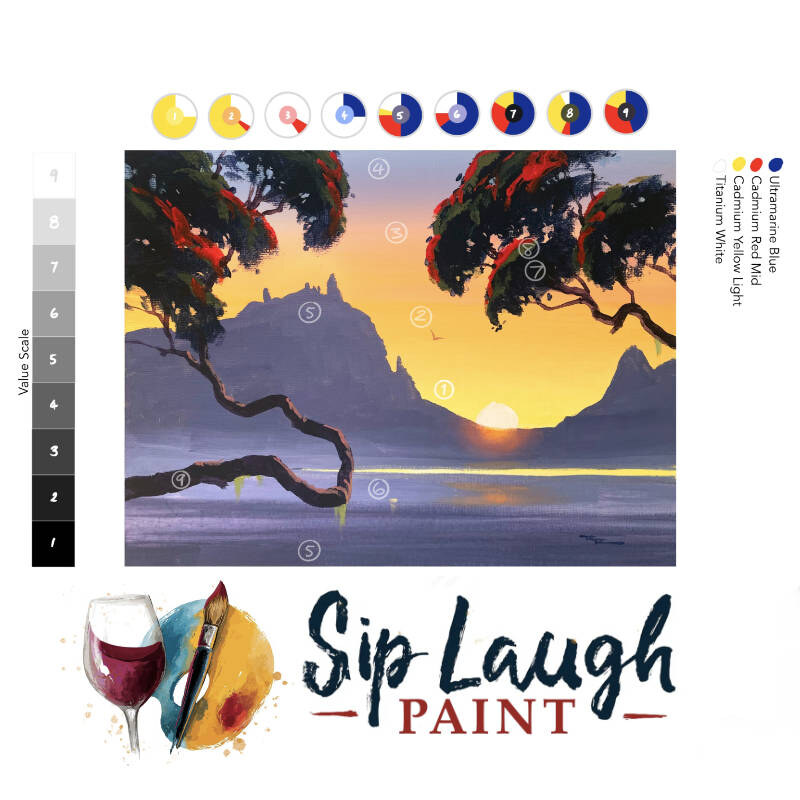
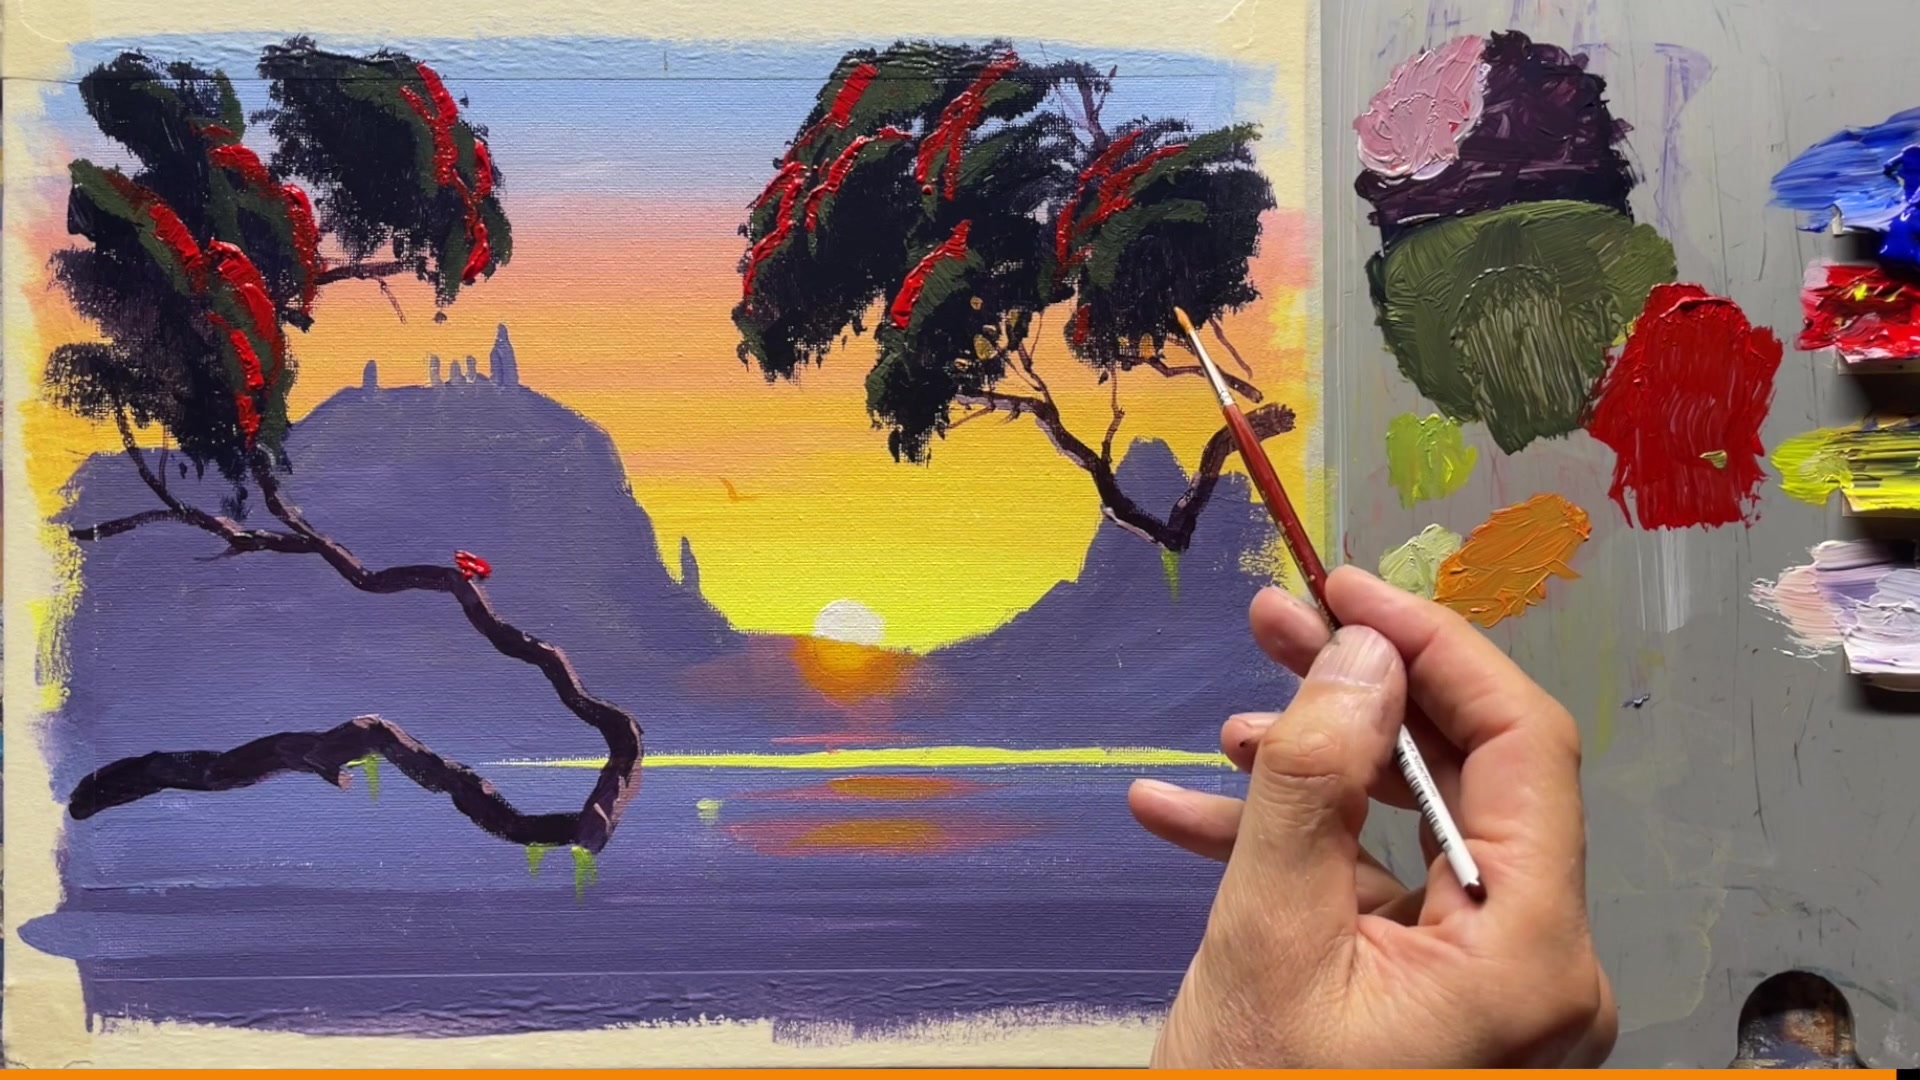
As we embark on this painting journey together, we'll be working on an 11x14 inch canvas, which I've prepared by taping the edges to create a crisp white frame once your masterpiece is complete. This chapter will guide you through the vibrant scene of a harbour sunrise, a subject that promises both tranquility and a burst of color. We'll be using a palette of ultramarine blue, cadmium red, cadmium yellow light, and titanium white, alongside a selection of brushes including a large bristle filbert, a synthetic square, and two round brushes for finer details. To keep our paints fresh, a light misting of water will prevent them from drying out too quickly. The lesson is structured in clear, numbered stages, allowing you to follow along with ease. Each step is designed to build your confidence and skill, from mixing the perfect hues to adding those final delicate branches. This scene is a rewarding subject because it captures the serene beauty of dawn, offering a perfect blend of challenge and satisfaction. So, let's dive in, enjoy the process, and watch as your canvas comes to life with the colors of a new day.
This guide accompanies the full video lesson. The lesson includes the complete narrated video, the printable PDF chapter, and personalised critique support.
Use a mix of pink and blue, slightly darker than the sky, to add some final touches. Vary the size of these details with some tiny ones and some bigger ones to create interest.
Remove the Tape
Carefully pull off the tape to reveal the clean edges of your painting. This will give your work a polished and professional look.
Sign Your Painting
Use a small brush with a mix of blue and a spot of red, adding a little water to the mixture. Twirl the brush in the color and practice your signature on the palette before applying it to the painting.
Pro tipPractice your signature on the palette before adding it to the painting to ensure it looks just right.
In this lesson, you embarked on a vibrant journey to capture the serene beauty of a Harbour Sunrise. Starting with the foundational colors, you learned to mix and apply layers of yellow, orange, pink, and blue to create a harmonious sky. Each layer required careful blending to achieve smooth transitions and capture the subtle shifts in light as the sun rises.
As you progressed, you added depth and dimension by painting the mountains and incorporating details like the sun glow and water reflections. These elements required precision and a steady hand, especially when drawing the mountain outlines and creating the soft, misty effects at their base.
Finally, you brought life to the scene with intricate details such as seagulls, trees, and blossoms. These finishing touches added character and vibrancy, transforming your canvas into a lively depiction of a sunrise over a tranquil harbour. Remember to embrace the process, enjoy the blending of colors, and let your creativity flow as you paint.
Points to remember
Focus on matching the color in the middle of the circle for accuracy.
Dip your brush in water before painting to keep the bristles in good condition.
Ensure the paint is applied thickly to achieve a vibrant blend between colors.
Use the tip of your brush with gentle pressure to achieve a soft blend.
Be patient and use only the tip of the brush for a gentle blend into the pink area.
Lock your arm and rotate at the waist for a smooth, straight line.
Keep your brush clean to maintain bright, vibrant colors in the sun glow area.
Use circular motions to form the basic shape of tree clumps, leaving gaps for sky holes.