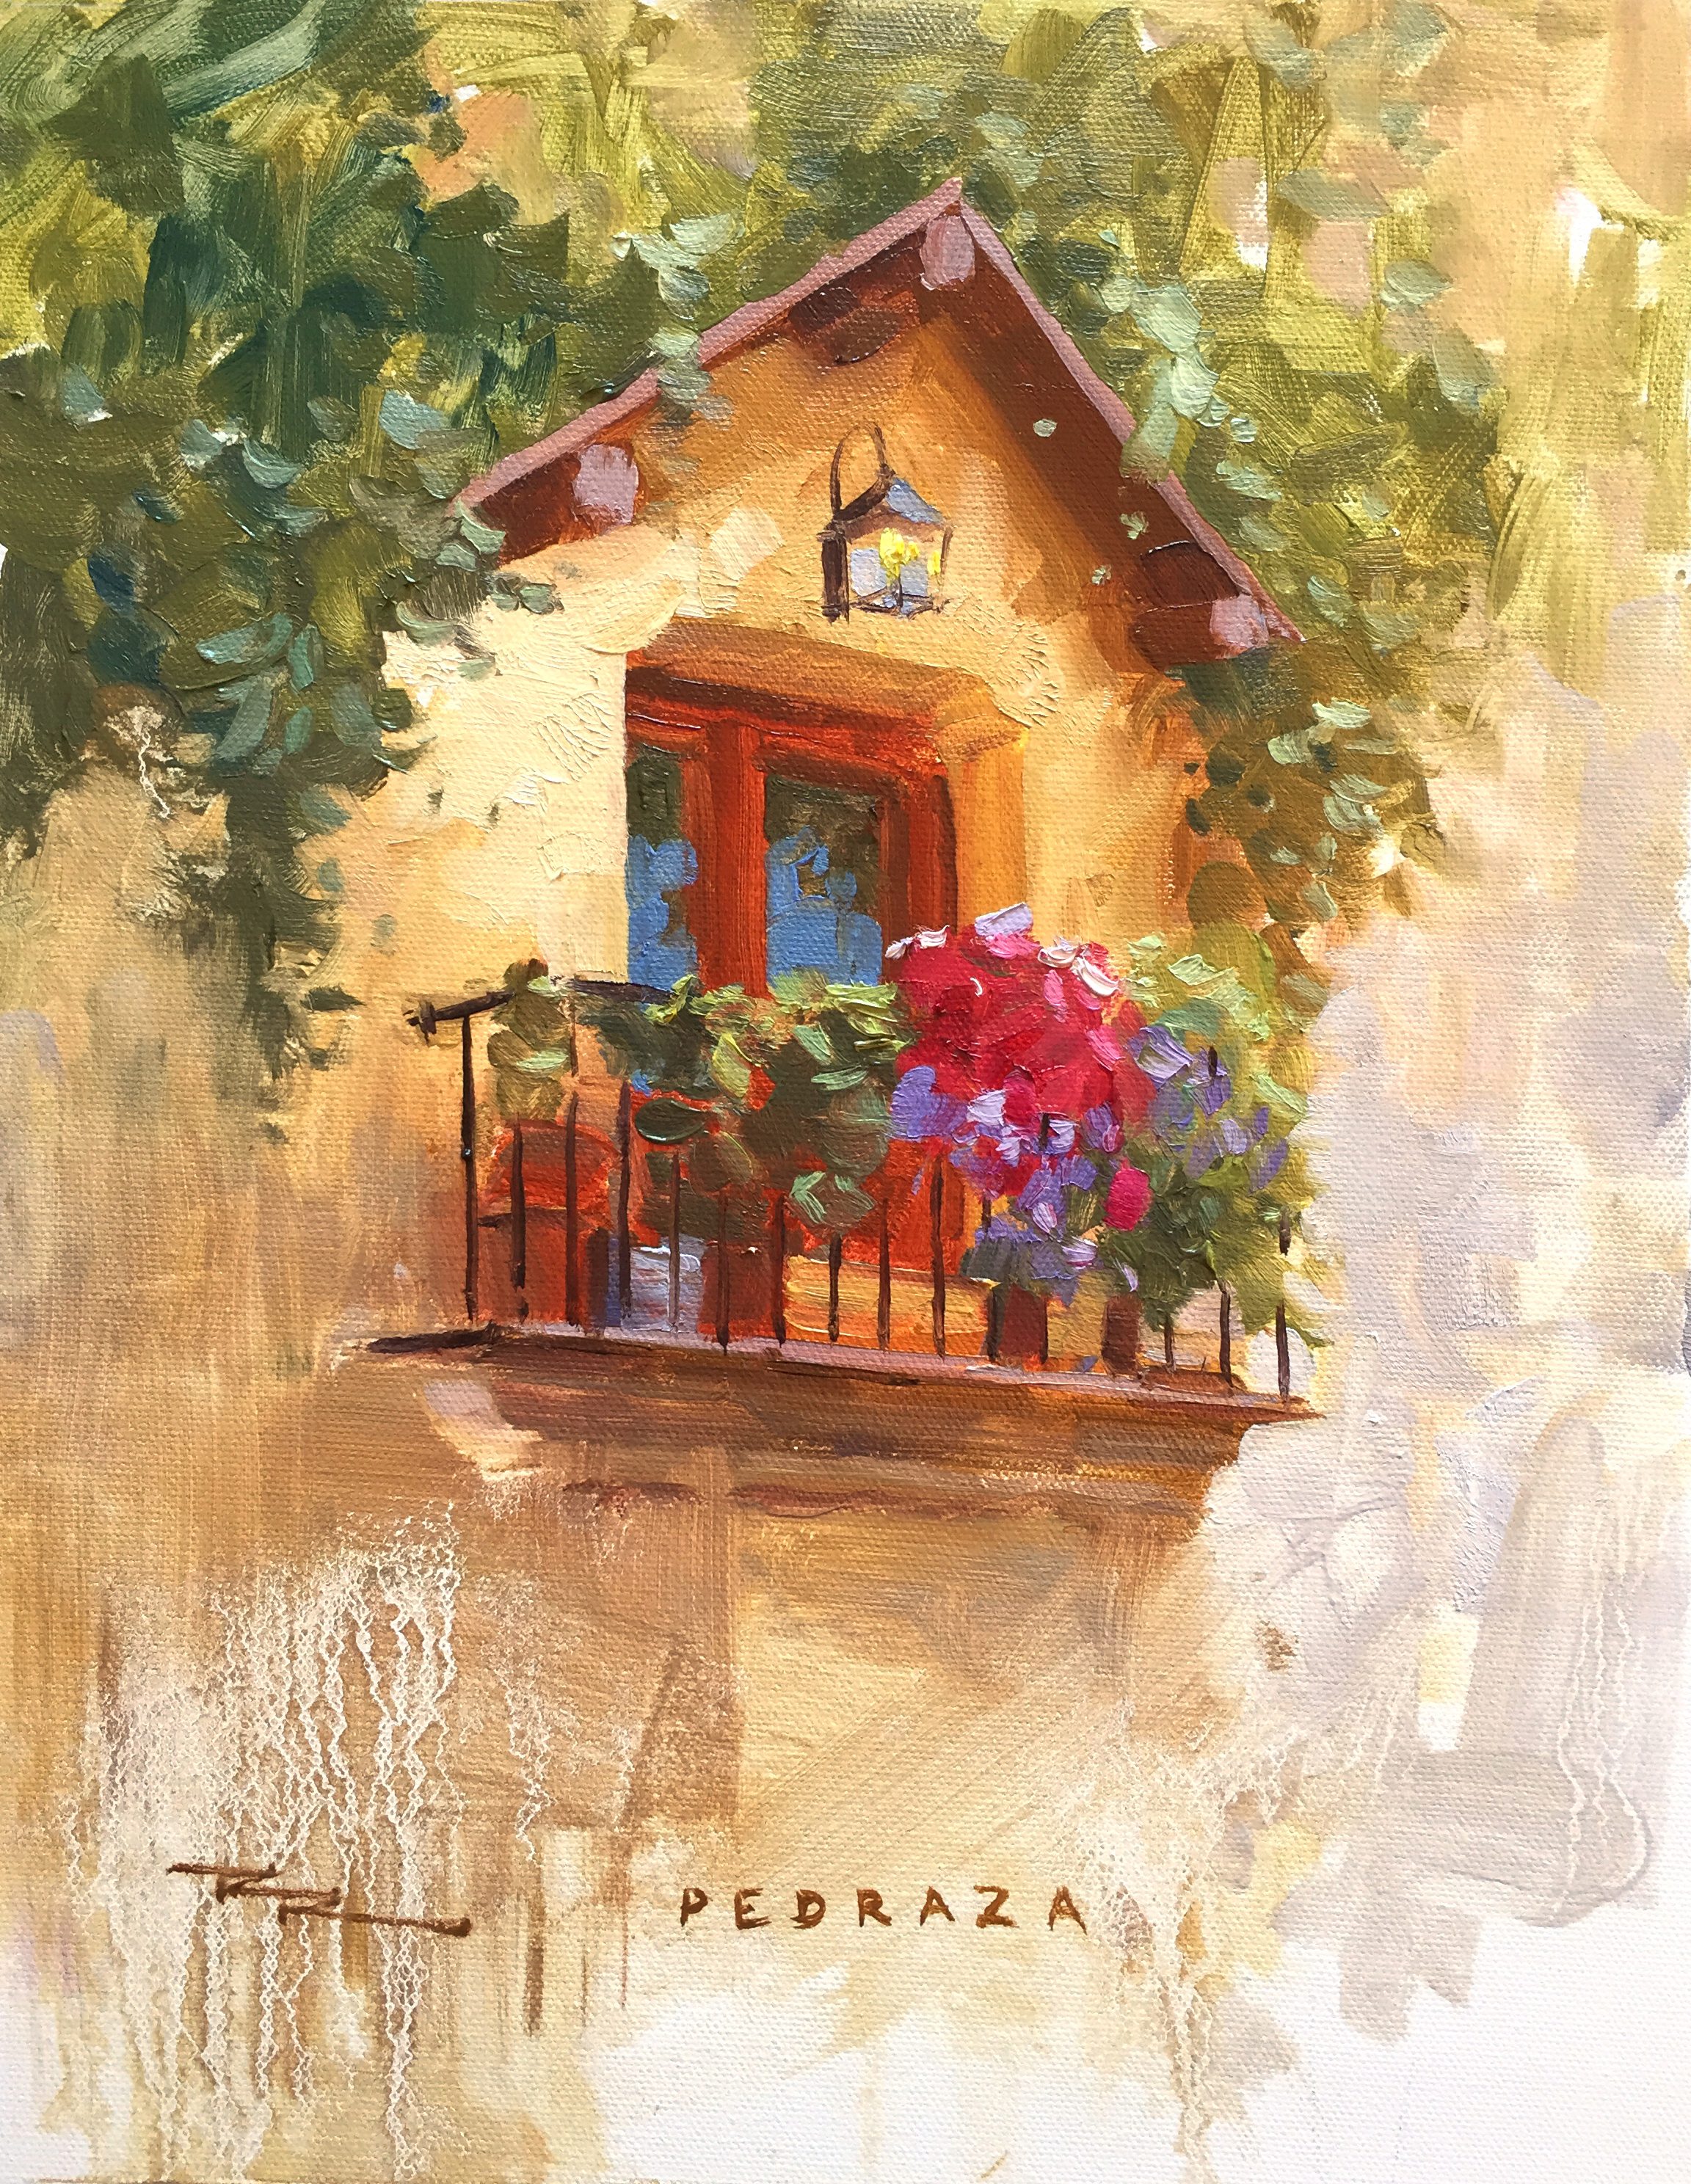
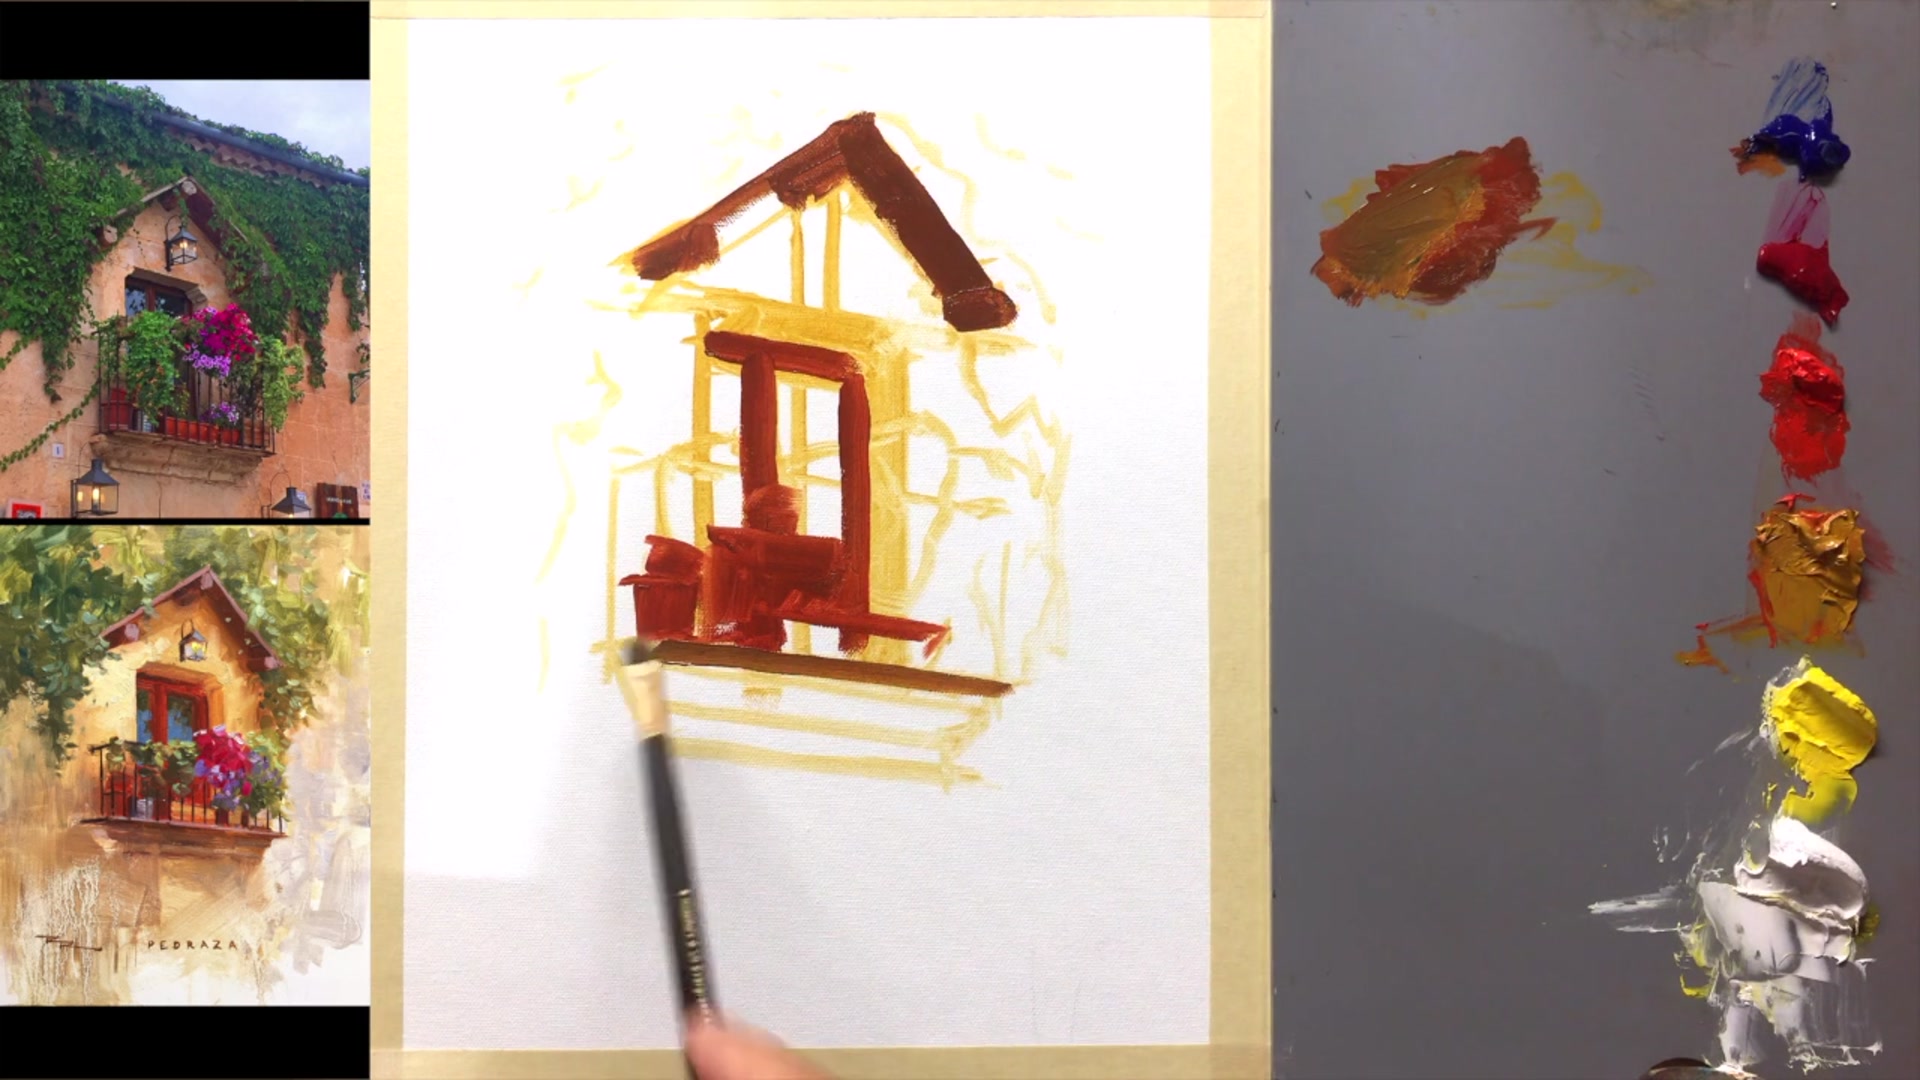
In this chapter, we're diving into the vibrant world of painting with a focus on a stunning flowering balcony scene from Spain. This project is all about enhancing the vibrancy of colors to give the scene that extra 'oomph' it deserves. With just three synthetic brushes—a filbert, a long flat, and a rigger or liner brush from Rosemary and Co—you'll be equipped to tackle this classic subject. I'll guide you step by step, using Cobra water mixable oils from Royal Talens and walnut oil as the painting medium, to bring this balcony to life. You'll learn essential techniques such as drawing, creating interesting textures, and boosting colors to transform a potentially subdued scene into a lively masterpiece. This lesson is designed to help you focus on selecting a single subject amidst many options, and then enhancing its natural beauty with vibrant hues. Join me in this rewarding exploration of color and technique, and enjoy the process of creating your own vibrant balcony in bloom.
This guide accompanies the full video lesson. The lesson includes the complete narrated video, the printable PDF chapter, and personalised critique support.
"Balcony in Bloom" 10 x 13" Oil on Canvas by Richard Robinson.
Step 6Shadow and light edges
Mix Shadow Colors
Underneath the balcony, mix a little blue, yellow ochre, and a touch of white to create a gray tone. This will help the color sit nicely in the shadows.
Create Soft Shadows
Add a touch of yellow ochre to the gray mix to paint the soft shadow under the overhang. As the shadow moves into the light, lighten it slightly.
Adjust Shadow Lightness
To lighten and warm the shadow as it moves into the light, add bright yellow and a little white. If the color is too dark, use it for the shadow inside the door frame instead.
Define Shadow Edges
Create a soft edge where the shadow inside the door frame meets the wood of the door. Use a sharp edge where the shadow meets the light on the outside wall.
Pro tipUse soft edges where shadows meet shadows and sharp edges where shadows meet light to add variation.
Embark on your painting journey by selecting a subject that captivates you, such as a vibrant balcony scene. Enhance the vibrancy of your colors to breathe life into your composition, and carefully consider the perspective to lay a strong foundation for your artwork. As you progress, adjust the composition to reveal interesting elements and establish depth by painting darks and shadows first.
Move through the painting process by skillfully managing light and shadow, using texture to add interest, and incorporating depth with dark accents. Pay attention to the interplay of colors and textures, allowing your brushwork to create dynamic and realistic effects. As you add foliage and floral details, focus on creating varied shapes and highlights to bring your scene to life.
In the final stages, refine your painting with precise details and fine lines, ensuring each element contributes to the overall harmony of the piece. Embrace the freedom to interpret colors and textures, enhancing the vibrancy and mood of your artwork. With each stroke, aim to capture the essence of the scene, creating a visually striking and cohesive painting.
Points to remember
Focus on a small detail that stands out to you when choosing a subject.
Increase color saturation by 50% to remove gray and make colors more vibrant.
Pay close attention to how perspective lines converge to vanishing points.
Continuously check and adjust your drawing as you paint to maintain accuracy.
Ensure the dark paint is thin enough to cover the canvas without leaving gaps.
Use soft edges where shadows meet shadows and sharp edges where shadows meet light.
Practice letting your hand move freely to create random, gestural brushwork.
Use pure magenta for dark accents to enhance contrast in the flowers.