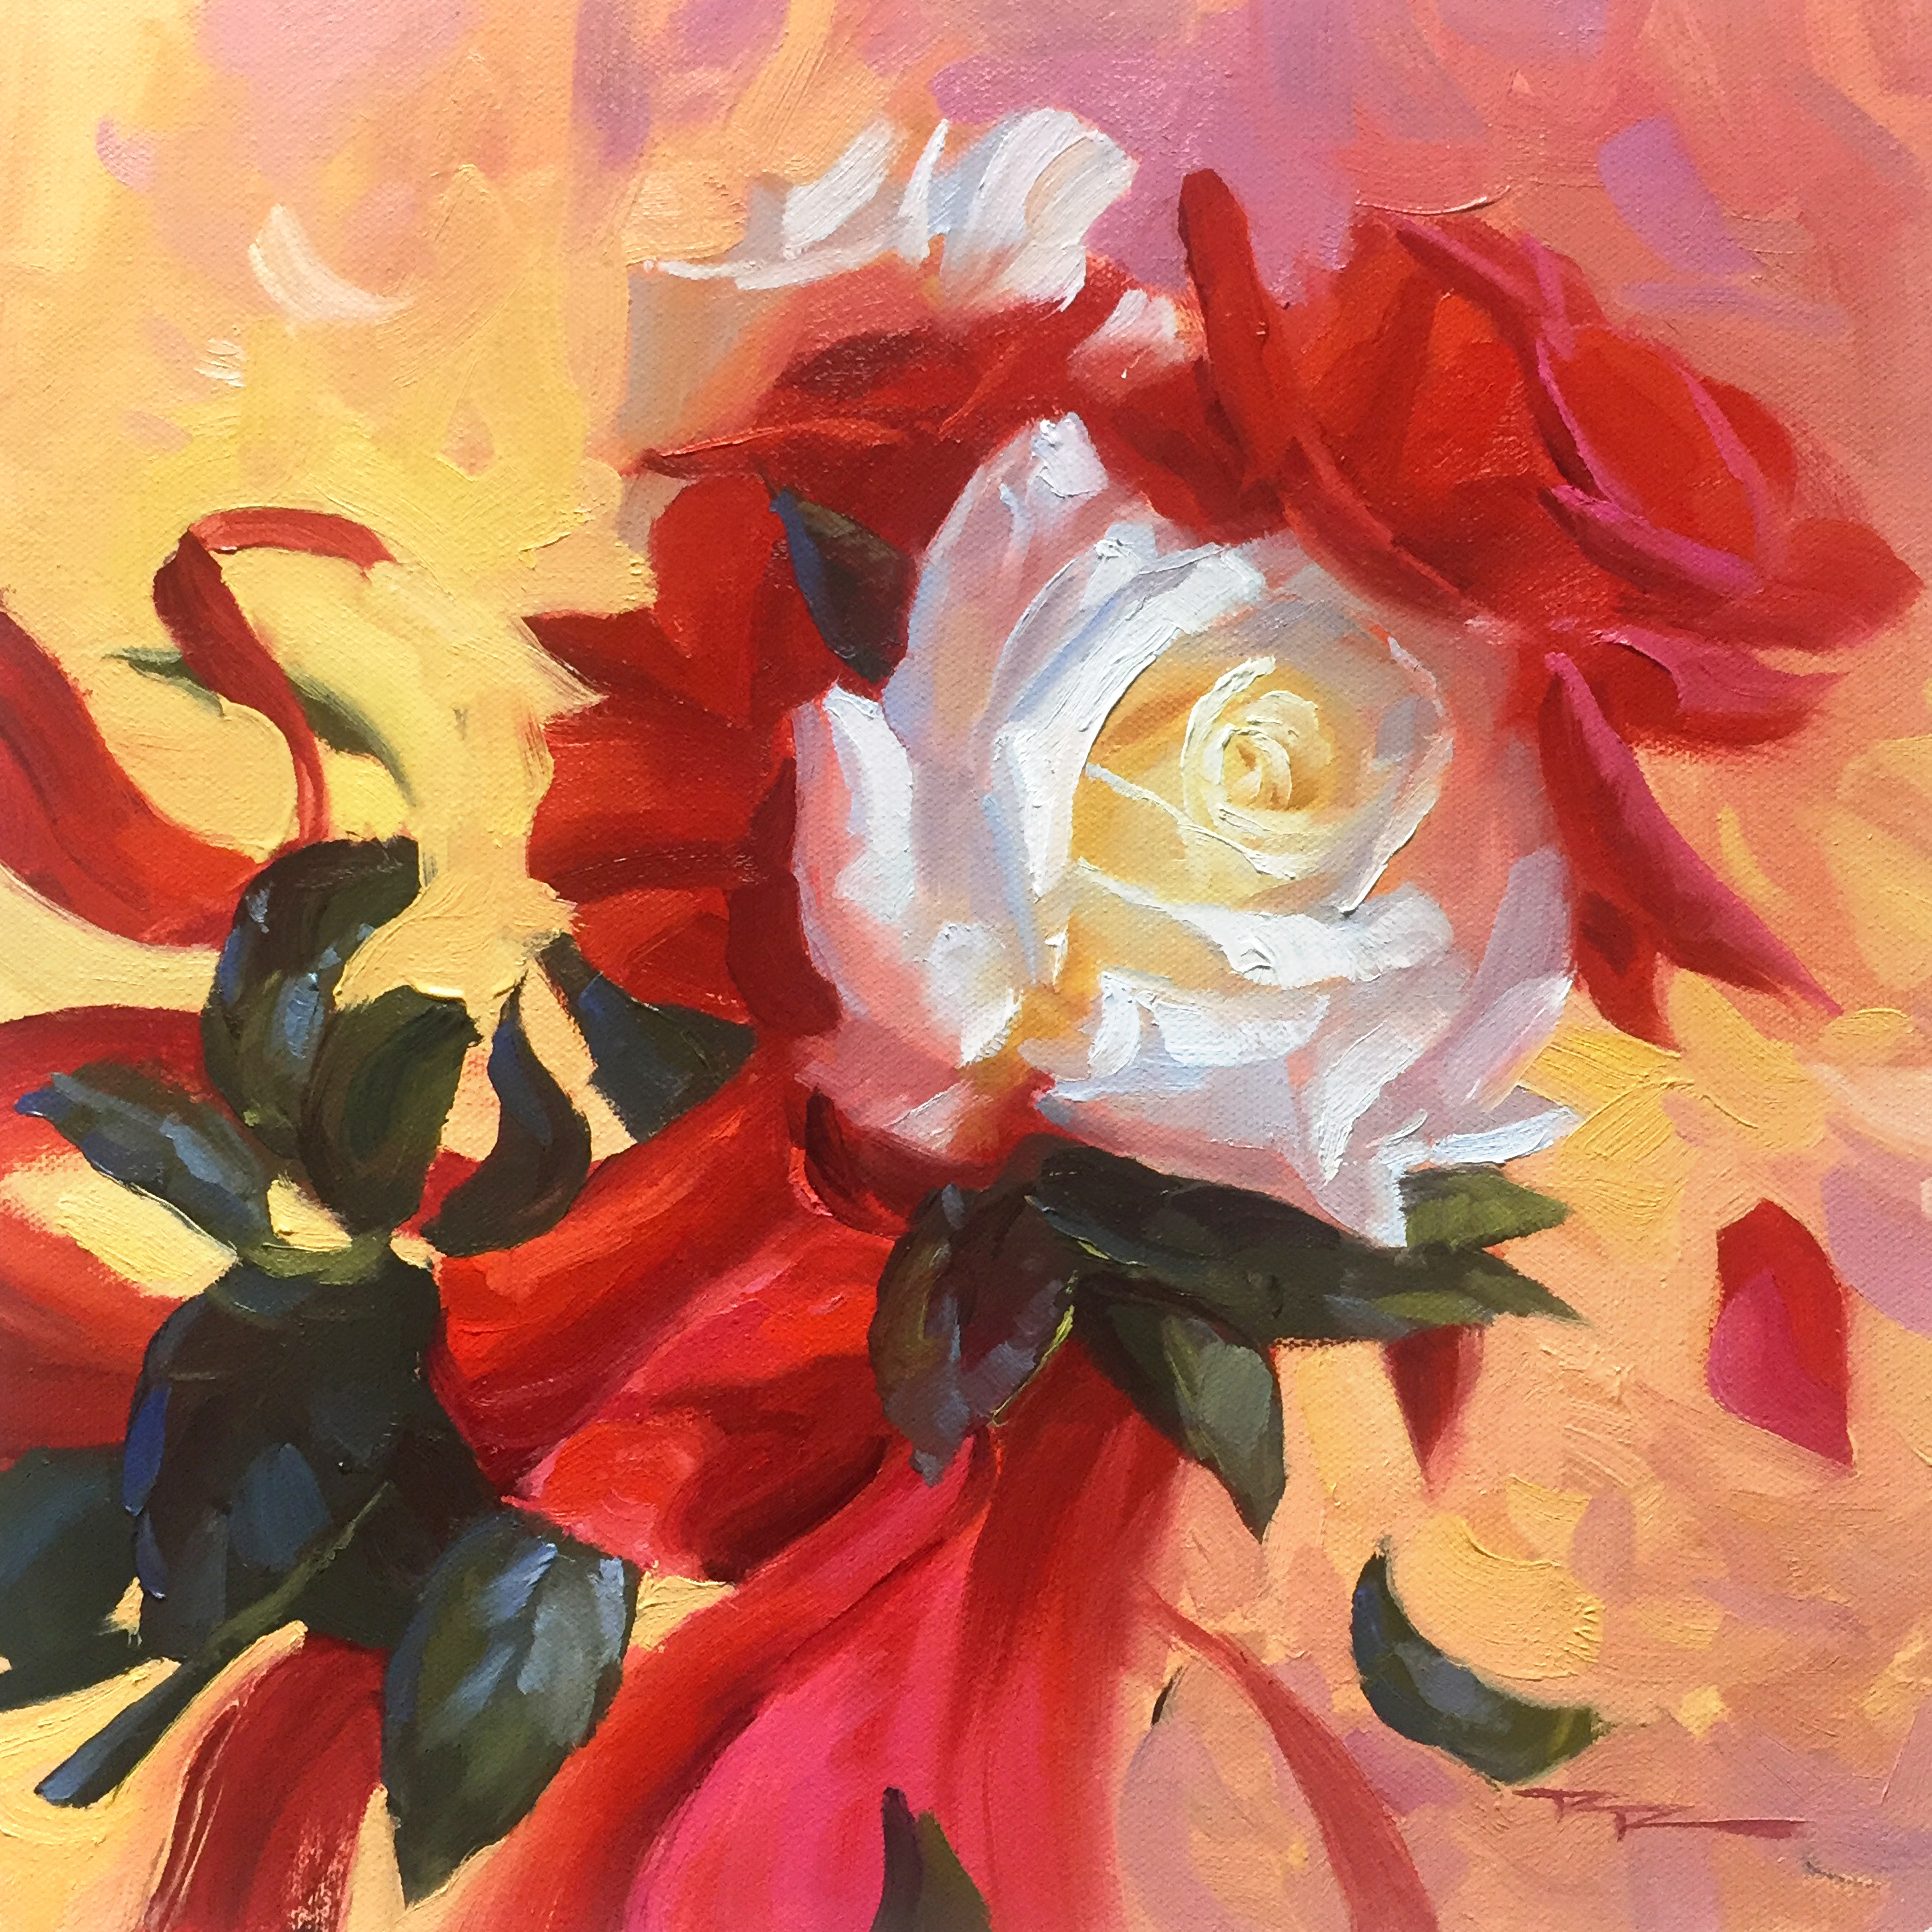
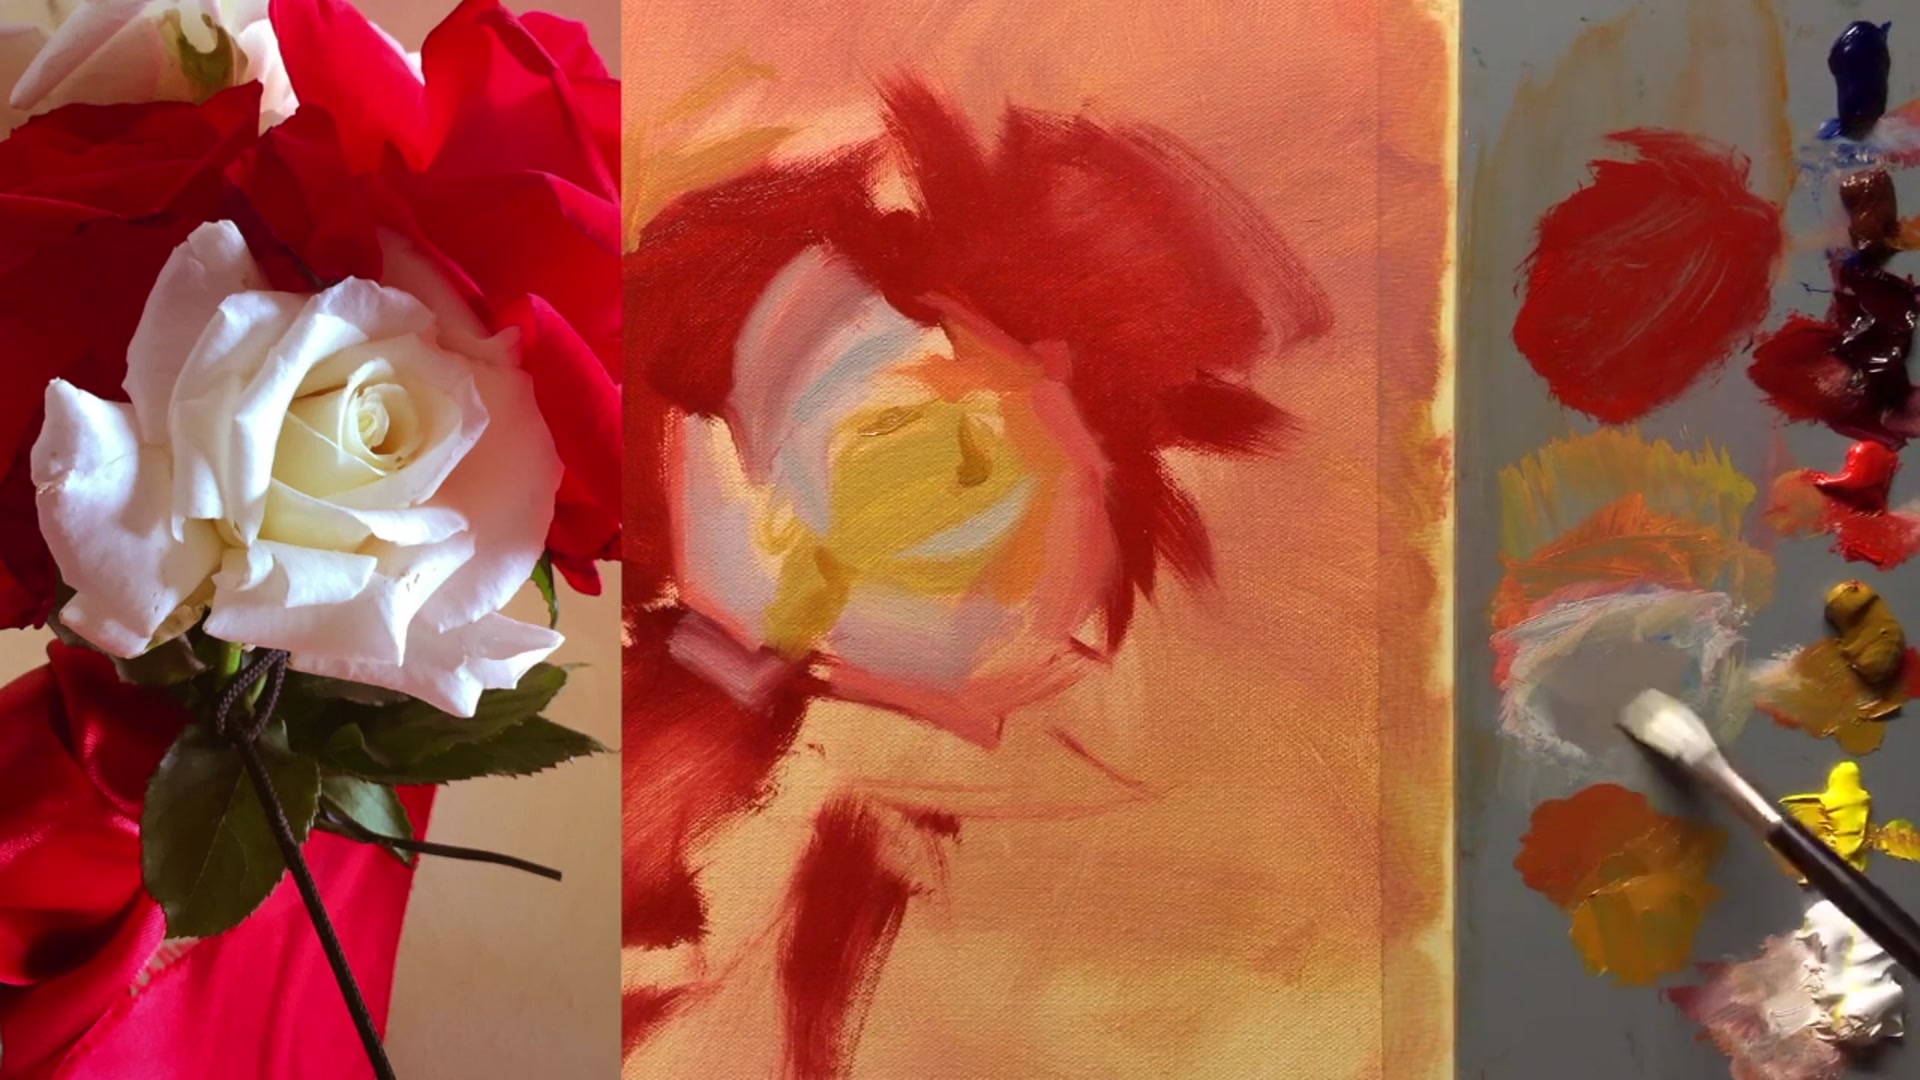
In this chapter, we embark on a delightful journey to capture the essence of a bouquet of roses, a gift from a kind neighbor, in a painting full of joy and movement. The scene I chose to paint is inspired by the whimsical idea of a bouquet tossed into the air, capturing its beauty and spontaneity. Setting up the still life took me three hours, as I experimented with traditional arrangements before deciding on a more dynamic composition. I hung the roses on strings in my front doorway, allowing them to rotate gently in the breeze against a painted backdrop, and captured this dance with my camera. From these photos, I selected the most captivating moments to guide our painting. In this lesson, you'll learn how to use broken color and lyrical brushwork to convey the delicate hue shifts in the white roses and the magic of reflected light on petals, making them appear more lifelike. Together, we'll transform this fleeting moment into a joyful, lasting work of art.
This guide accompanies the full video lesson. The lesson includes the complete narrated video, the printable PDF chapter, and personalised critique support.
"Bouquet of Roses" 11 x 11" Oil on Canvas by Richard Robinson.
Step 7Adding Lights and Details
Prepare for Light Details
Clean your brush thoroughly to avoid muddy strokes. Mix a cool light using white and blue, but don't start with the lightest shade. Gradually work your way up to the brightest light.
Apply Light Strokes
Twist a sharp-edged brush to create calligraphic strokes for subtle details. Focus on areas where petals curve and catch more light, enhancing realism.
Enhance Realism with Reflected Light
Identify areas where petals have a thin strip of reflected light, especially on the left side of curling petals. This detail helps to turn the form and adds a three-dimensional effect.
Simplify Secondary Elements
For roses that are not the center of interest, use fewer brush strokes. This keeps the focus on the main subject while still depicting other elements.
Pro tipSquint to better see subtle color changes and avoid getting lost in the details.
Embark on your painting journey by preparing your canvas with a coat of gesso, ensuring a smooth and absorbent surface for your colors. As you lay down the background, use warm tones and a touch of Gamsol to create a harmonious base. Remember to keep your palette clean to maintain the vibrancy of your hues, especially as you introduce broken colors like mauve to add depth and joy to your composition.
As you move to the main subject, focus on blocking in the dark reds and defining the large shapes of your flowers. Use a clean palette and precise brushwork to capture the essence of the bouquet, reserving the purest reds for highlights. When painting white flowers, observe the interplay of light and shadow, and simplify complex shapes by squinting to see the larger forms.
In the final stages, refine your painting by adding lights and subtle details, ensuring that your brushstrokes convey the natural elegance of roses. Use calligraphic strokes to suggest the delicate forms of petals and leaves, and adjust the edges to enhance the spatial relationships within your composition. By the end, your bouquet of roses should exude a sense of joy and vitality, capturing the beauty of nature in your unique style.
Points to remember
Always use gesso to prime your canvas for better paint adhesion.
Use less Gamsol in the mix to prevent it from affecting the layer underneath.
Create a joyful atmosphere by focusing on lively and expressive brushwork.
Keep your palette clean to avoid muddy colors and maintain vibrant hues.
Reserve the purest red for the highlights to maintain vibrancy in your painting.
Squint at your subject to simplify complex shapes into larger, manageable forms.
Use magenta mixed with white for a stronger, purer highlight color compared to alizarin.
Adjust edges to define spatial relationships, using crisp edges for foreground elements and soft edges for background elements.