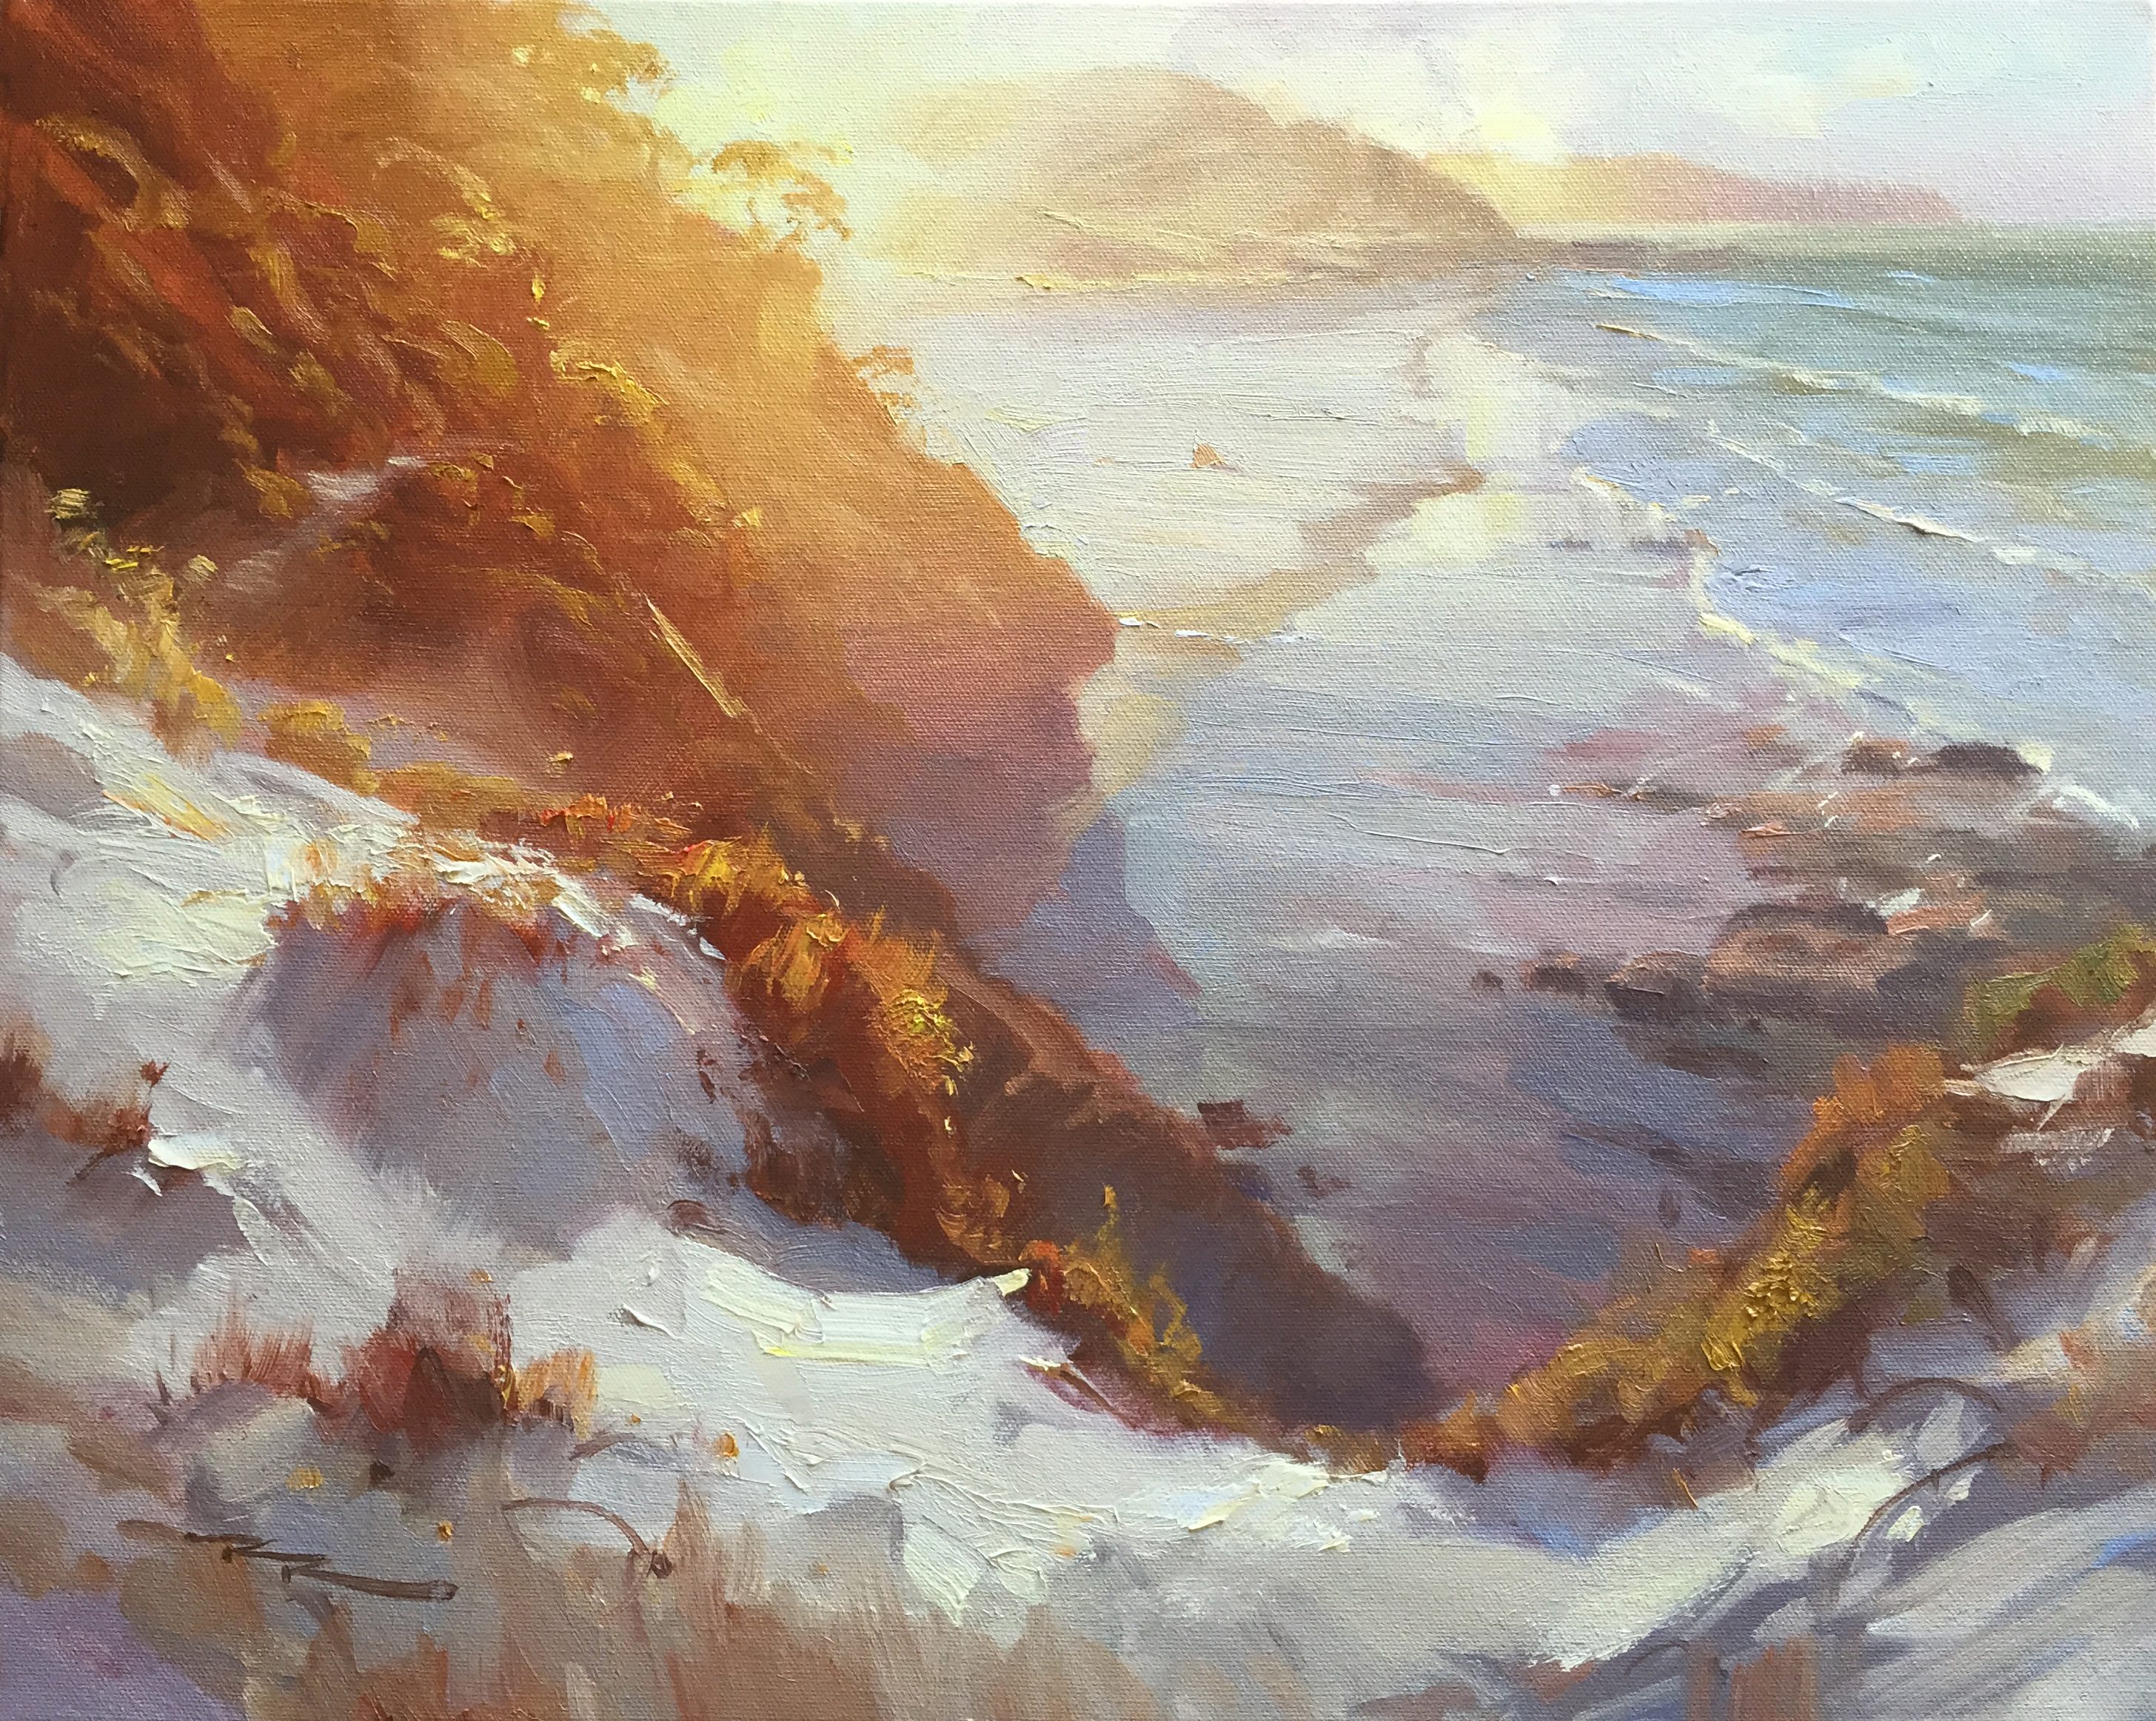
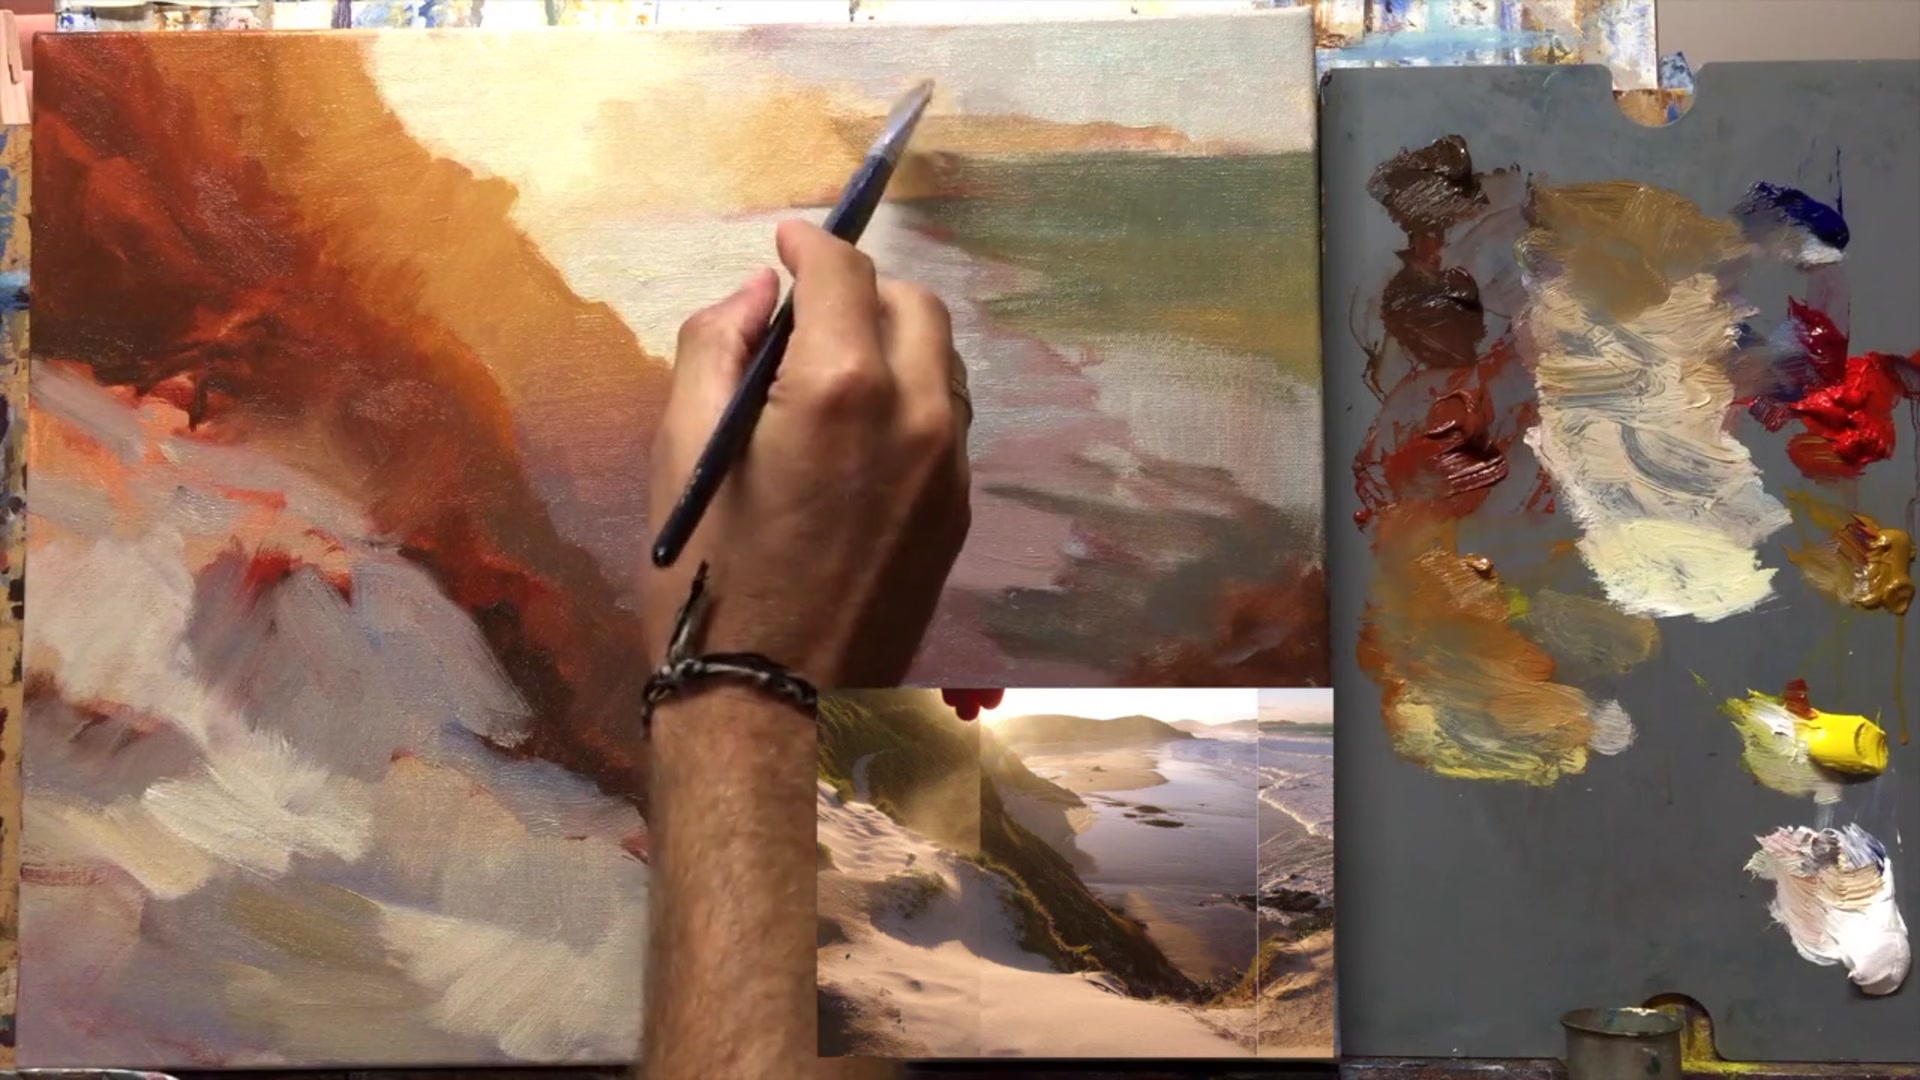
In this chapter, we journey to Proctor's Beach, a cherished spot just over the hill from Oceans Beach, near my home. It's a place that not only offers the thrill of sliding down sand dunes but also presents a breathtaking sunset scene that I love to capture on canvas. The photo we'll work from is an older one, carefully stitched together, with my fingers strategically placed to prevent the sun from overwhelming the image. I've painted this scene multiple times, each attempt revealing new insights and techniques. In this lesson, you'll learn how to create a stunning glowing light effect, master atmospheric depth, and refine your brushwork to bring this sunset beach to life. We'll start by moistening the canvas with a bit of water, allowing the acrylics to flow smoothly as we transition from warm lights to cool darks. This initial step sets the stage for the luminous effect we're aiming for. Let the toned canvas dry thoroughly, ideally for a day, though a few hours will suffice in warm weather. Join me as we explore the nuances of this inspiring scene and enhance your painting skills along the way.
This guide accompanies the full video lesson. The lesson includes the complete narrated video, the printable PDF chapter, and personalised critique support.
"Sunset Beach" 15.5 x 20" Oil on Canvas by Richard Robinson.
Step 18Blending landmass colors
Darken the Landmass
Mix a warm gray or grayish brown and apply it to the landmass to darken it. This will help it tie in better with the color of the ocean. Blend the color out into the warmer tones as it approaches the sun.
Layer for Depth
Paint a second, darker layer on the landmass, but don't blend it as far as the previous layer. This technique creates a smooth transition and adds depth as the color gets darker further from the sun.
Use Color for Path
Apply the same warm gray or grayish brown to the path along the hill. Surrounded by warm reddish and brownish tones, this color will appear cooler and slightly bluer.
Pro tipBlend each layer slightly less than the previous to achieve a smooth transition and depth.
Embark on your painting journey by preparing your canvas with a warm gradient, setting the stage for a glowing sunset scene. Begin with an initial sketch using a fluid, oily mixture to establish the composition's big shapes. As you move forward, focus on mixing a variety of dark and light colors to create depth and vibrancy in your hills and background.
As you progress, prioritize painting the lighter areas first to maintain their luminosity, especially in a sunset setting. Use a black and white reference to focus on values, allowing you to creatively build your own color palette. Pay attention to the natural textures of grass and bushes, and use subtle color adjustments to enhance the depth and glow of your scene.
In the final stages, concentrate on your brushwork to add texture and detail, particularly in the foreground and along the hills. Experiment with different brushstrokes to create dynamic and engaging textures. Make retrospective adjustments to ensure the sun's glow is enhanced and the overall composition is balanced and harmonious.
Points to remember
Moisten the canvas with water before applying acrylics for easier paint application.
Use a very oily mixture of red and a touch of blue for a thin, fluid base to sketch your initial shapes.
Paint light colors first to keep them vibrant in glowing light scenes.
Use a black and white reference to focus on values and avoid being influenced by original colors.
Use the brush sideways to create thin, clumpy grass with natural gaps.
Darken the landmass to balance the depth of color with the ocean.
Use thicker paint for highlights in the foreground to enhance their impact.
Experiment with varying brushstroke lengths and directions to add interest and texture.