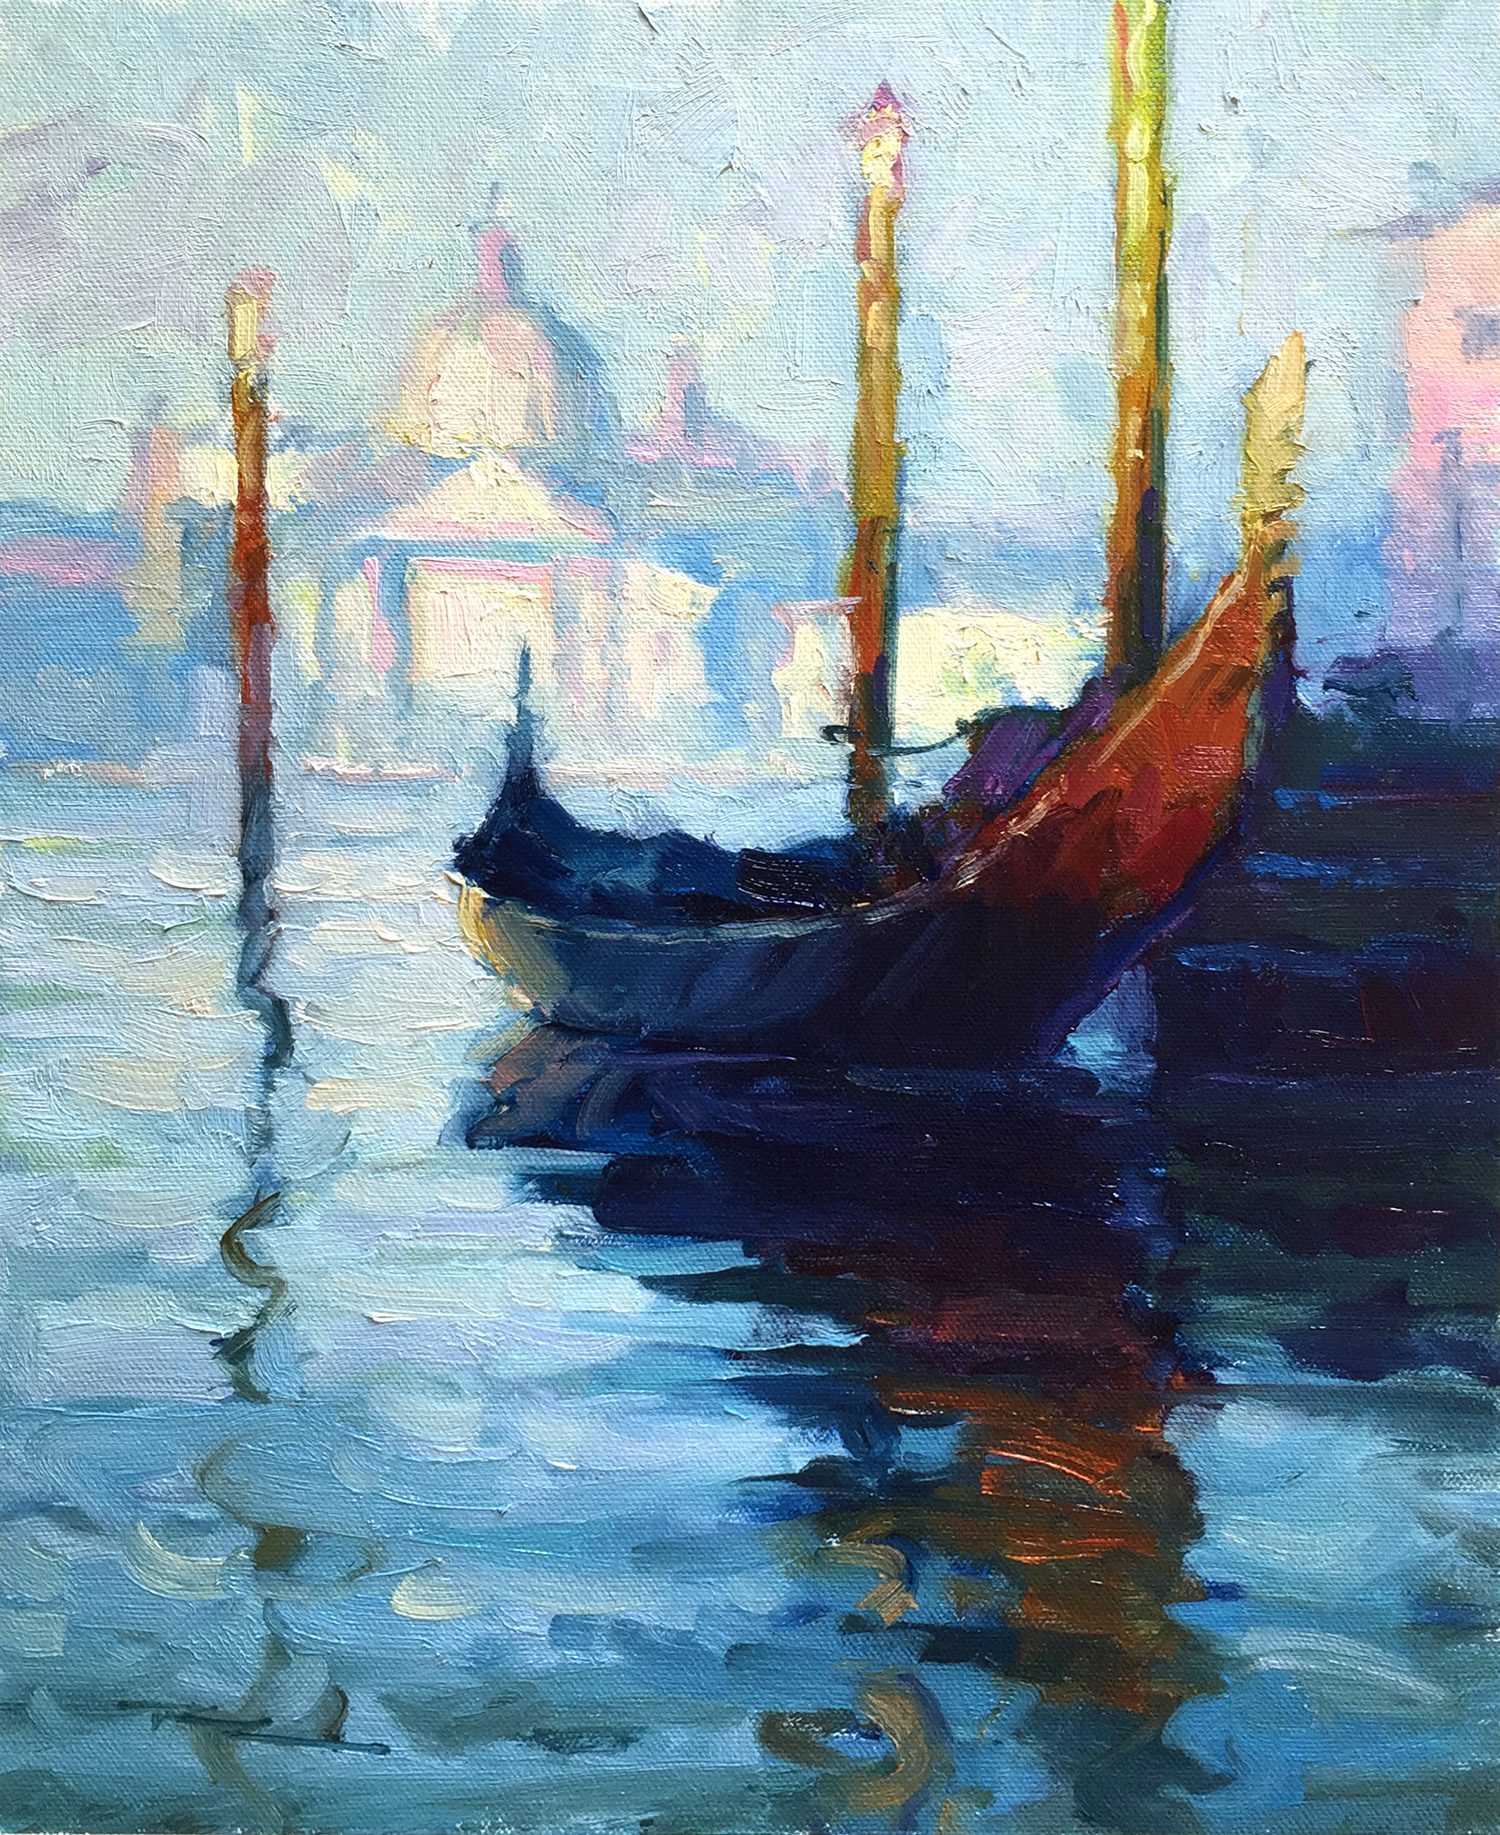
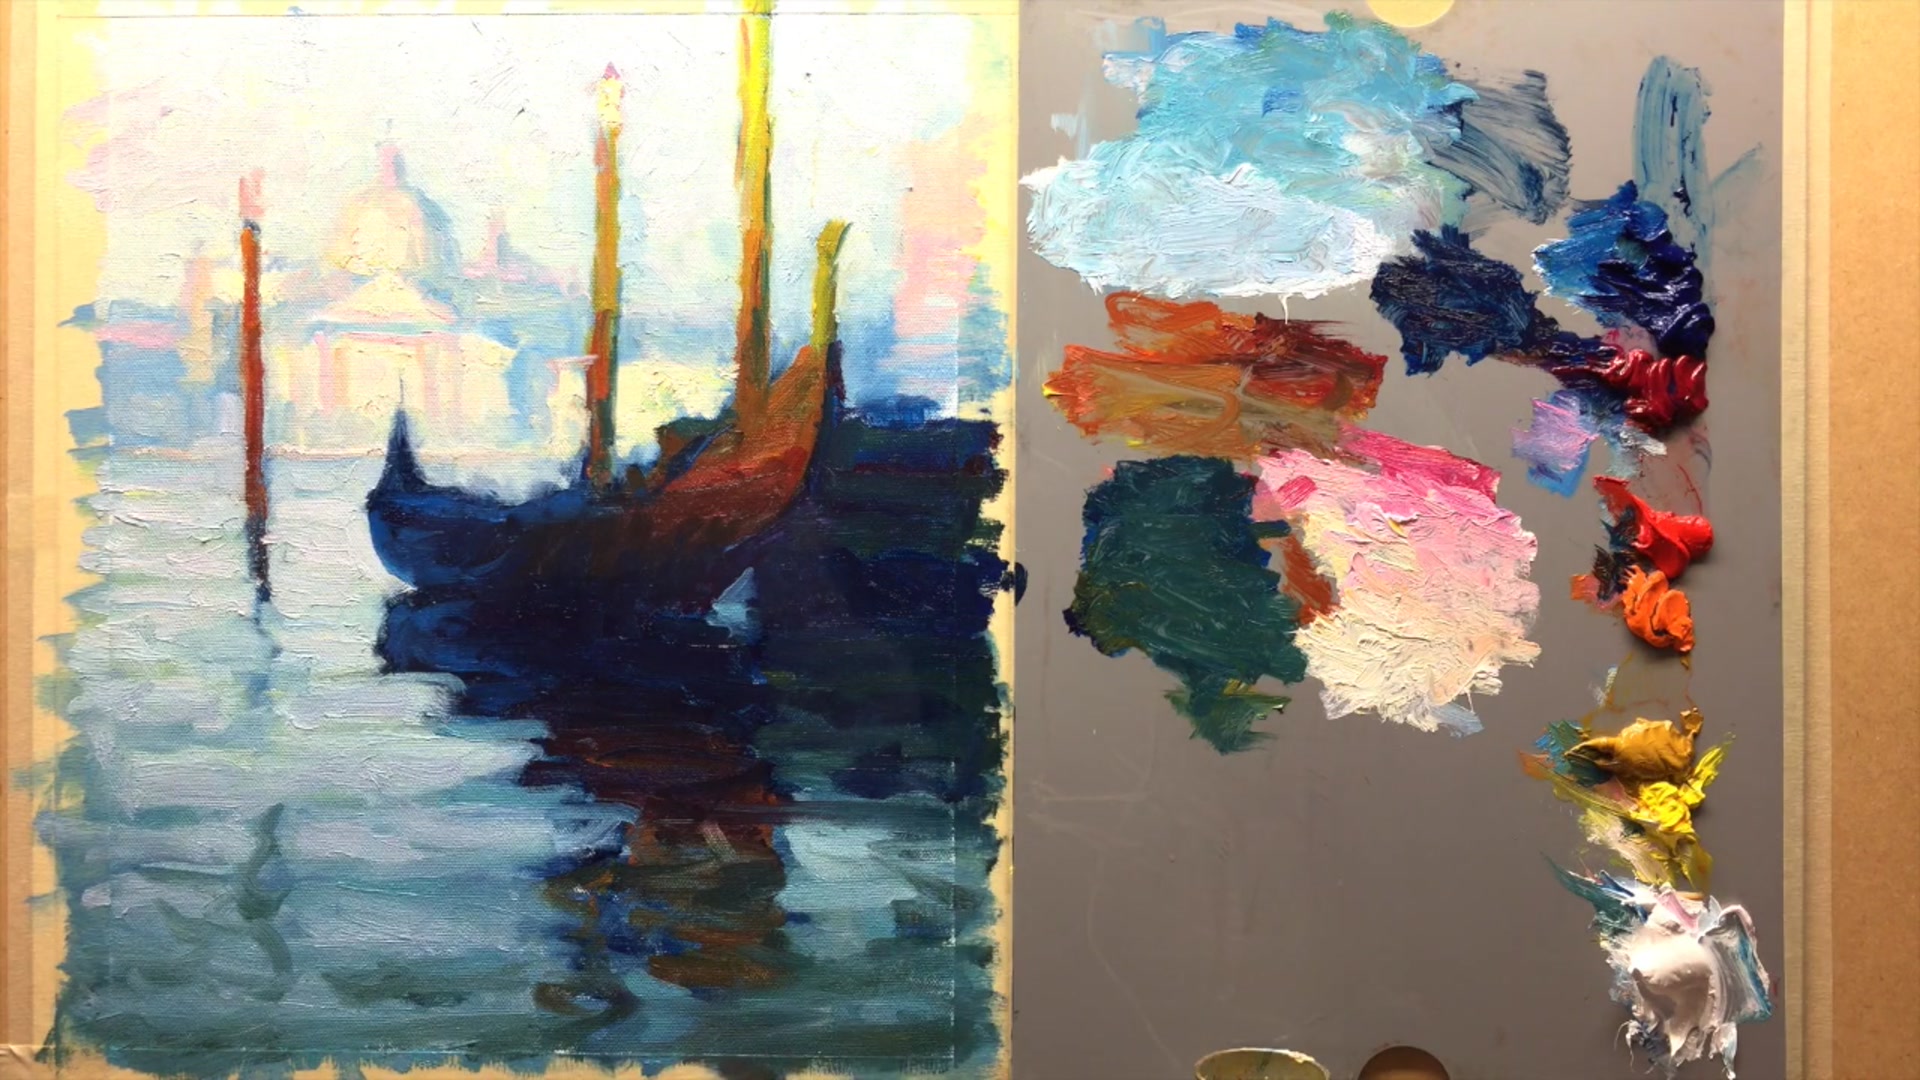
When I first encountered Monet's unfinished gondola painting, I was captivated by the strength of its design and the simple elegance of its dark shapes and negative spaces. Yet, it lacked the light and color that Monet would have infused into it, making it a piece yearning to be completed. In this chapter, we embark on an exciting journey to finish what Monet started, imagining how his final vision of Venice might have looked. By examining Monet's other Venetian works, I crafted a sketch in Photoshop, combining elements from two of his paintings and introducing light into the foreground. Together, we'll explore the techniques needed to bring this scene to life, honoring the grand master of Impressionism. As you follow along, I encourage you to delve into Monet's Venice paintings, available on our online resource page, and perhaps even devise your own interpretation of this enchanting scene. Let this be a reminder that even Monet found new subjects challenging, and with perseverance, we too can capture the beauty of Venice on canvas.
This guide accompanies the full video lesson. The lesson includes the complete narrated video, the printable PDF chapter, and personalised critique support.
"Gondola in Venice" 11x14" Oil on Canvas by Richard Robinson after Claude Monet.
Step 15Adjusting Reflections and Colors
Separate the Pole from the Gondola
Adjust the pole's position or color to clearly distinguish it from the gondola. This prevents it from appearing as a mast and maintains the painting's clarity.
Tidy Up Reflections in the Water
Examine the reflections in the water and make necessary adjustments to ensure they are tidy and realistic. This enhances the overall composition and realism of the scene.
Darken the Corner Rectangle
Keep the rectangle shape in the corner dark to prevent the viewer's eye from being drawn away from the center of the painting. This helps maintain focus on the main subject.
Darken Light Reflections
Use red and orange to darken any reflections that appear too light. Despite the glossy surface, remember that black absorbs a lot of color, so adjust accordingly to achieve a balanced look.
Pro tipUse red and orange to darken glossy reflections while maintaining the surface's reflective quality.
Embark on your painting journey with the spirit of Monet, who found inspiration in the enchanting city of Venice despite initial hesitations. Allow yourself time to adjust to new subjects, just as Monet did, and embrace the challenges they present. Begin your work with a warm-toned canvas to set the stage for a harmonious composition.
As you progress, focus on building texture and depth through layered paint and thoughtful color choices. Use larger brush strokes for foreground elements and smaller ones for distant features to create a sense of depth. Emulate Monet's technique of broken color to achieve vibrant effects, and let your brushwork flow freely to capture the dynamic essence of the scene.
In the final stages, pay attention to the details that bring your painting to life. Reflect the warm light in the water, adjust reflections for realism, and maintain drawing accuracy to ensure your composition remains true. Finish with personal touches, such as signing your work, to complete your artistic expression.
Points to remember
Allow yourself time to find inspiration when painting new scenes.
Use a light pinkish acrylic wash to tone your canvas before sketching.
Apply thick, broken paint to build texture and complexity.
Use larger brush strokes for areas closer to you to create depth.
Keep your brush clean when transitioning between light and dark areas.
Reflect warm light in the water with slightly darker tones.
Use broken color by placing different colors next to each other without blending.
Sign your painting to give it a personal touch and complete the artwork.