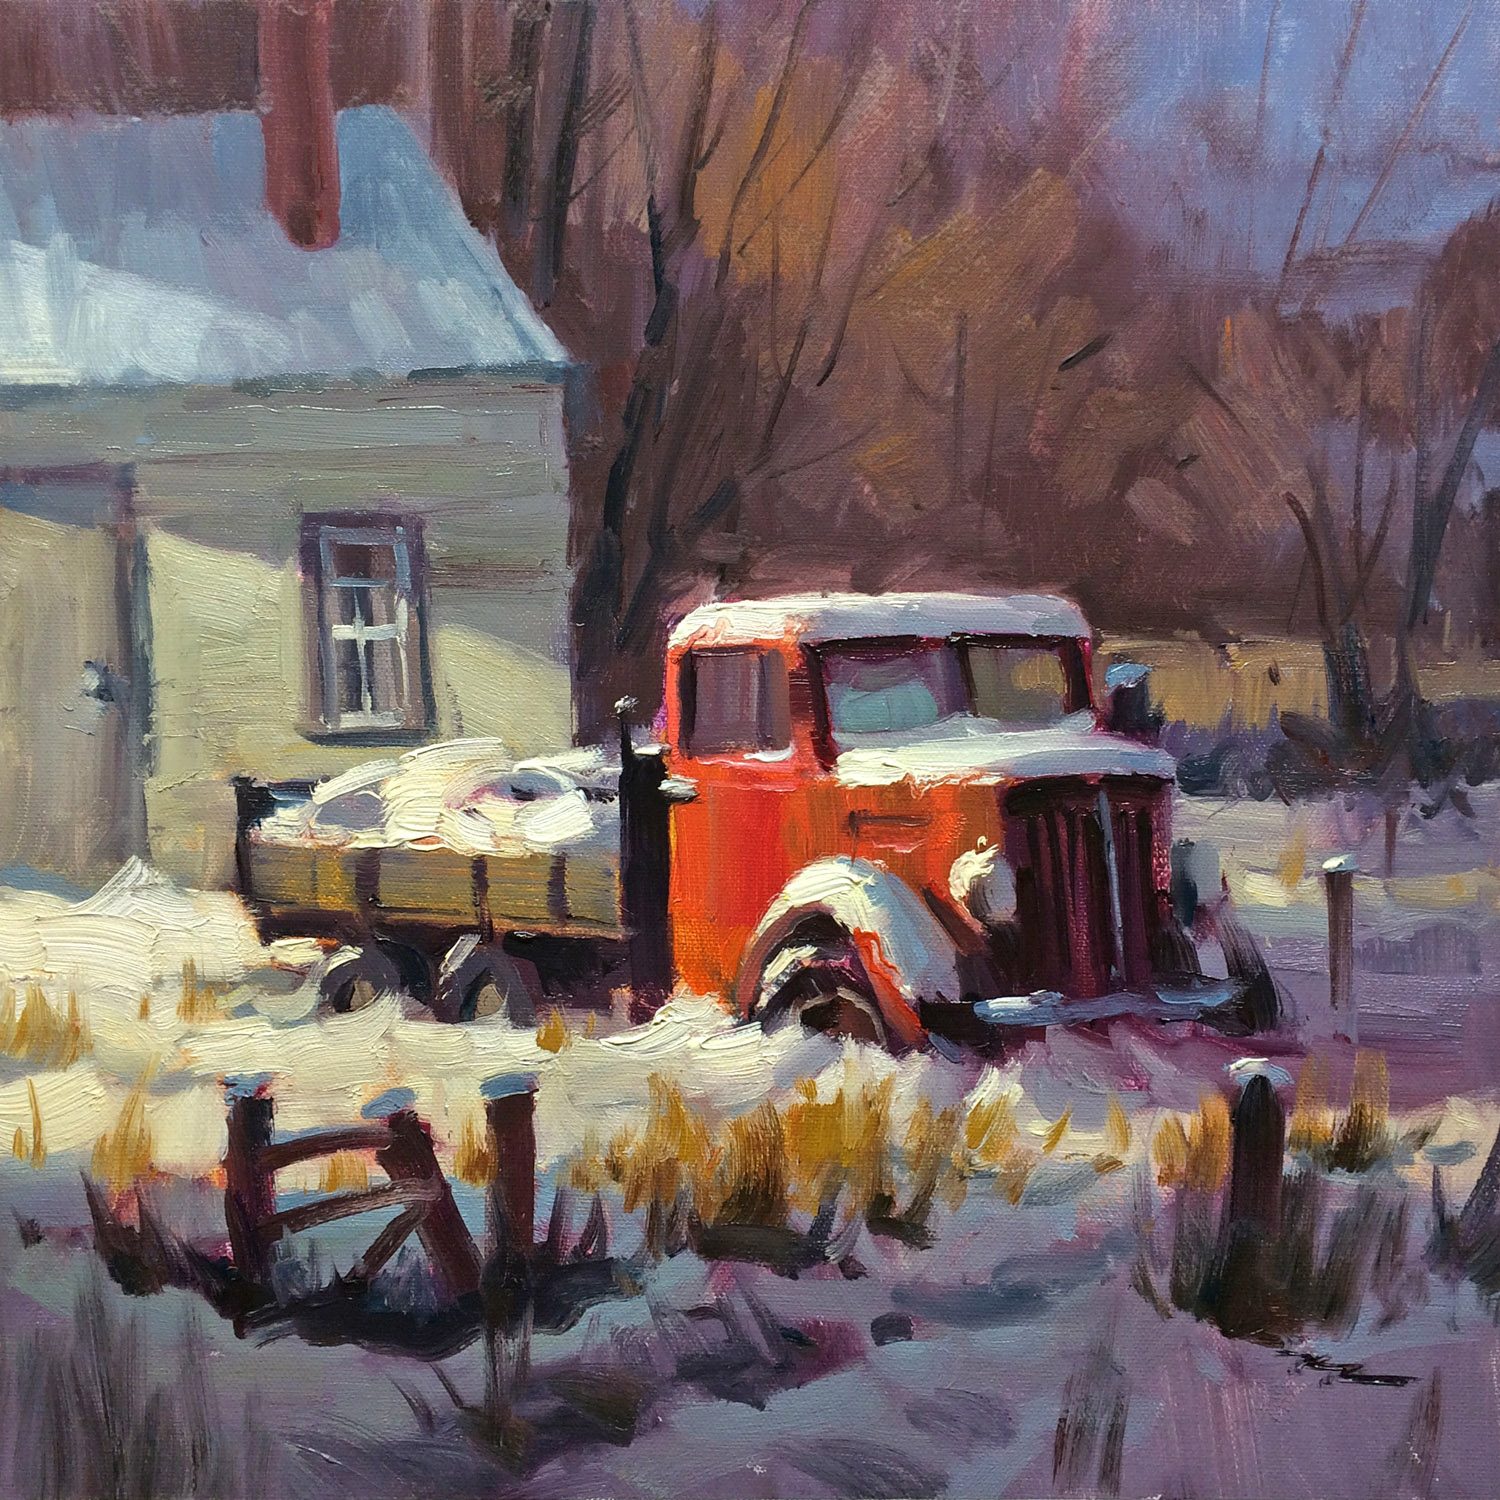
In this chapter, I invite you to join me on a creative journey to capture a classic snowy scene that simply begged to be painted. While exploring a quiet corner of Glenorchy, I stumbled upon an old Bedford truck, its weathered charm beautifully accentuated by a fresh blanket of snow. The snow transformed the scene into a visual delight, much like icing on a cake, making it irresistible to paint. Together, we'll explore how to depict snow in both sunlight and shade, creating a glowing color effect that brings the scene to life. You'll learn techniques to simplify complex details, allowing the essence of the scene to shine through. I chose a square format for this workshop to enhance the spotlight effect by subtly darkening the background and foreground, but feel free to interpret it in any format you prefer. This rewarding subject offers a wonderful opportunity to refine your skills and express your artistic vision. Let's dive in and see how this evocative scene was painted, step by step.
This guide accompanies the full video lesson. The lesson includes the complete narrated video, the printable PDF chapter, and personalised critique support.
"Snowed In" 14x14" Oil on Canvas by Richard Robinson.
Step 8Building shadows and light on the building
Mix Shadow Colors
Mix a fairly dark greenish gray to create a soft shadow under the eave. Lighten this mixture slightly for the shadow on the face of the building to create depth and contrast.
Add Light Across the Building
Cast light across the front of the building to direct the viewer's eye towards the truck. This adds color and shape interest to the painting, enhancing its visual appeal.
Create Roof Shadows
Use a coolish mid-value gray for the shadowed snow on the roof. Compare it to your gray palette to ensure it's a true mid-value, adding realism to the scene.
Soften Edges
Soften the edges of the shadows with the flat of the palette knife. Smush the paint around to lose any sharp edges, creating a more natural and cohesive look.
Pro tipUse the flat of the palette knife to soften edges and blend shadows smoothly.
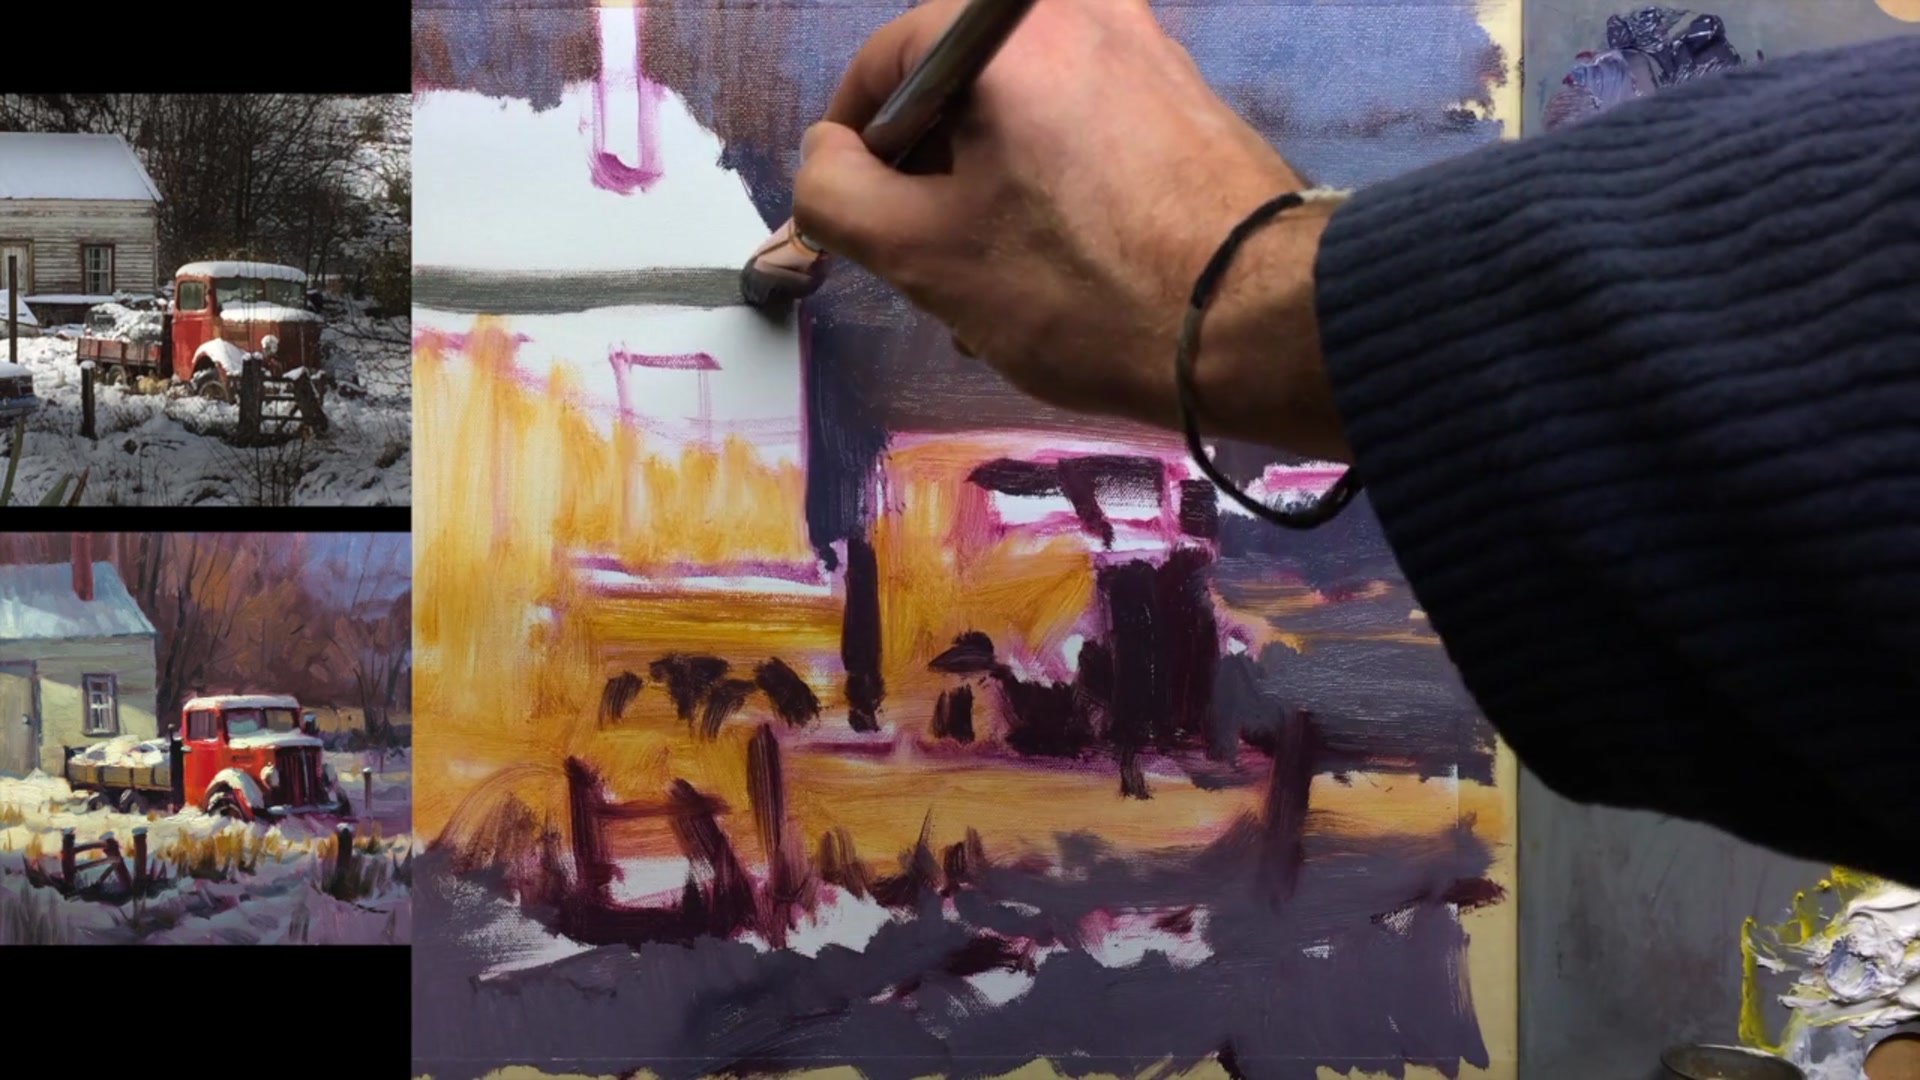
As you embark on painting 'Snowed In,' begin by setting up your canvas and gathering the necessary tools and materials. Start with a thin sketch to outline the composition, focusing on the big shapes and refining them into smaller details. Use thin paint to allow for easy adjustments as you establish the scene's structure. Mix your grays thoughtfully to create a range of tones that will add depth and contrast to your painting.
Move on to establishing light and shadow, using a warm base layer to guide your subsequent applications of color. Block in the darks and background, ensuring the truck remains the focal point by contrasting it against cooler tones. As you add warmth and glow to the background, use soft edges and thin paint to maintain subtlety and depth. Focus on painting the big shapes with gestural strokes, keeping the details minimal to enhance the overall composition.
In the final stages, concentrate on the details and textures that bring your painting to life. Use broad strokes and a limited palette to maintain harmony, and remember to clean your brush frequently to keep colors vibrant. As you make final adjustments, ensure the balance between light and shadow is maintained, and use soft brushes to blend elements seamlessly into the background. With these steps, your painting will capture the serene beauty of a snowy landscape, inviting viewers into its tranquil scene.
Points to remember
Use long bristle flat brushes for broad strokes and synthetic brushes for finer details.
Sketch the composition with thin paint for easy adjustments.
Mix grays to modify colors or apply them directly on the canvas.
Use a thin mixture of yellow ochre and walnut oil to establish a warm base.
Use soft edges and thin paint to maintain subtlety in the background.
Clean your brush after each stroke to keep light colors bright.
Use a big brush to maintain gestural strokes and focus on big shapes.
Use a soft dry brush to gently soften sharp edges in the background.