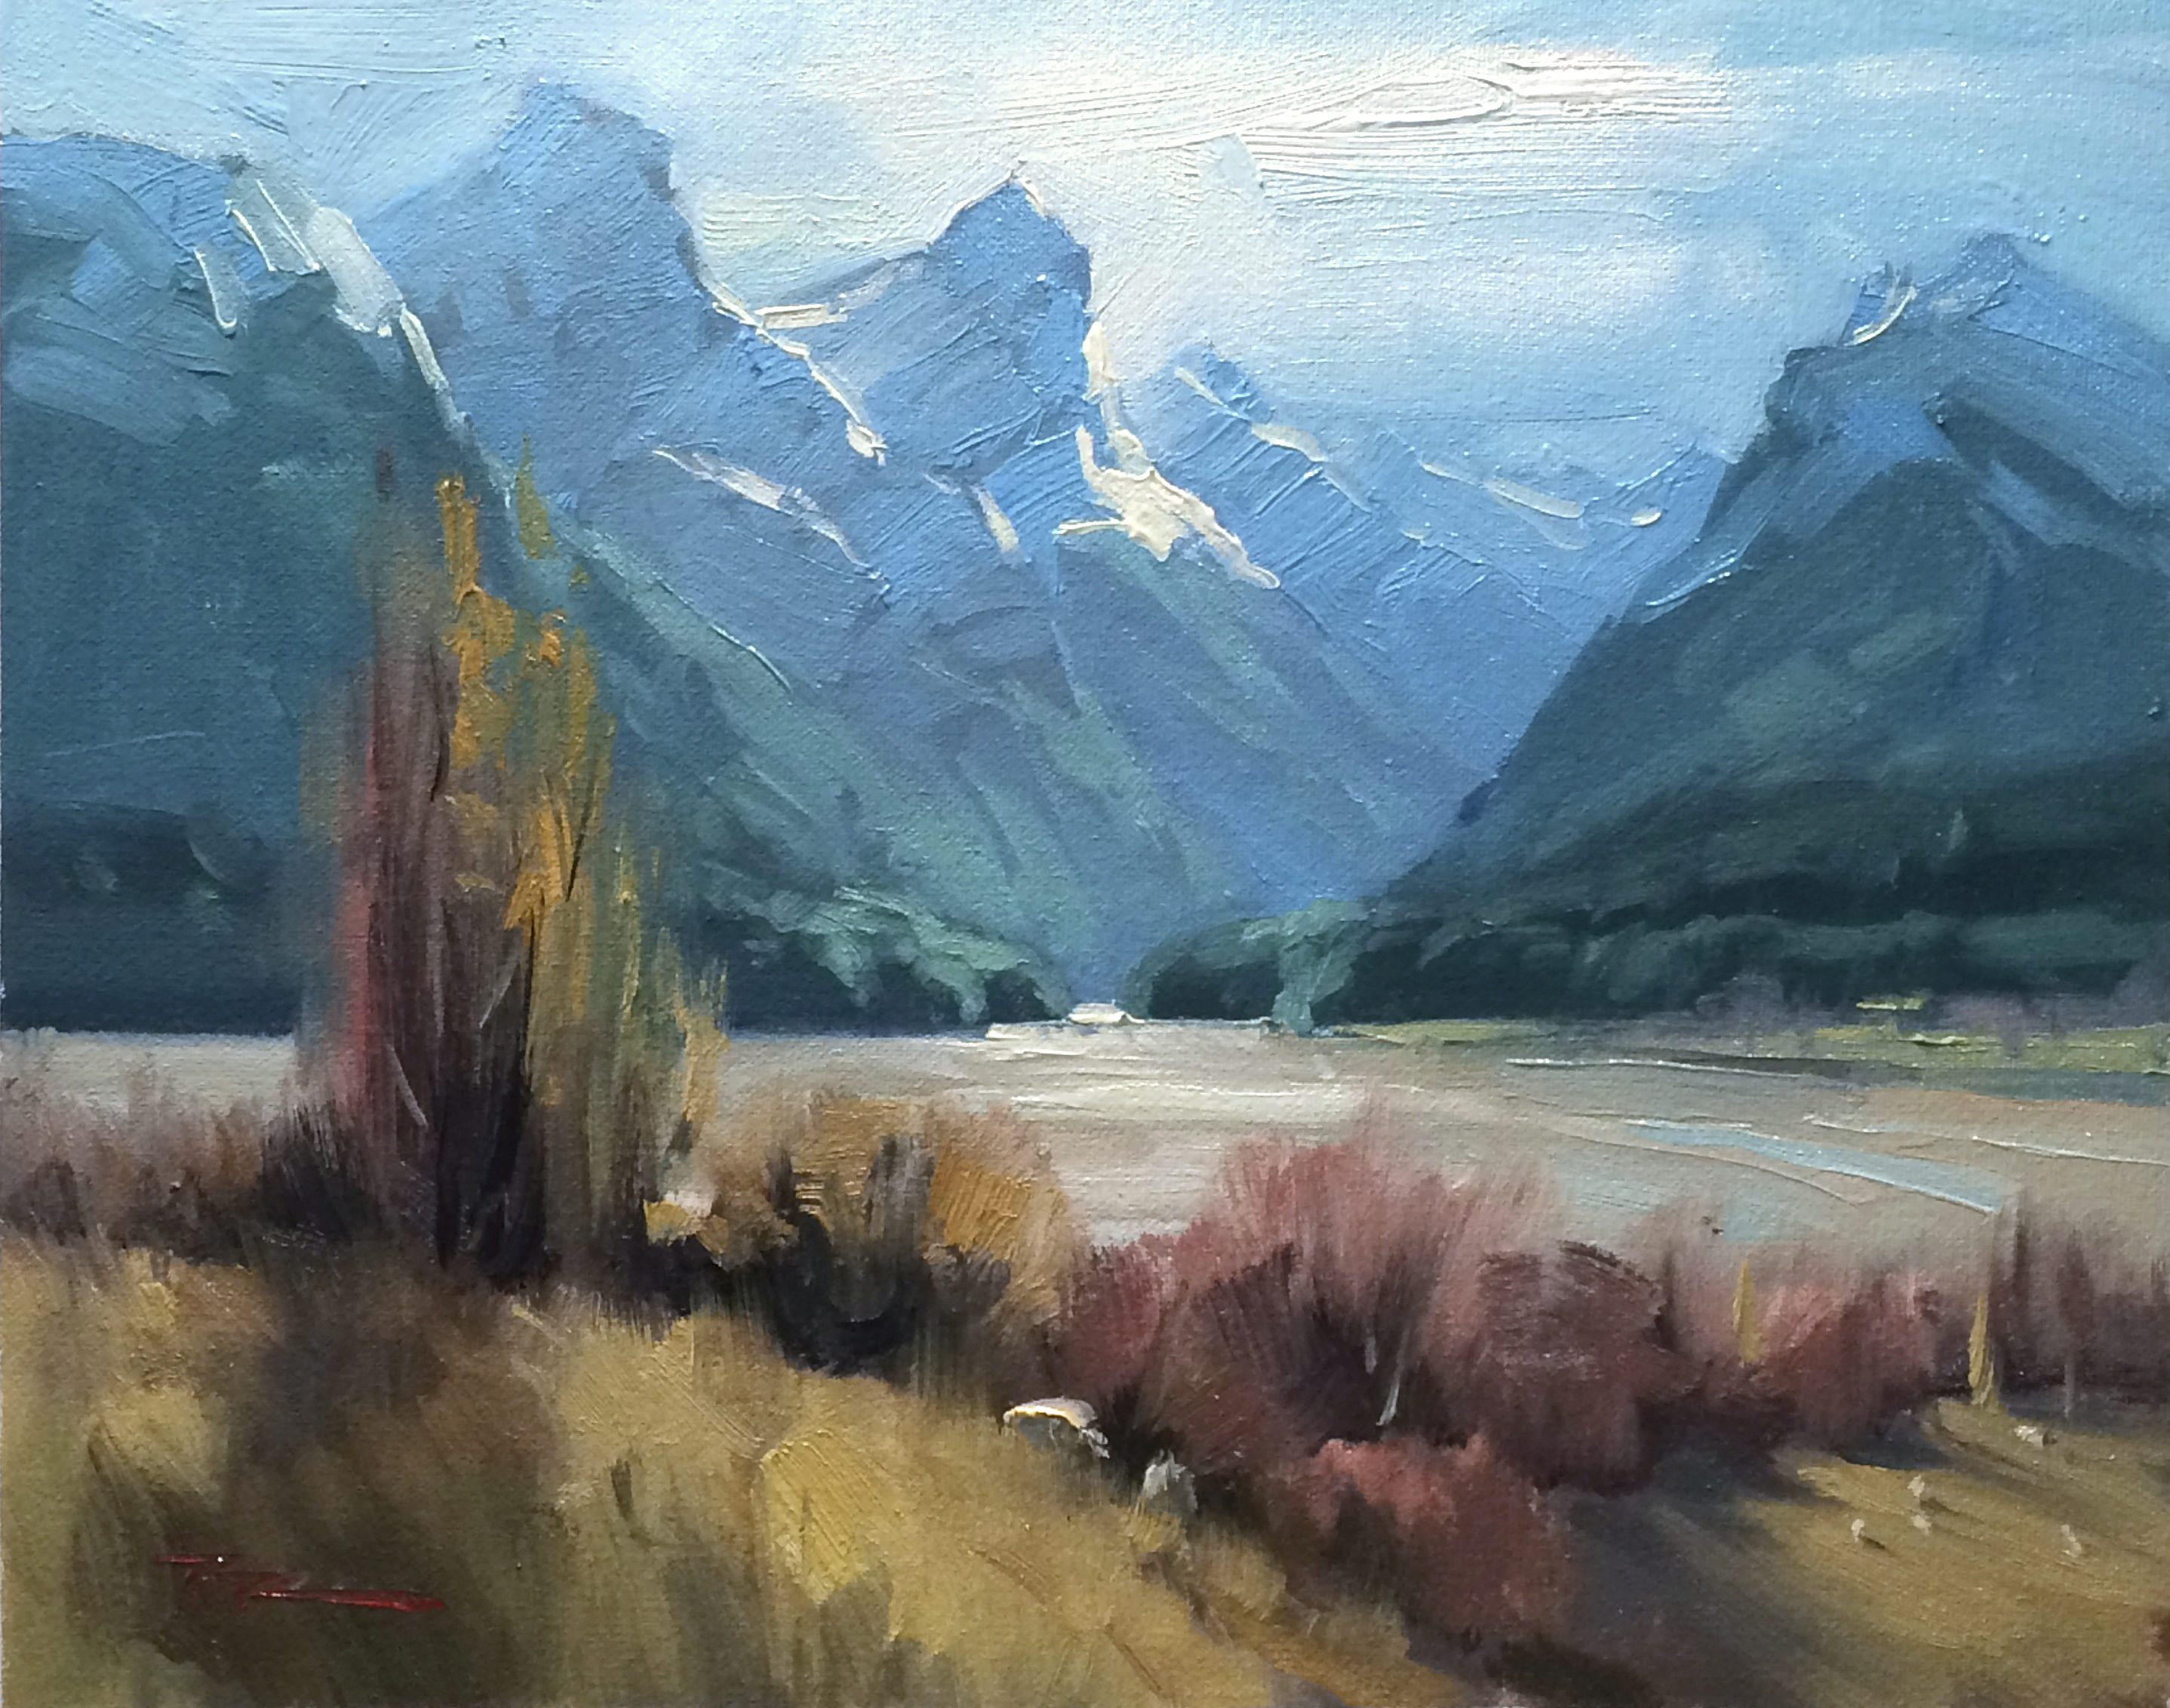
Welcome to one of my favorite painting spots on the planet—Paradise. In this chapter, you'll embark on a journey to capture the breathtaking beauty of this scene, learning to paint receding mountains, the interplay of light and shadow on snow, and the delicate wisps of autumnal willow trees. We'll start with a 13 by 10 and a half inch canvas, but feel free to adjust to a size that suits you. Using Cobra Water Mixable Oils by Royal Talens and a selection of Rosemary & Co brushes, I'll guide you through each step, from sketching the horizon line to adding those final touches with a palette knife and a detail brush. This lesson will help you master the art of creating depth and interest in your landscape by varying shapes and avoiding repetition. By the end, you'll not only have a stunning piece of art but also a deeper understanding of how to bring such a rewarding subject to life on canvas. Enjoy the process and the beauty of Paradise as you paint along with me.
This guide accompanies the full video lesson. The lesson includes the complete narrated video, the printable PDF chapter, and personalised critique support.
"Paradise" 13x10.5" Oil on Canvas by Richard Robinson.
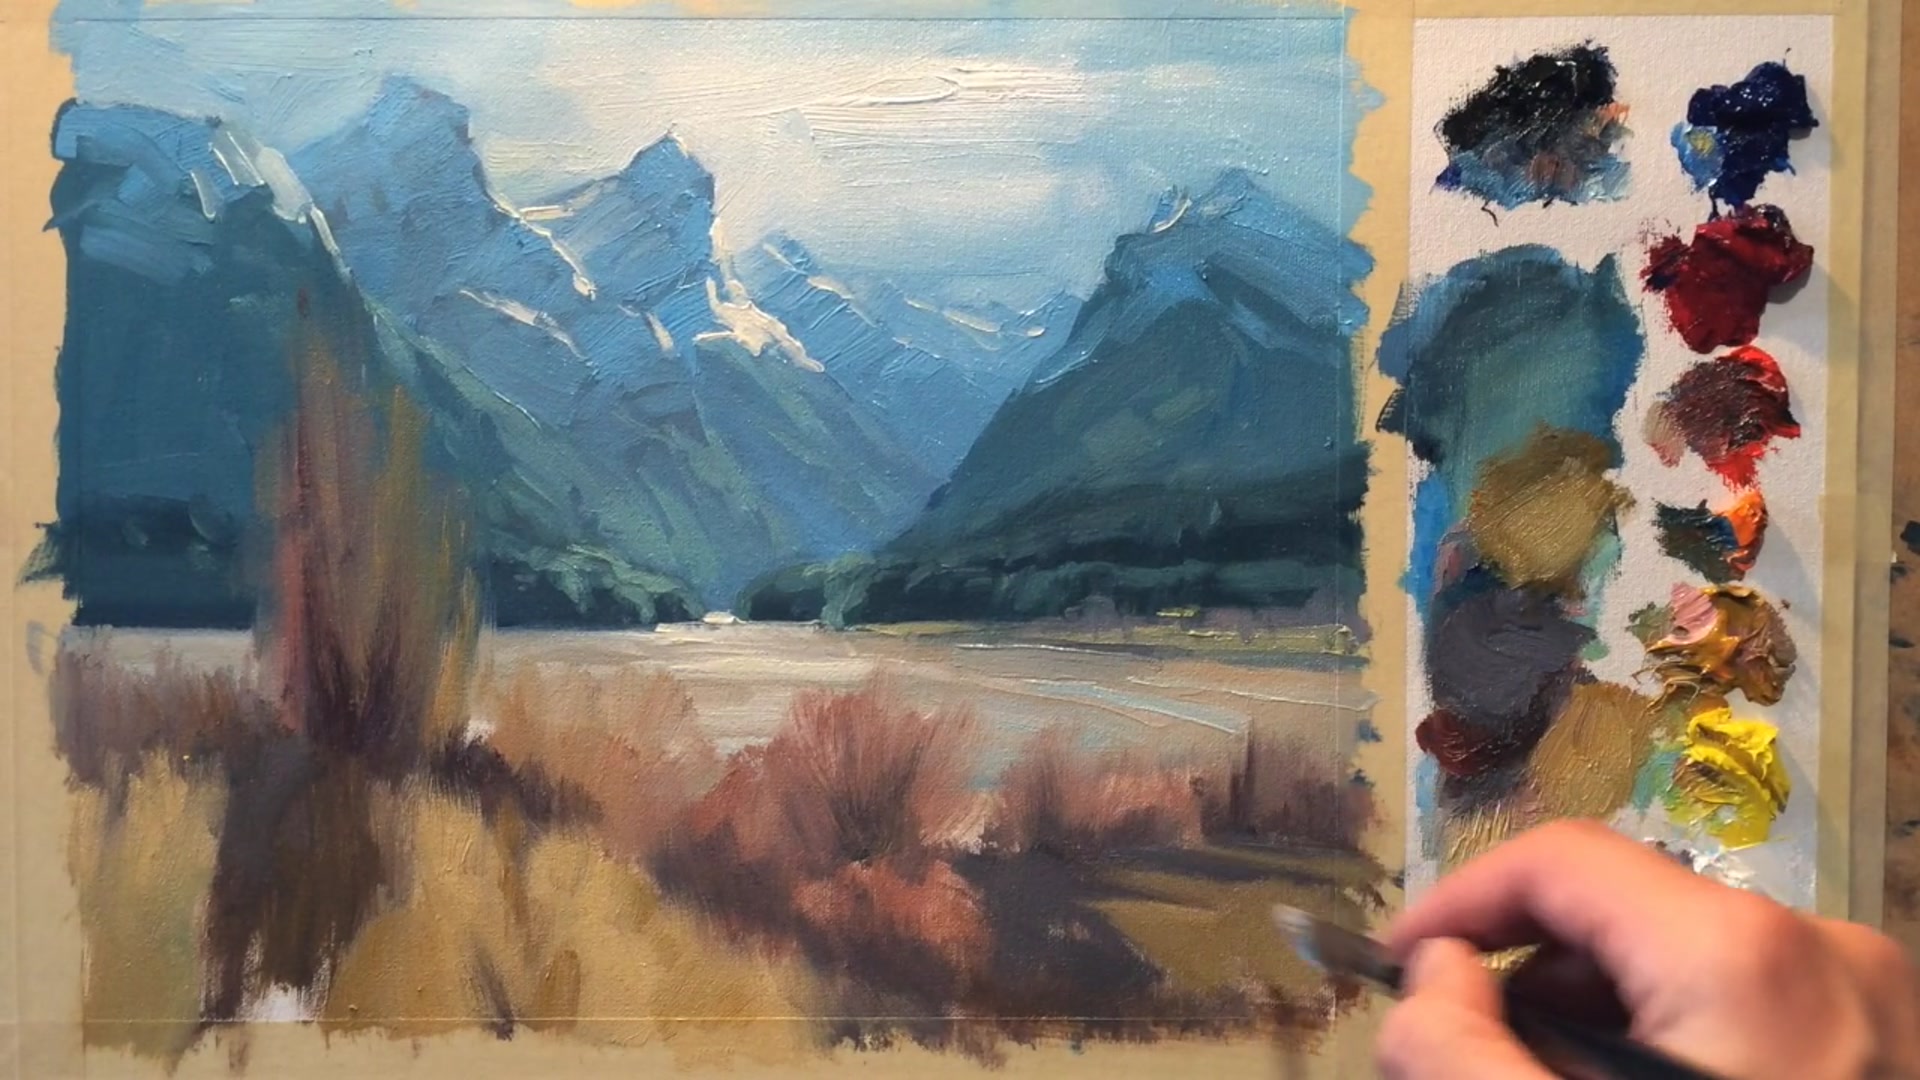
Step 12Enhancing foreground with color and shadows
Correct Shadow Direction
Adjust the shadows so they point towards the sun, which is just above the central peaks. This will create a more realistic and cohesive lighting effect.
Deepen Foreground Darks
Add darker darks to the foreground to enhance contrast and make it stand out against the background. This will give the painting more depth and interest.
Strengthen Foreground Colors
Mix a slightly more red version of the tree color and brush it lightly on top. Ensure variations by adding more yellow ochre to some areas and creating slightly harder edges.
Enhance Poplar Tree Texture
Use a stronger color on the side of the poplar tree. Drag the side of the brush to create interesting soft textural effects.
Pro tipCreate variations in color and texture by mixing different hues and using different brush techniques.
Embark on your painting journey by setting a strong foundation with a well-planned composition. Begin with a lower horizon line to let the mountains take center stage, and sketch with attention to variation and dynamic angles. As you progress, mix vibrant chromatic blacks to maintain color richness and avoid dullness in your work.
Layer your colors thoughtfully, starting with distant mountains and gradually moving to the foreground. Use a combination of blues, reds, and yellows to create depth and atmospheric perspective. Pay attention to the thickness of your paint and the cleanliness of your brush to keep your colors vibrant and avoid muddiness.
As you add final details, focus on the interplay of light and shadow to bring your landscape to life. Use subtle variations in color and texture to enhance realism, and ensure your shadows align with the light source for a cohesive look. With the addition of small elements like sheep, your scene will gain character and charm. Finish with precise accents and your signature to complete your masterpiece.
Points to remember
Position the horizon lower to emphasize the mountains.
Use chromatic black to maintain vibrancy in your painting.
Thin your paint with walnut oil for even coverage.
Keep your brush clean and renew the paint frequently.
Begin the mist at the base and blend upwards for a natural transition.
Use a light touch with the brush to prevent blending.
Ensure lines are horizontal and straight to maintain perspective.
Ensure all cast shadows point towards the sun in a radial fashion.